
Looking for a cute and kawaii Halloween greeting card template? Check out this adorable Kawaii Girl Ghost Greeting Card SVG template! It includes an envelope and features a layered paper design perfect for “spooky” and boo-tiful crafting. Customize your ghostie with a bow for an extra special touch! Below, we’ll take you through the steps needed to assemble this quick and easy project.
Looking for our YouTube video? Watch the full walkthrough here!
Begin by cutting out the necessary pieces using your electric cutting machine.
Notes:
- If using Cricut Design Space, make sure to first, ungroup the project. Then, select the dashed cut fold lines AND the solid shapes they go with (the ones they are sitting on top of), and use the “Attach” button to connect them together before cutting.
- If using the DXF file in Silhouette Basic, after uploading, select the whole project and scale proportionally to 15” wide by 12” tall to return to full scale.
Make the Back Side First
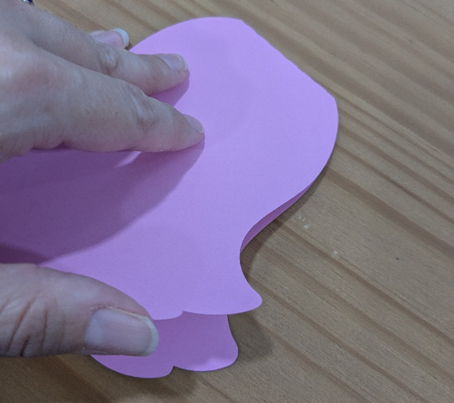
Begin by taking the large card inside piece, and fold it in half so the “Boo” is on the inside, as pictured.
NOTE: If you do NOT want the word “Boo” to appear in the Girl Ghost Greeting Card, you can use the blank version of this piece provided in the “BONUS EXTRAS” folder inside your download.
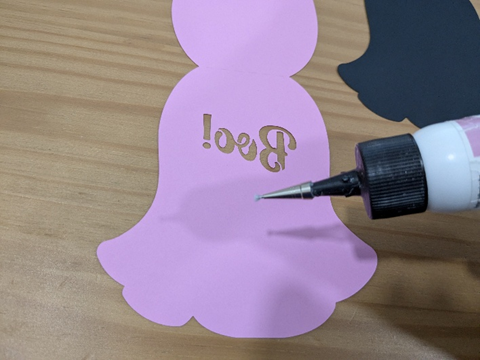
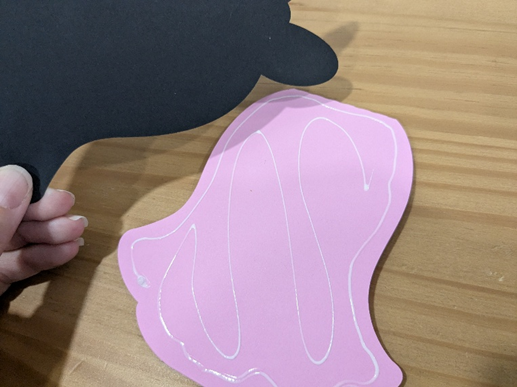
Flip the card inside over, so you can see the back side of the “Boo” (text will be backwards), and put glue on that half only.
IMPORTANT: On the back side of the ghost, the largest “swoop” or scallop along the bottom is on the RIGHT side. On the front of the ghost, this large swoop will be on the LEFT. Make sure to keep pieces sorted so that everything will match the correct side!
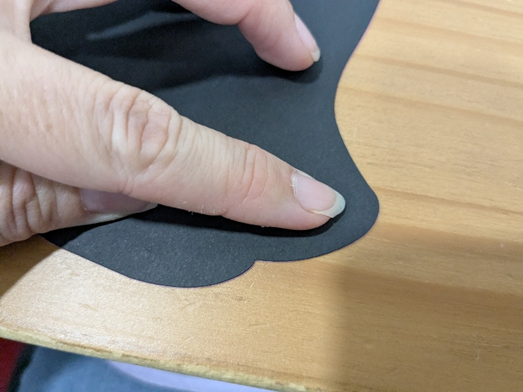
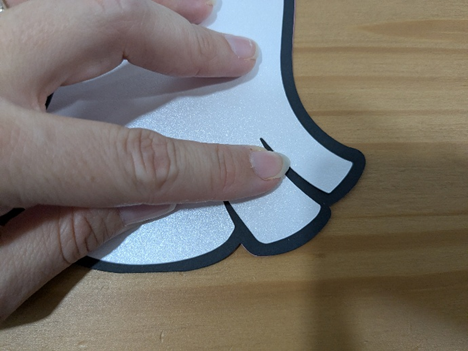
Take the corresponding black piece, with the flat edge on top, and press it into place here. Check the alignment and shift it around if necessary—you want the pieces to line up along the top and bottom edges cleanly.
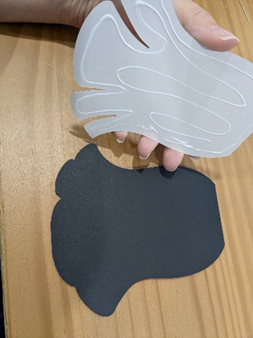
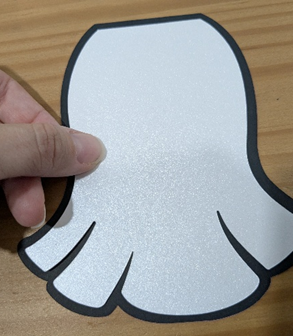
Now, take the back ghost piece (the one with no eyes) and add glue to the reverse side. Center it on the back piece and press into place. You should see a thick black outline on all edges going evenly around the back of the card.
Now Let’s Make the Front!
Next we’re going to build the front of the Girl Ghost Greeting Card.
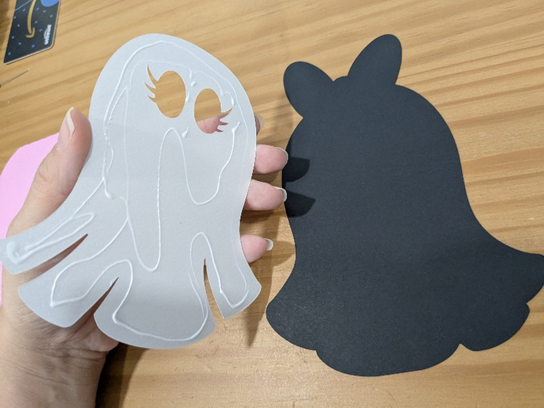
Take the remaining ghost shape (with the eyes), and check the alignment to make sure the large swoop is on the LEFT side.
Now place glue on the reverse side, and line it up on the black ghost outline.
Press the ghost into position, keeping an even black outline going all the way around the ghost shape.
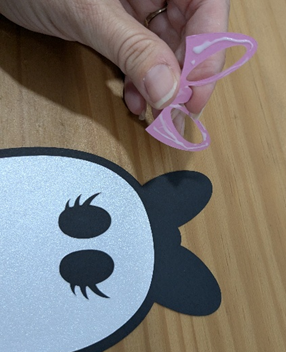
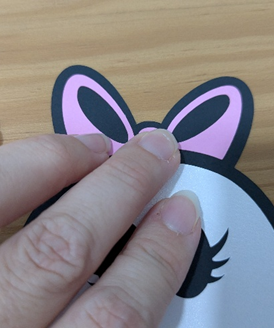
Line up the bow with the 2 holes where it will go on the ghost. Add glue to the back side, then press into place.
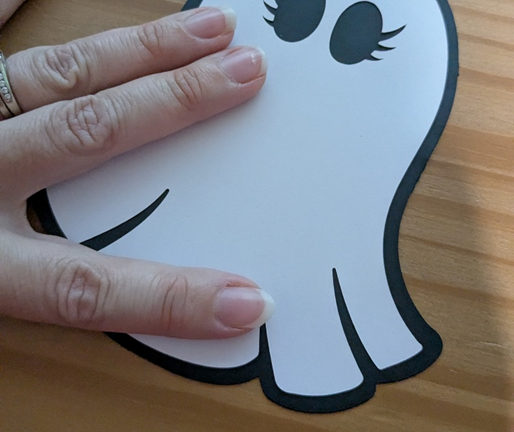
Now, add glue to front (solid, no word) side of the card base, and press the completed ghost front side into place.
Keep the edges aligned on the bottom so the interior of the card is NOT visible.


Next, find the bow with no holes, and check placement on the back of the ghost card. Put glue on the reverse side of the bow, and press into place, lining the bottom edge of the bow up with the folding point of the card.
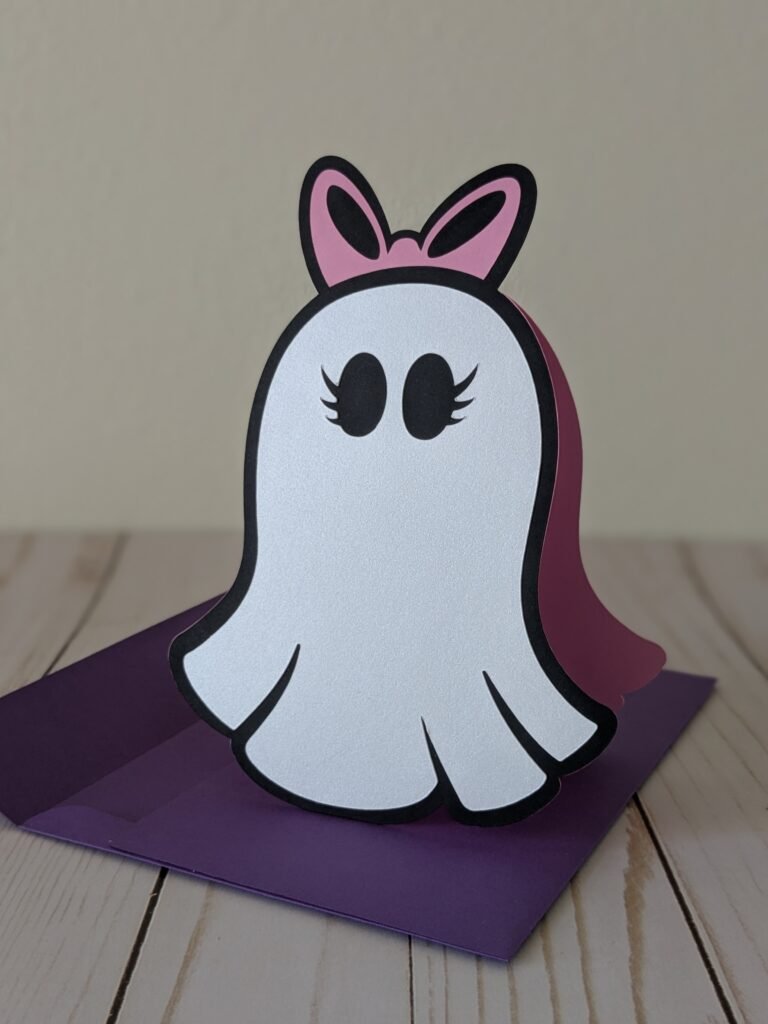
You can now stand your card up, and it will balance easily on the flat edge at the bottom. You’re done!
Leave a Reply