Materials Used
We used several products and supplies in the making of our SWEET letter sign party table decoration. Below is a list of what we used.
- SWEET Party and Food Buffet Decoration – Digital Download SVG
- Recollections cardstock
- Art Glitter Glue
- Recollections Girl Squad Paper Pack
- Royal Brites Foam Board
- Ink Pads
- Electric Cutting Machine: Cricut or Silhouette
***Note that this post contains affiliate links and we may receive compensation if you buy something using one of our links. ***

The letters for the word sign SWEET are pretty easy to assemble. They all follow a similar pattern and assembly structure. However, the S shape is a little more challenging to assemble so take your time. Because it is a little more challenging, we recommend leaving it for the last letter you assemble. This will allow you to get some practice in on the other letters first.
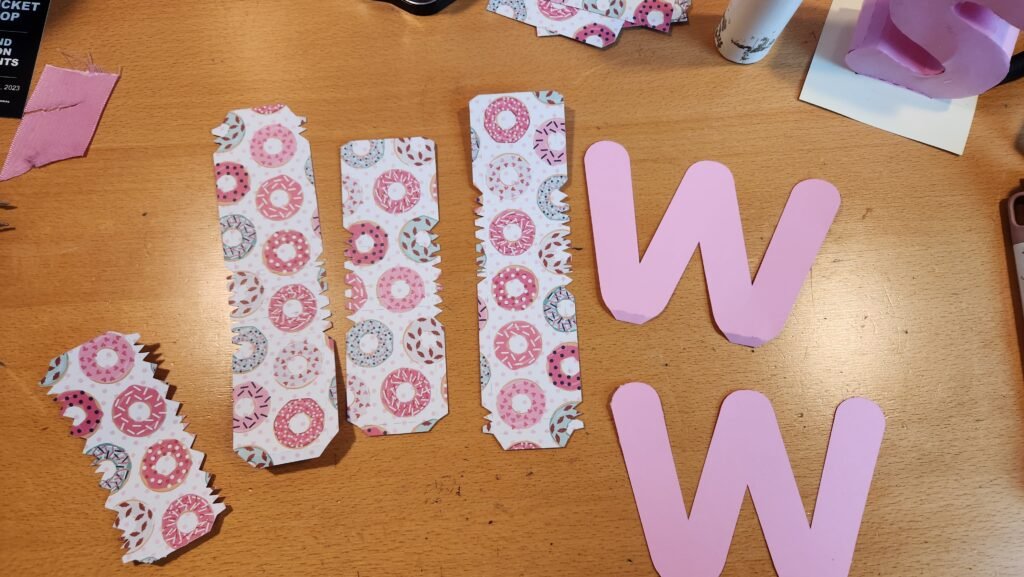
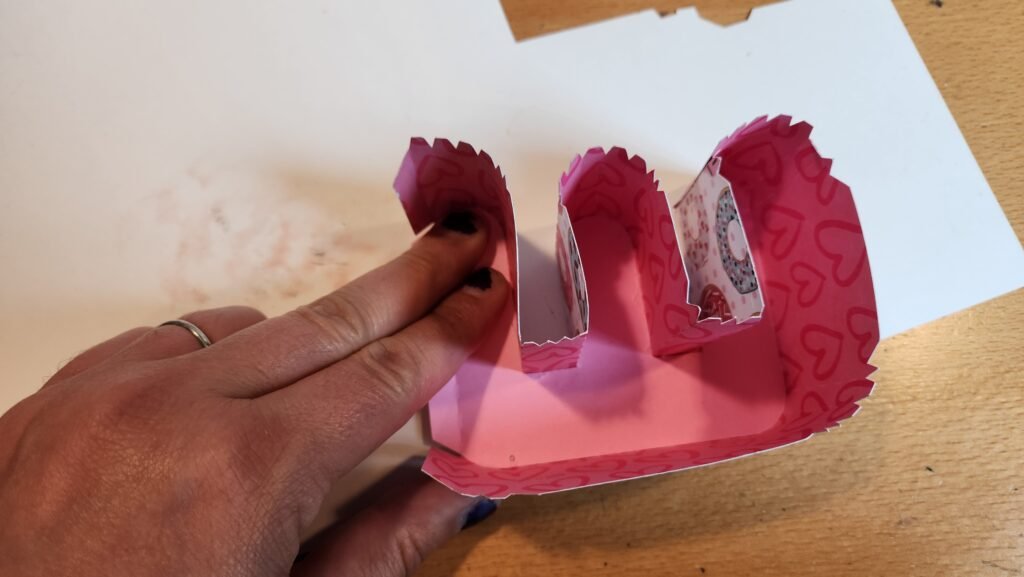
Letter: W
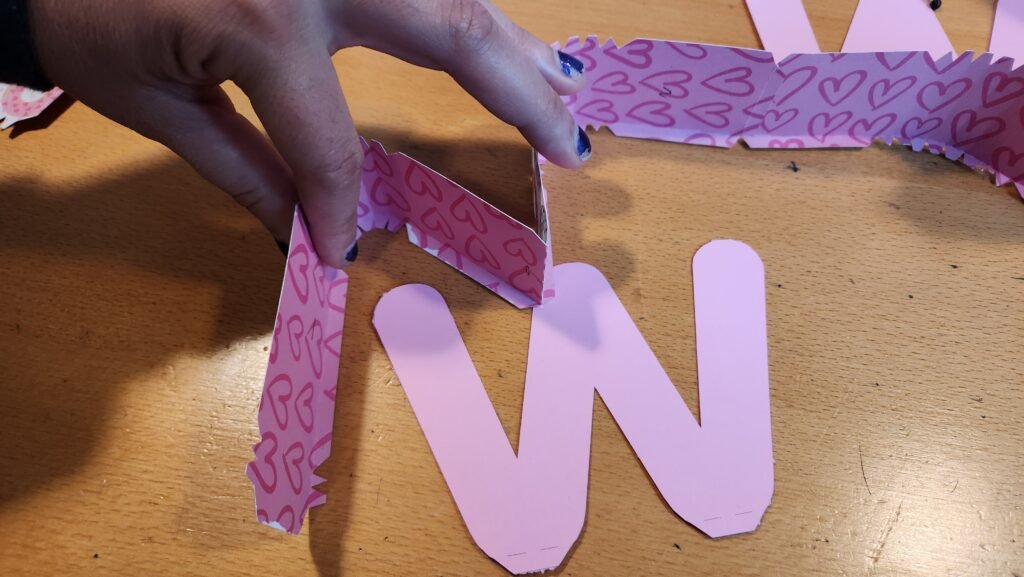
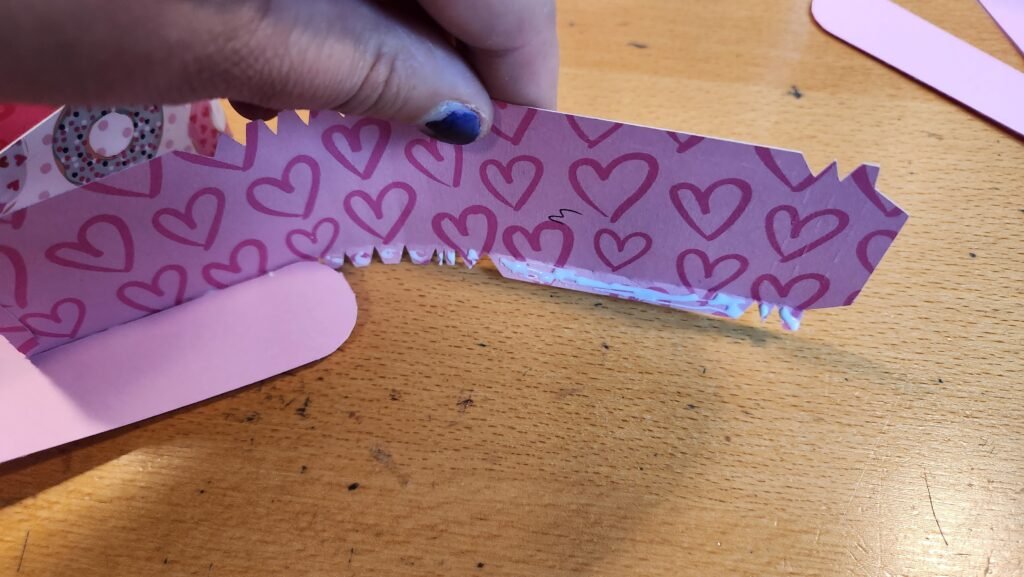
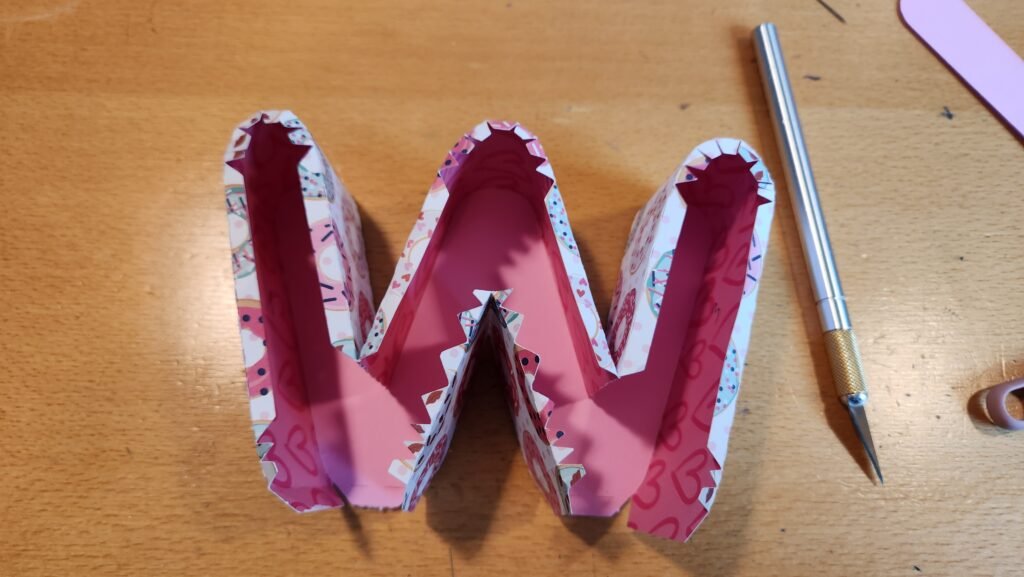
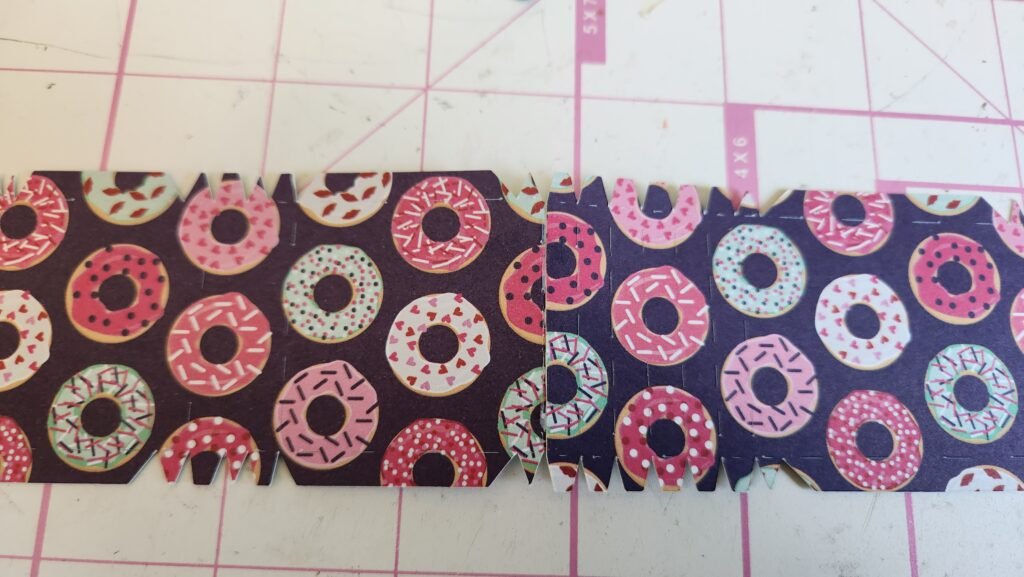
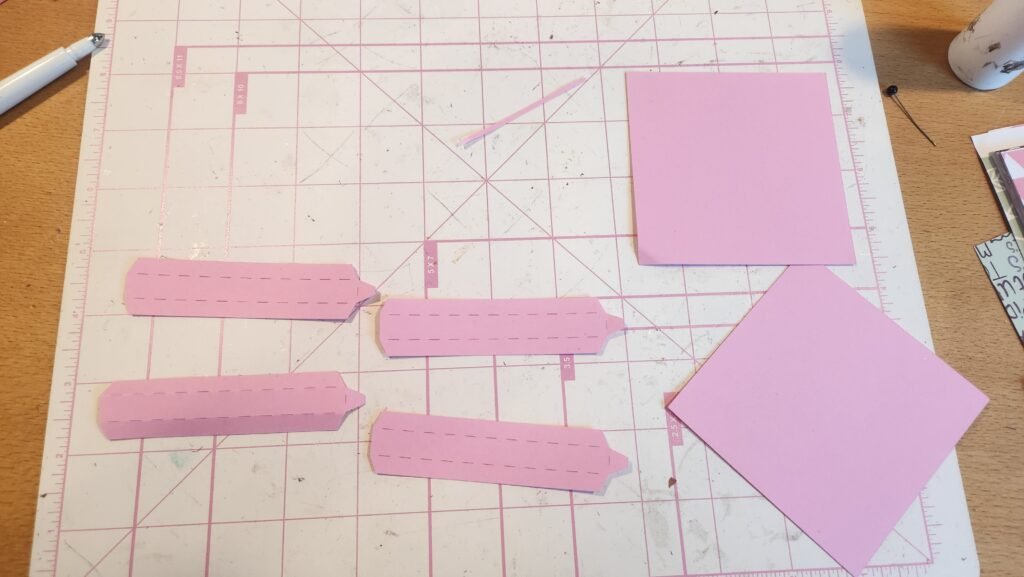
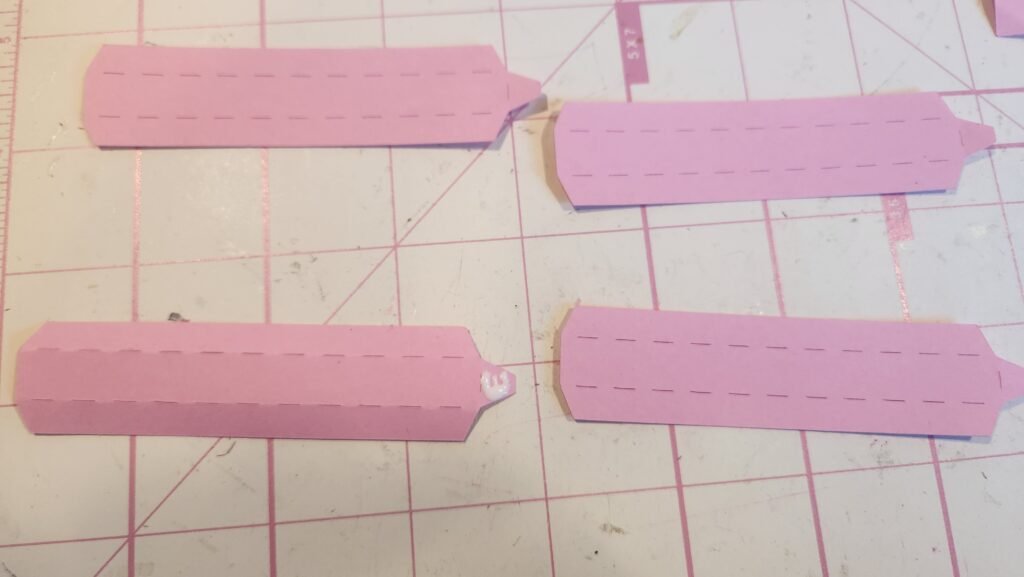
The W shape is made using four side panels and the two W shaped pieces. Below, you can see on the left is the shortest of the side panels. It is used to make the upside down V shape in the bottom of the W. The other three panels are attached end to end to go around the outer part of the W. The panels for around the outside alternate, long, shorter, long. The large tabs at the ends are used at the bottom of the W to attach it to the base later.
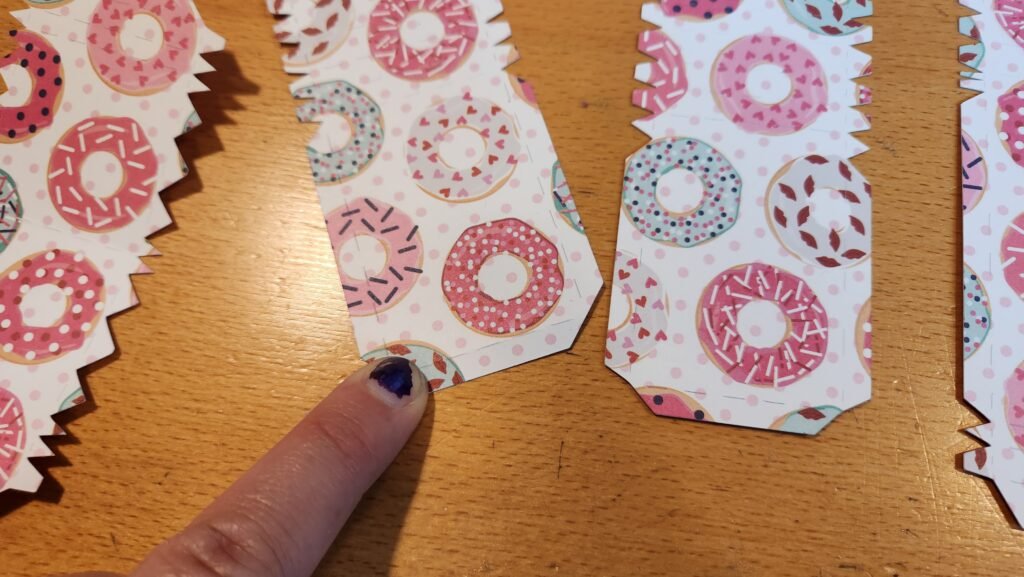
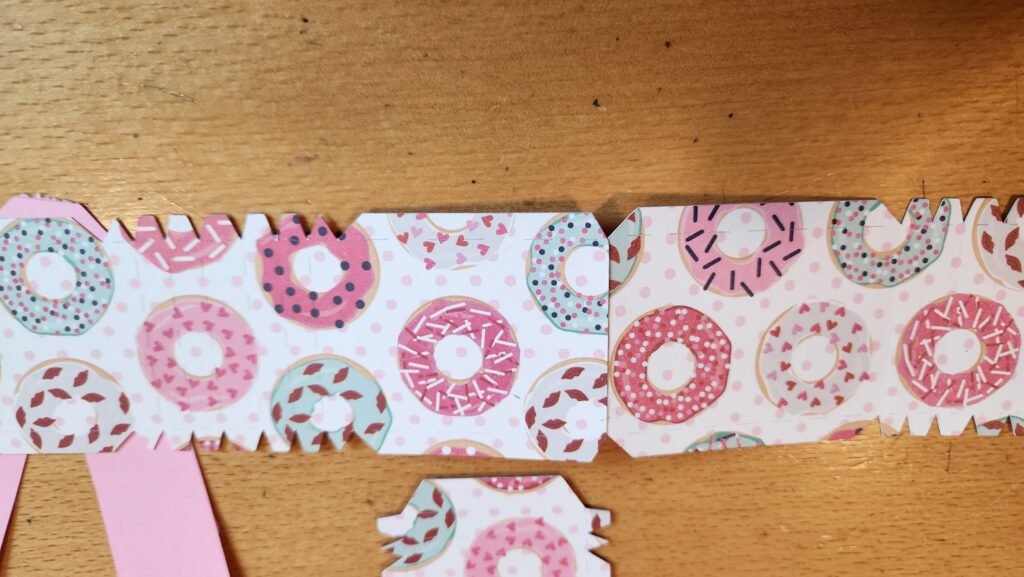
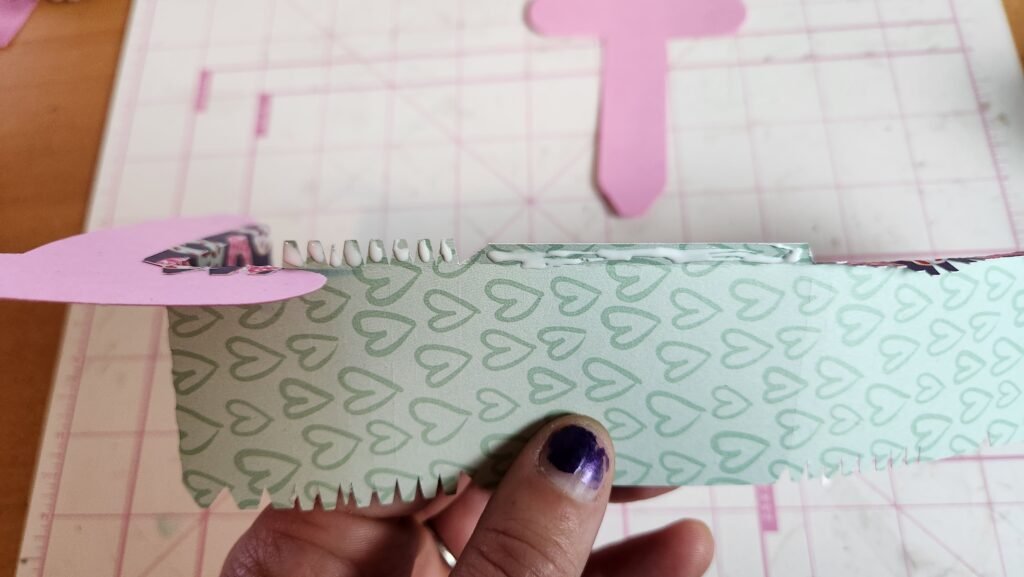
We chose start by to attaching the tabs end to end. The curved part of the W is easy to see on the side panels as this is where there are lots of little tabs together.
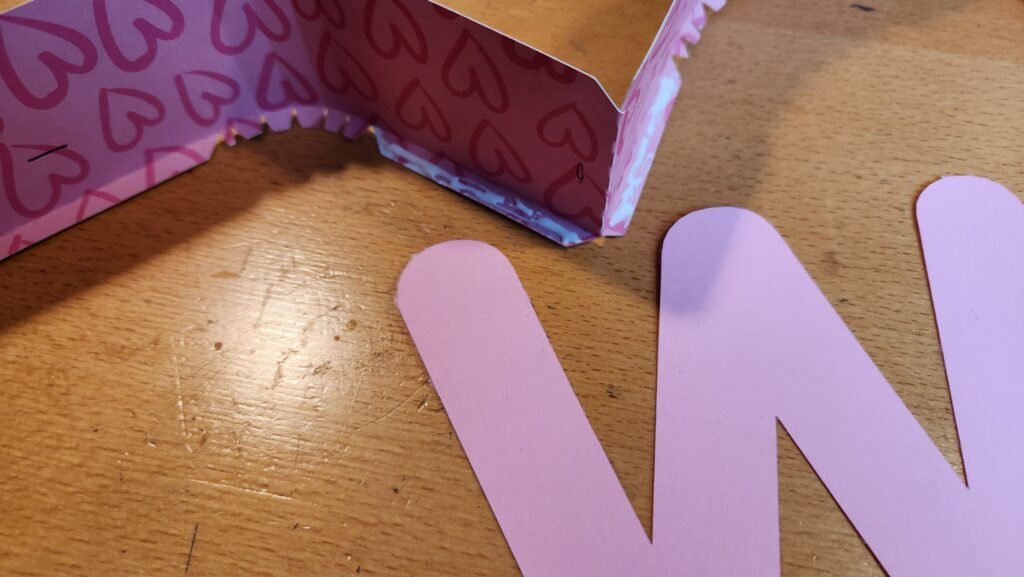
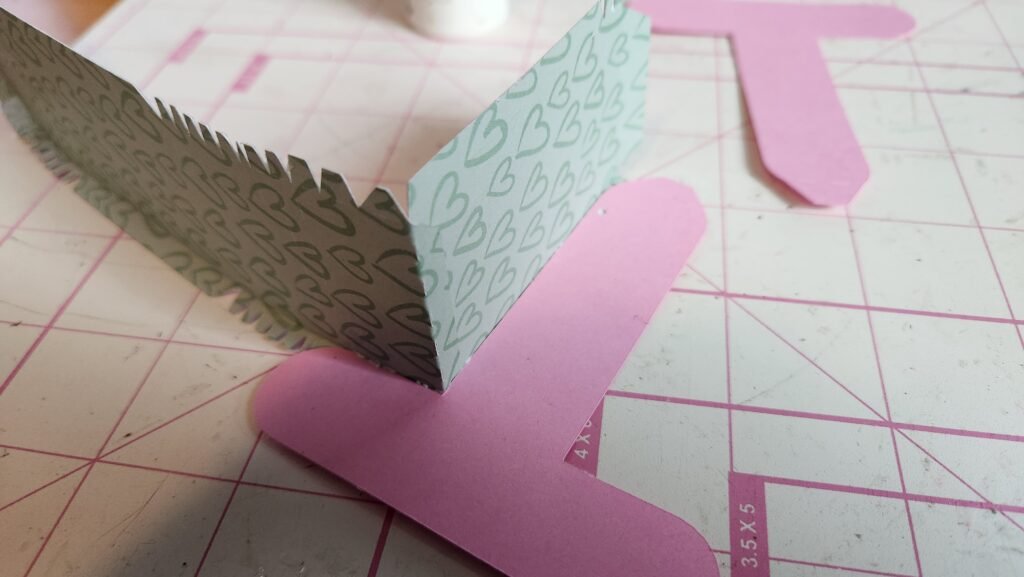
To start attaching the panels to the W, we found it easiest to use the tight corner in the W. Add glue to the tabs that go on either side, slid the folded panel into the corner of the W. Press the tabs into place on the W shape.
We then added glue to more tabs and attached them to the W until all were secured.
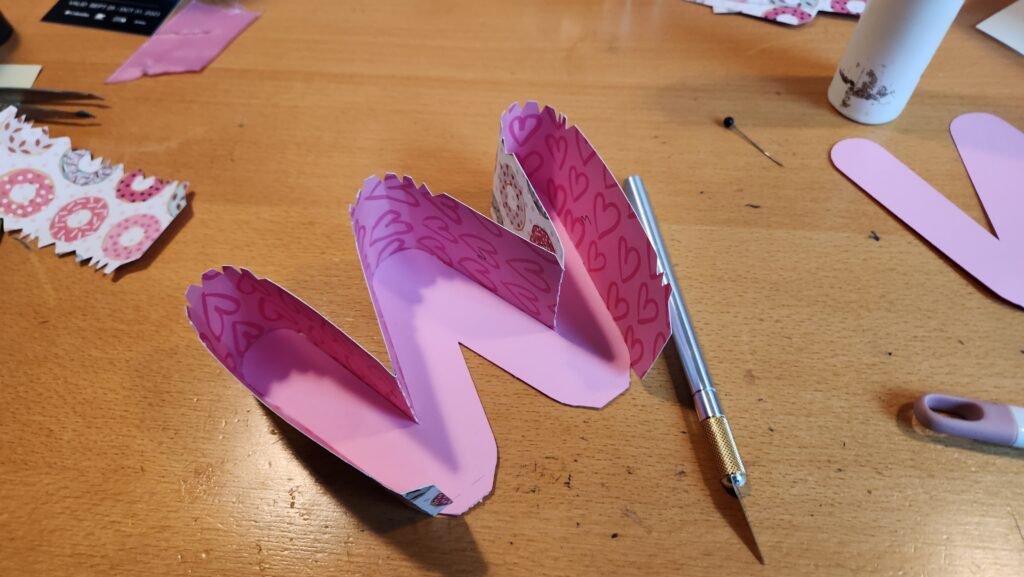
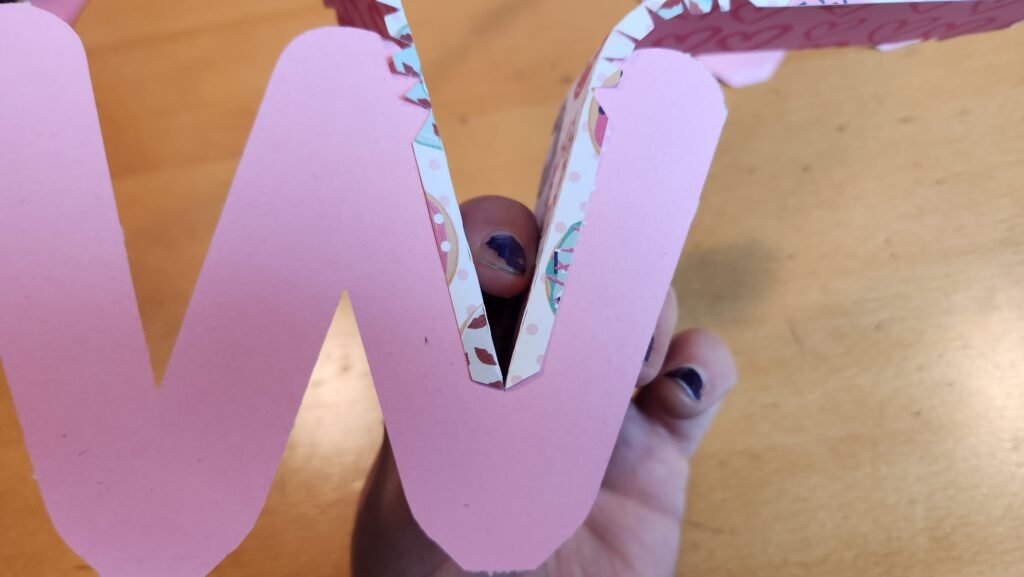
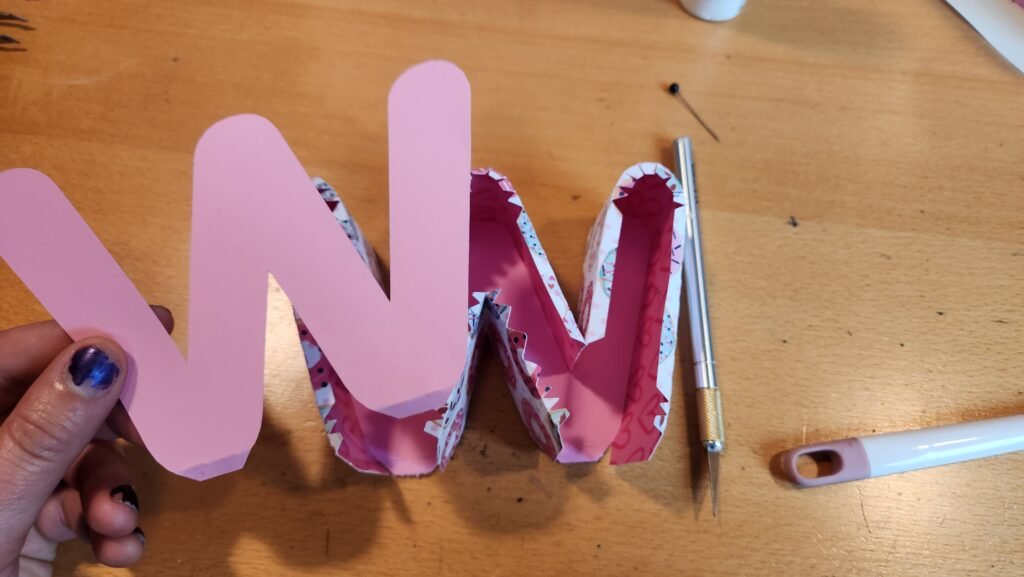
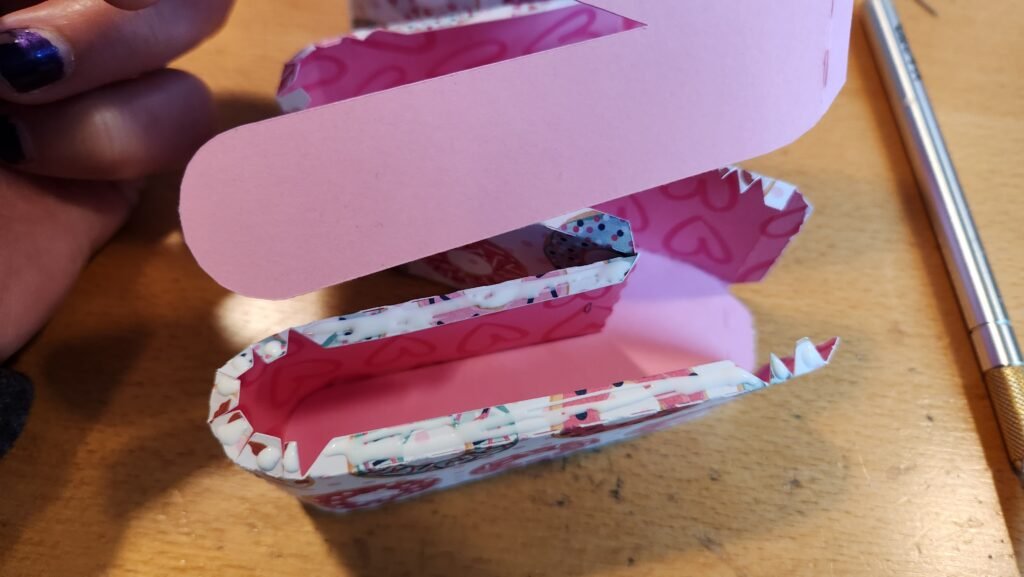
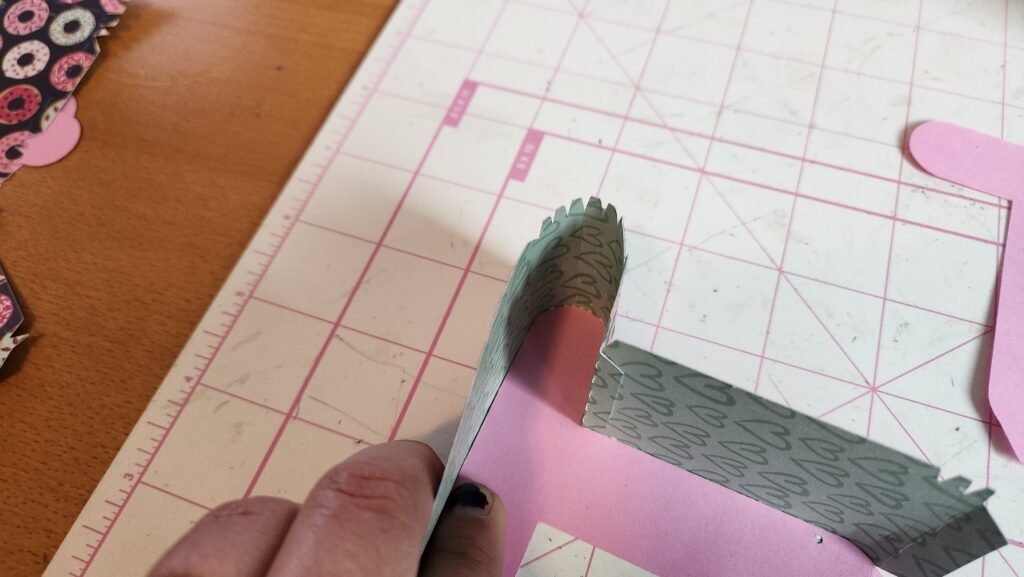
Next we took the short panel and folded it in the center. Fold the tabs so that you can add glue and slide it into the bottom of the W.

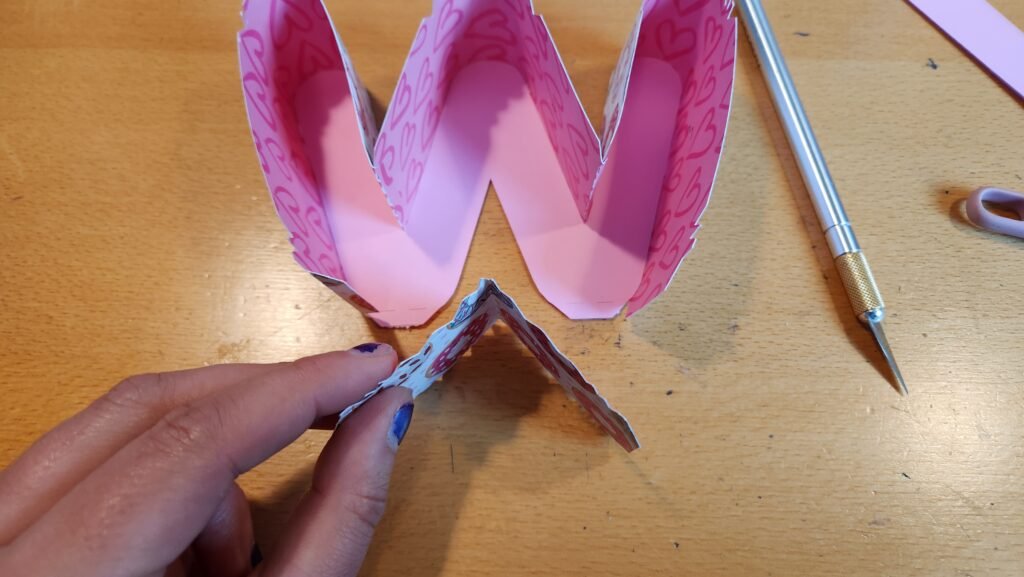
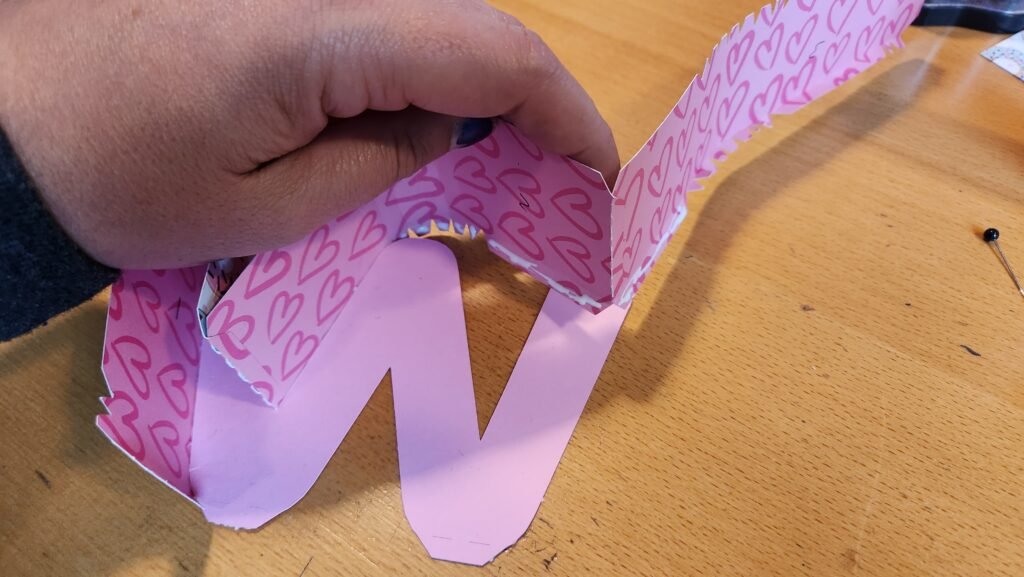
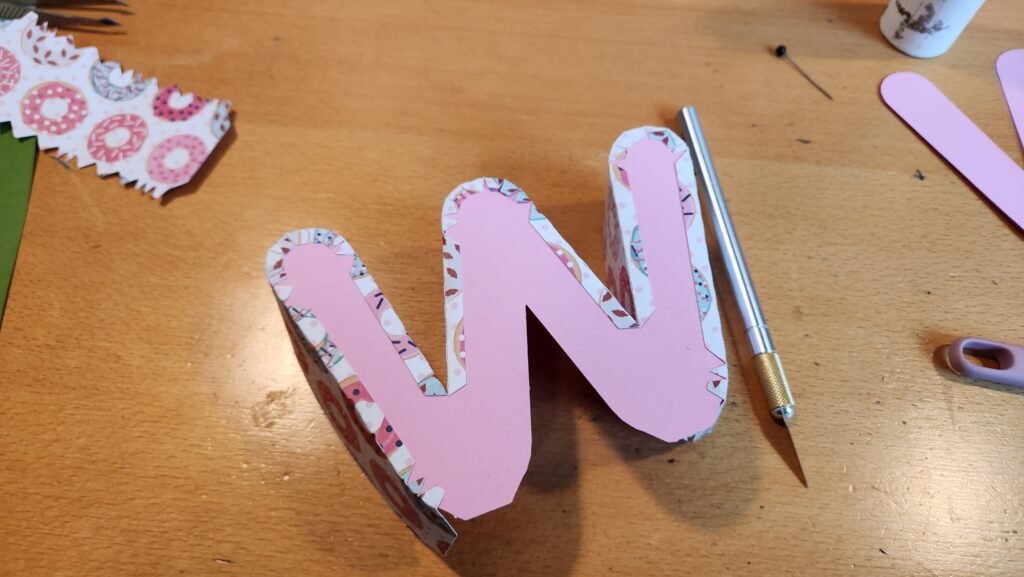
Finally, we folded all the tabs on the side in and added glue to one long tab. We used this to align the other W shape and attach to the side panels. Once done, we worked our way around the rest of the W shape until the entire panel was secured.
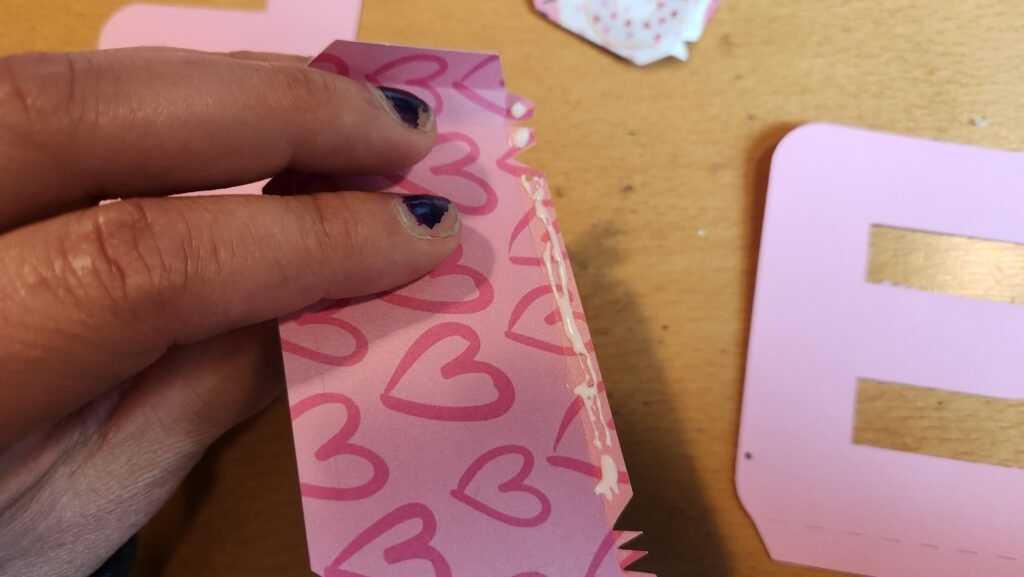
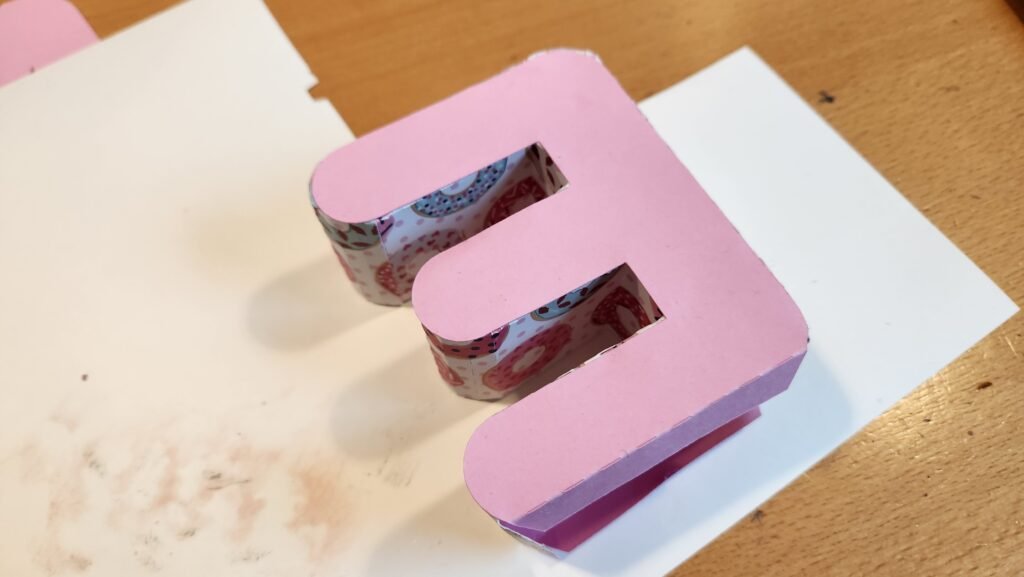
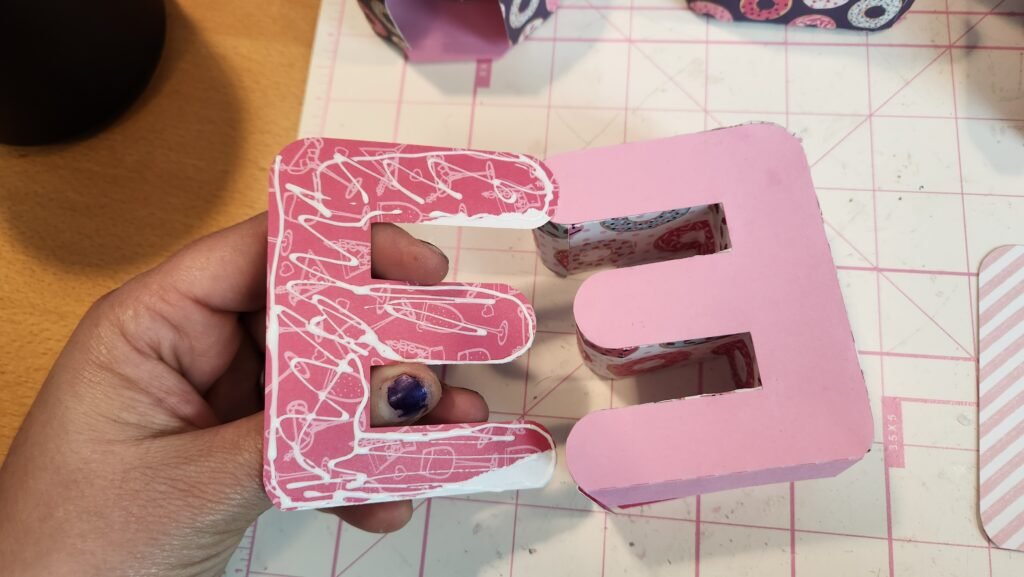
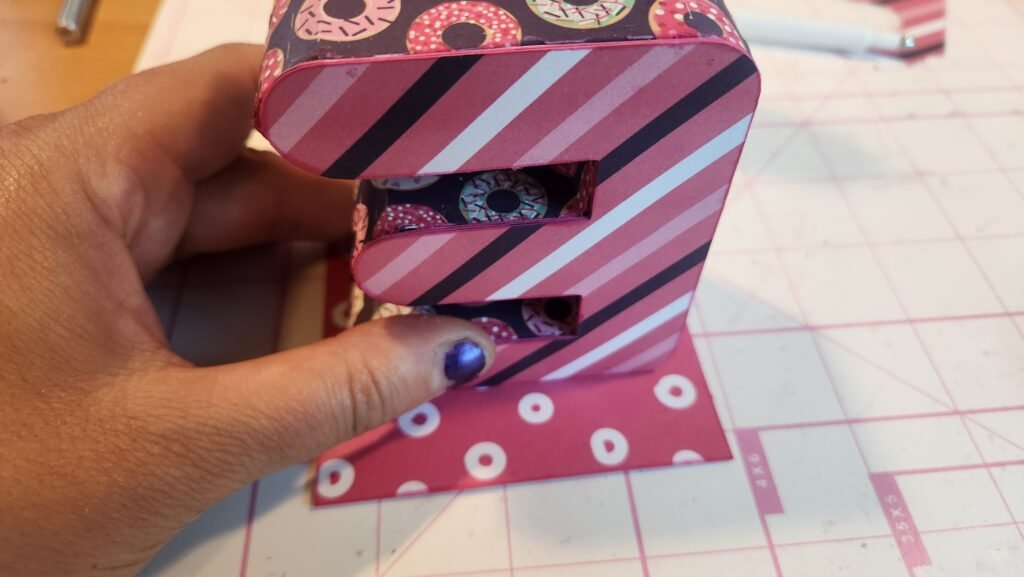
Letter: E
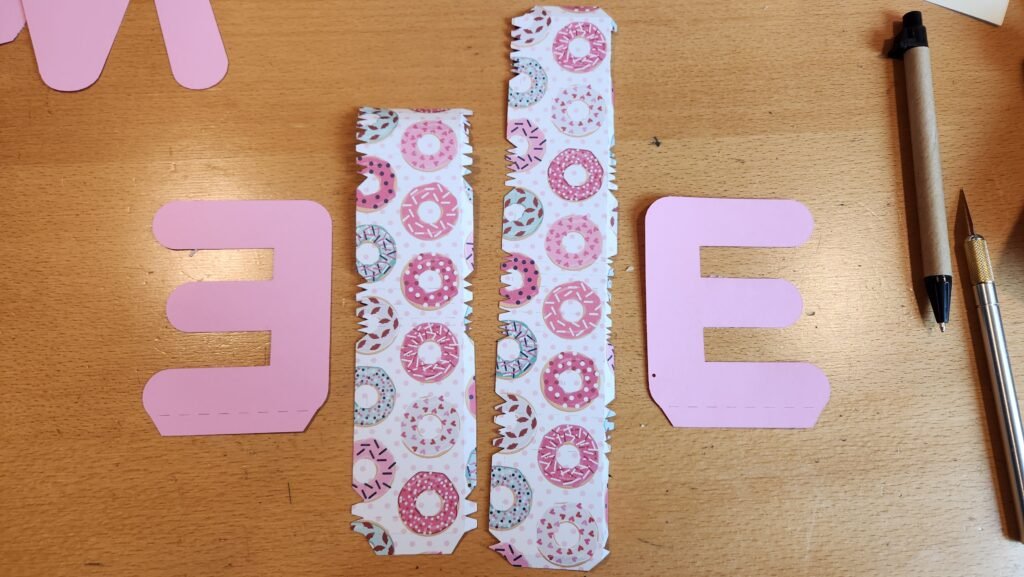
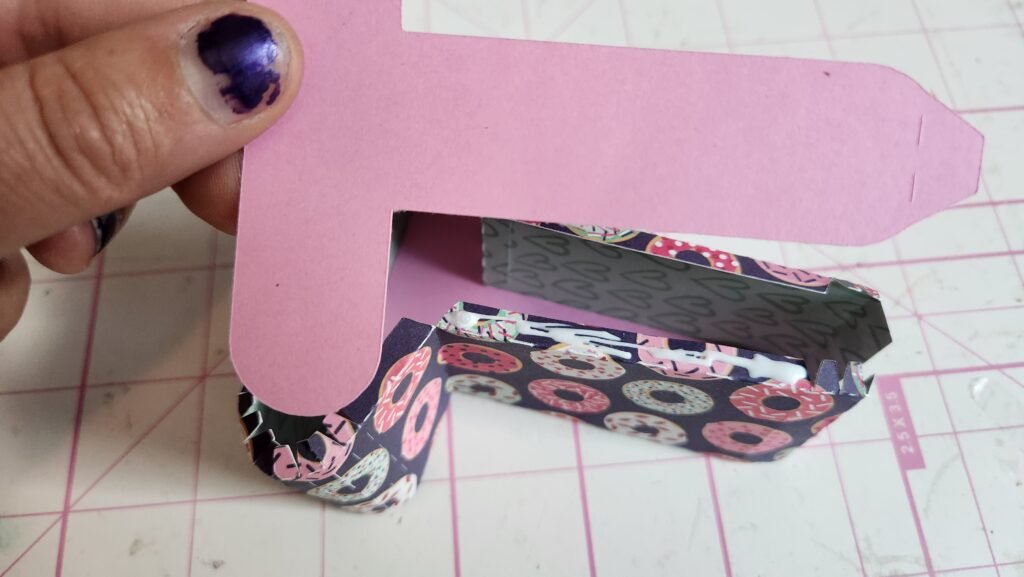
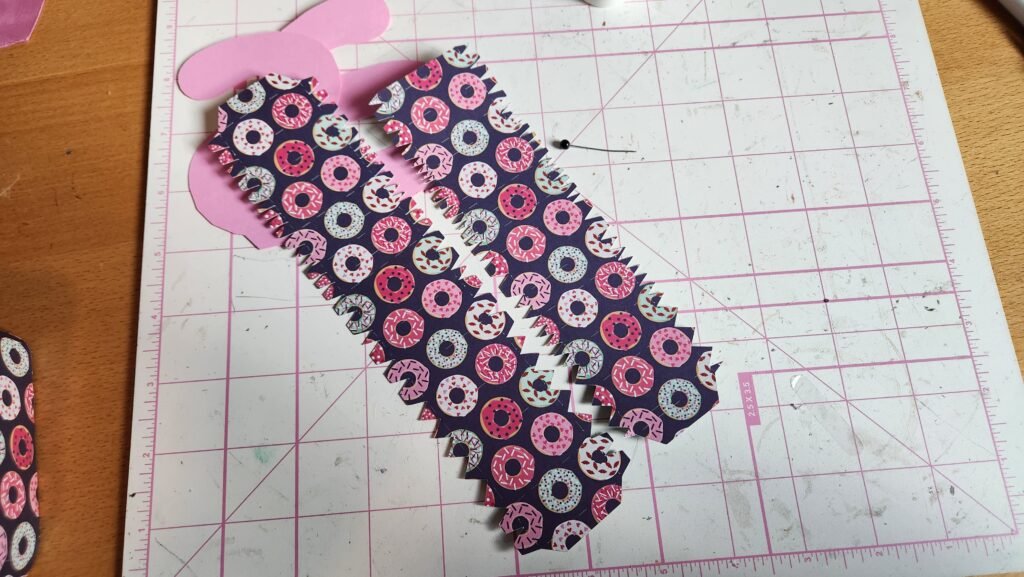
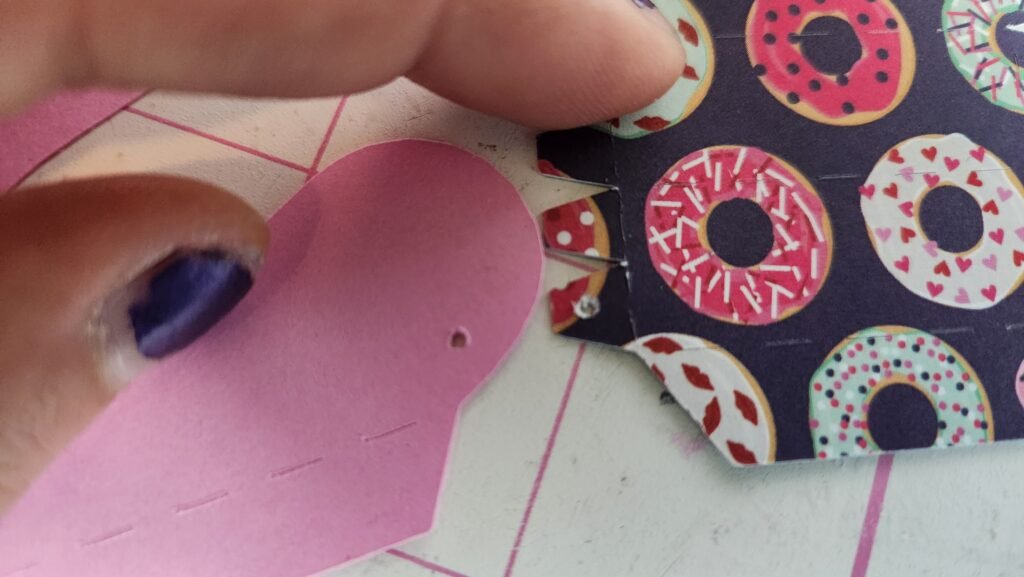
The E is made using two E shaped panels and two long panels that will be attached end to end. To start, you’ll note that there is a small circle cut out of one of the E’s. Match this up with the circle on one of the tabs of the side panels. This will make sure you have the panels in the right orientation, allowing them to fold and bend with the letter’s shape. You’ll also notice that one of the side panels has tabs on either end. One is smaller and the other larger. The larger one will be used to attach to the letter’s base, the smaller is used to attach to the other long panel.
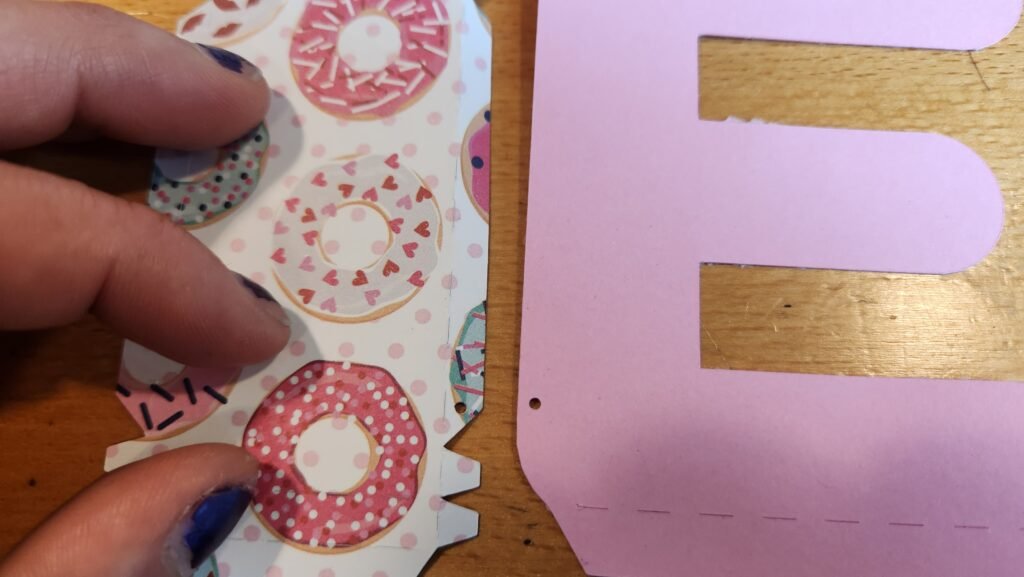
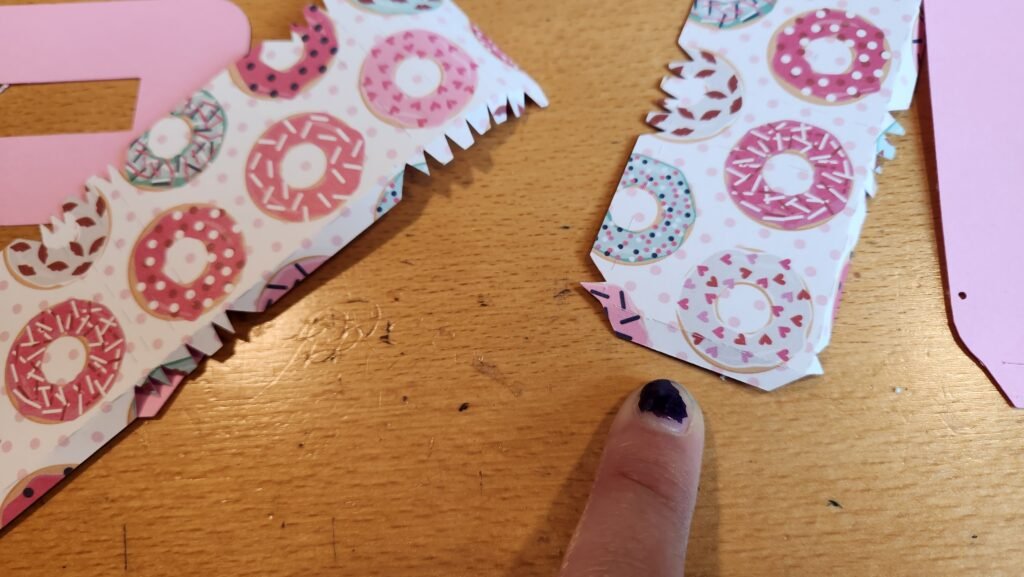
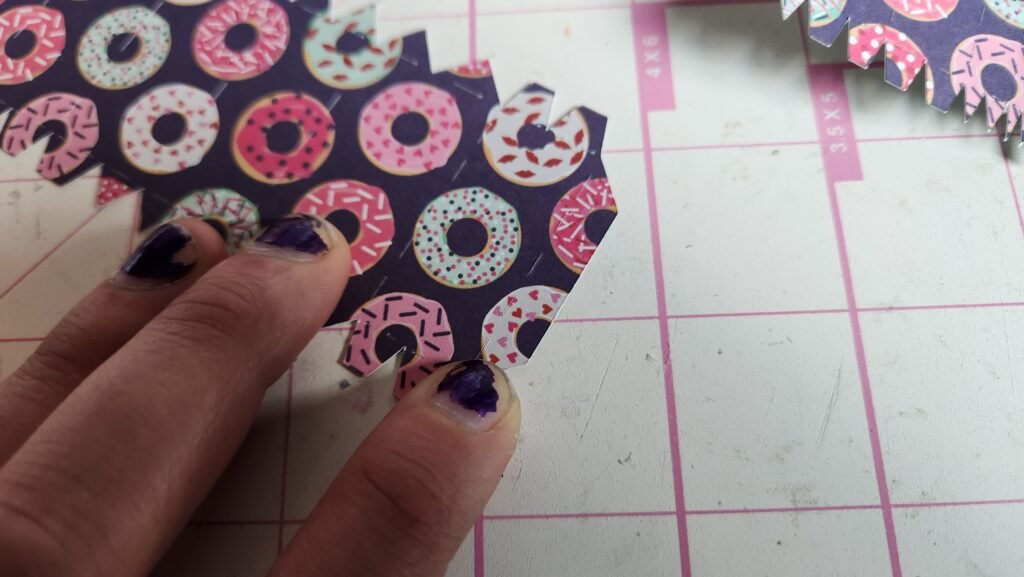
To start the assembly, we used the circles on the E and the panel as the starting end. Fold in the tabs and add glue to a couple of them. Make sure that the panel was lined up with the bottom of the E and attached the tabs, working our way around. We kept adding glue to tabs and securing as we continued around the shape. Once we had one panel attached, we added the second panel end to end using the small tab to glue them together, then continued attaching the tabbed panel to the E shape.
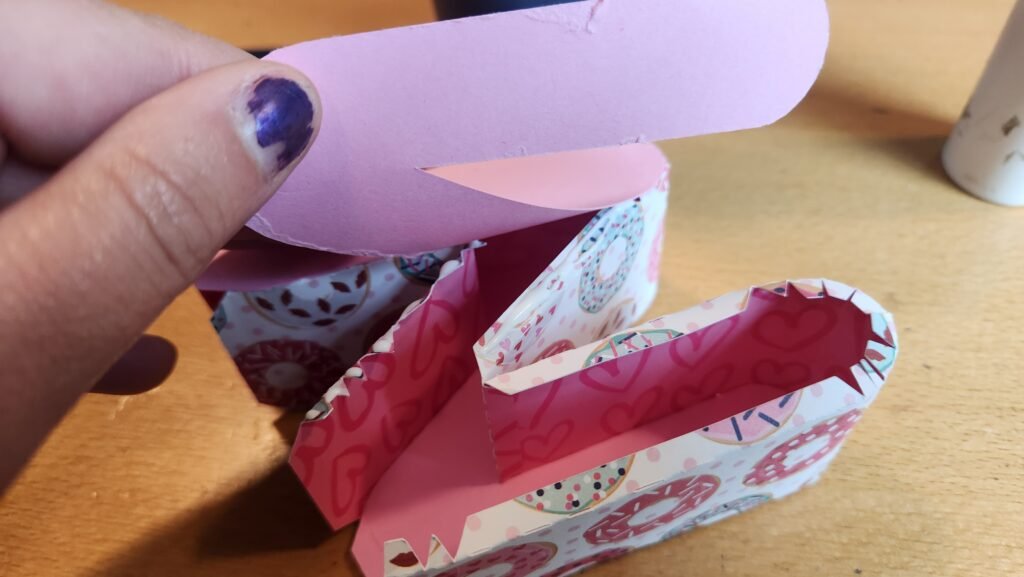
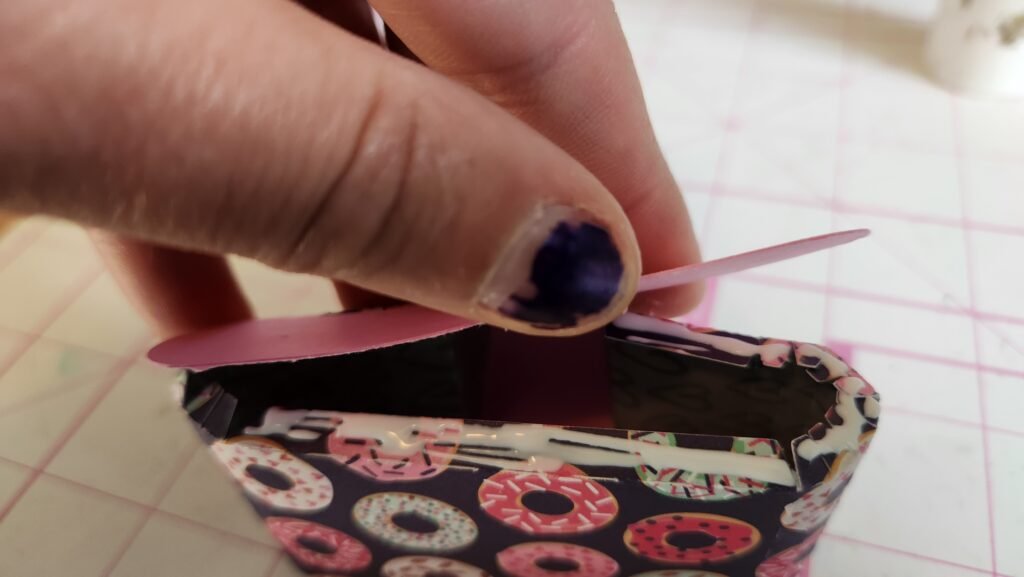
Once the first E shape was secured in place, we folded in all the tabs outlining the E and added glue to the long tab at the back of the E. We secured the other E shape to this tab using the edges of the straight edge as a guide to make sure the E was properly centered on the tab. We then added glue to a section at a time and pressed the E in place. Using our fingers we made sure the sides came up square to the E panel and used a craft knife or other tool to pull the back into position if needed.
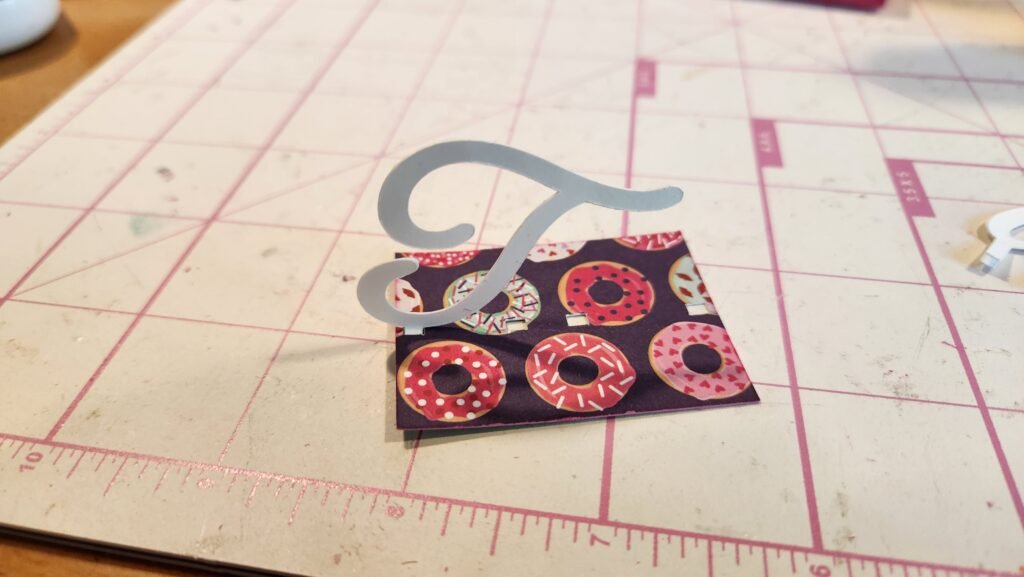
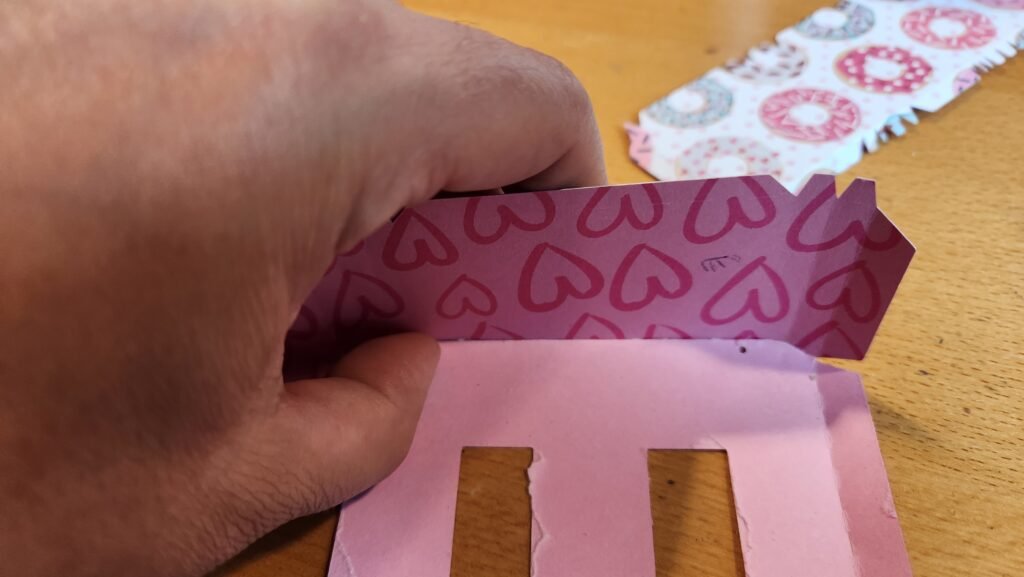
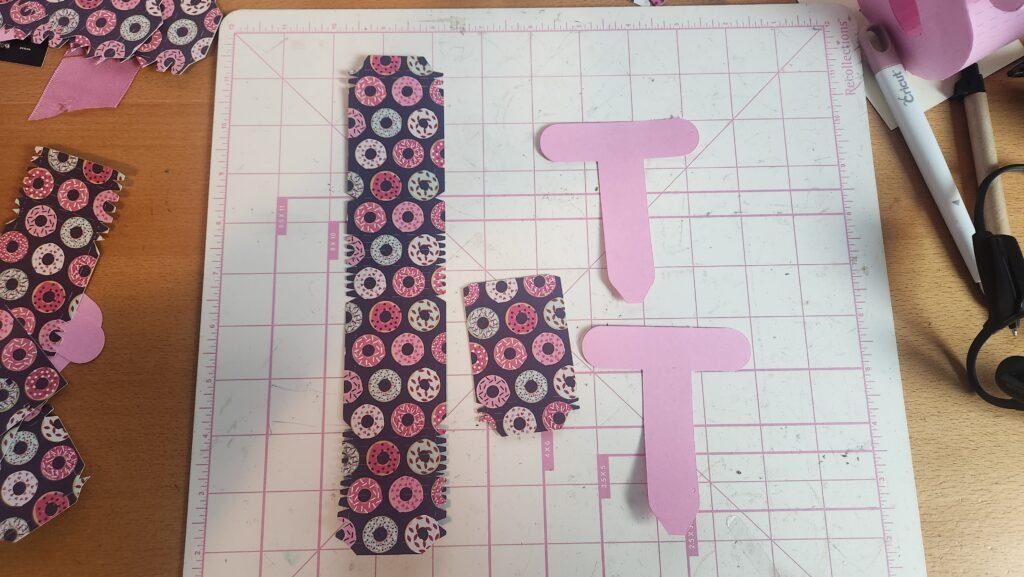
Letter: T
The T is made using the two T panels and two side panels. We started by attaching the panels end to end (keeping the larger tabbed end for the bottom of the T).
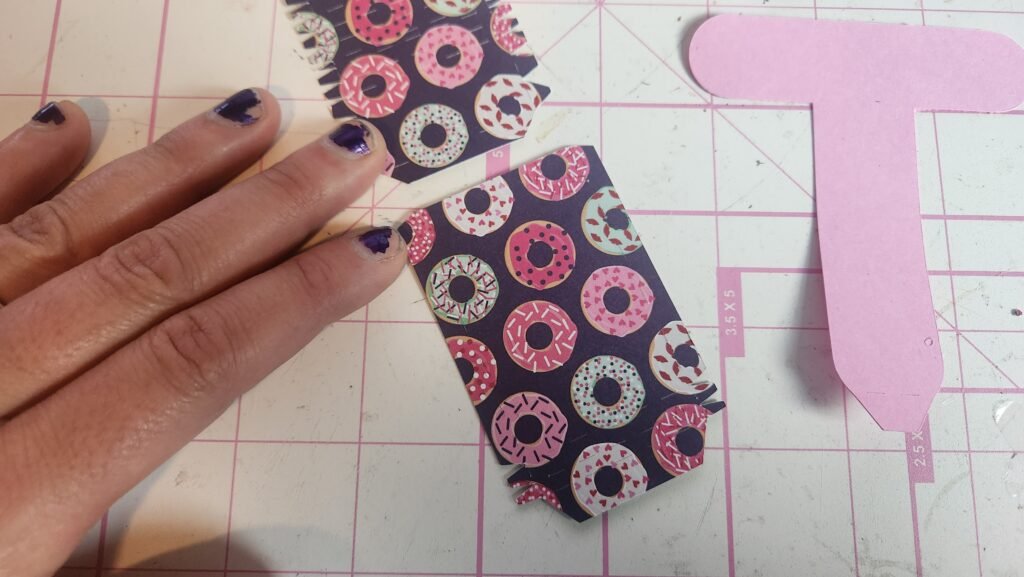
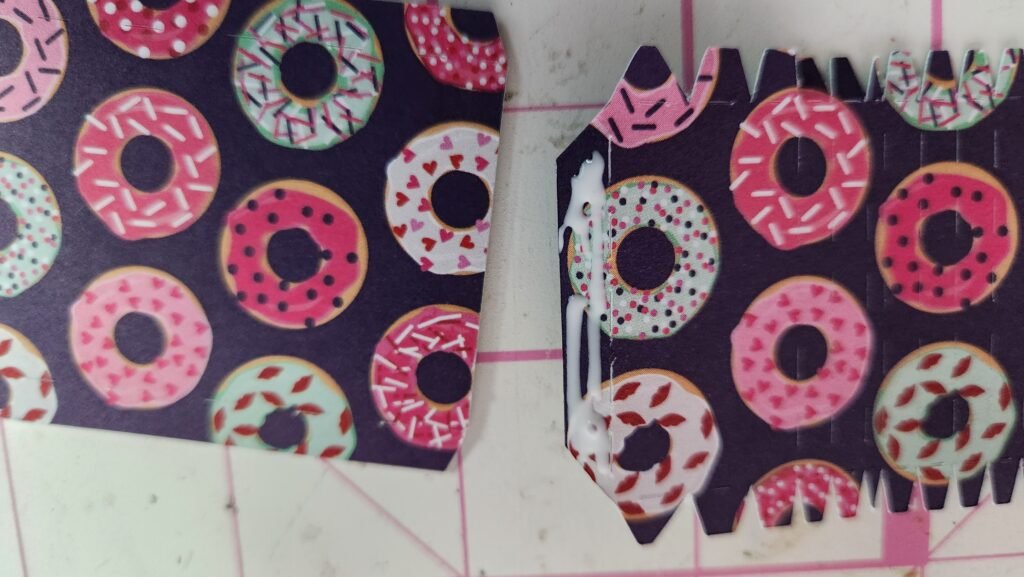
With this secure, we folded the tabs in and attached to the T, sing one of the square corners under the cross of the T to help make sure that panel was secured correctly. Once this was in place, we worked our way around the T until all the tabs were in place.
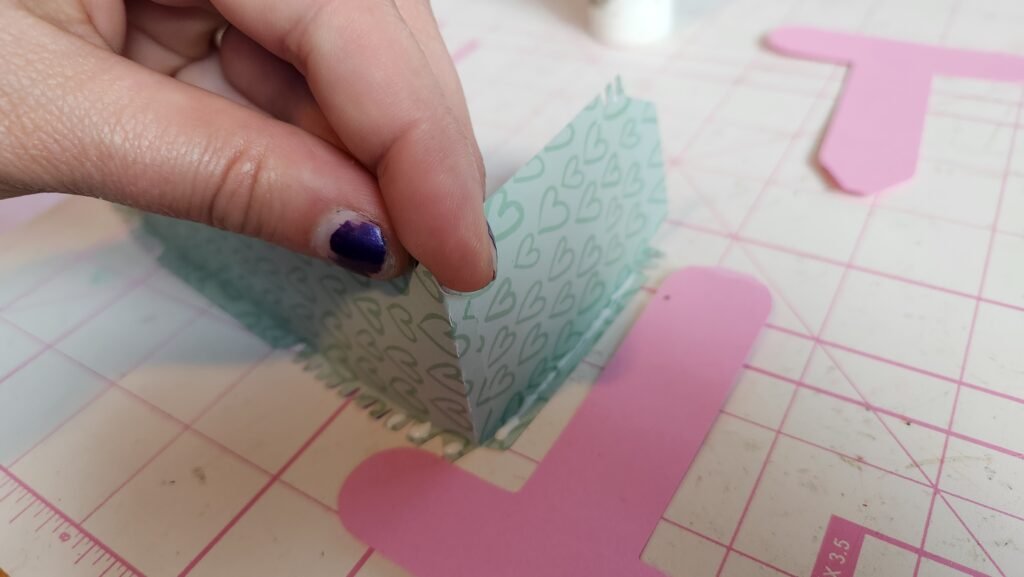
To close off the T shape, we repeated the process as before, starting with one of the larger tabs then working our way around piece by piece until the whole T panel was in place.

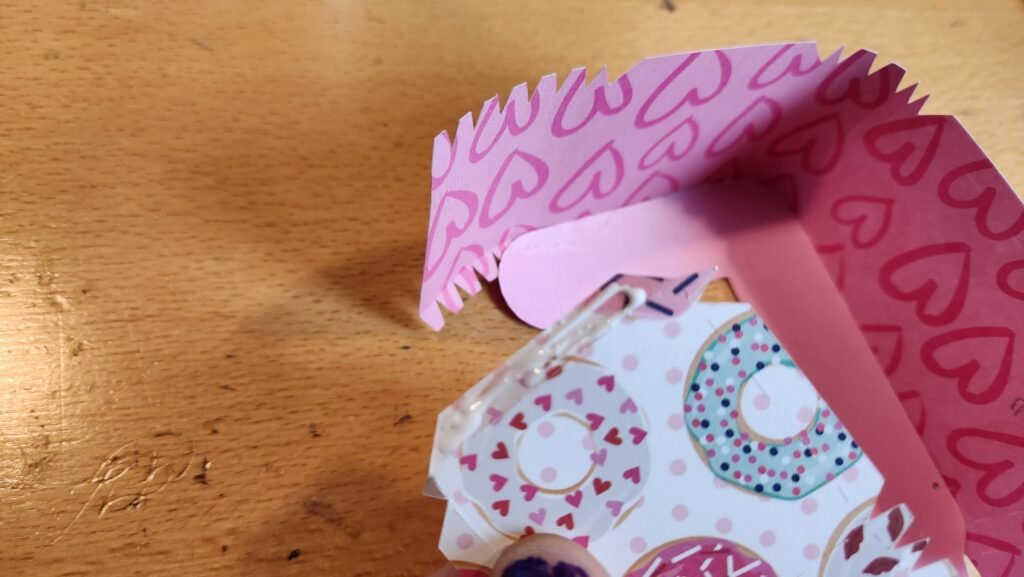
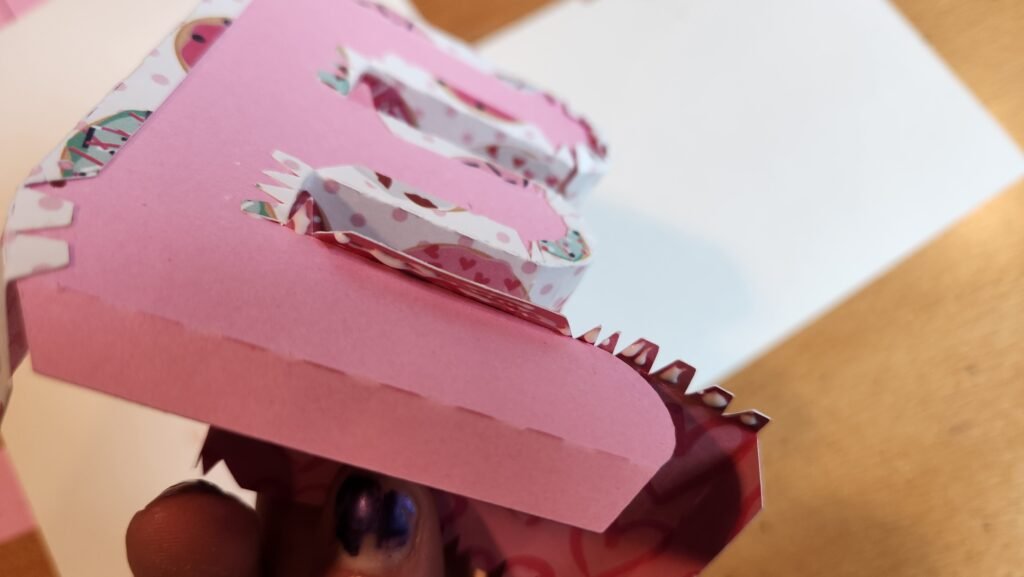
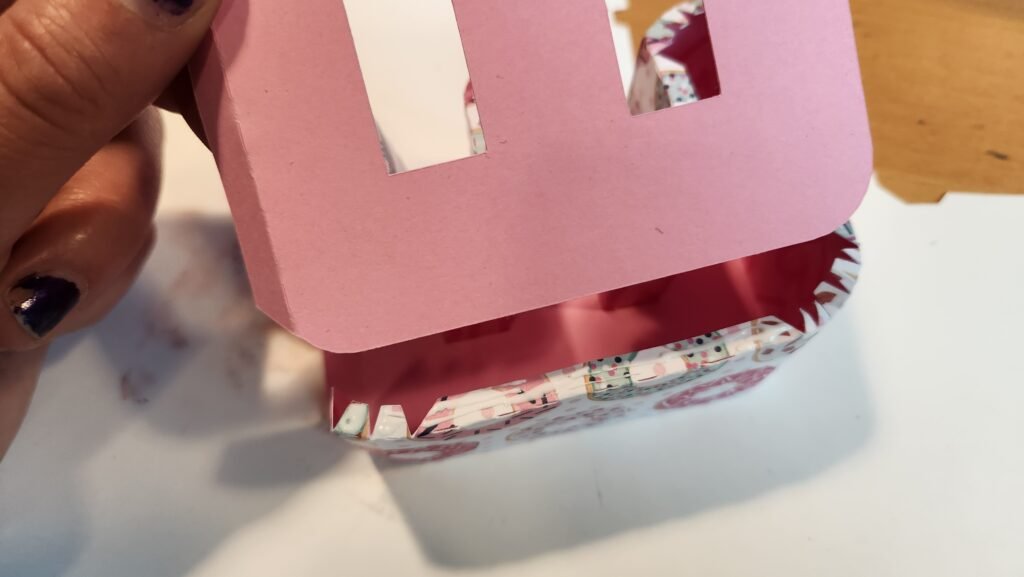
Letter: S
The S is a little tricky just because it does curve around. There is a little circle in both the S and the side panel that will help you match them up correctly. The S has two side panels attached end to end. Use the small tab to attach them, leaving the larger ones to use later.
Matching up the little circle in the tab and the circle on the S, start attaching the side panel to the S shape a little at a time until you have worked your way around the S shape.
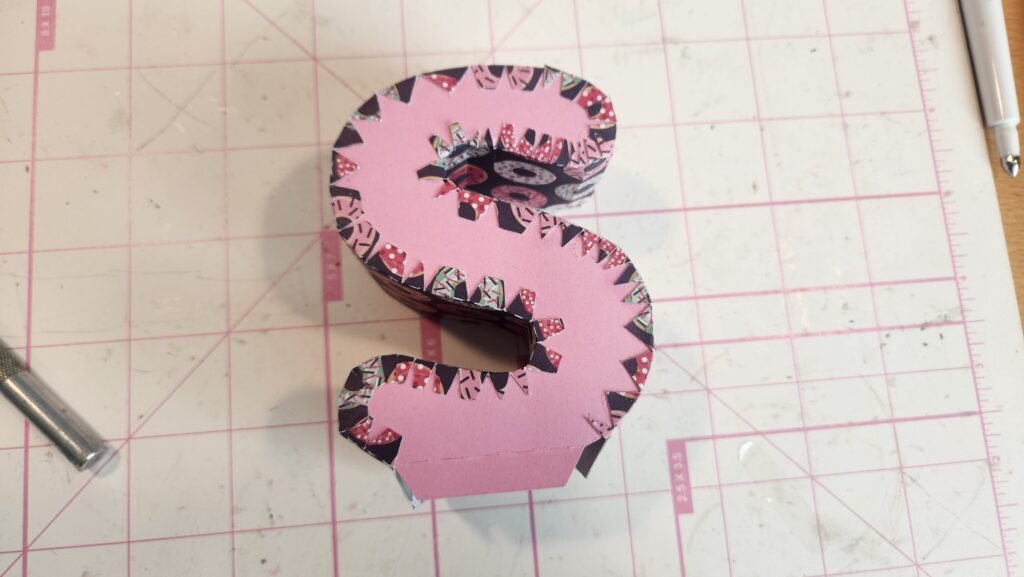
Once you have the S shape done, you can work on adding the S panel to the other side. We recommend starting at the top of the S where the final curve is and working your way down. This will allow you the most access to the inside of the S should you need it. We also used a craft knife to move the tabs back into place if the panel folded or bent inward while working.
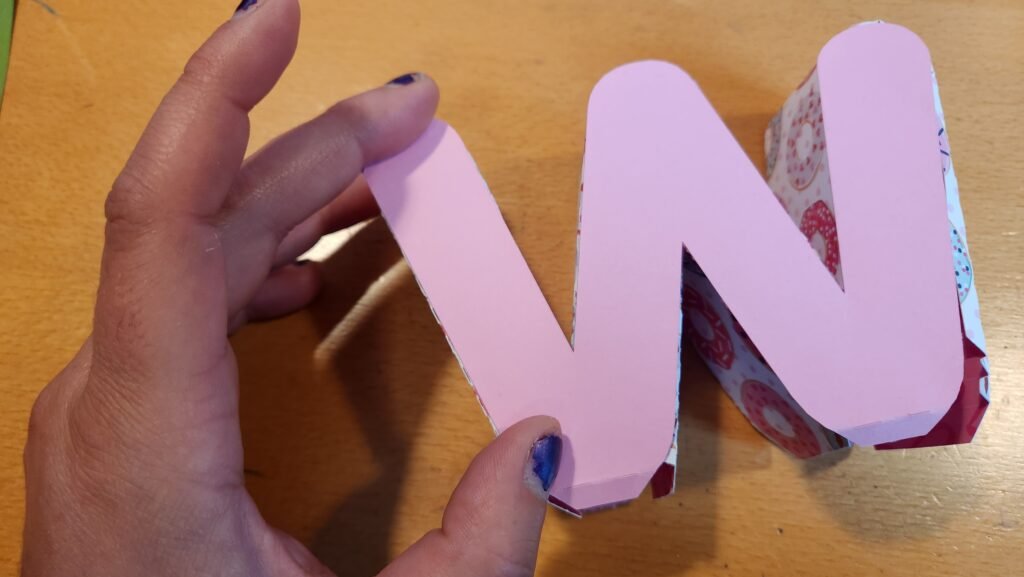
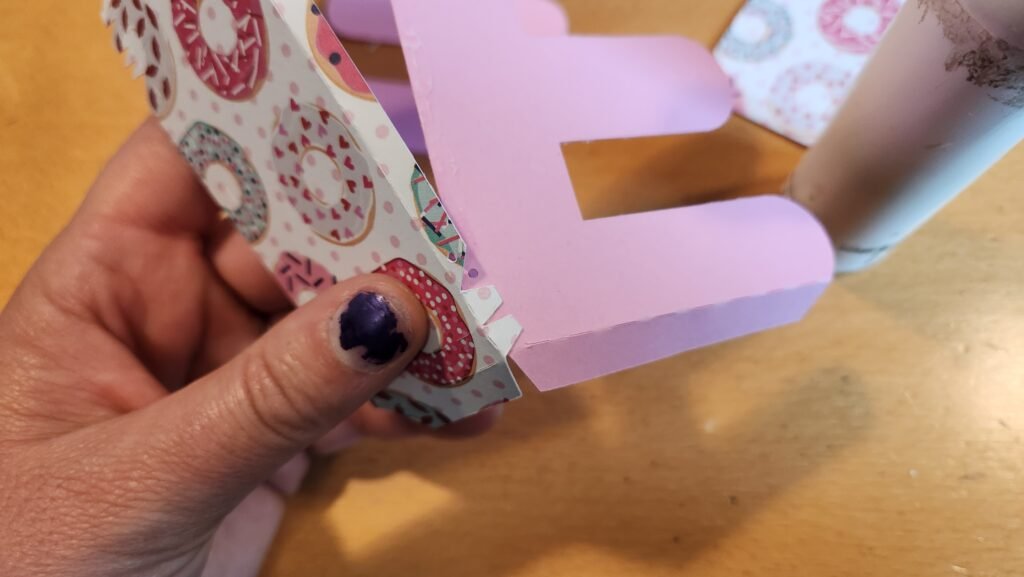
Adding Decorative Panels
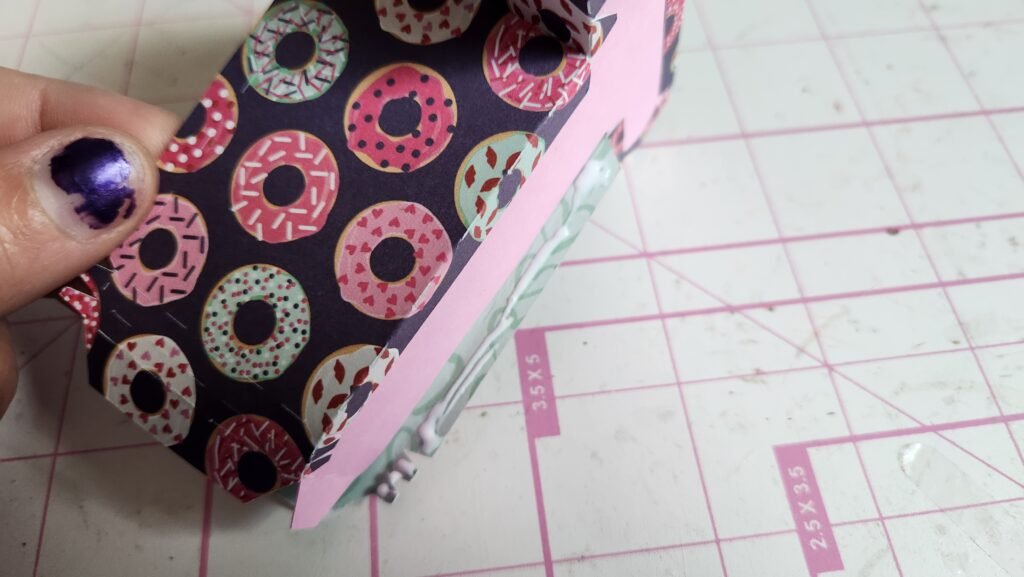
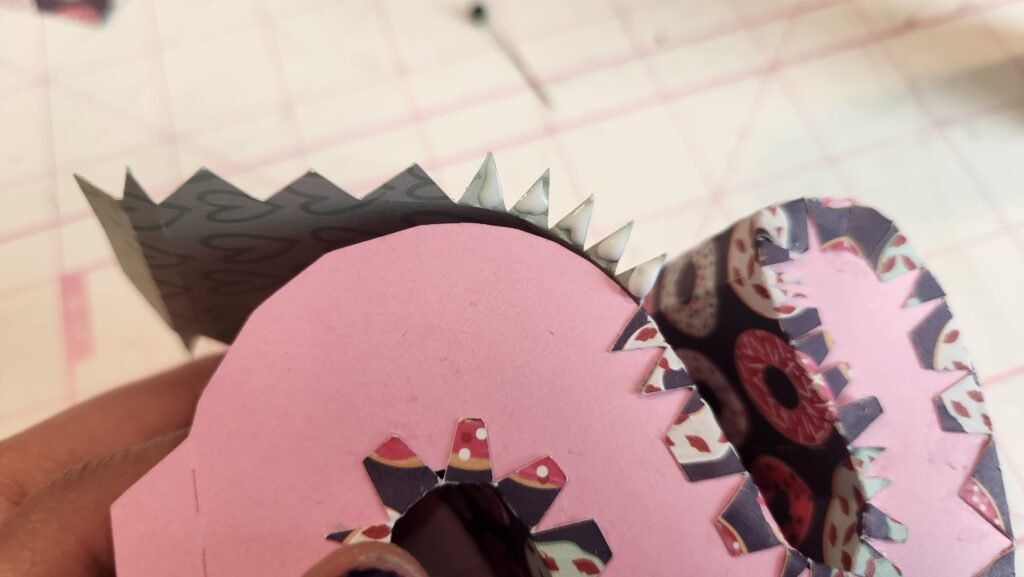
Our final step with the letters was to add the decorative panels to them, both front and back. We chose to line up our letters and have the decorative panels alternate.

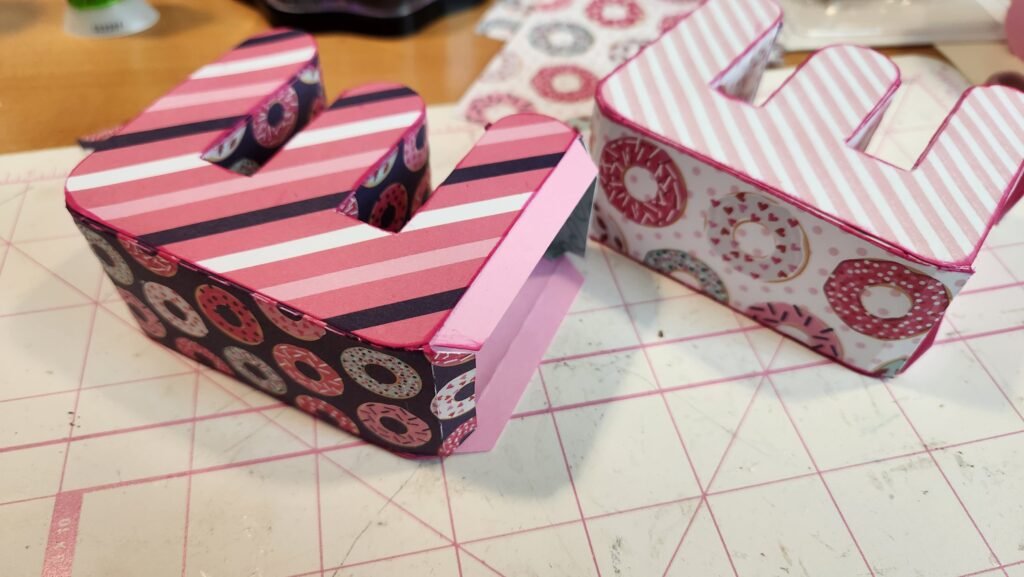
With the letter assembly complete, we set them aside to assemble the base.
Base Assembly
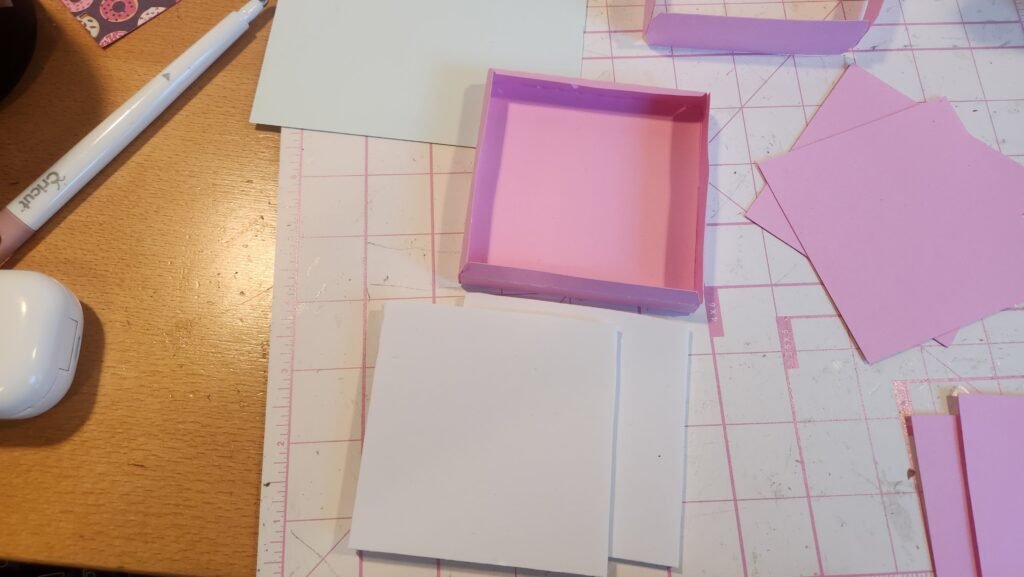
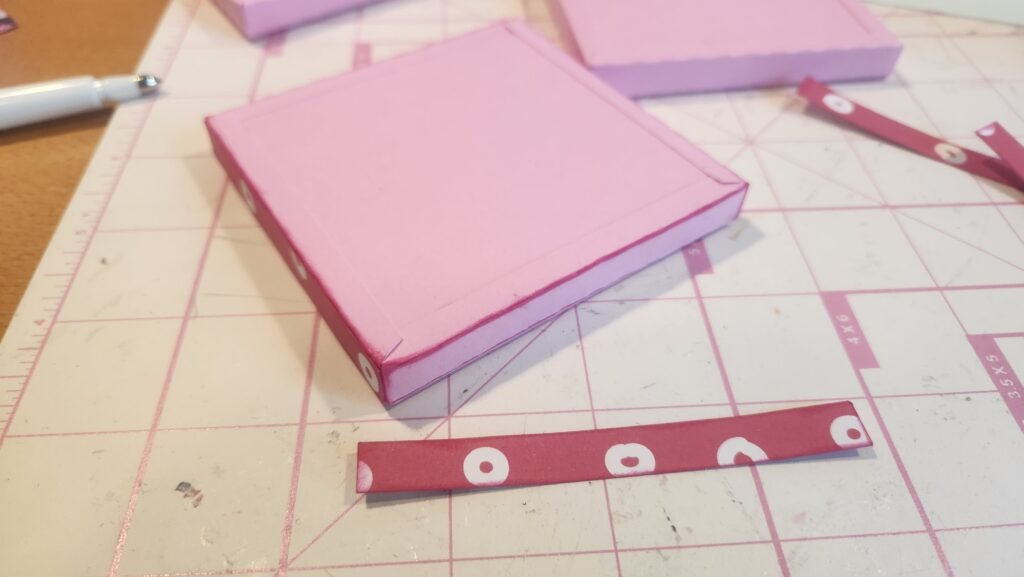
The bases go together the same way. There are four identical bases and one slightly wider base for the W. To assemble these, you have four side panels that you will attach end to end to make a square (or alternating long/short to make a rectangle for the W base).
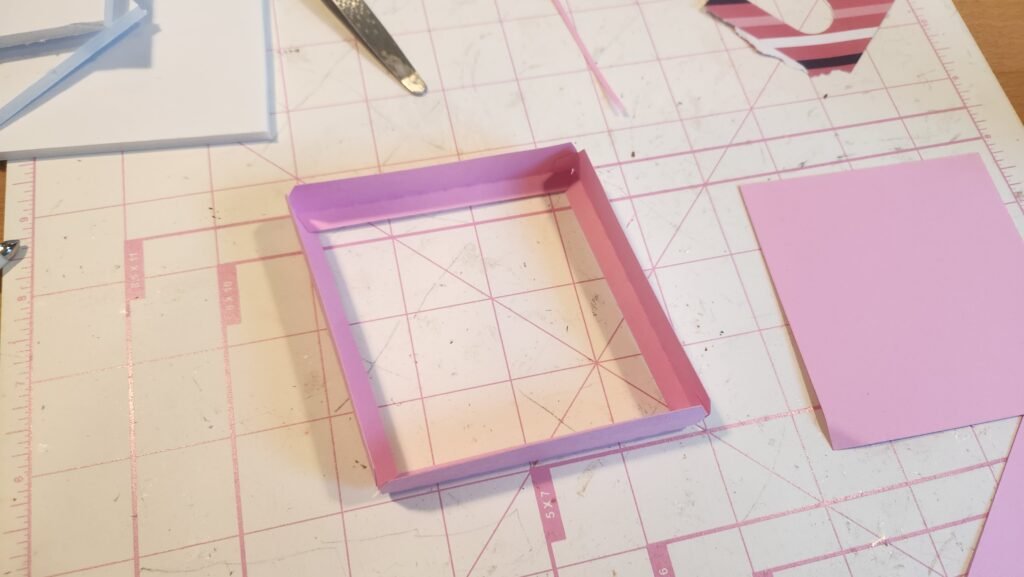
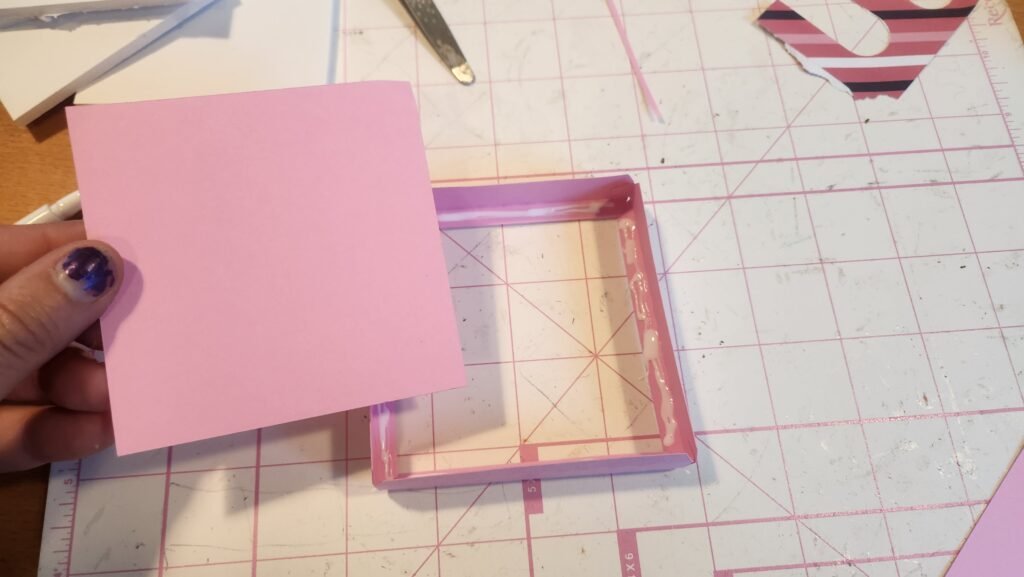
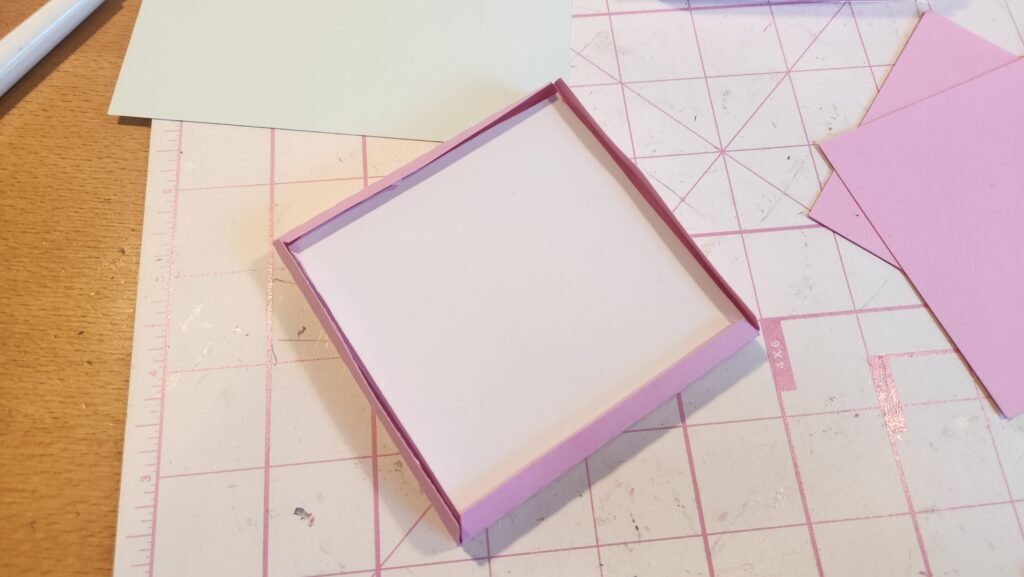
Fold in the tabs on one side, add glue and place one of the large square side panels to close off the shape. We used the included foam board templates to cut 2 foam boards for each base (8 total square and 2 rectangle foam boards). We then added two foam board pieces to each base to support the weight of the letters. Once these are in place, you can fold in the tabs and glue the other square in place starting with one tab to ensure good alignment then attaching the other three.
Decorating The Bases
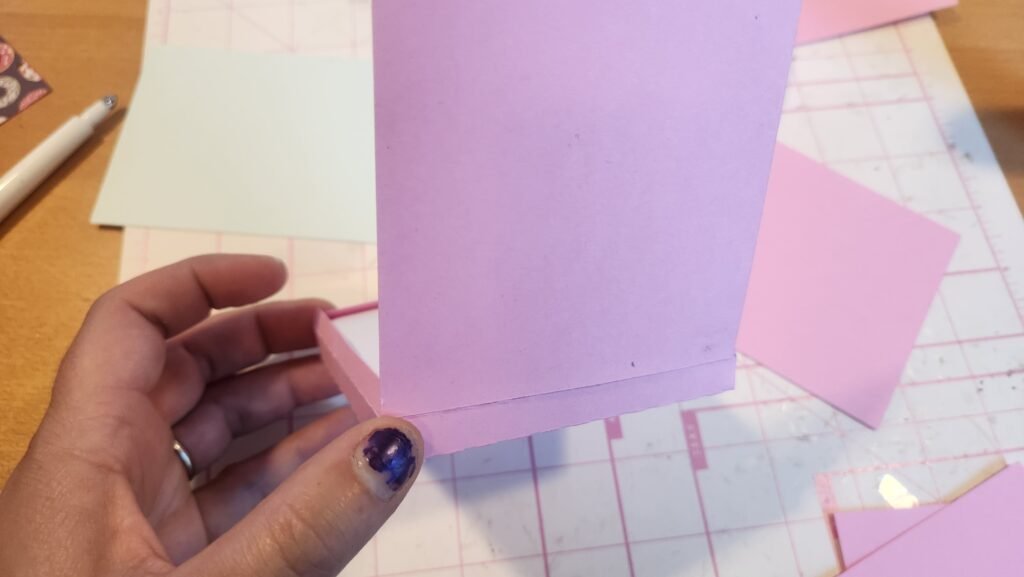
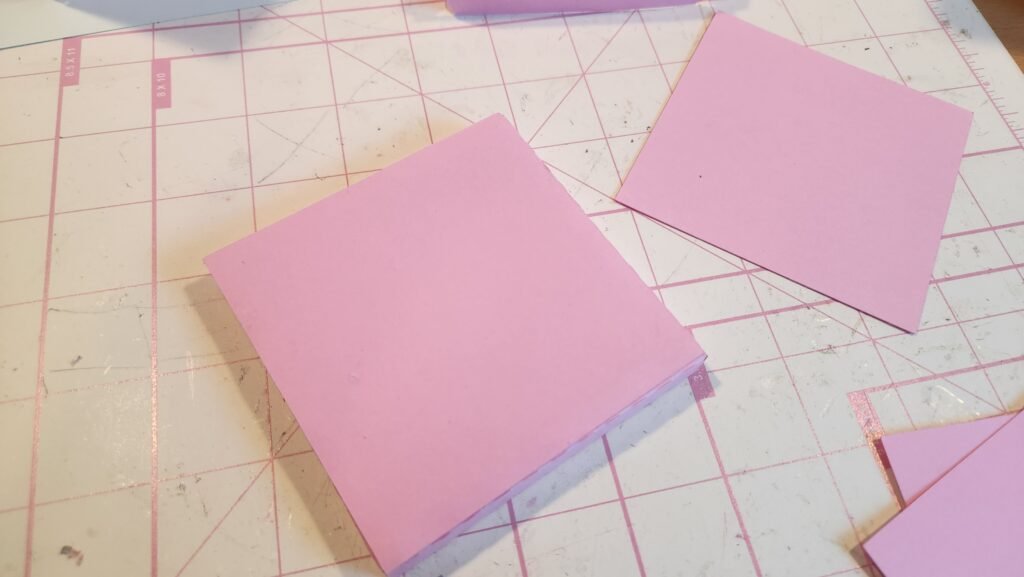
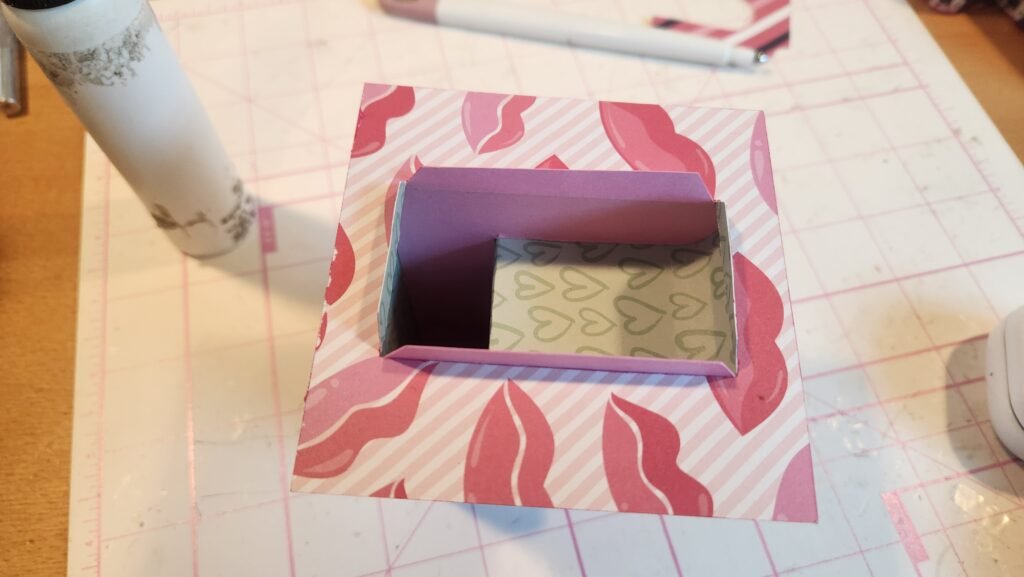
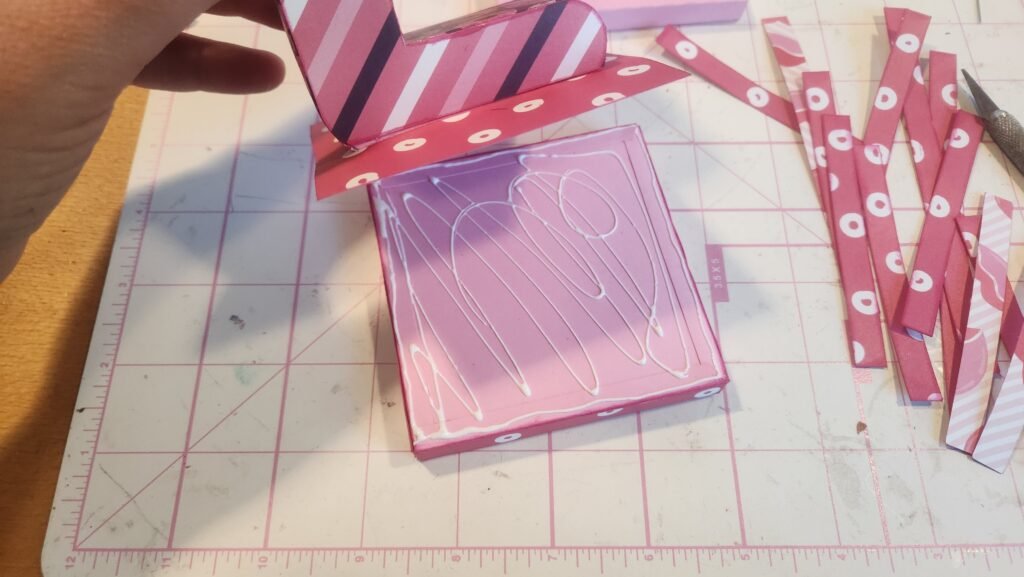
With this box closed up, we added the decorative panels to the sides of each base. If your paper has an ‘up’ and a ‘down’ keep in mind that the side of the box with the exposed tabs is the TOP of the base. We’ll cover the tabs later with a decorative panel.
Attaching Letters To The Bases
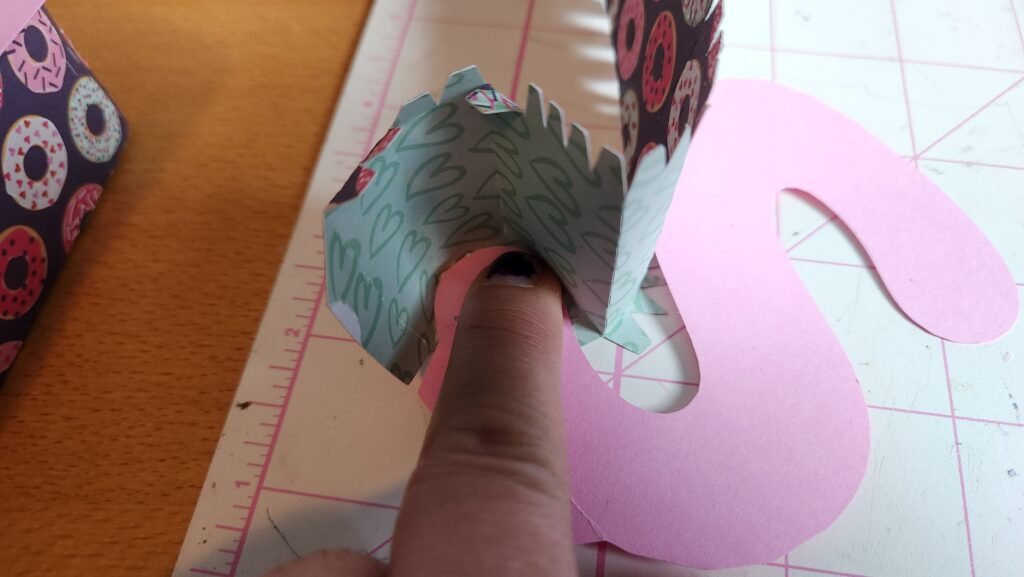
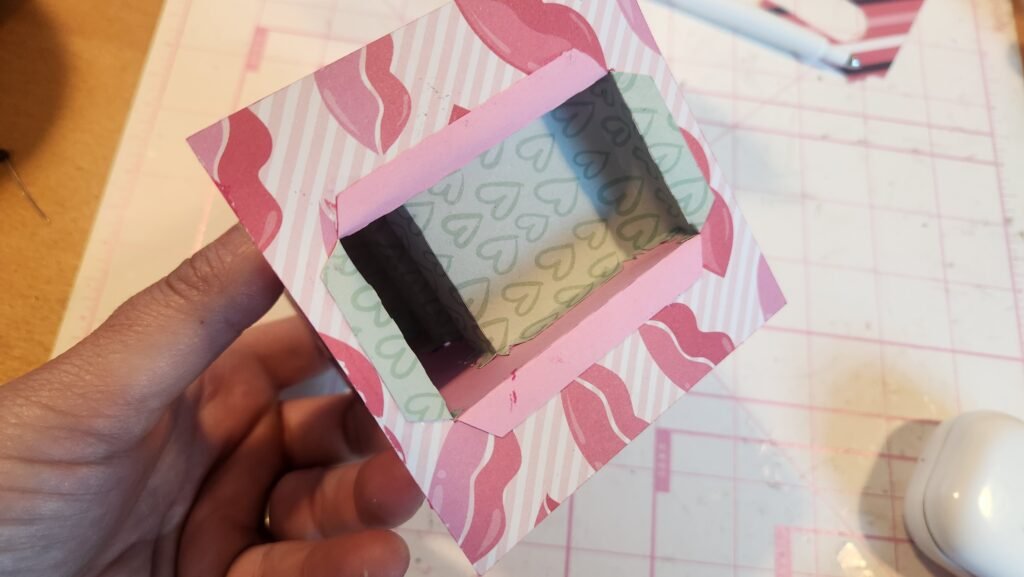
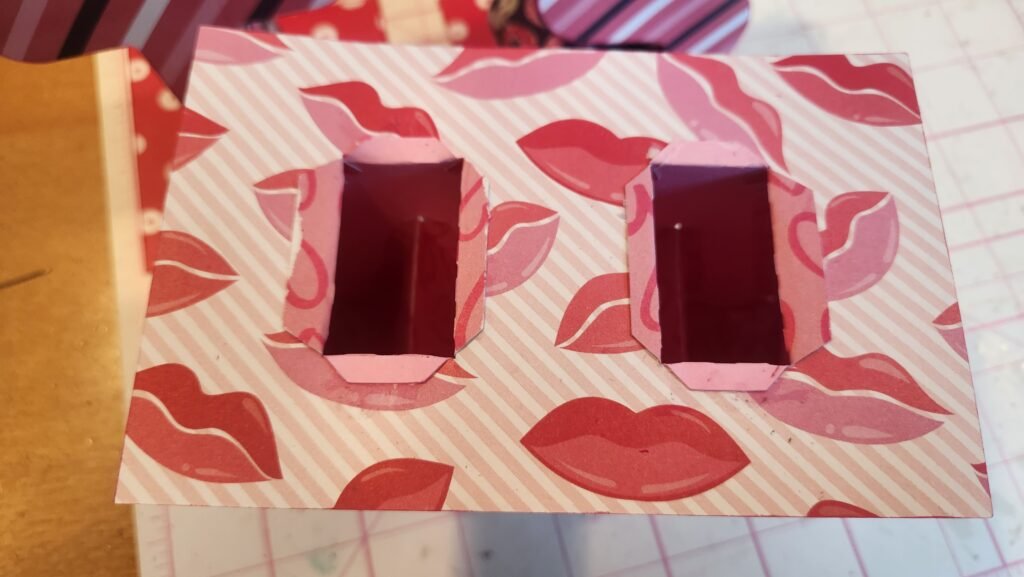
Now that the decorations are on the side of the base, we can attach the letters to their decorative panels. To do this, we put the letters upside down on our table and placed the decorative panel over the letter, having the tabs come through the cut out in the center. The cut out is rectangular, not square, to be sure to check which direction it is laying on your letter and rotate if necessary. The W panel has two cut outs for this step. Just do one, then once complete, repeat for the second cut out.
Once you have the tabs coming through the cut out on the decorative base panel, add glue to the tabs and fold them back so they make contact with the underside of the decorative panel. Using your fingers, press them into place then turn the whole thing right side up so you can apply pressure to the tabs while sitting on your work surface.
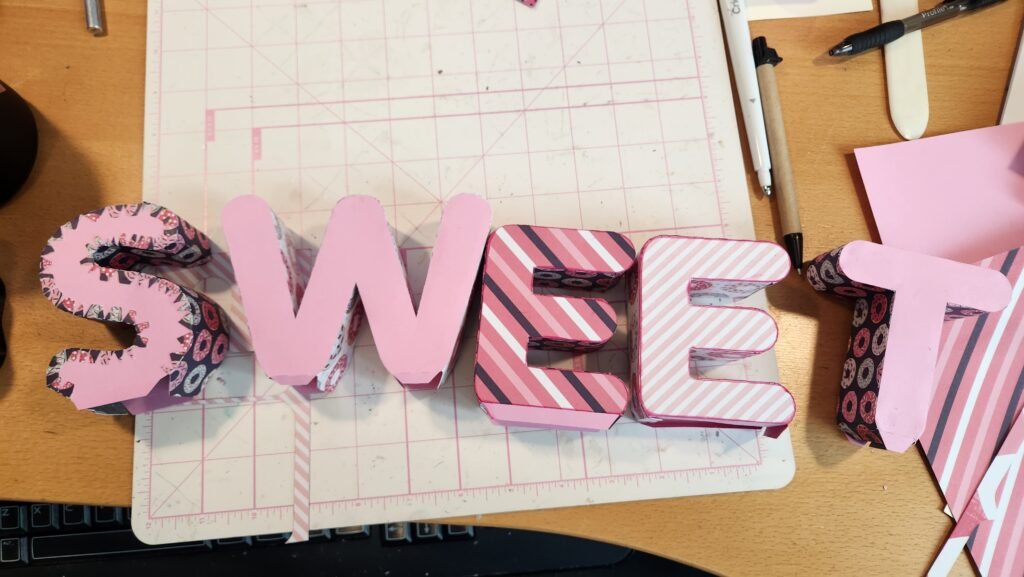
The final step is to attach the letters with their decorative panels to the bases constructed.
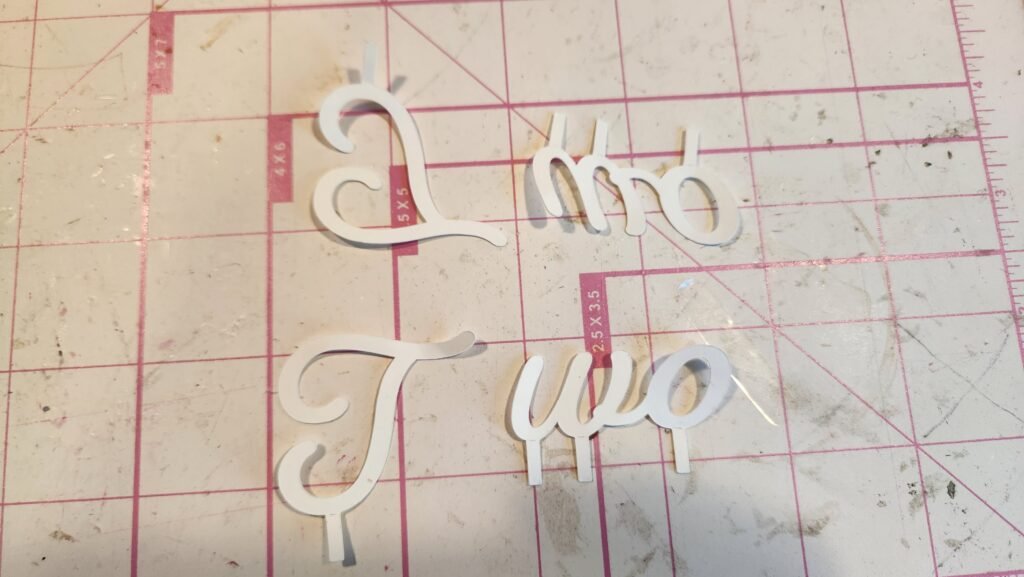
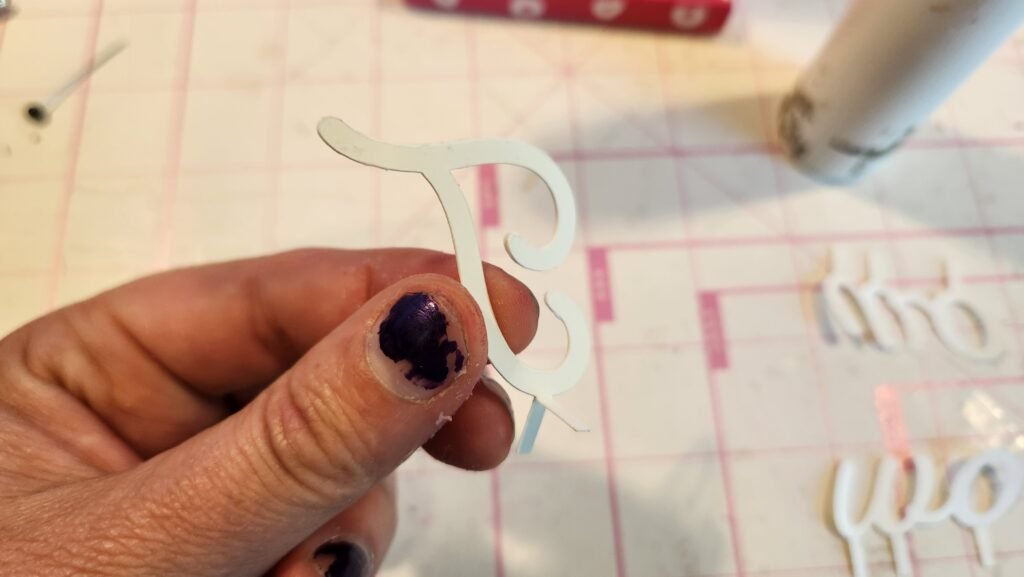
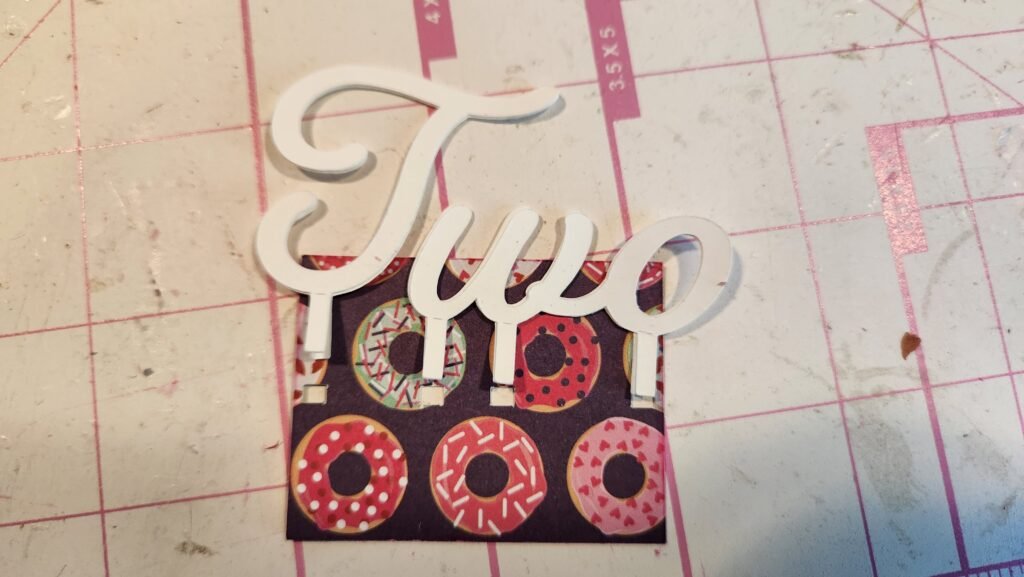
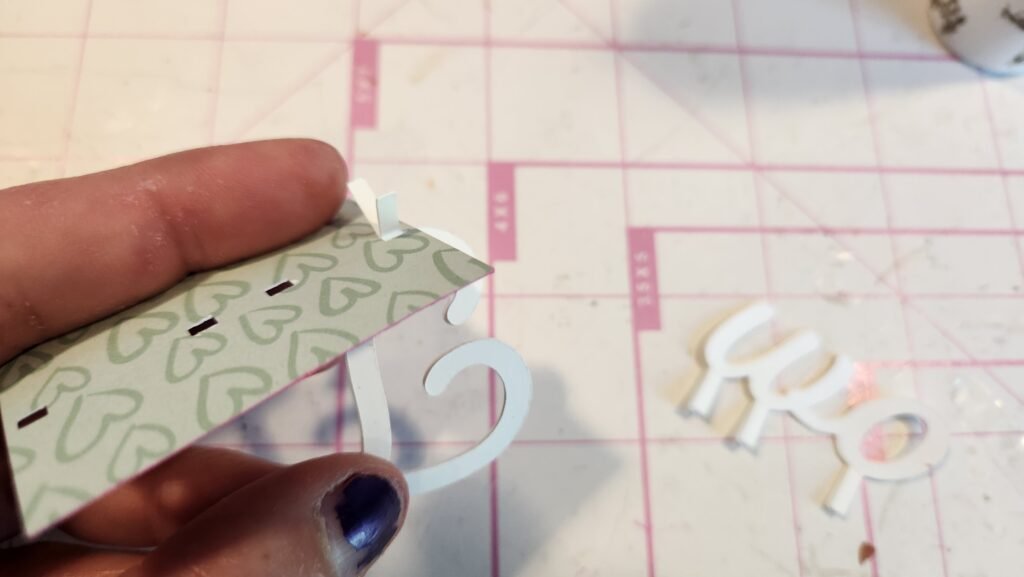
A Little Extra
If desired, in the Extras folder, you’ll find an optional word Two and a panel to attach it to. The word is made so you will need to attach it front to back, allowing there to be two tabs at the bottom. These will slide through the cut outs on the panel so you can secure them to the back. The panel is sized to fit on top of one of the E letter shapes.