Why Choosing the Right Glue for 2D and 3D Paper Crafting Projects Matters
When it comes to paper crafting, having the right glue can make all the difference in the success of your project. Whether you’re working on a 2D embellishment for a scrapbook page or a 3D paper sculpture, choosing the appropriate glue is crucial for achieving the desired results. The right glue should provide a strong hold without any discoloration or warping of the project.
***Note that this post contains affiliate links and we may receive compensation if you buy something using one of our links. ***
What to Look for in Glue
1. Acid-free: When working with paper, it is important to use an acid-free glue to prevent any damage or discoloration over time. Acidic glues can cause the paper to become brittle and yellow, compromising the integrity of your project. Look for glues that are specifically labeled as acid-free.
2. Quick-drying: Nobody wants to sit and hold together their paper project for a long time while the glue sets, so a glue with a fast drying time allows you to move on to the next step sooner.
3. Strong bond: You want a glue that will provide a lasting and strong bond so all your hard work will last.
What to Avoid in Glue
1. Glue Sticks: We loved them in elementary school and they still work great for some things, but you don’t really want them for your paper projects. Their hold isn’t very strong or long lasting and it’s hard to get the glue on just the area you need. You’ll find that using a glue stick on 3D SVG paper projects will a weak and messy hold.
3. Difficult application: The application process can greatly affect the outcome of your paper crafting project. Avoid glues that are difficult to apply, as they can result in messy and uneven adhesion. Look for glues that come with an easy-to-use applicator, such as a fine-tip nozzle or a brush, to ensure precise and controlled application.
4. Weak bond: While some projects may only require a temporary bond, most paper crafting projects benefit from a strong and long-lasting bond. Avoid glues that have a weak bond or tend to lose their adhesive properties over time.
What Do We Recommend
There are a couple products that we like to use for our projects and have been very happy with.
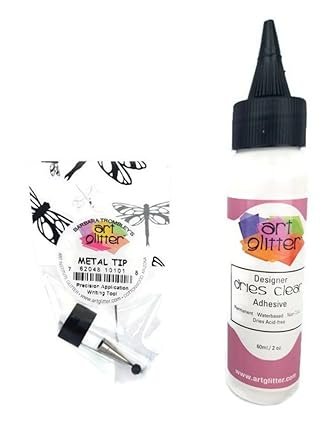
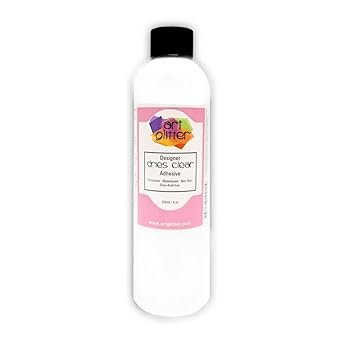
Art Glitter Glue: Okay, hear us out. We know it’s kind of expensive. However, we LOVE this glue. We put off trying it because we were a little put off by the price, but once we did. WOW. It is a strong, fast setting glue and it doesn’t take much at all so it goes really far. To make it a little more affordable we recommend starting with the glue and metal tip set. This gives you a small bottle to work with and the fine metal tip allows for really precise and controlled application. Then, get the refill bottle since the per ounce cost is less. Just refill your little container as needed.
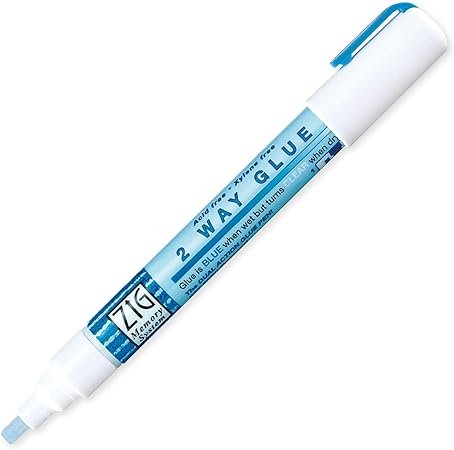
Zig 2-Way Glue Pen: We love this pen for really small pieces. We like to use our craft knife or a weeding tool to hold a small piece in place (usually while working with 2D projects or small embellishments) while adding a little glue using this glue pen. Then, using our tool, we position the piece where we need. The great thing about this glue is if you place your piece right away you have a super strong hold but if you wait until the glue has had a moment to dry it gives you a temporary hold. It comes in different tips too for more control.
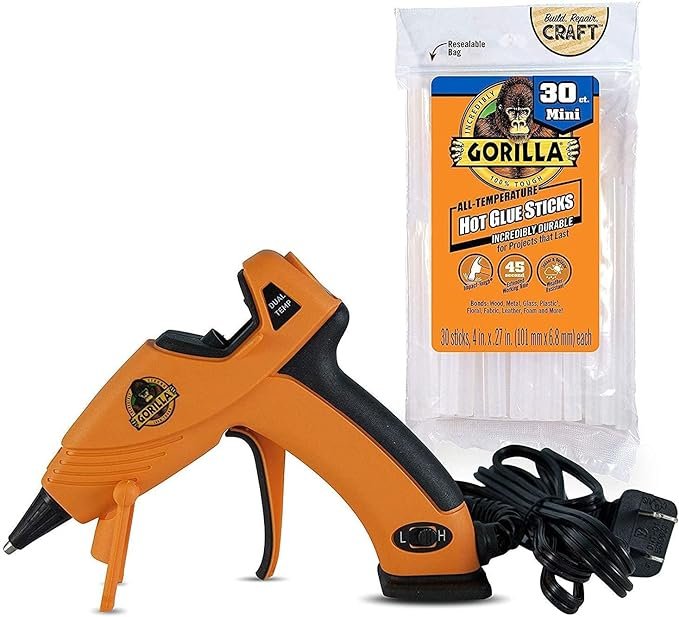
Hot Glue: Sometimes you need a really quick hold. For this we like to use hot glue. Yes, you’ll probably burn your fingers a bit so be careful! But hot glue has been the best choice for us at times. We really like using Gorilla Glue because it’s got a really strong hold. Some hot glue almost seems brittle once it’s fully set so you can easily pop off the glued piece later. This is not a feature we find desirable so we’ve settled on Gorilla Glue. It has served us well with a strong, lasting hold.
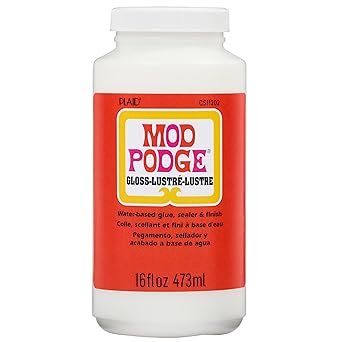
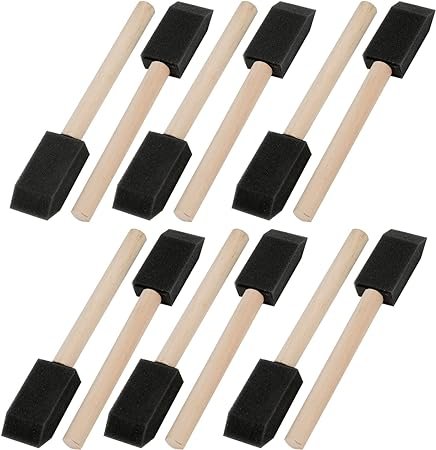
Mod Podge: It’s not as crazy as you think. Yes, you want to be able to control how much glue is used and where it goes, but sometimes you need large general coverage with a particular look. We’ve applied a thin layer using foam craft brushes with great success. If you are using regular cardstock but want your final project to have a glossy finished look to it, Mod Podge with a semi gloss or a gloss finish works great! It does ever so slightly alter the paper color, if anything we’ve found that it intensifies it a little but otherwise once dry, your paper is still fully useable. We do recommend adding the Mod Podge to your cut pieces rather than applying it to your paper before running through your paper cutting machine.
***Note that this post contains affiliate links and we may receive compensation if you buy something using one of our links. ***
Leave a Reply