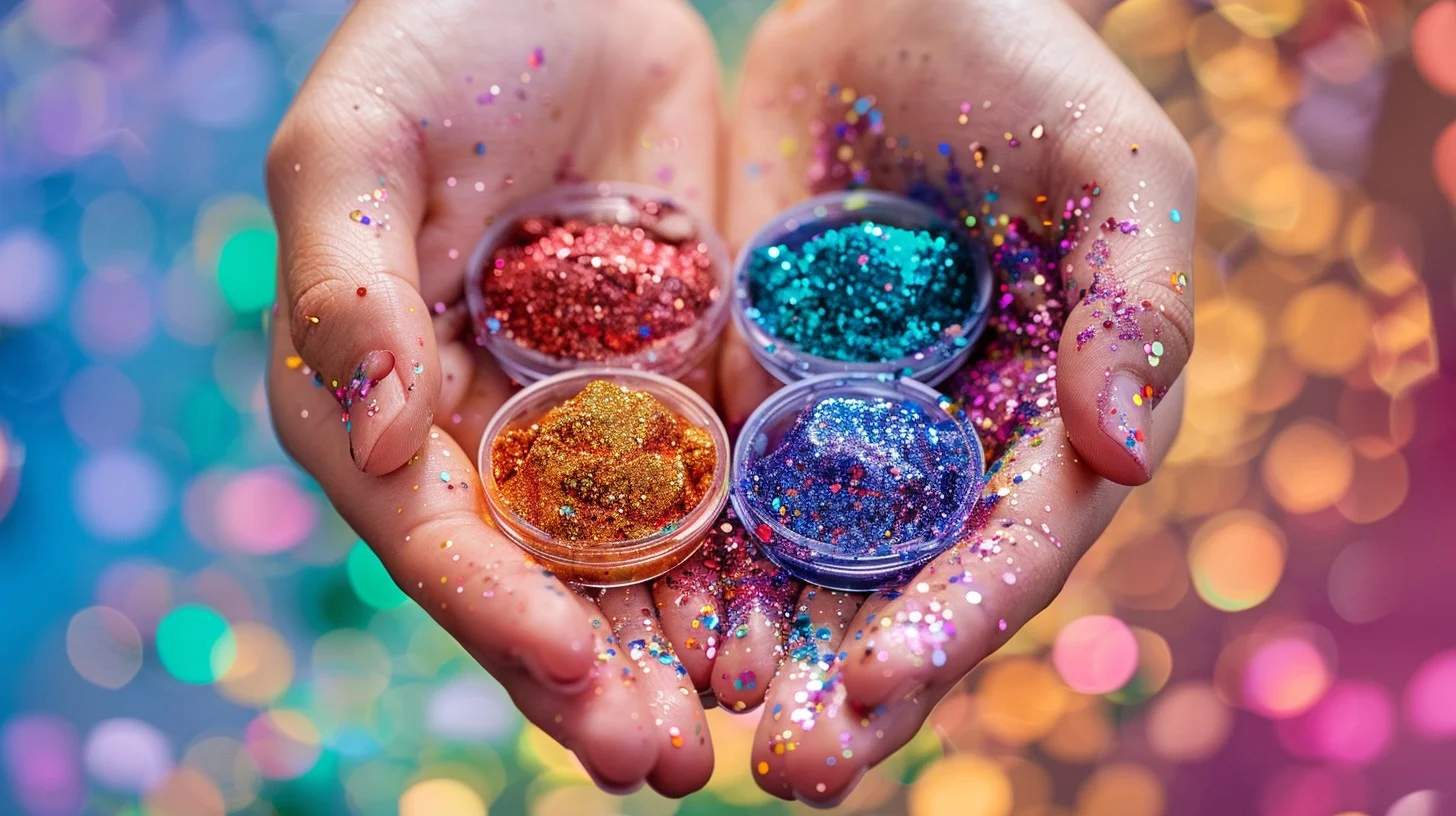
While we love adding a little extra bling to our projects, glitter can be a bit messy! Glitter has a tendency to get everywhere, making clean-up a hassle. But fear not! There are several ways you can keep glitter from becoming a mess and still have all that sparkle. Below are a few of the solutions we have found for adding glitter to the project, not our whole craft space!
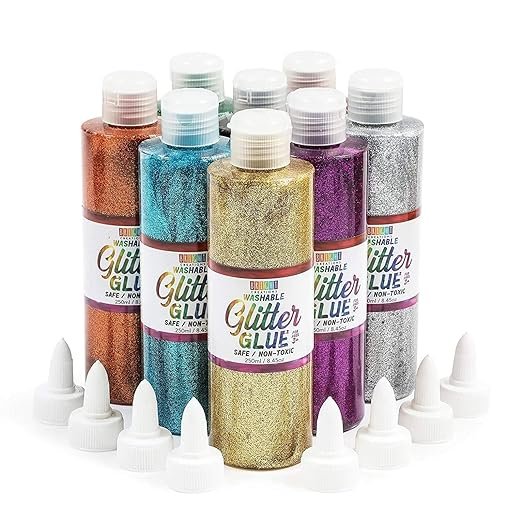
1. Glitter Glue
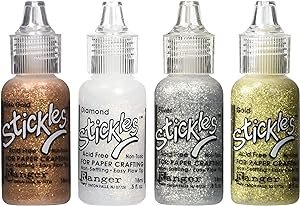
Glitter glue is a convenient option when you want to add glitter to specific areas of your project. It comes in a huge variety of colors and can be applied directly from the bottle. Our favorite brand – Stickles – even has a fine tip applicator making it easy to control application. The glue holds the glitter in place and dries clear, keeping your glitter under control. This option ensures that you don’t have any loose glitter while working on your project and when the glue dries, the glitter remains firmly attached.
There are a lot of brands of glitter glue. One of the reasons we prefer Ranger’s Stickles is it’s intended for paper projects. This means that it’s acid free and doesn’t leave a discolored spot or residue behind once it dries. Remember that whatever glitter glue you use, the glue part needs to be safe paper projects in addition to controlling the disbursement of glue.
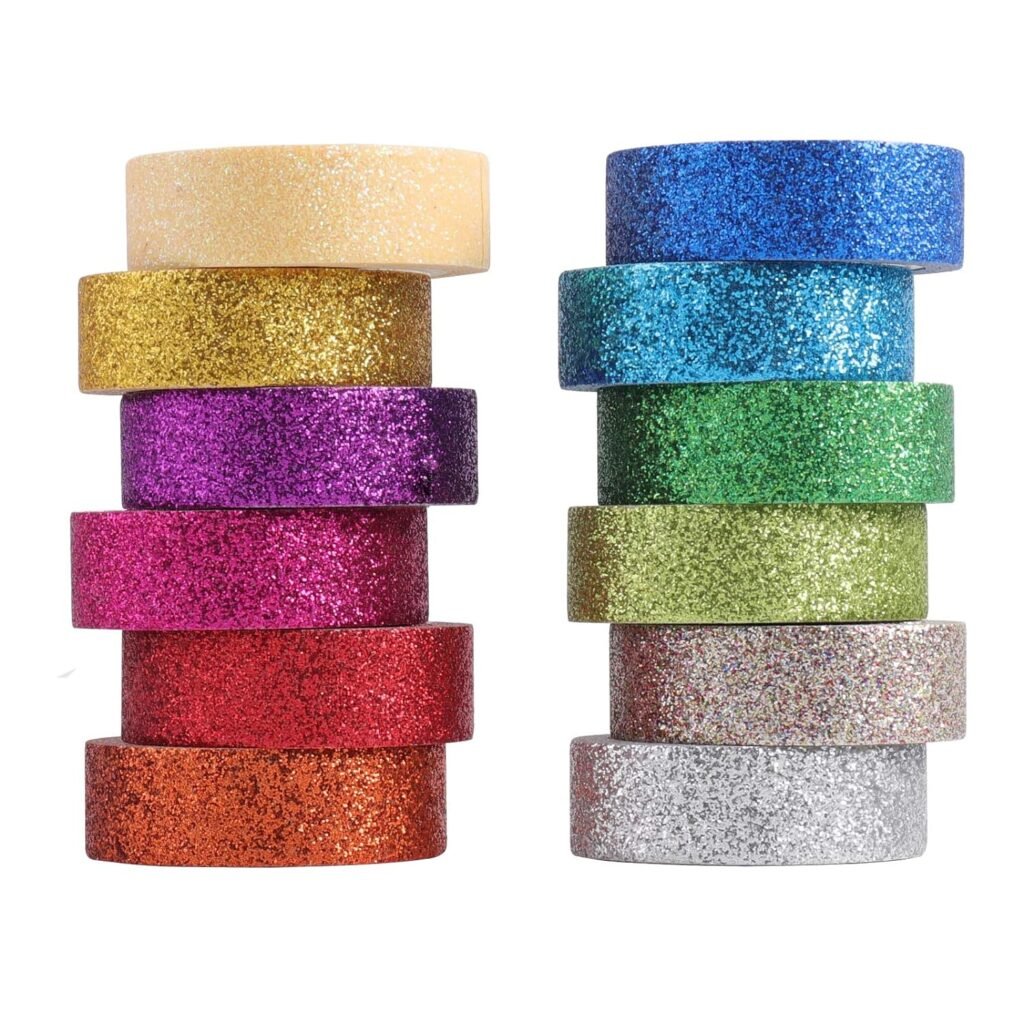
2. Glitter Ribbon and Glue Dots
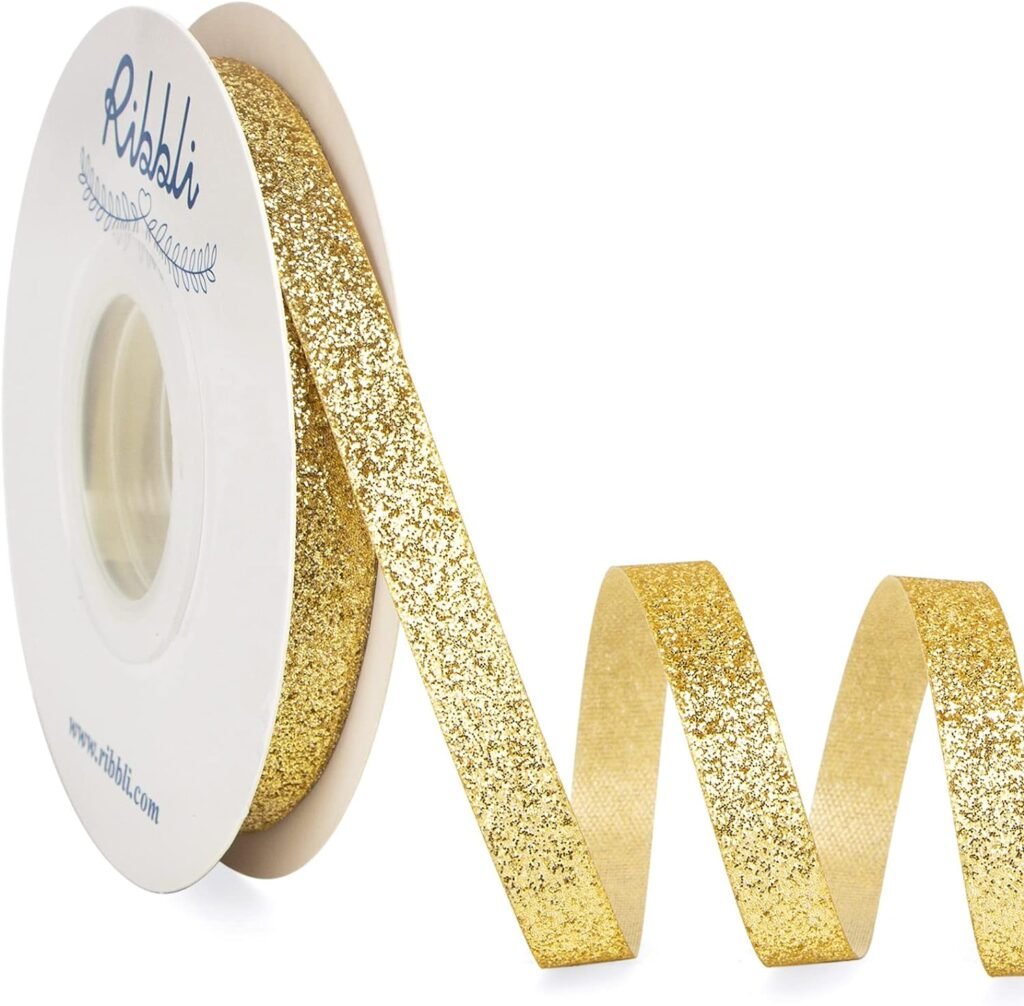
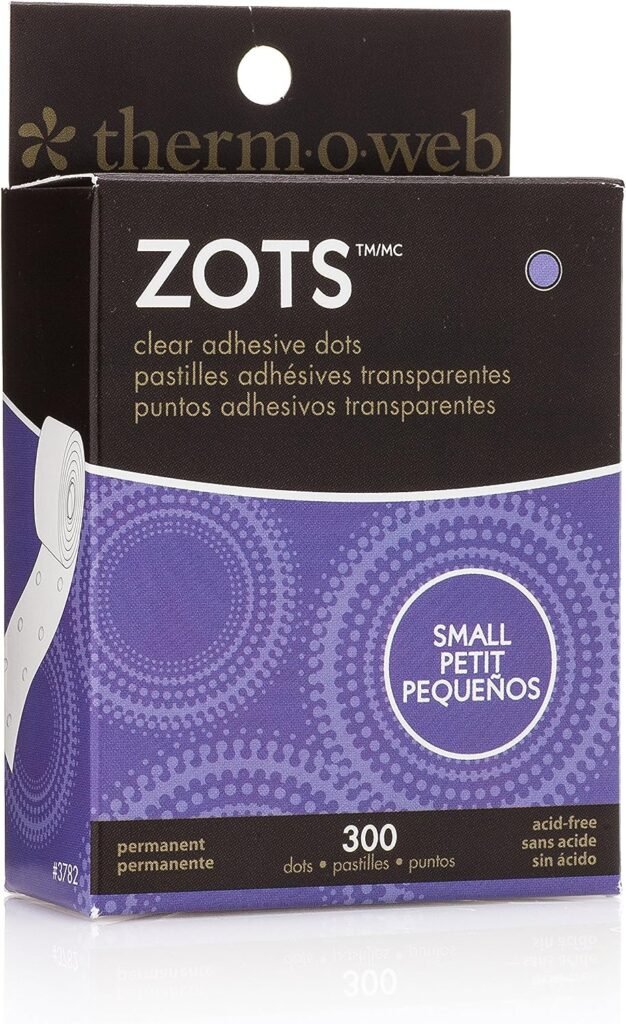
Another option to keep glitter under control is to use glitter ribbon from the sewing section. We like to apply the ribbon to the desired area by using Zots glue dots. We’ve been pretty happy with the hold they offer. They come in a lot of different sizes but we generally use the “Small” size. If more coverage is needed, we just add a second glue dot. We’ve found that using ribbon that has glitter allows us to get the glitter effect while also adding a softer touch with the ribbon itself. It provides added texture and more dimension than just directly applying glue.
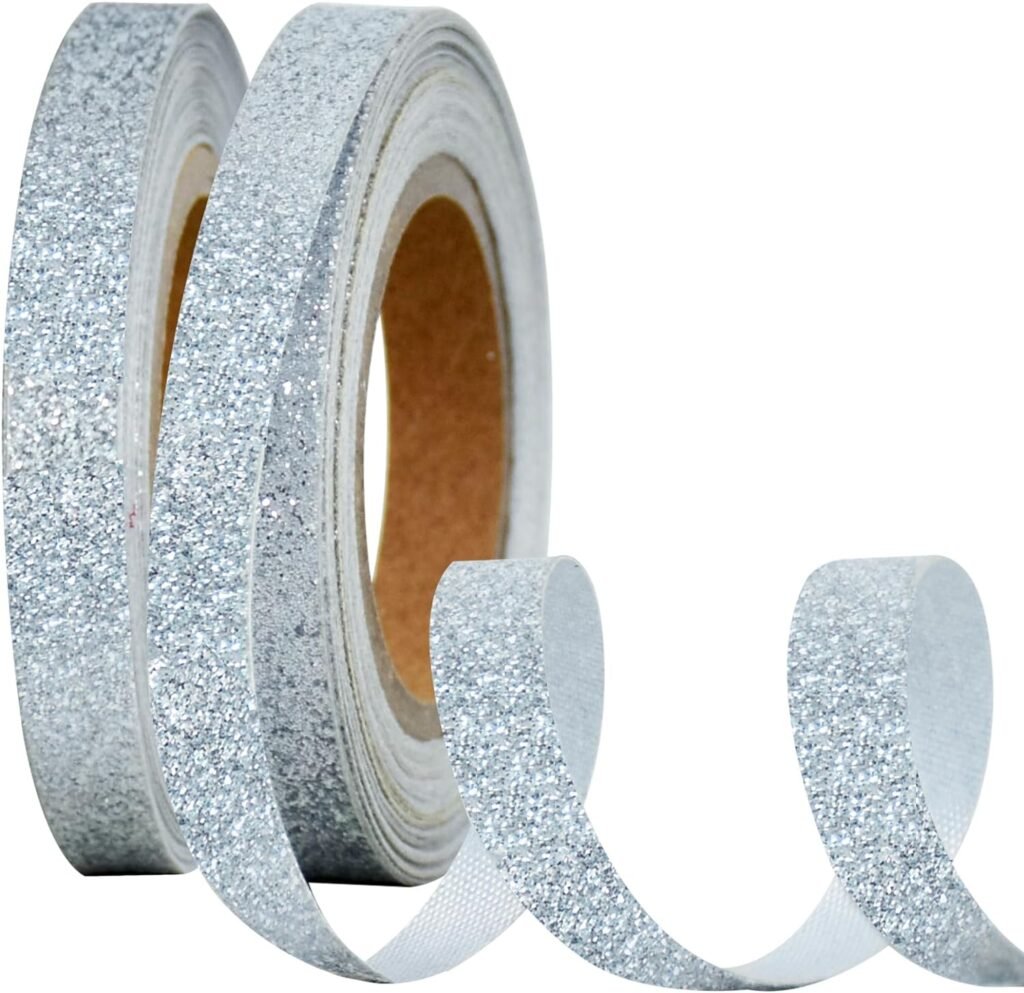
3. Washi Tape
Glitter washi tape that is another option similar to using ribbon. It allows you to add glitter to a designated area with lots of control. You can even cut some washi tape in your Cricut or Silhouette so your machine cut out a glitter embellishment for you. The great thing about washi tape is it comes in lots of colors and patterns so you should be able to find something to fit your project.
4. Glitter Embossing Powder
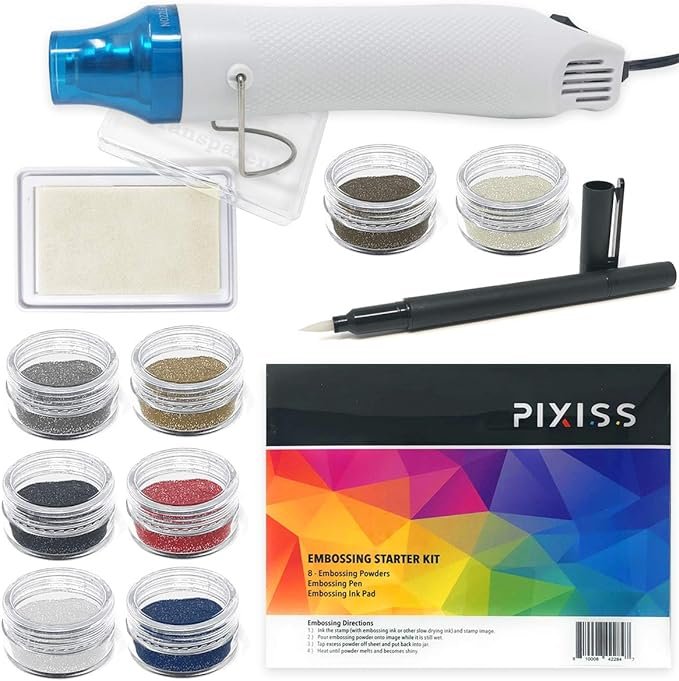
If you’re looking to add a touch of elegance and dimension to your paper projects, consider using glitter embossing powder. This product combines the shimmer of glitter with the raised texture of embossing. Apply embossing ink to your project, sprinkle the glitter embossing powder over the wet ink, and then heat it with an embossing heat tool. The heat melts the powder, creating a beautiful and controlled glitter effect that is sure to impress.
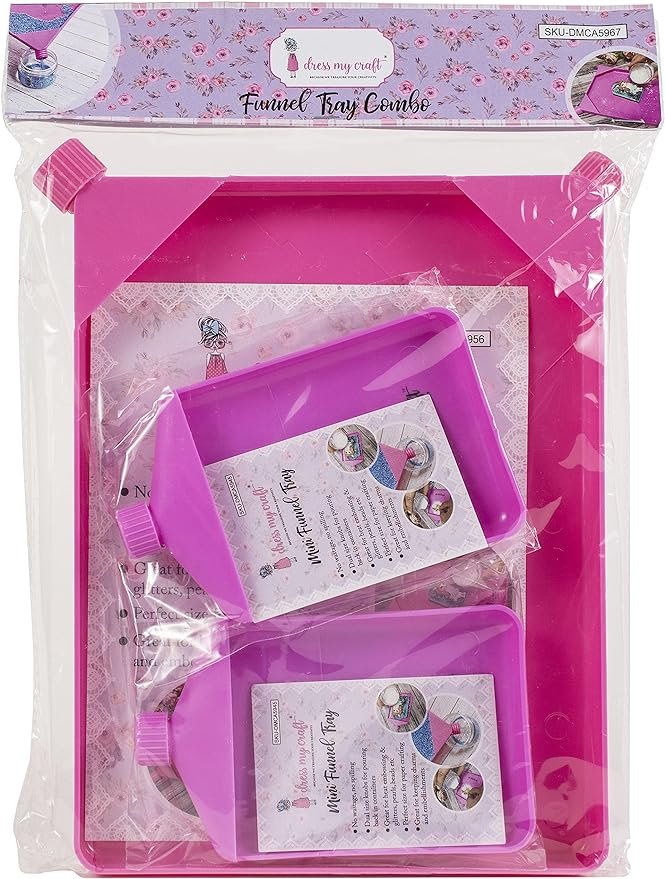
This method does involve loose glitter but catching your loose glitter in a tray with a funnel will help with containment and returning the unused glitter to its container for later use.
5. Glitter Pens
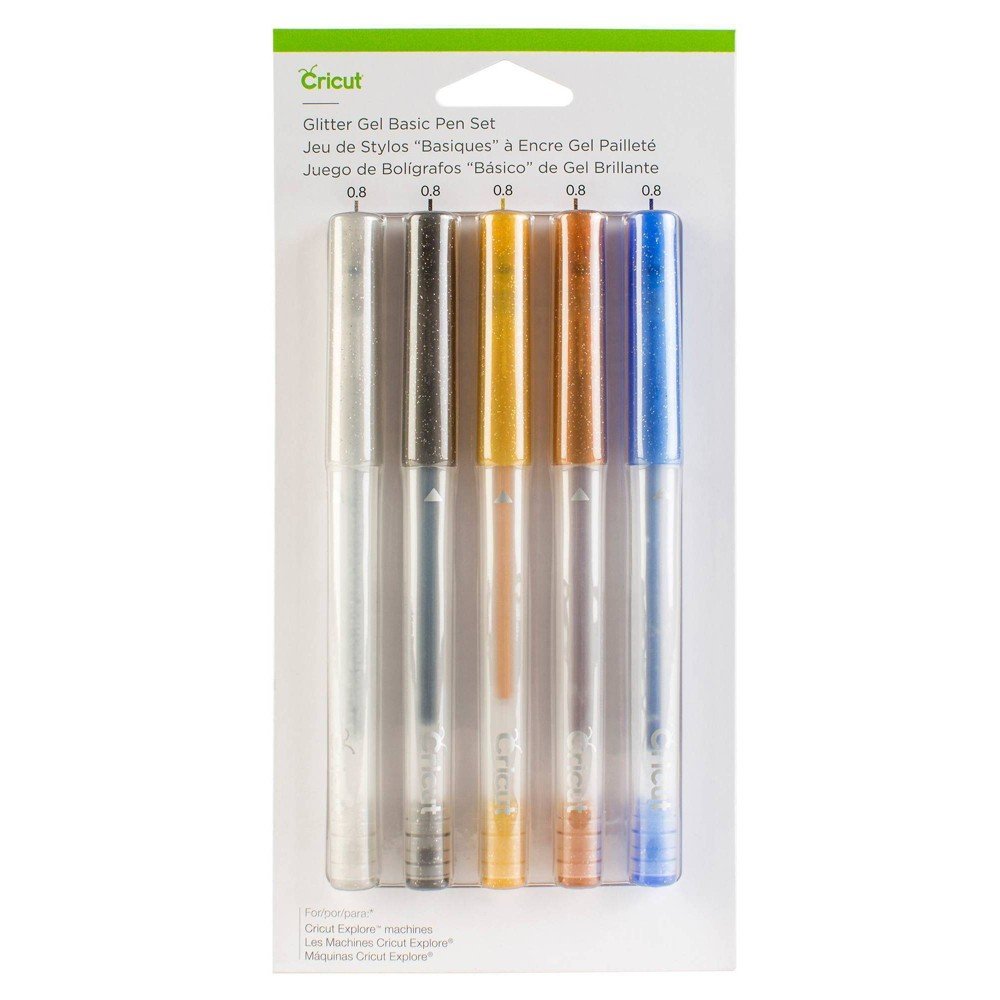
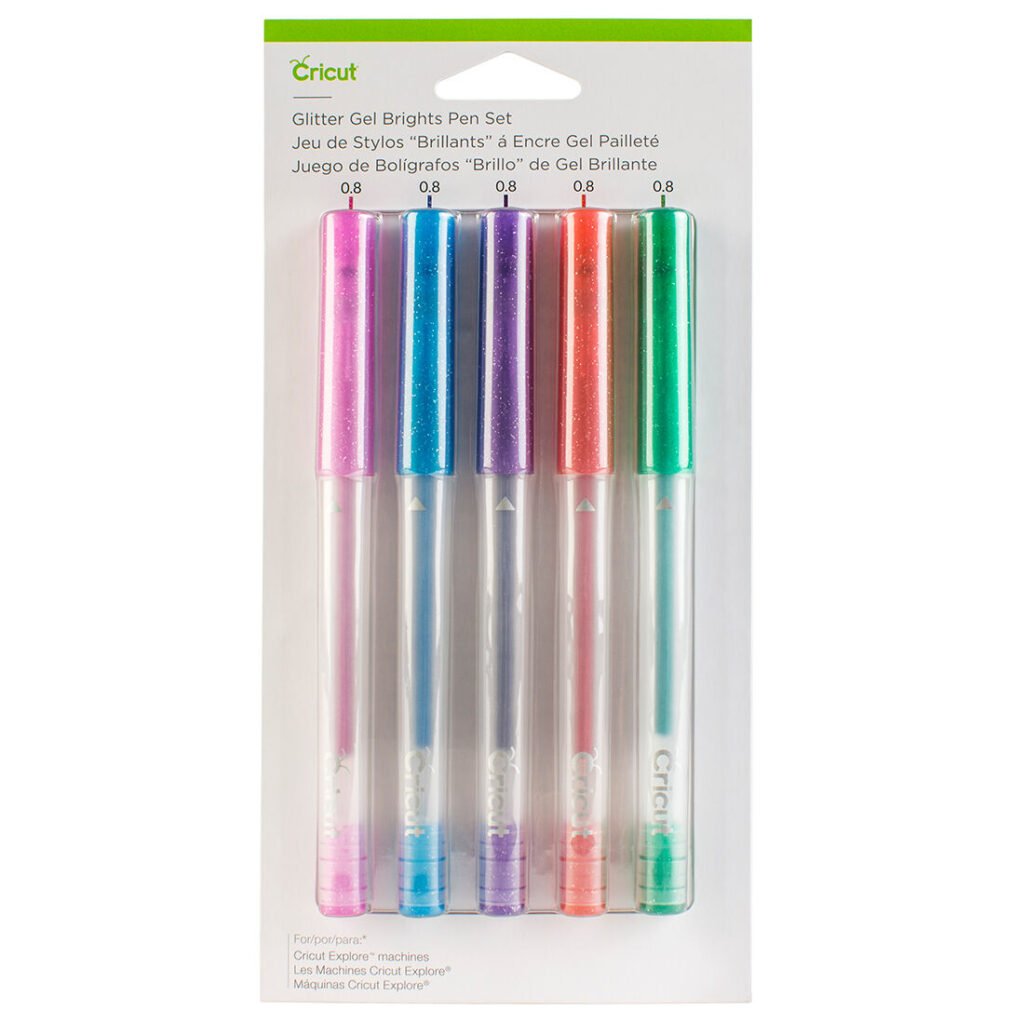
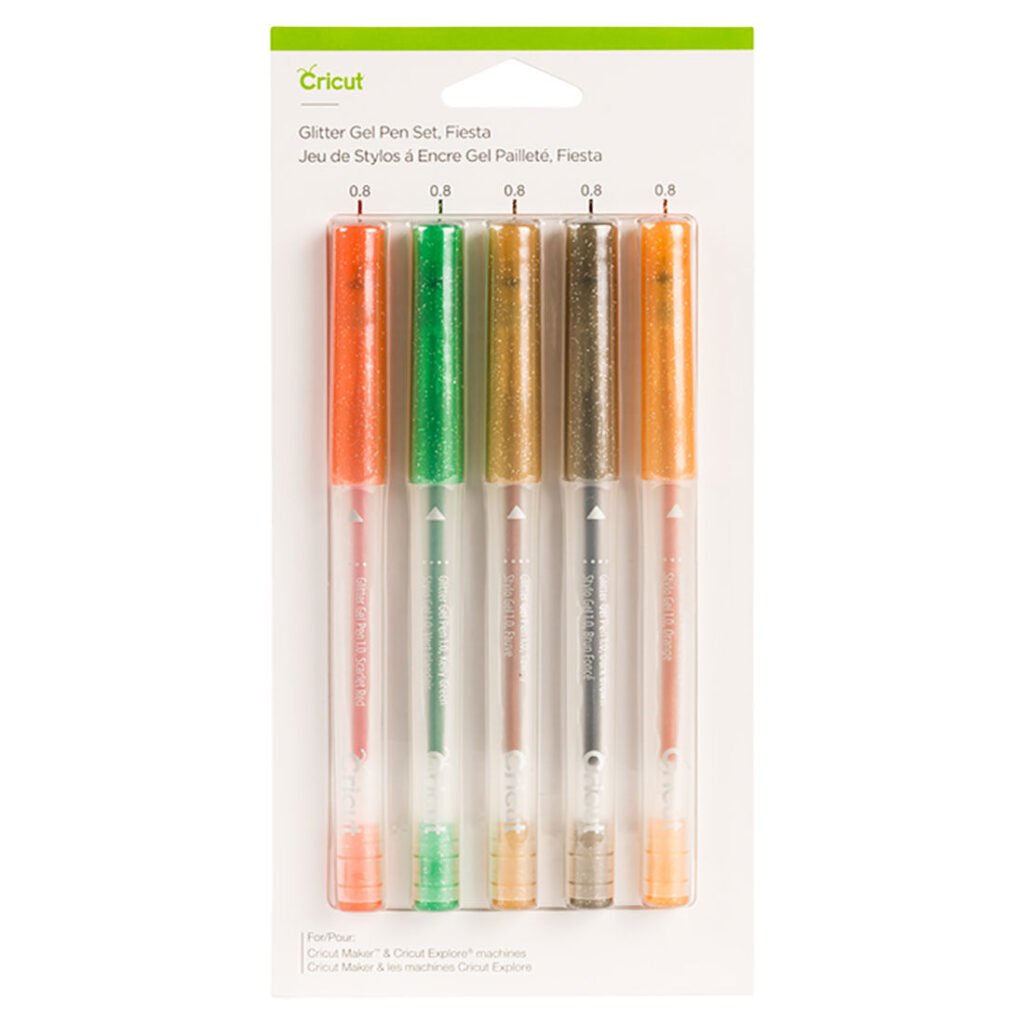
One of the things we love about our Cricut Maker is the dedicated clamp that allows you to use a pen as part of a cut. We’ve used glitter pens to add some fun extra detail to our projects. We’ve used it in combo with debossing so that the machine does a run with a glitter pen before repeating the same pattern with the debossing tip. It gives some sparkle along with added texture. Also, since we don’t always love how our handwriting looks on projects, using a single line font and a glitter pen means we can add that detail or message without our poor handwriting interfering.
6. Craft Glue, Glitter, & Containment
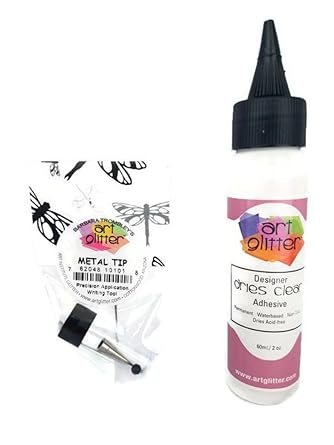

This option is probably the messiest but it uses some supplies you may already have. You can use your craft glue with a narrow tip that allows you to apply the glue precisely where you want the glitter to stick. We recommend Art Glitter Glue since it is acid free and dries clear, ensuring that only the glitter is visible on your finished project.
This method is probably going to result in the most mess but it is pretty inexpensive and uses glues you may already have. This method is best used with super fine glitter. Be sure to pour any unused glitter into a tray with a funnel. This will allow you to collect any loose glitter and return it to the bottle with (hopefully!) minimal spillage.
Everybody Loves A Little Sparkle
Adding glitter to your paper projects can elevate them to a whole new level. By using the right techniques and products, you can keep the glitter under control and avoid the mess that often comes with it. Whether you opt for glitter glue, , glitter sprays, glitter glue, or glitter embossing powder, there’s a method that suits your project’s needs. So go ahead, get creative, and add a touch of glitter to your paper projects without the worry of it becoming a messy affair!