We have a video tutorial!
If you wish to watch a video assembly tutorial for our circus tent box, we have one on our YouTube channel.
Materials Used
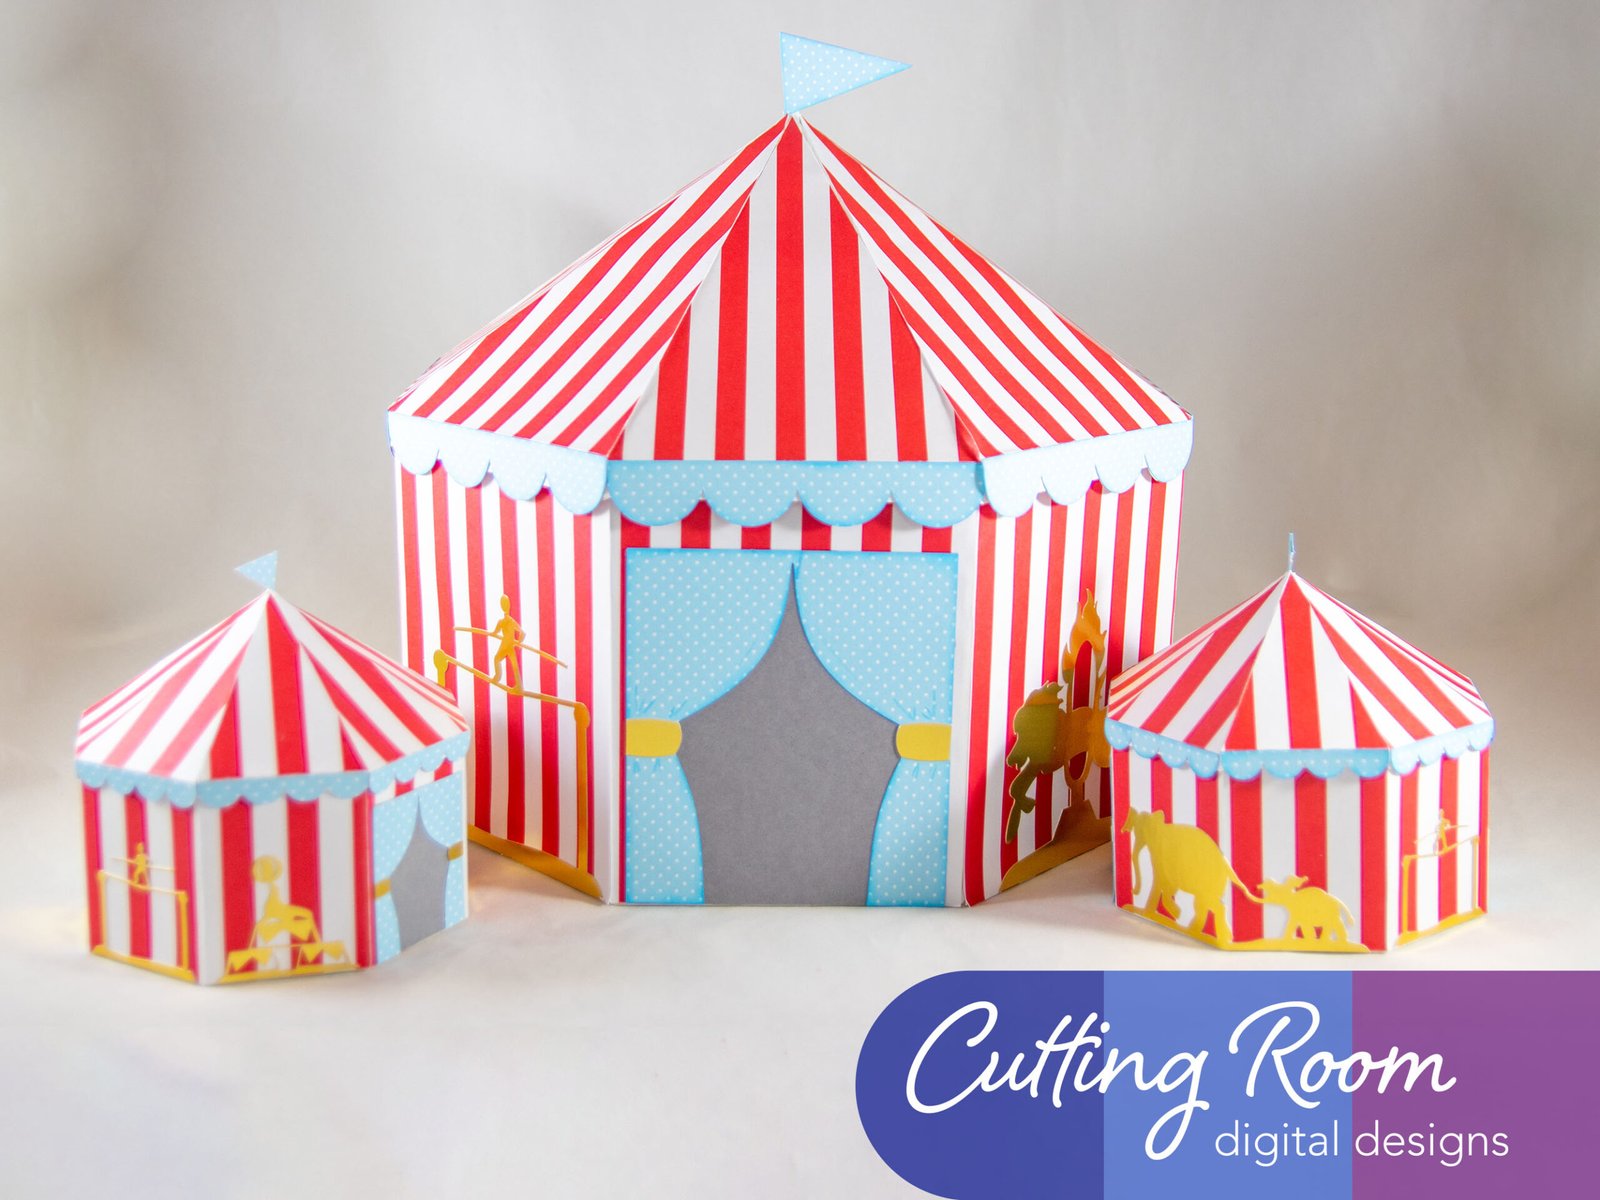
We used several products and supplies in the making of this fun circus tent. Below is a list of what we used.
- Circus Tent Party Decoration Gift Box with Silhouettes – Digital Download SVG
- Recollections cardstock
- Lawn Fawn Metallic Cardstock – Gold
- Photoplay Cardstock
- Art Glitter Glue
- Electric Cutting Machine – Cricut or Silhouette
***Note that this post contains affiliate links and we may receive compensation if you buy something using one of our links. ***
Circus Tent Assembly
This circus tent is pretty straight forward in how it goes together. Sometimes it’s nice to have a pretty and fun project that’s easy and quick too, right?
The box itself is made of four pieces. Using the tabs, attach them together one at a time until you have all four attached. Then glue the fourth one to the first, making an octogen. All four of these panels are identical so you can put them in any order.


Next, you need to fold in the bottom tabs as shown in the photo above. Add glue to all 8 of them, then place the bottom box panel in. There are two of these panels, they are identical so it doesn’t matter which you chose. Using your hand or a tool of some kind, apply pressure to the tabs to get a good strong hold.

Turn the box upside down and add glue to the base. Attach the other octagon bottom panel to the bottom. This will cover the tabs and provide extra strength to the bottom of the box.


Decorating The Tent
The next step is to add the decorative panels. We assembled the door curtain and attached them each to a panel. We then did the same with the silhouettes, leaving the elephants to attach later. They span two panels so we found it easiest to wait and put them on once those decorative panels are placed on the sides of the box.

We then added glue to the back of one of the door decorative panels and placed it on the side of the box. Make sure to have it centered and lined up at the top of the box. Next, we put the other door on the opposite side.


Once these two are in place, we recommend putting the two blank decorative panels on the box, side by side. These are for the elephants. By doing them now instead of at the end, you don’t accidently end up with two empty spots that aren’t next to each other. Just place the two panels, then add glue to the back of the large elephant. Place this elephant on one of the panels. Now you can add glue to the back of the small elephant. Using your hand, slide it along the box and flatten out the small elephant onto the box.


With the elephants in place, you can add the other four panels at will. Whatever order you want works.


Tent Roof/Lid Assembly
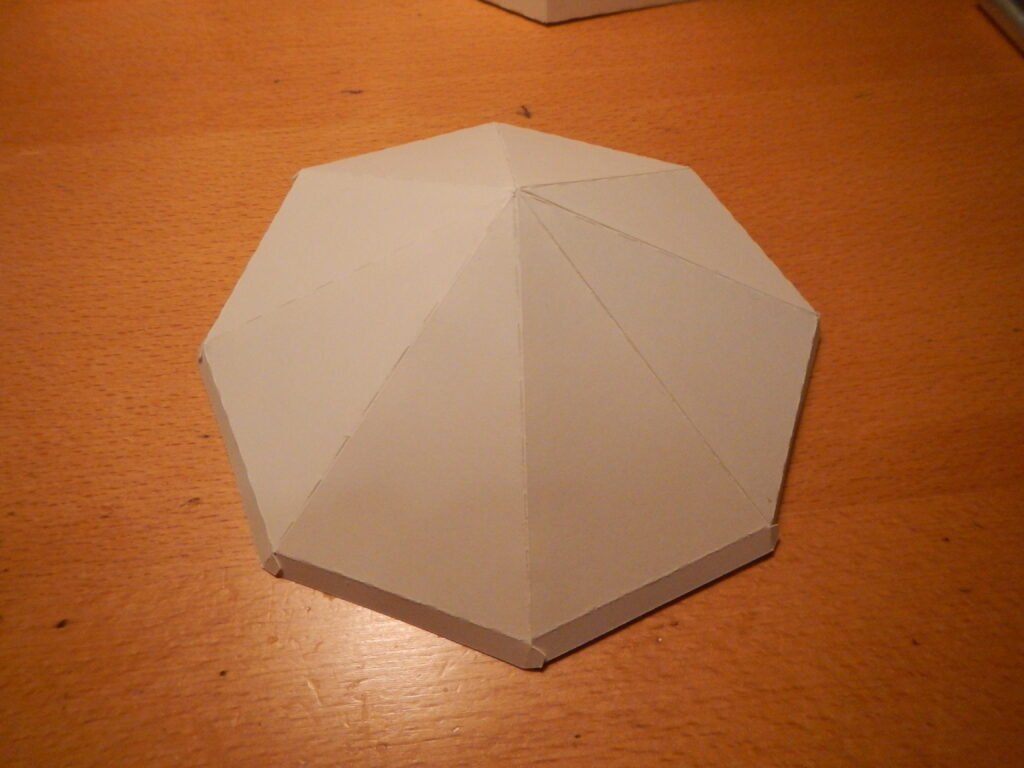
With the box complete, the only thing left is to assemble the lid. The lid is made of 8 identical triangular panels that glue together to create a cone shape. Put glue on the long tab and attached to the next panel. Continue until all 8 are attached, creating the cone.


Once that is complete, we attached the small tab at the bottom to its neighboring panel. This gives the bottom of the lid vertical sides. Working your way around, attach each of these tabs to the neighboring panel until all are in place.


Decorating The Roof
The roof of the tent (lid of the box) is decorated with triangular panels that have a scallop edge at the bottom. We added the blue bunting to this scalloped edge on all 8 panels.


We also attacked the blue layer to the flags as shown. Once this was done we glued them back to back, adding only glue to the triangular part. This leaves the poles free of each other.


Next, we added glue to the back of the triangular roof panel, just on the triangle portion, not on the back of the bunting. Place the panel on the roof making sure to have it lined up with the sides and the the bunting can easily be folded down and glued into place later. Do this for about two or three decorative panels.


With two panels in place, we added the flag. We chose to angle it so that the flag was overtop of a decorative panel already in place. If you do the flag before these two decorative panels it tends to get in the way and make placement harder. To attach the flag, we separated the two poles, added glue to the inside of each, then placed it on the roof. This will secure poles to opposite sides of the roof without any decorative panels.


Now you can continue adding the rest of the roof decorative panels.

The final step for the roof is to secure the bunting. Lift it up and place some glue on the base panel, directly behind where each scallop will land. Then gently press the scalloped bunting in place. Continue until all 8 sides are secure.


