Materials Used
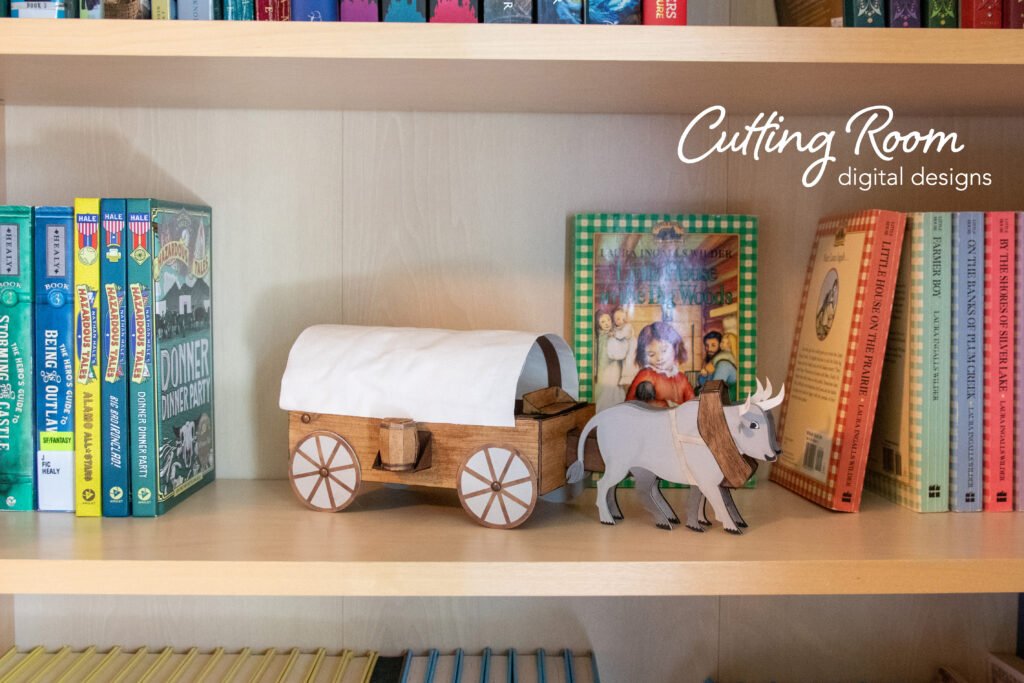
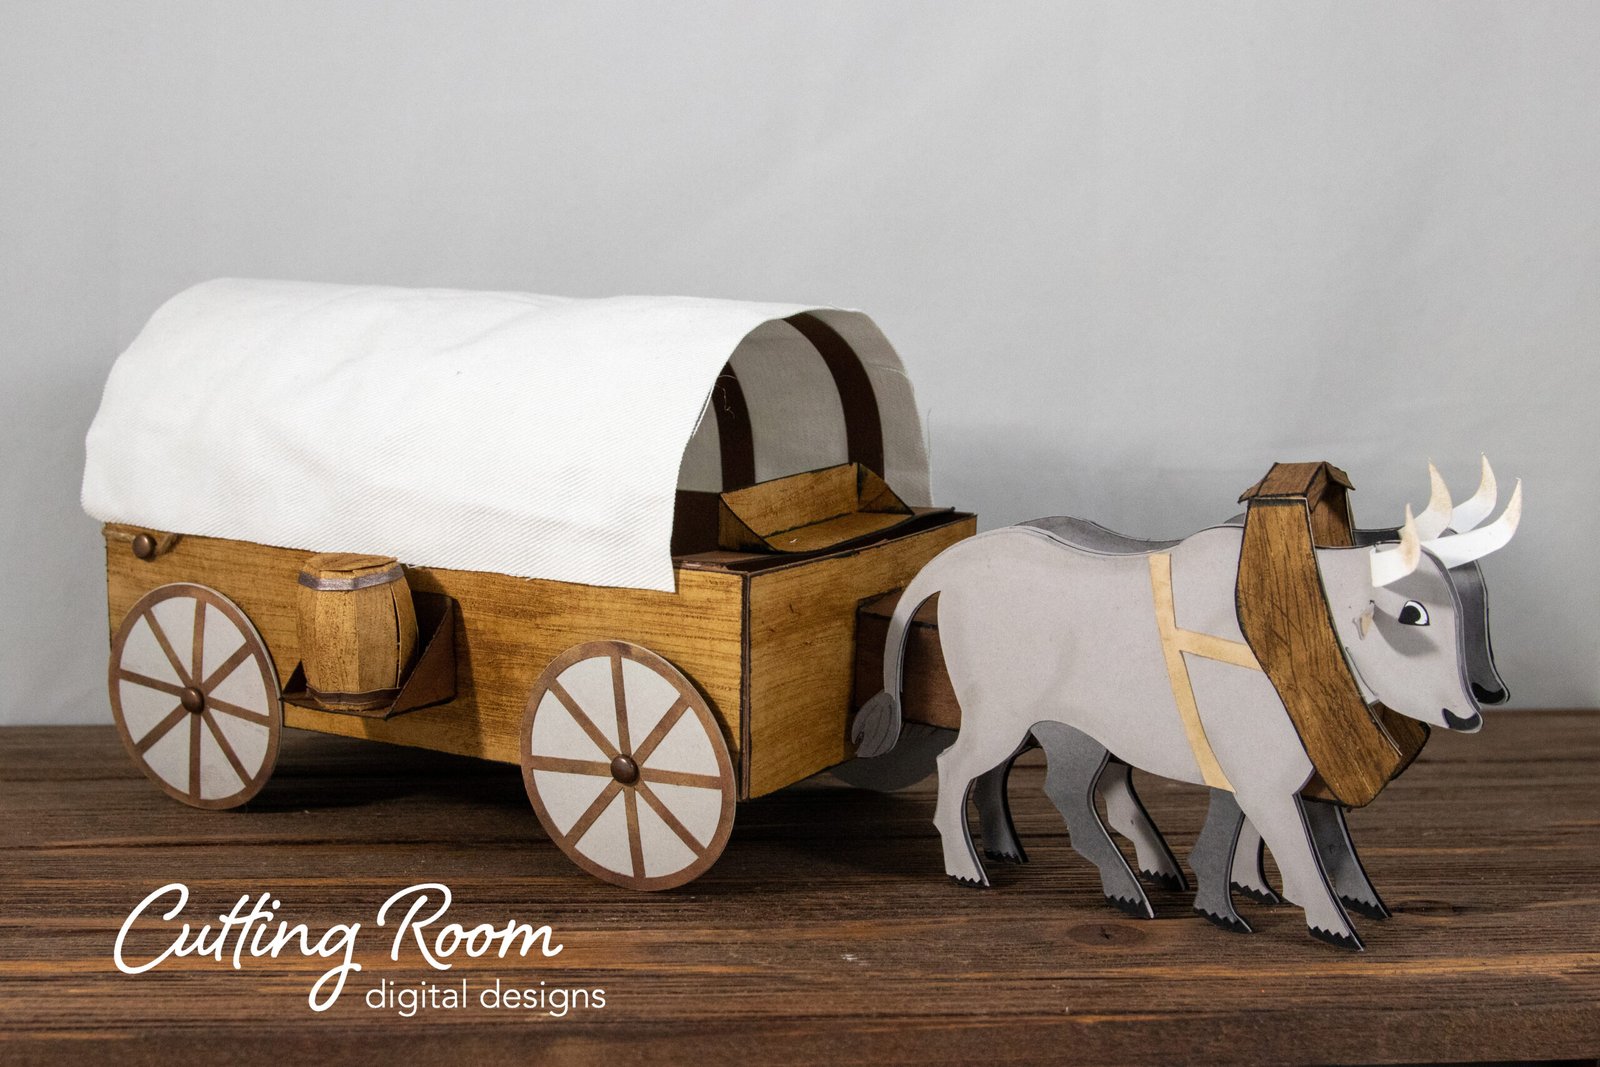
We used several products and supplies in the making of this historically inspired Conestoga Wagon. Below is a list of what we used.
- Conestoga Wagon Gift Box and Decor – Digital Download SVG
- Recollections cardstock
- Art Glitter Glue
- Tim Holtz Distress Inks
- Sand paper (for distressing to make wood grain)
- Brads
- Baker’s twine
- Fabric (Optional)
- Electric Cutting Machine – Cricut or Silhouette
***Note that this post contains affiliate links and we may receive compensation if you buy something using one of our links. ***
Starting The Conestoga Wagon
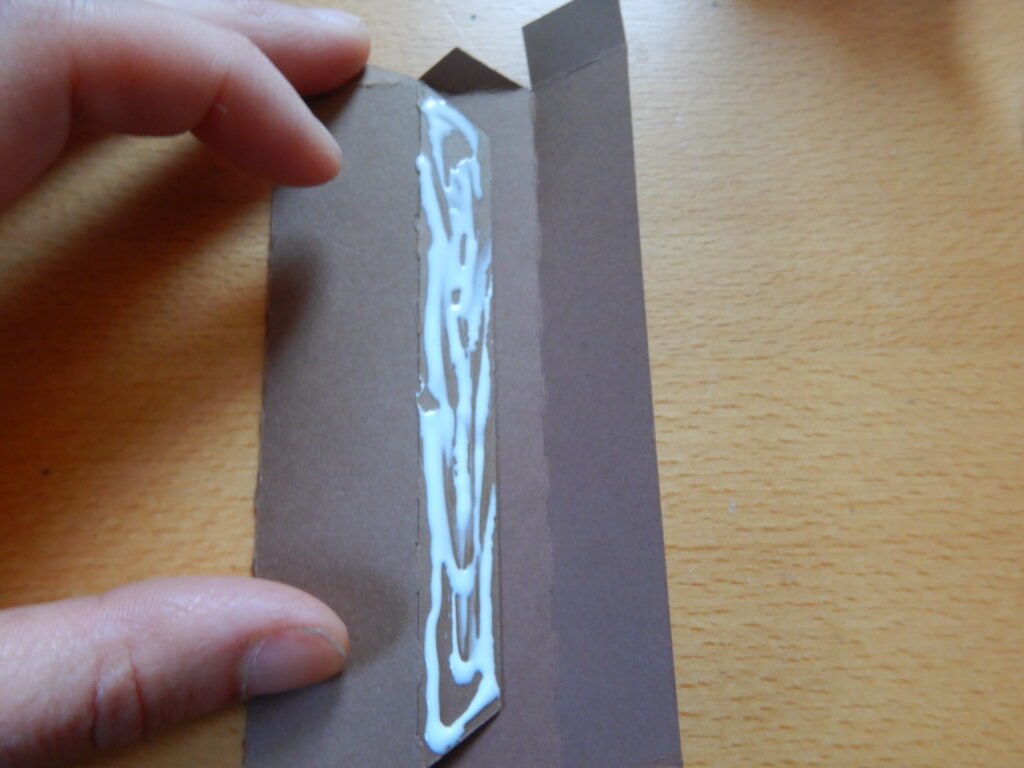
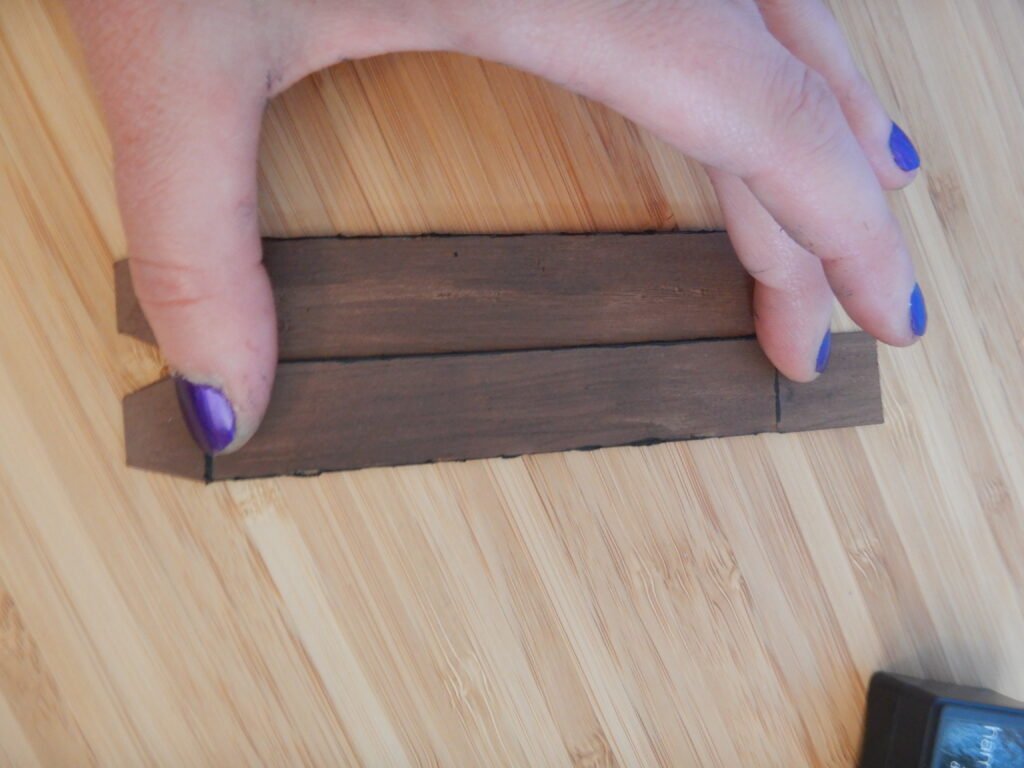
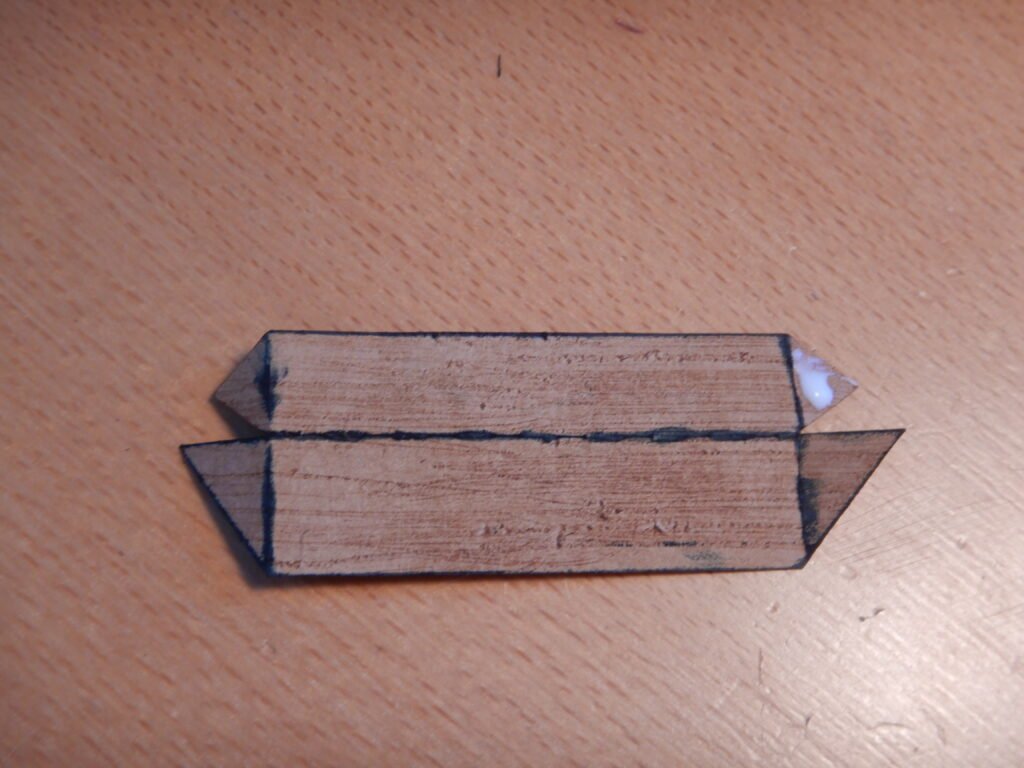
To start making the wagon, we first assembled the tongue of the wagon. To start, we distressed the paper with some sandpaper and added distressing ink. Then we folded along all the fold lines and added glue to the longest tab. When the glue was set, we glued the 3 tabs at one end and folded over the rectangular panel. this created a clean closure for the tongue. The other end has four tabs that will be used to attach it to the wagon box.
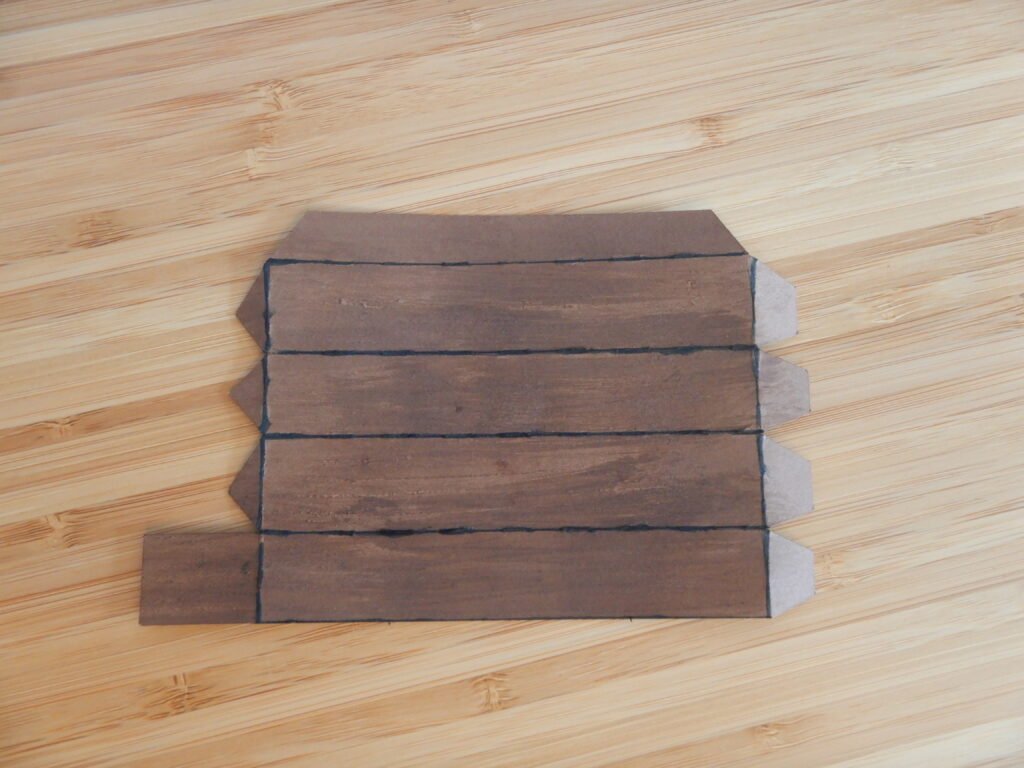
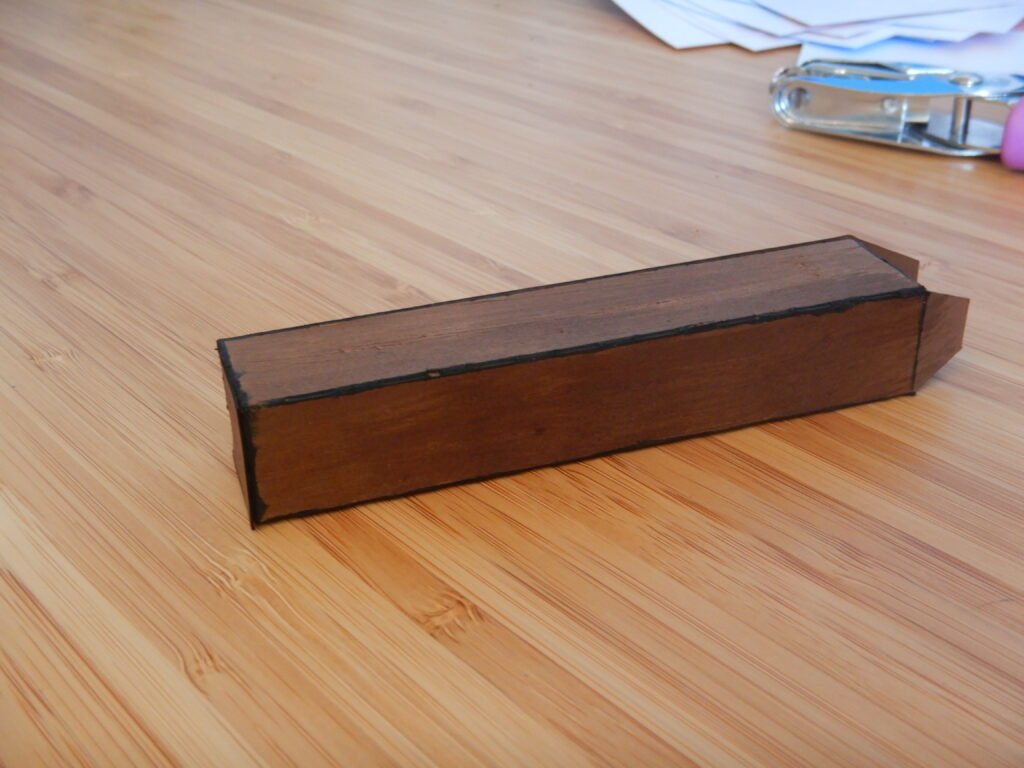
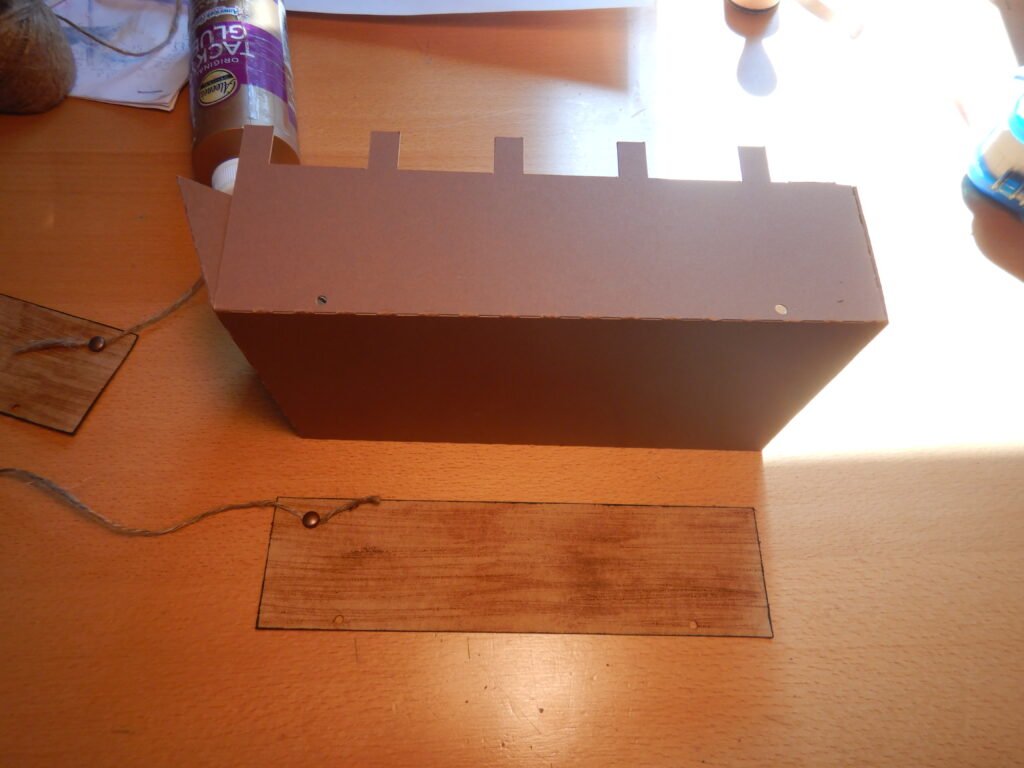
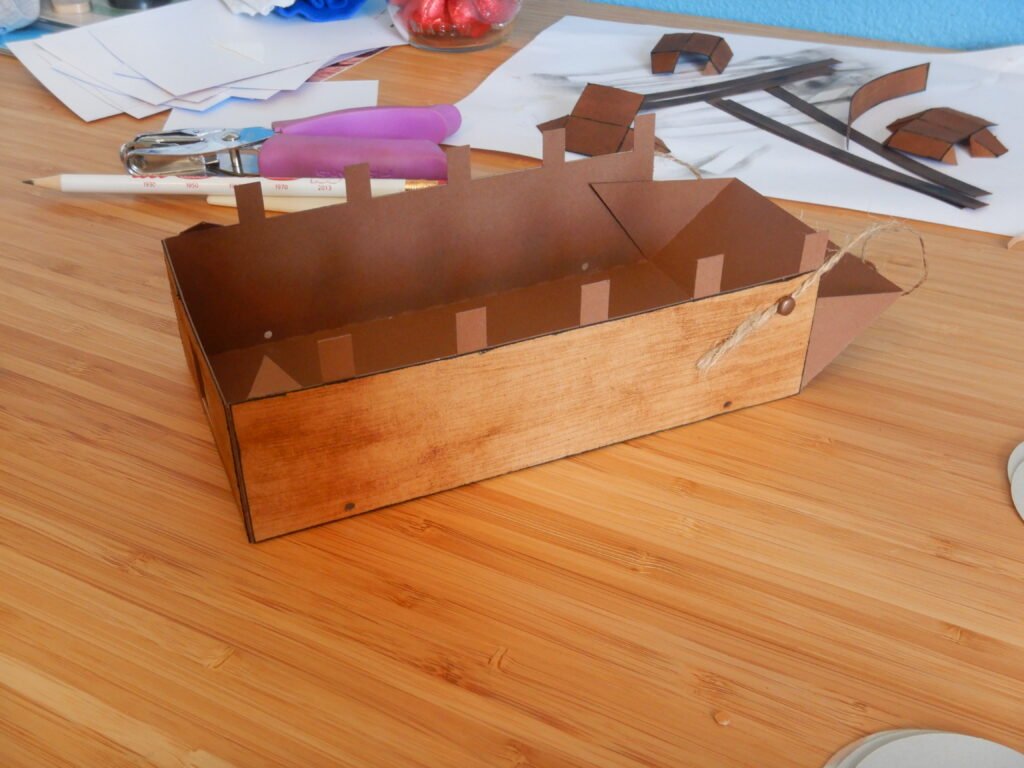
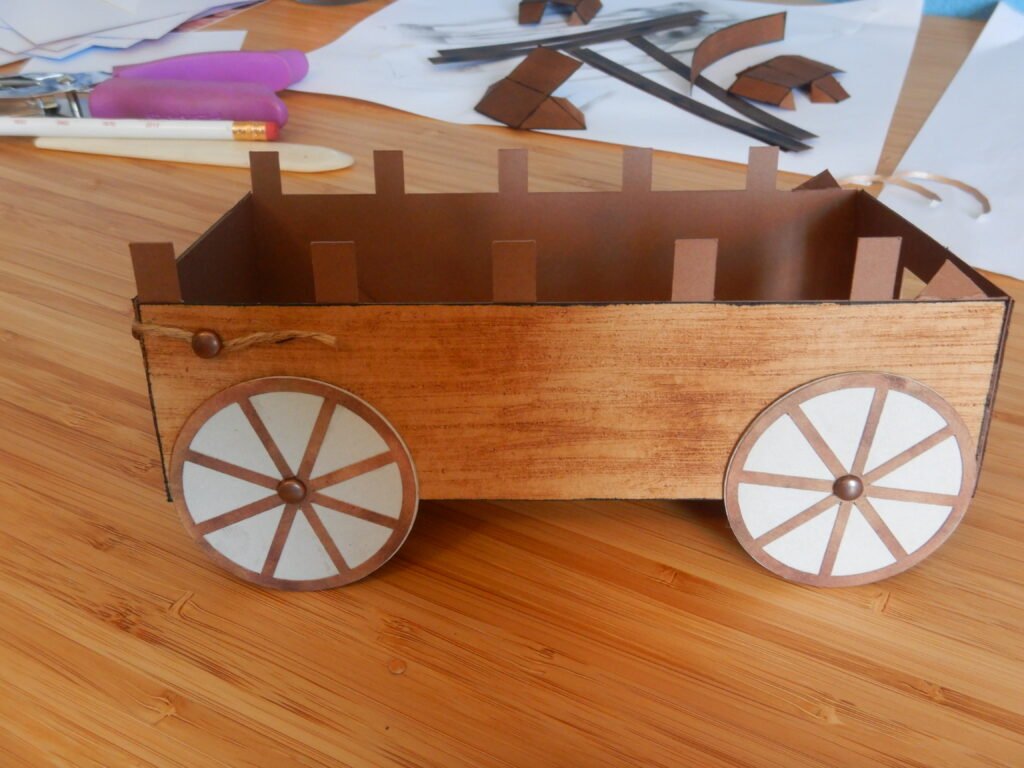
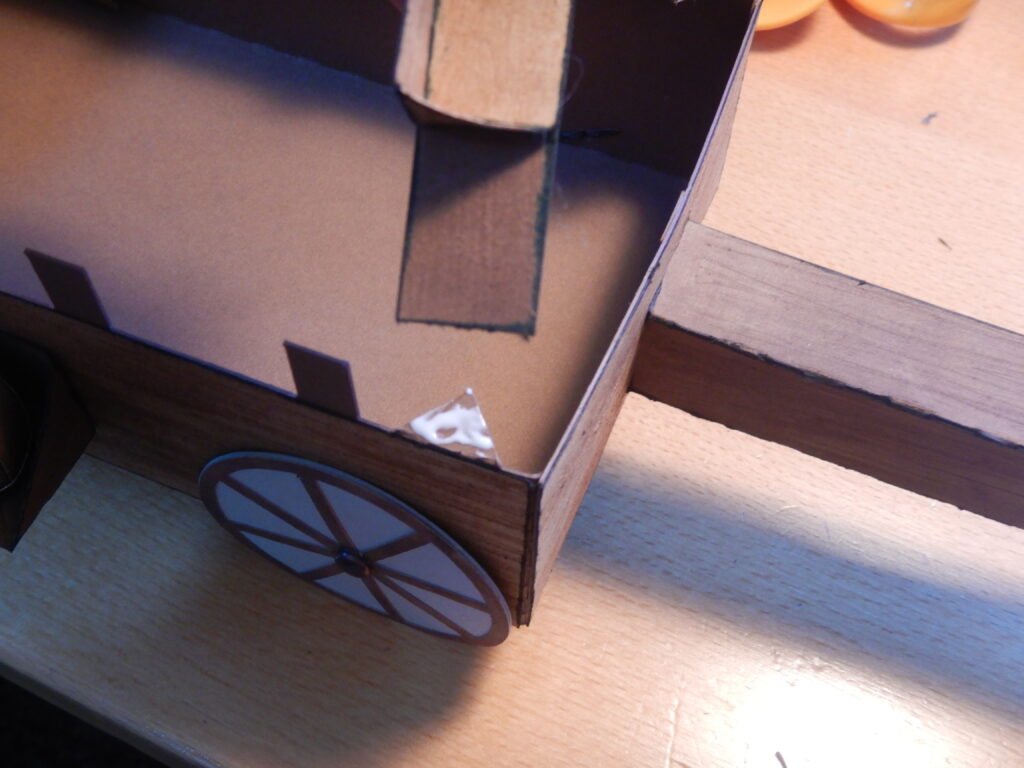
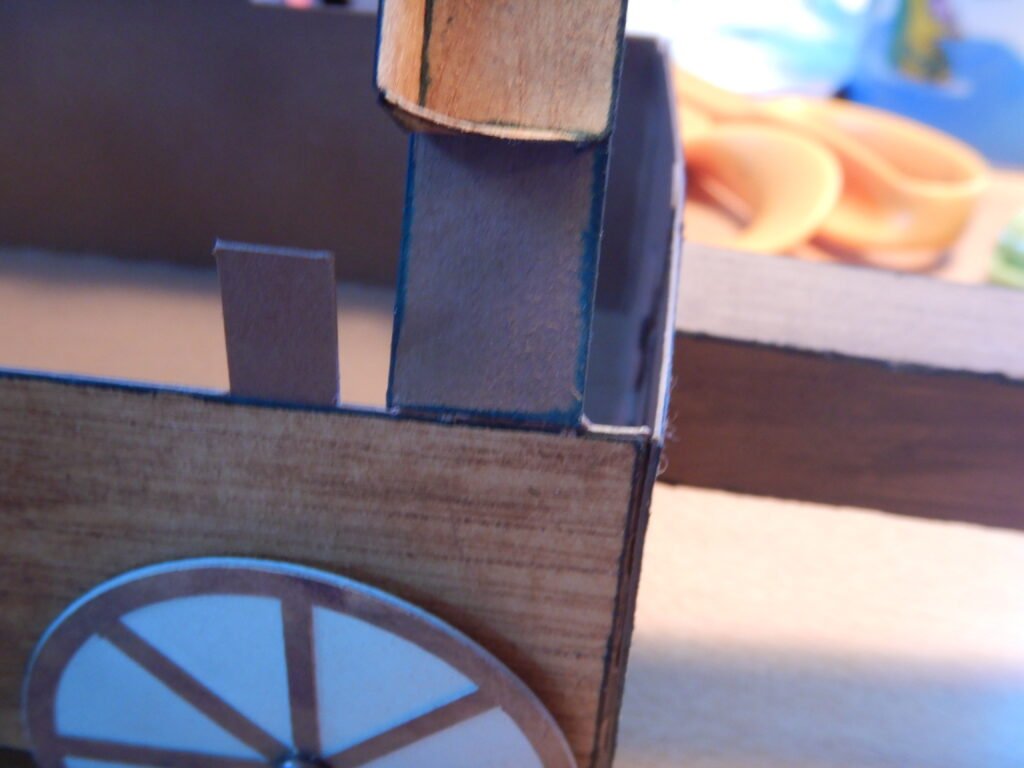
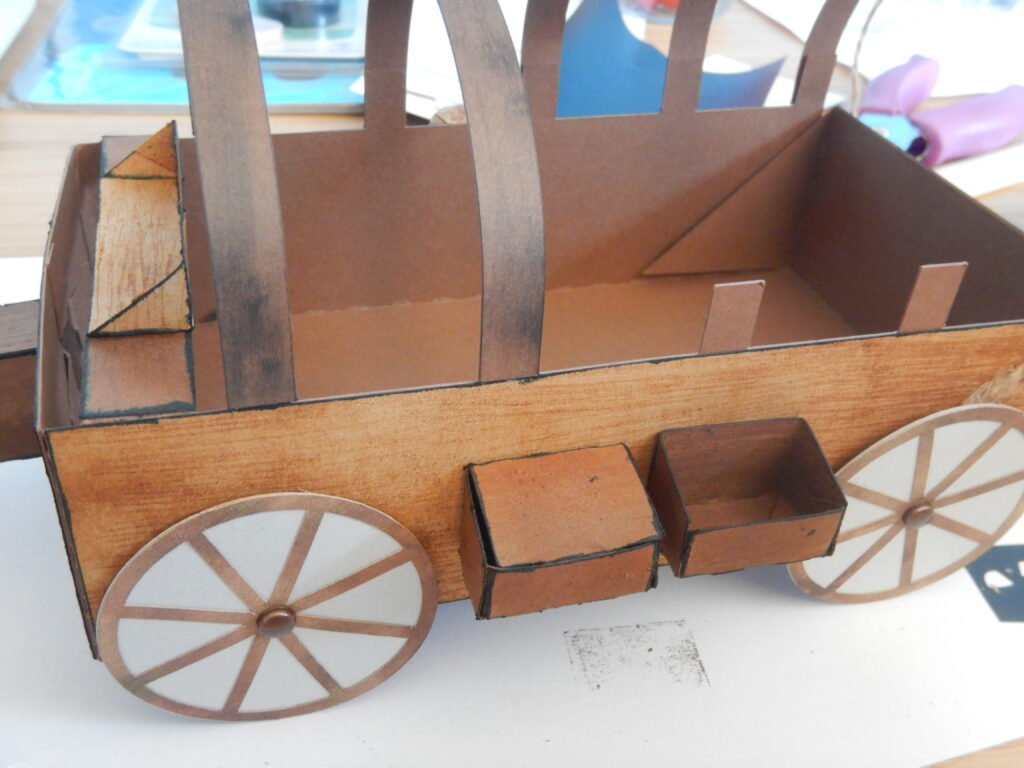
The next step was to make the wagon box itself. First, we folded in all the tabs to help with assembly. You’ll notice that there are five rectangles coming off the top and bottom of the box in the photo below. Do not fold these, they are going to be used for the Conestoga wagon cover and need to be strong and straight. There is a triangle shaped tab on the front of the box (both top and bottom in the photo below). These tabs can be folded as they are used to attach the bench in the front of the wagon.
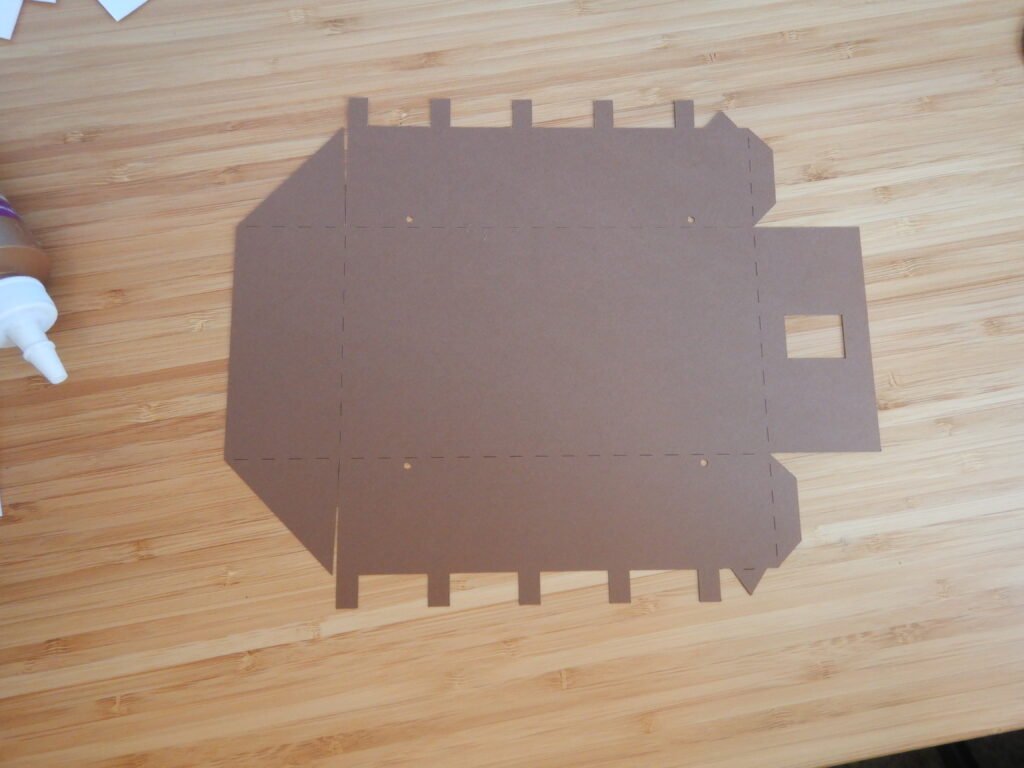
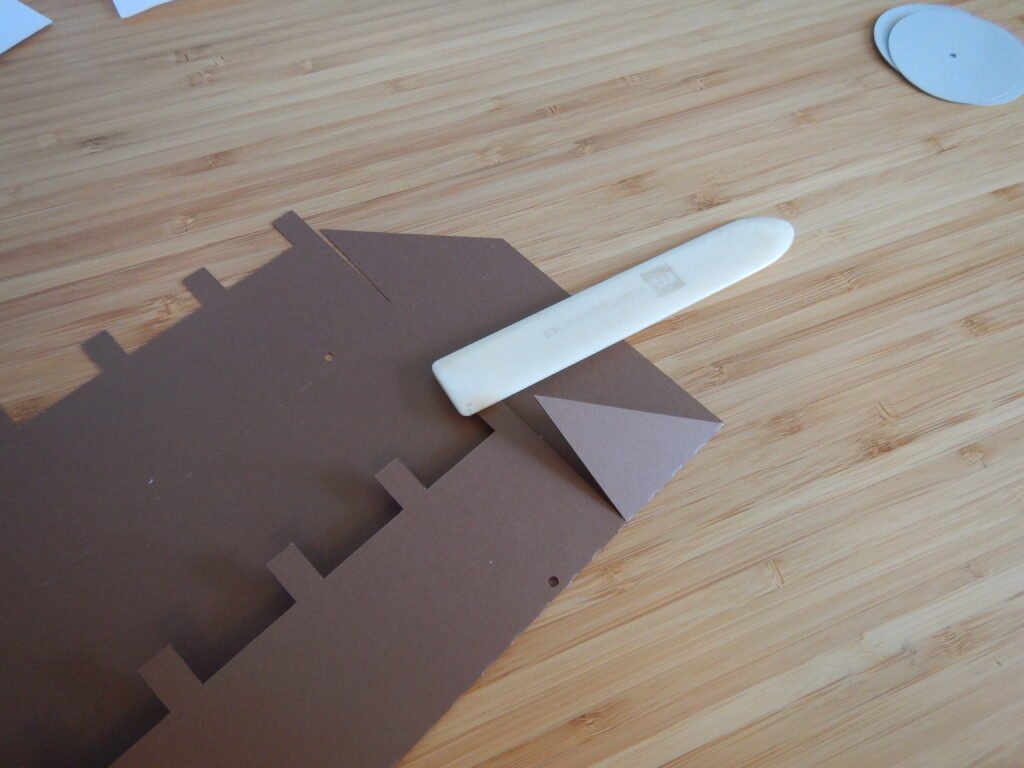
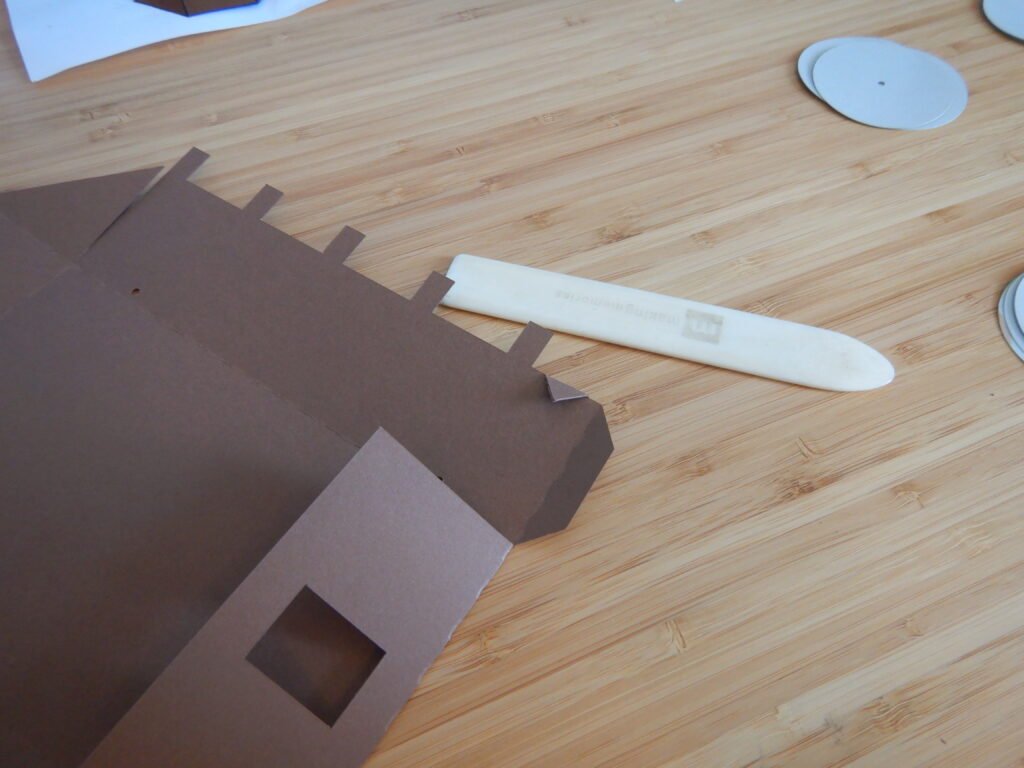
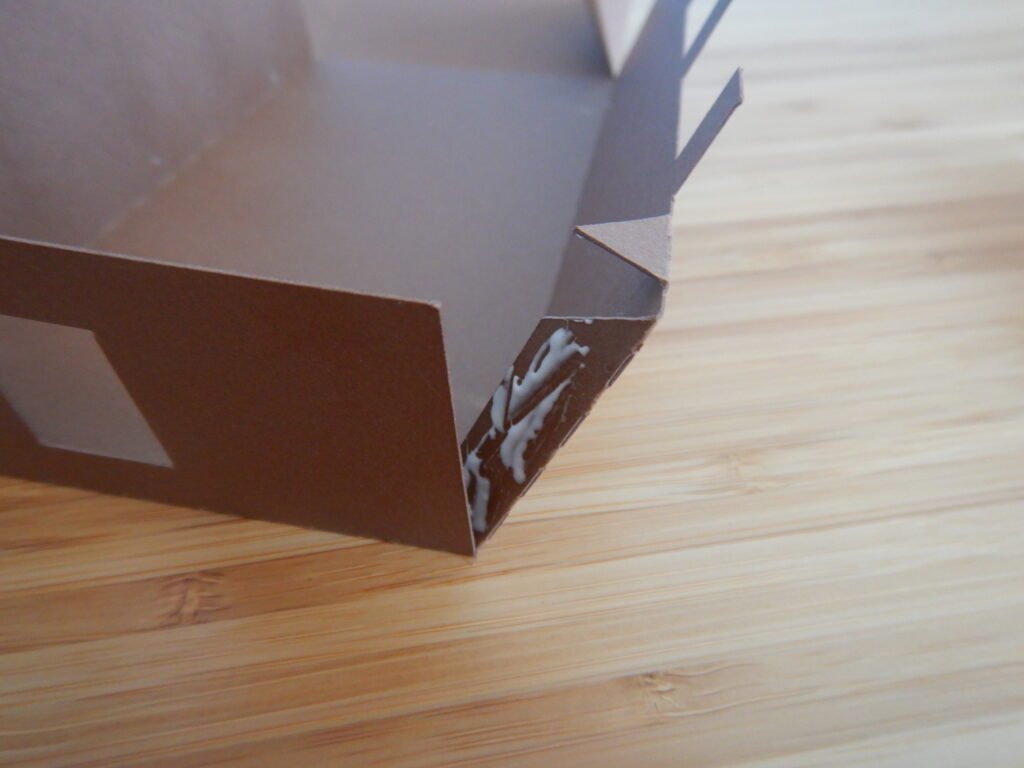
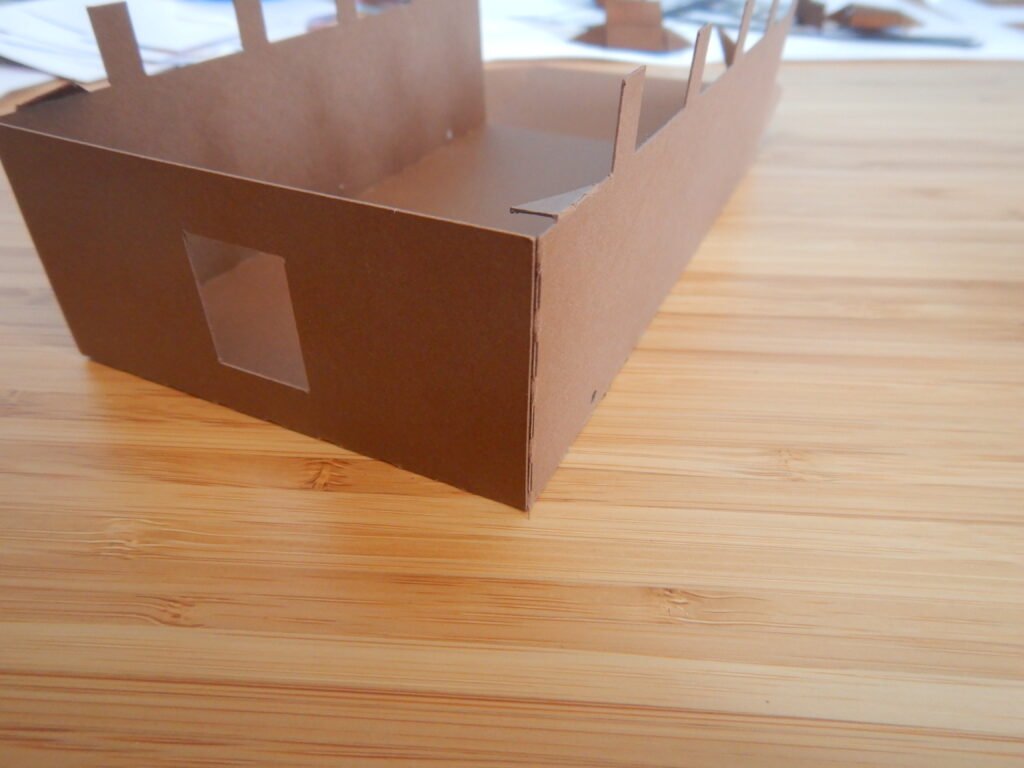
We then started adding glue to the two tabs at the front of the wagon. These are the only tabs you’ll glue right now. The large triangle tabs at the back of the wagon (the end with no hole in the panel) should not be glued. These are the wings for the tailgate and need to be moveable to open and close the back of the wagon.
Decorating The Wagon
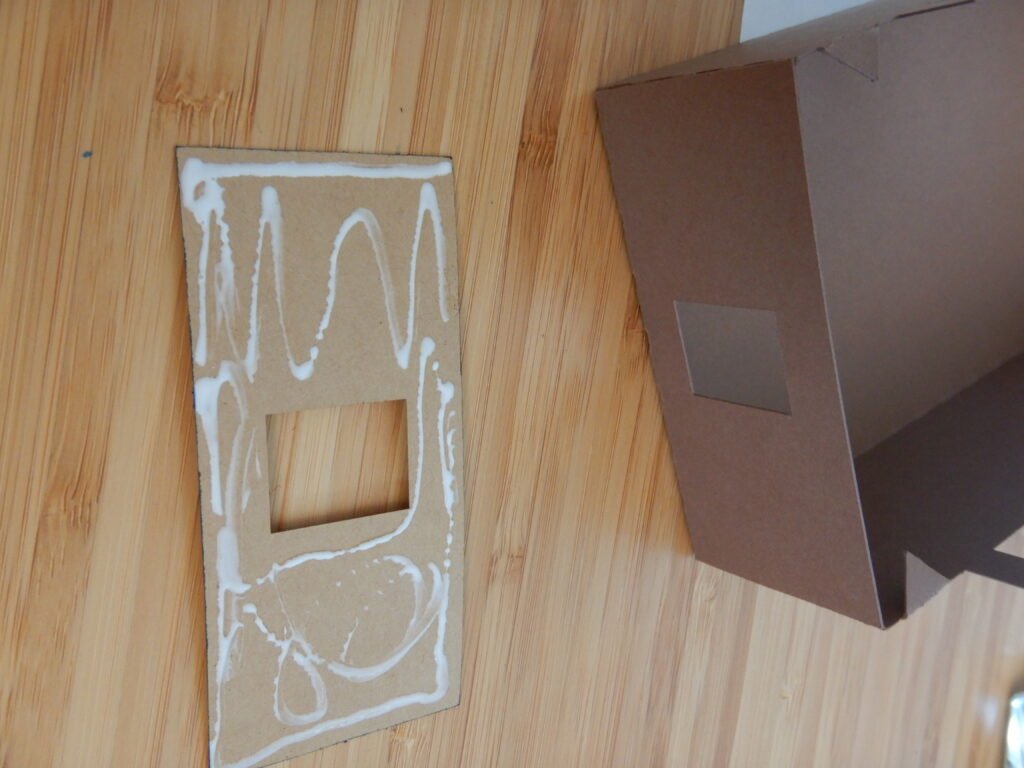
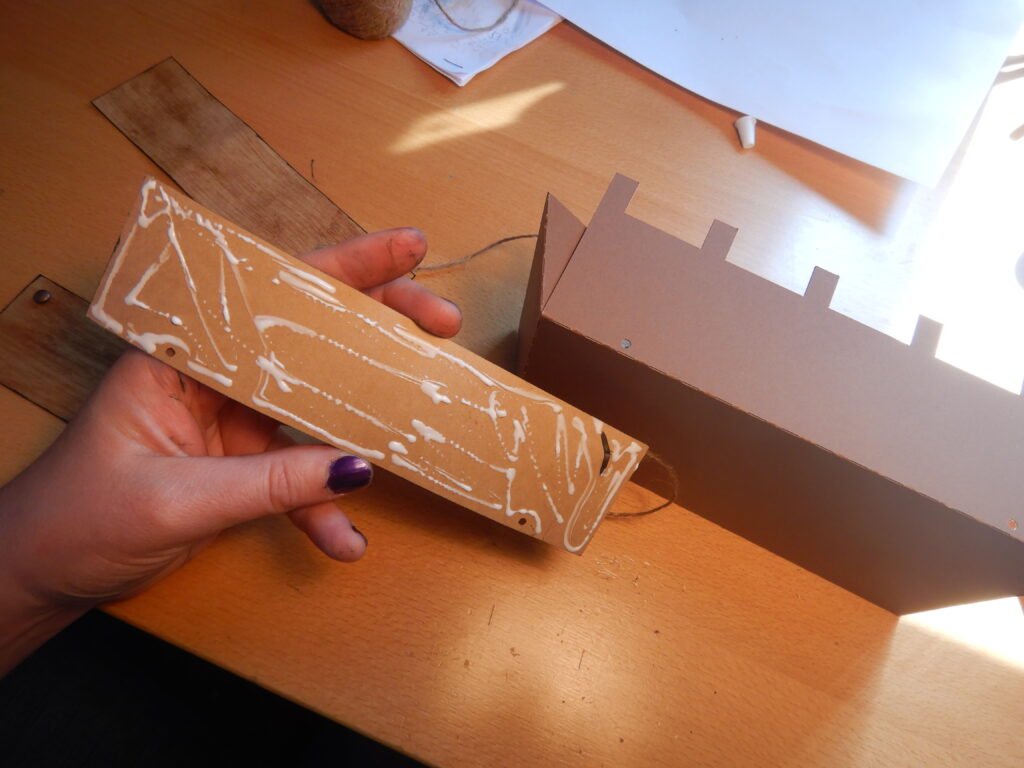
After distressing and inking the front panel of the Conestoga wagon (the one with a rectangular hole in it) we glued it to the front of the wagon. This is the only decoration that will go there, later we’ll add the tongue but not yet. It’ll just get in the way if you do it now.
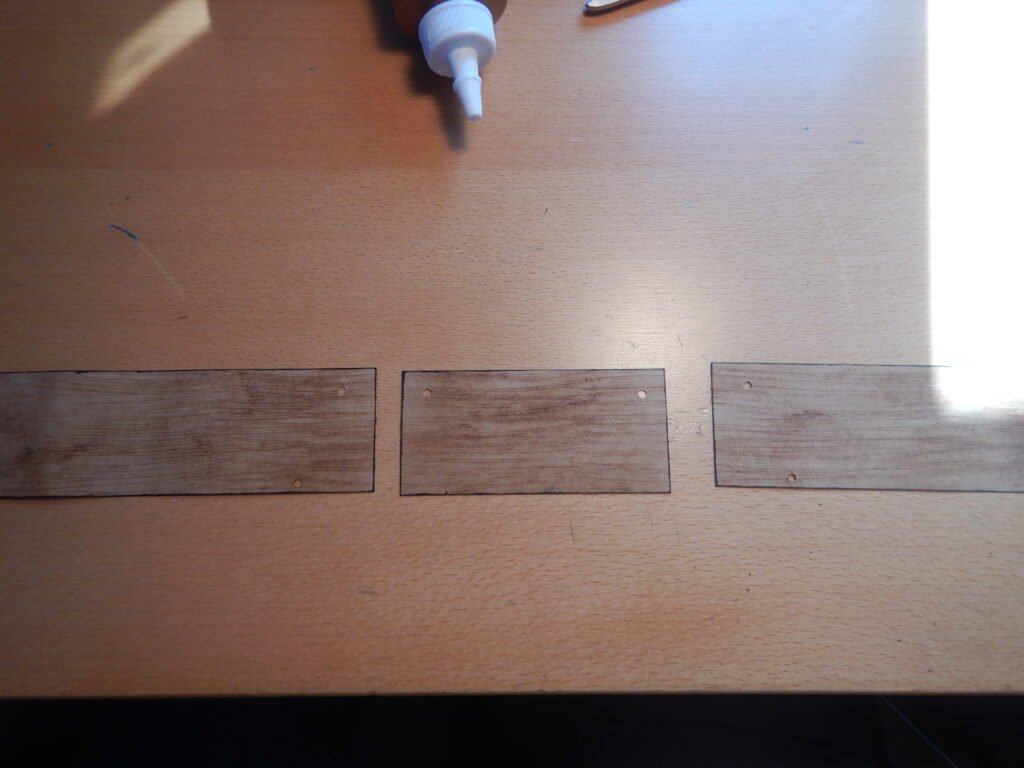
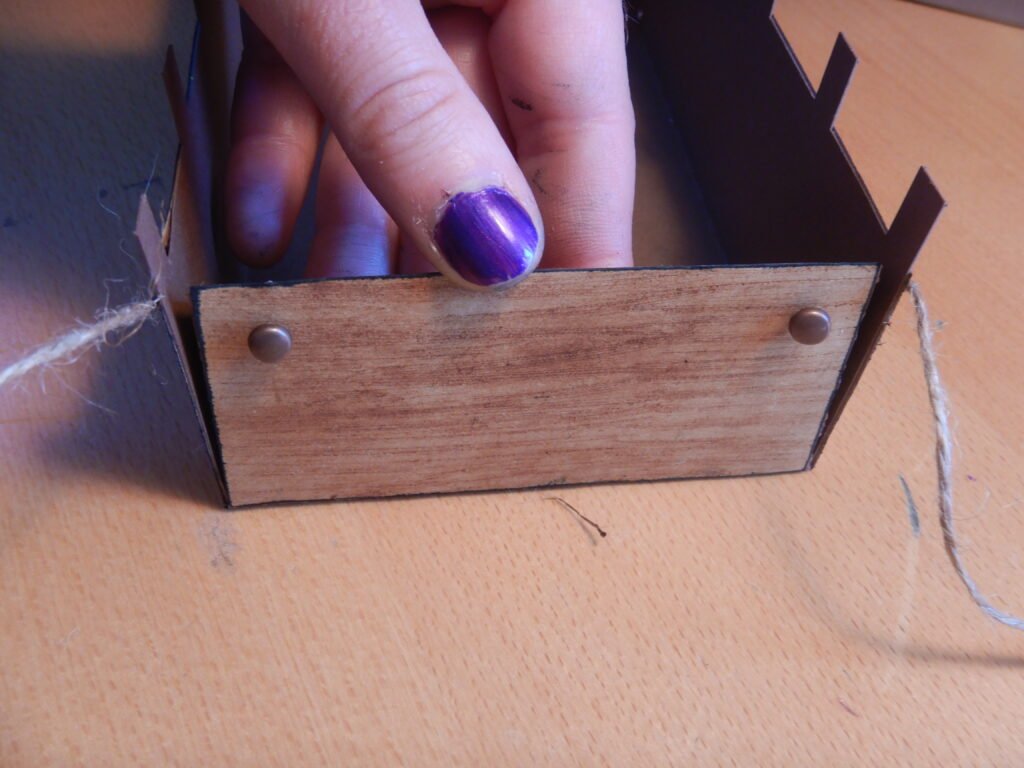
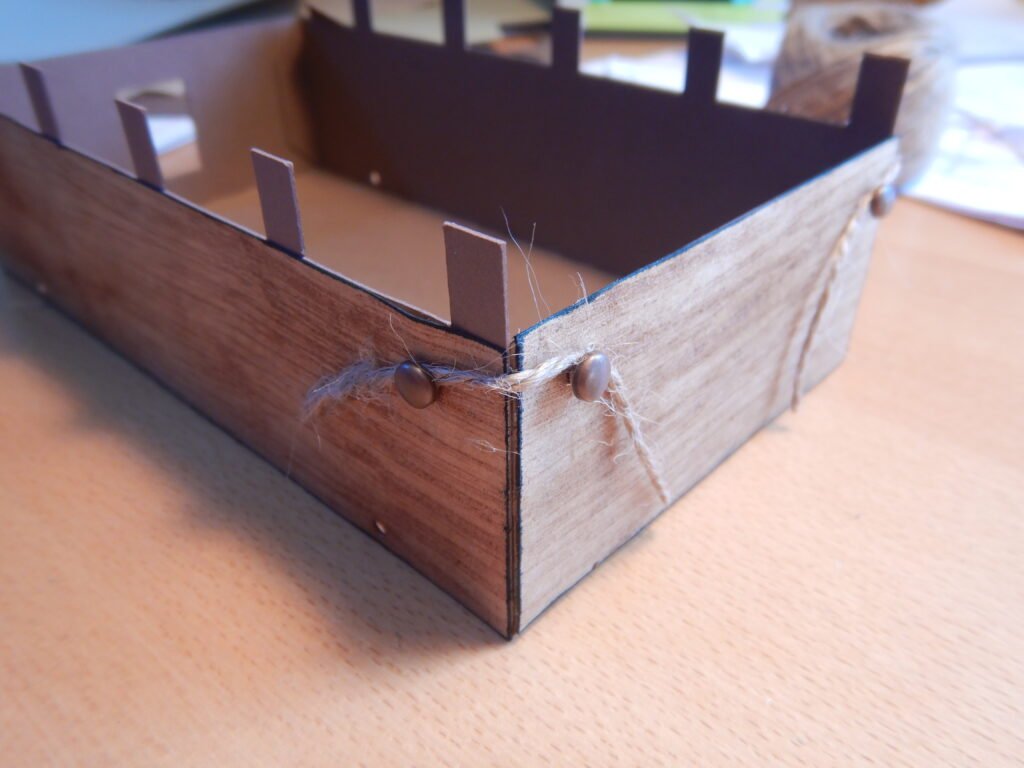
There are three more side panels, two long ones and one short. The shortest is for the tailgate and has two holes, one in each of the TOP corners. The long panels have two holes along the bottom. These are for the wheels later. There is also one hole in a top corner. Make sure that the hole in the top corner is at the back of the wagon when you attach it to the box. These holes are used to put brads in so that you can have a bit of string keeping the tail gate closed.
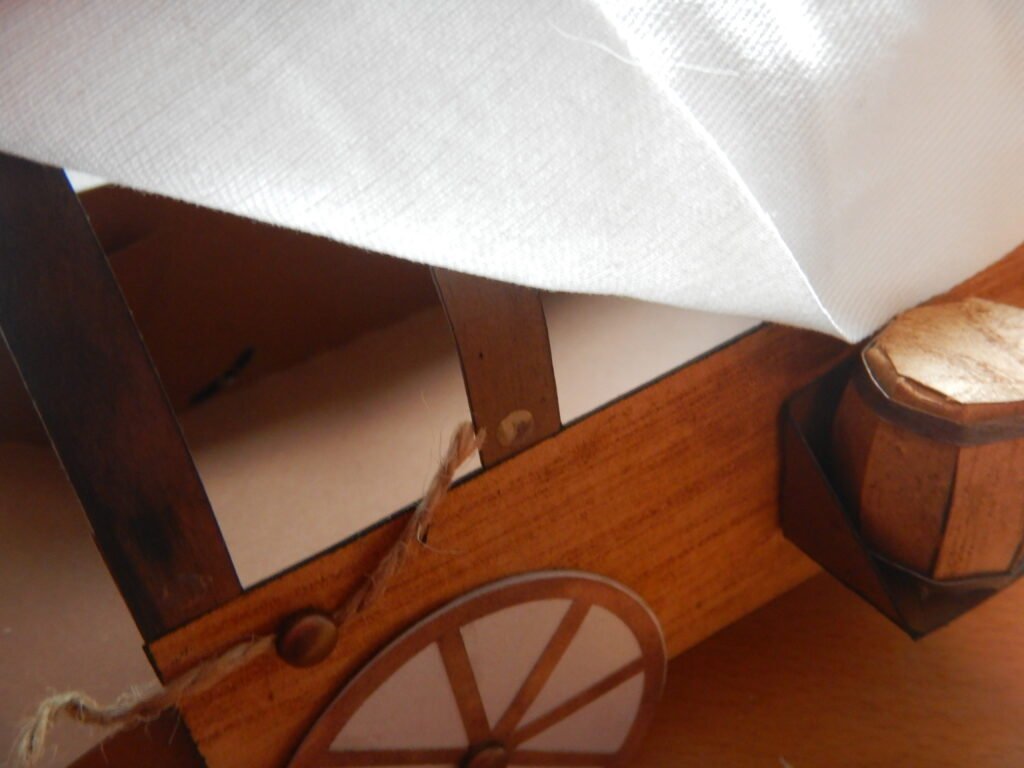
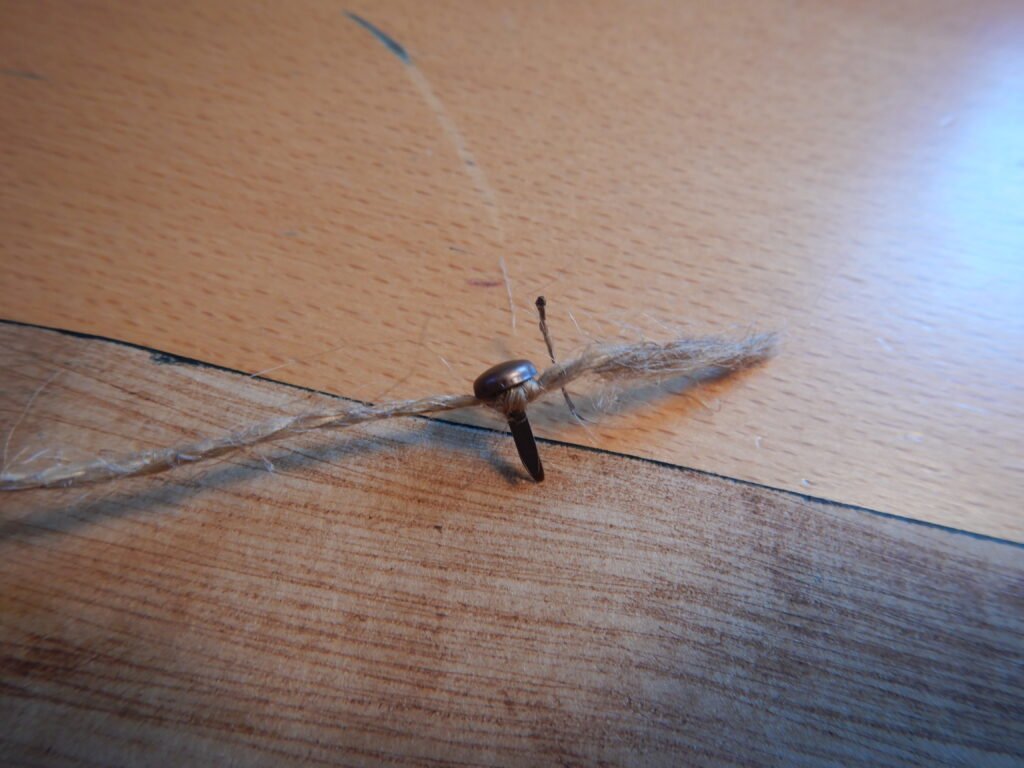
We used some baking twine and tied it around a brad. This brad we put into the top hole at the back of one of the long side panels. Then we did the same for the other side panel. The twine doesn’t need to be more than a couple inches long. The brads on the tailgate we chose to leave a little loose, which makes it easier to wrap and unwrap the twine when opening/closing the tail gate.
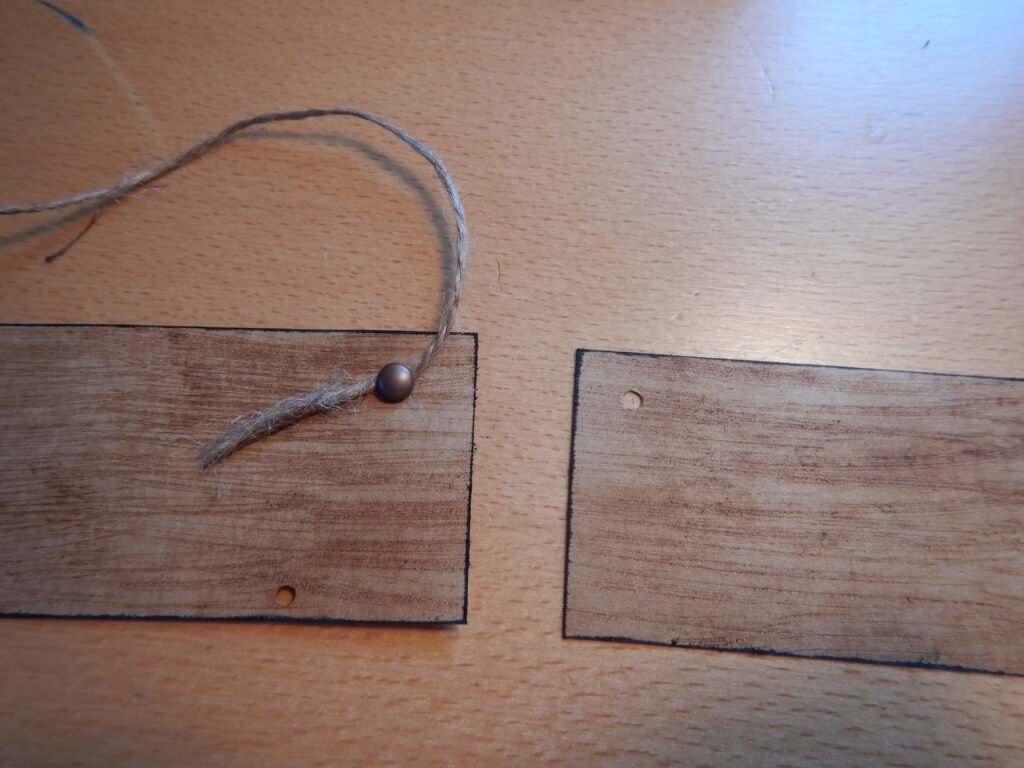
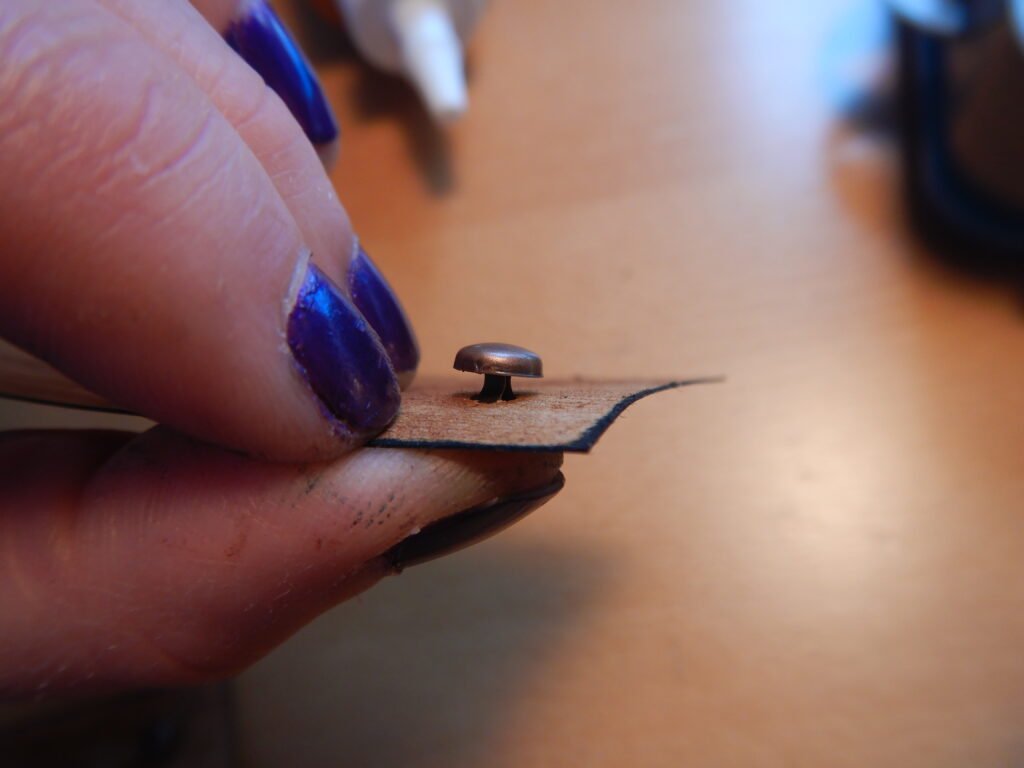
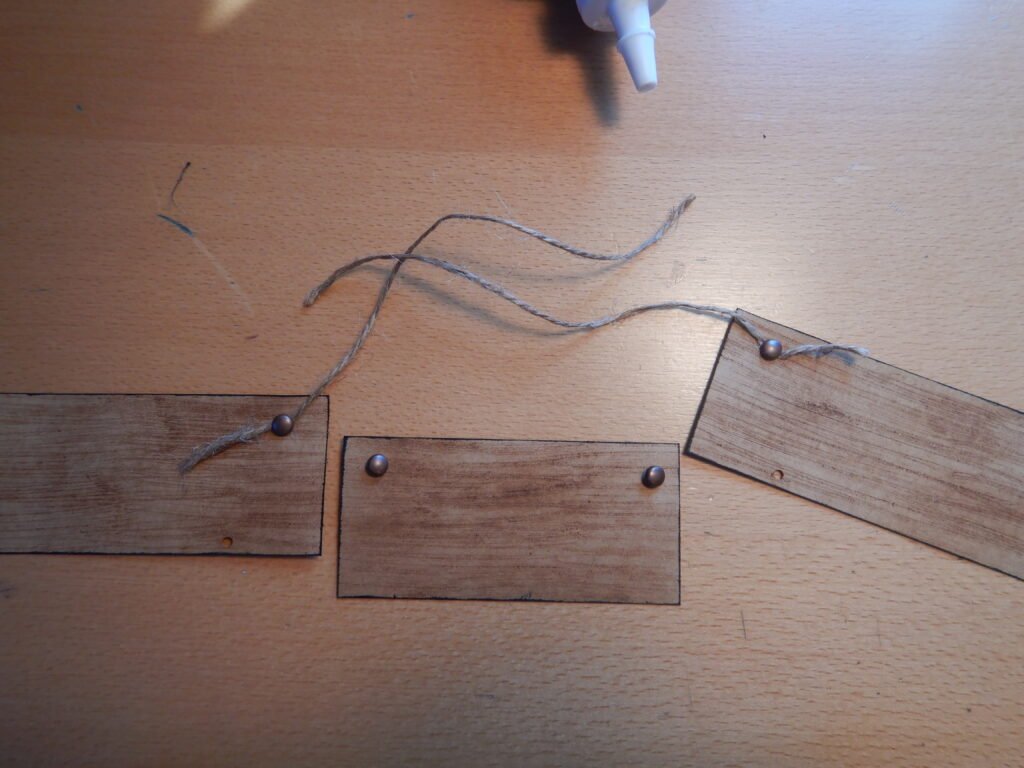
Once the brads and string were in place, we attached the side panels. Be sure to have the brads on the sides at the back of the Conestoga wagon!
Wheel Assembly
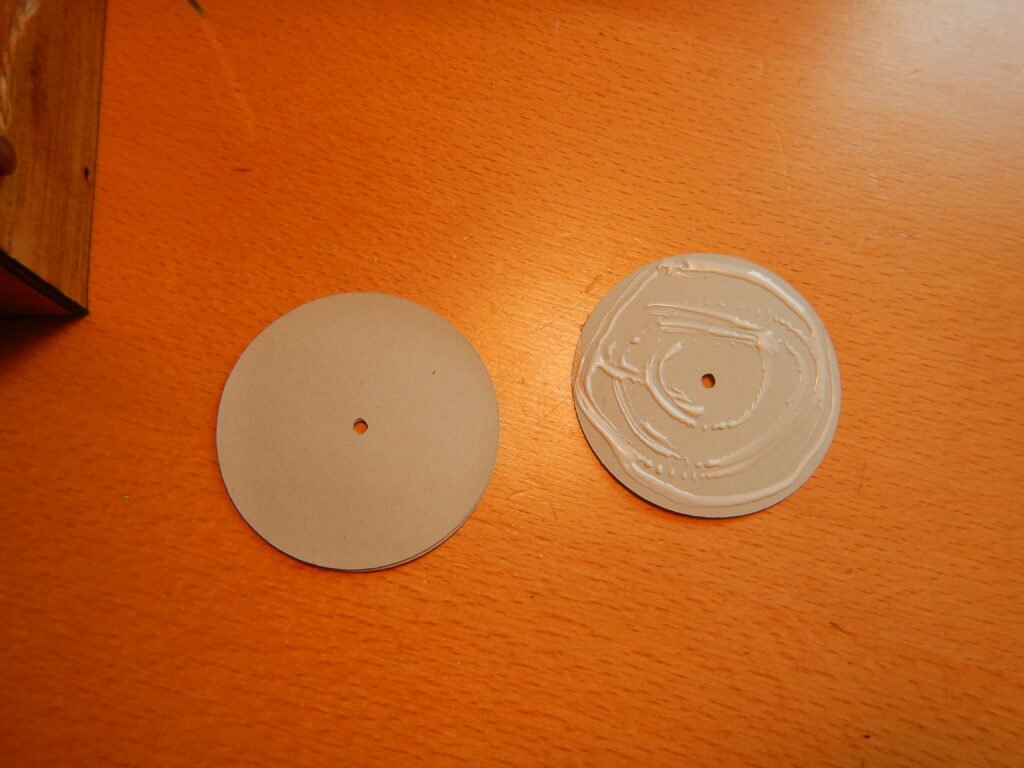
With the decorative sides on the wagon box in place, it’s time to make and attach the wheels. The boxes on the side are centered between the wheels so you need the wheels in place first. The wheels are made of several layers of the solid circles with a center hole. Stack and glue these together so you have four sets of equal thickness. Place them under something heavy while the glue sets. This will help make sure they dry flat. Once they are ready, you can add the decorative spoke layer to the wheels (or before squishing with something heavy).
When the wheels are ready, you can put a brad through them and into the wagon box. This will attach the wheels to the wagon. If you desire, you can add glue to the portion of the wheel that will be in contact with the box. Either way is good, gluing will add a bit of strength which may be helpful depending on how you plan to use your Conestoga wagon.
Conestoga Wagon Decorations
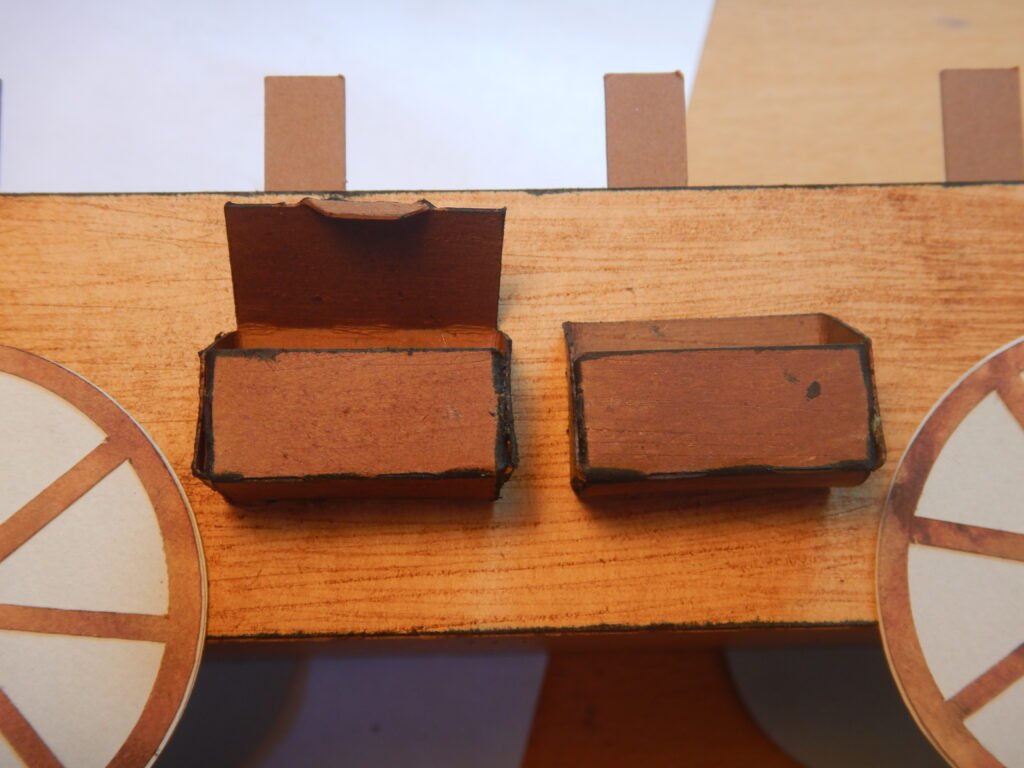
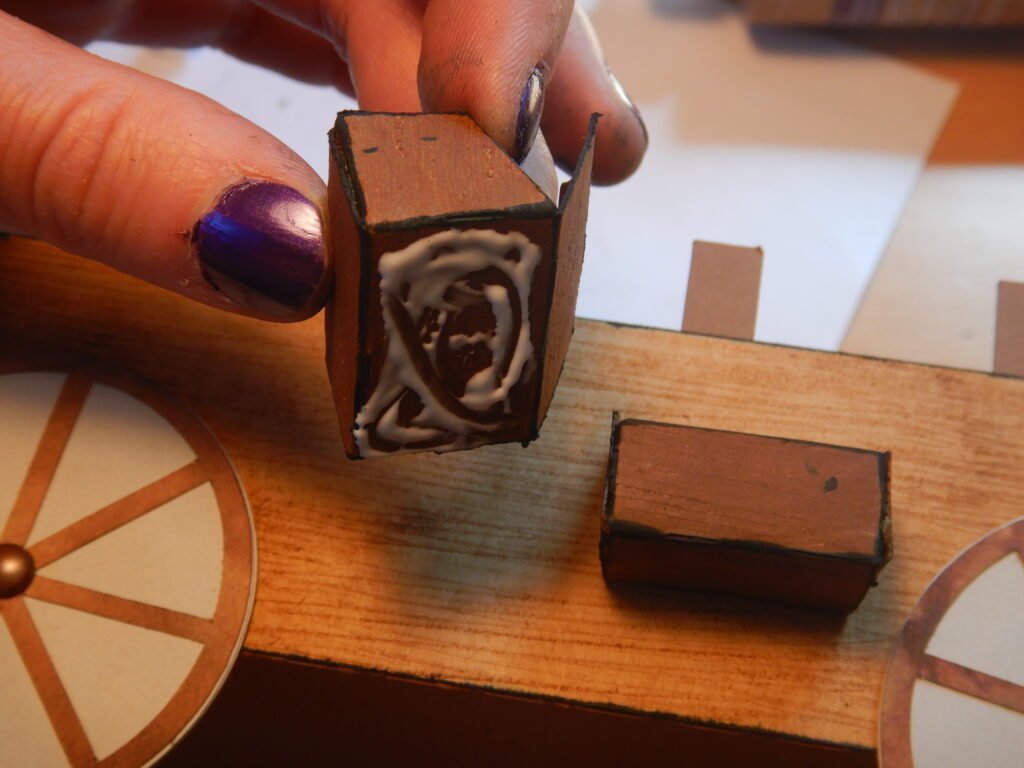
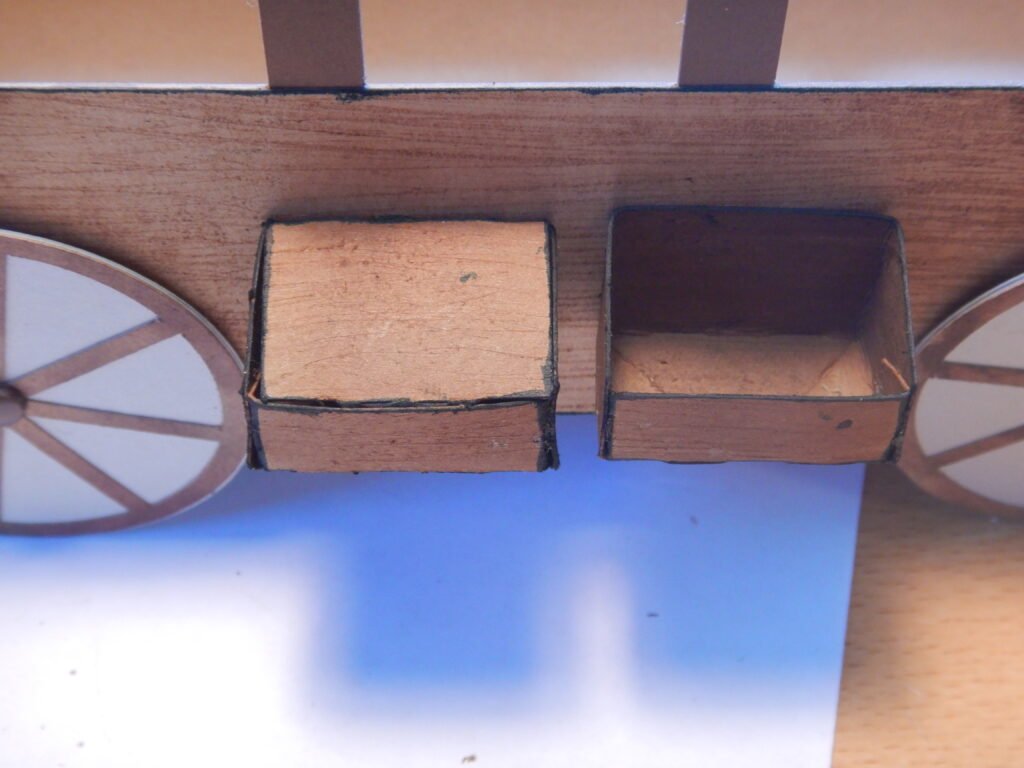
With the wheels in place, it’s easy to see the spacing for the decorative boxes on the sides. There are three boxes, one with a lid, one without, and one that’s open on the top and side. The last one is for holding the barrel. These three can go anywhere and in any order, but we chose to put the two boxes on one side, and the barrel on the other. Each box comes as one piece. After we destressed and inked the boxes, we folded in the tabs, added some glue, and held them into position.
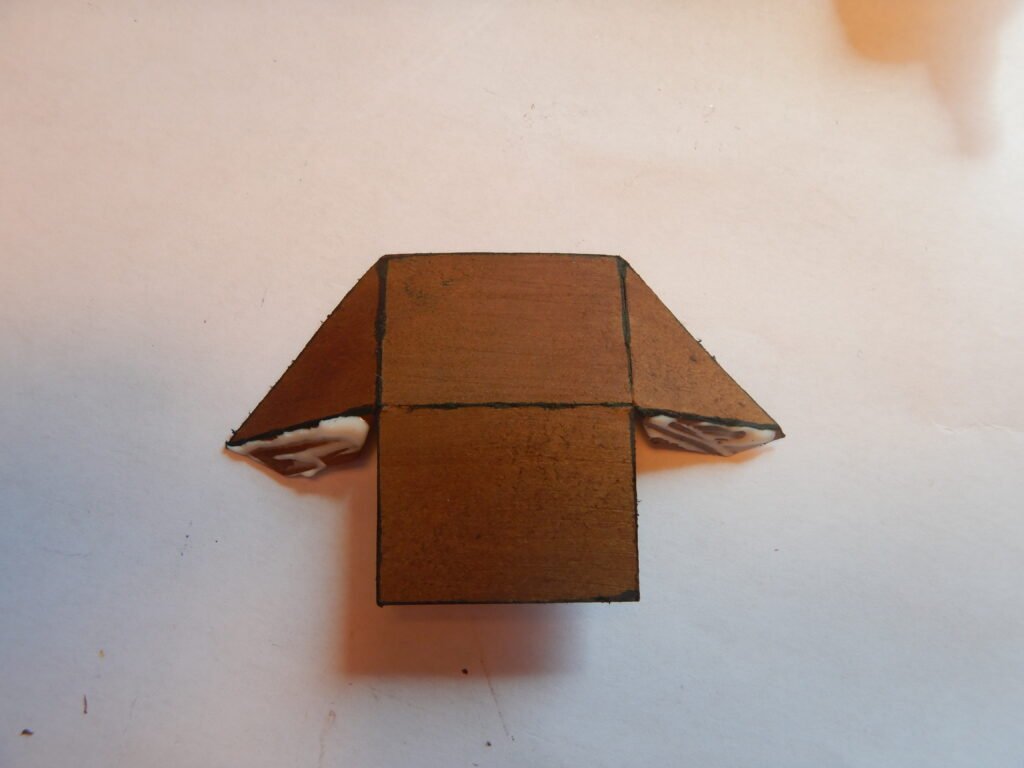
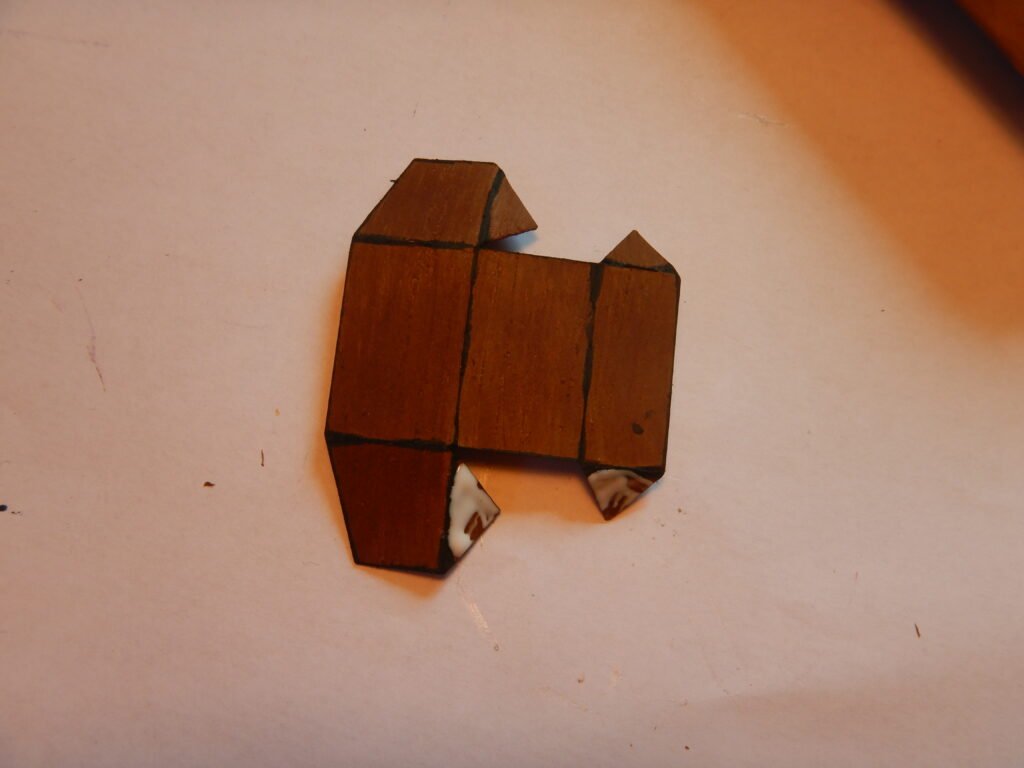
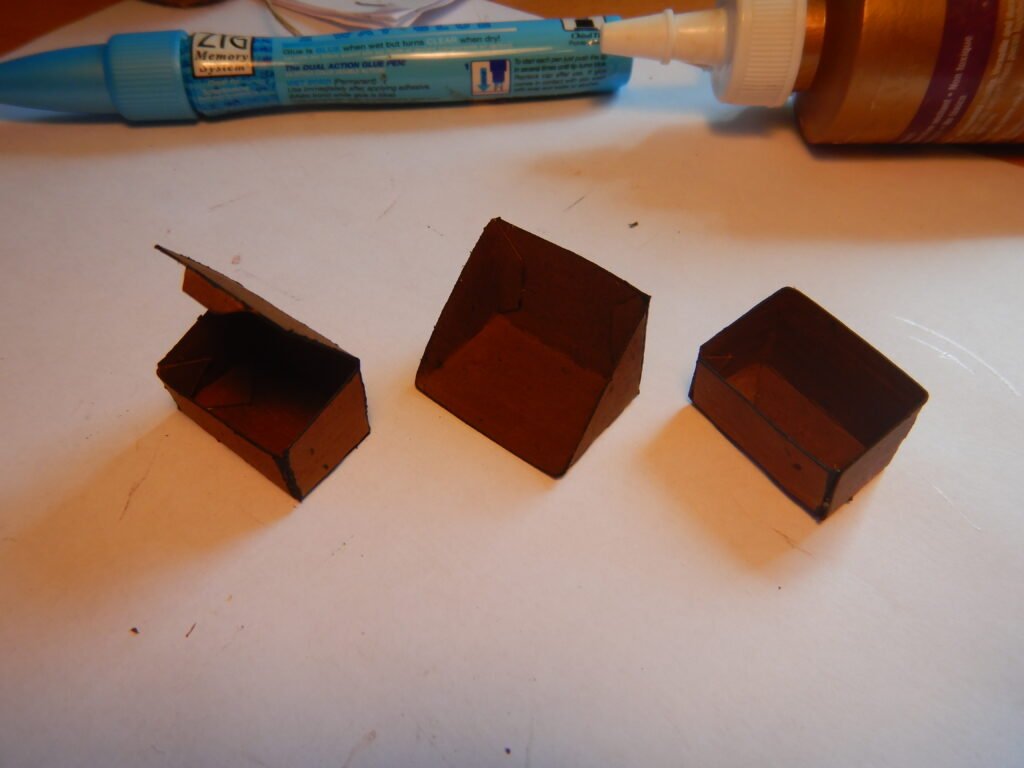
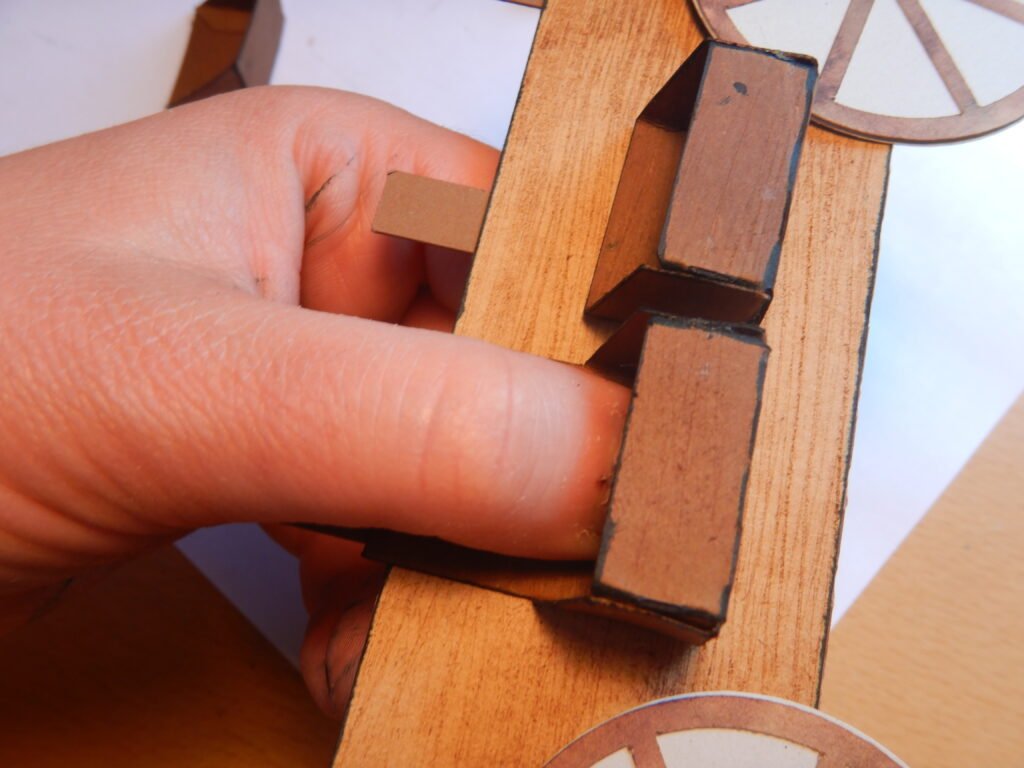
For placement of the boxes, we laid the wagon on it’s side and placed the two side by side. This helped us to decide on what we wanted. Then we added glue and applied some pressure to help get a firm hold.
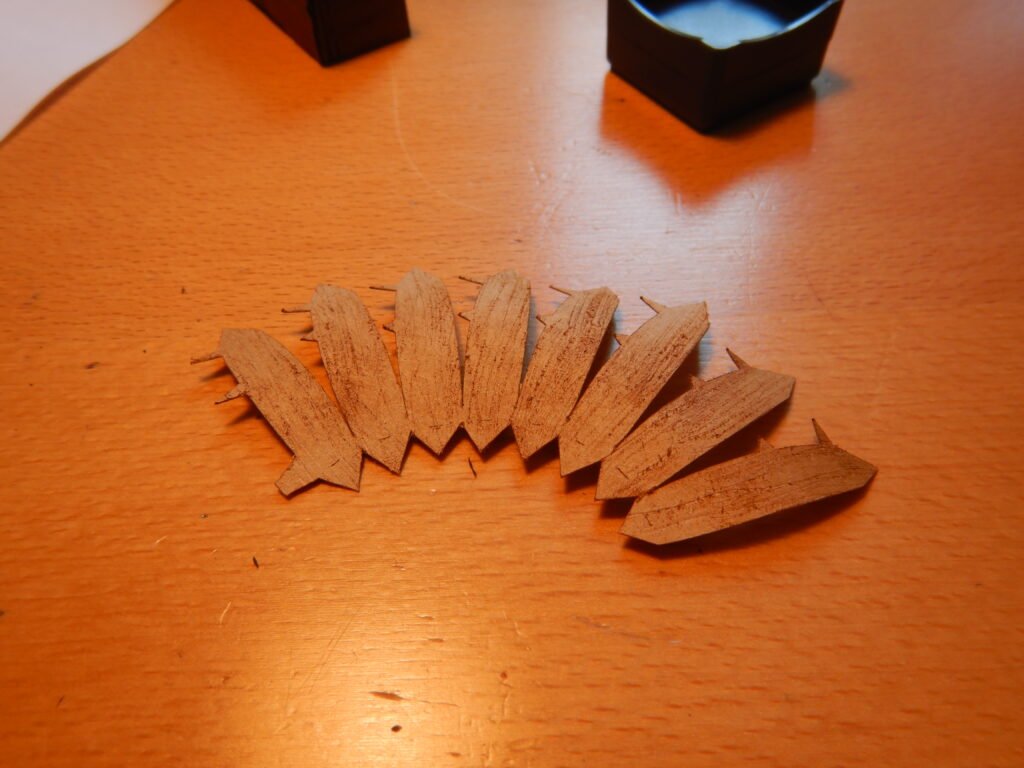
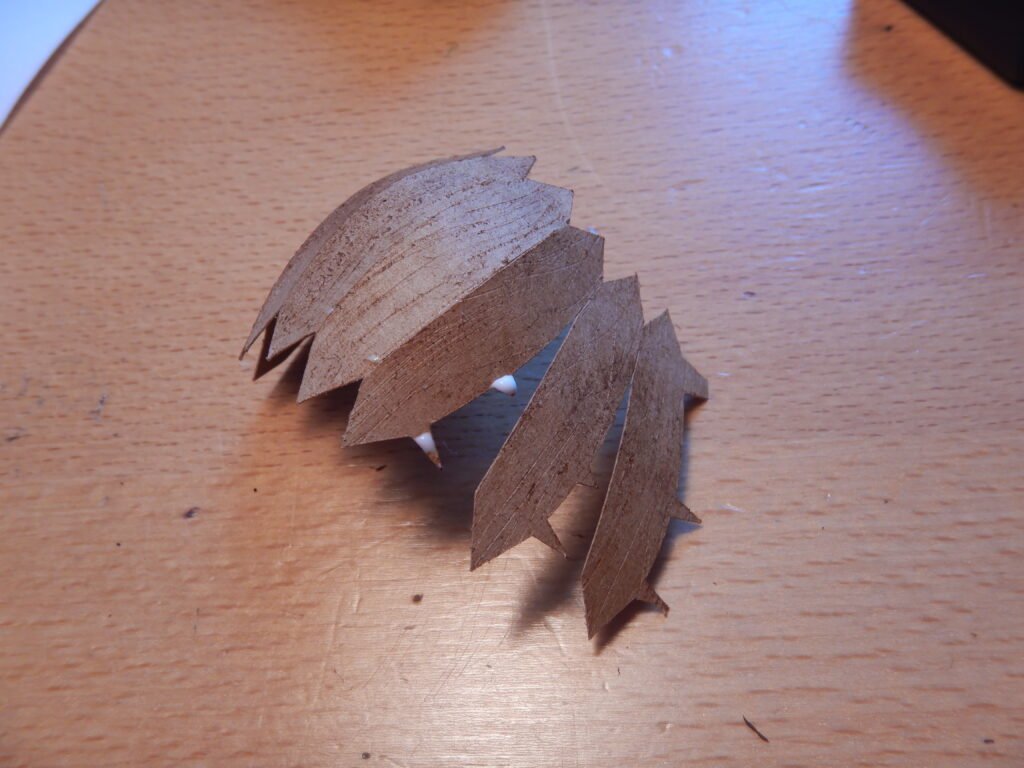
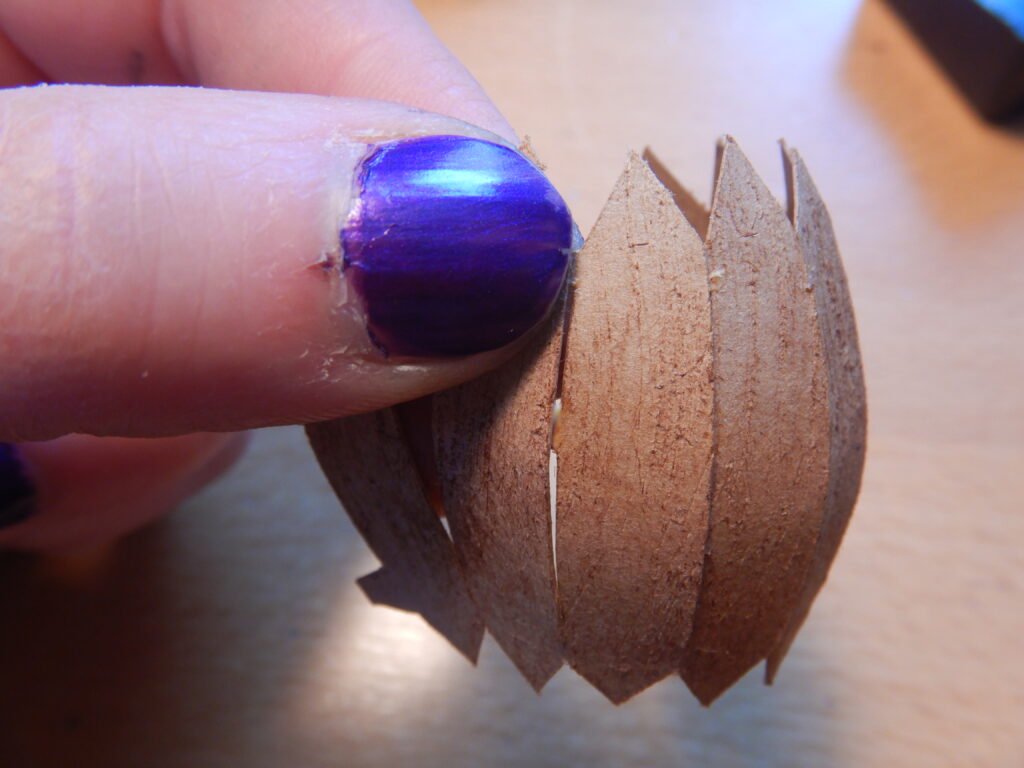
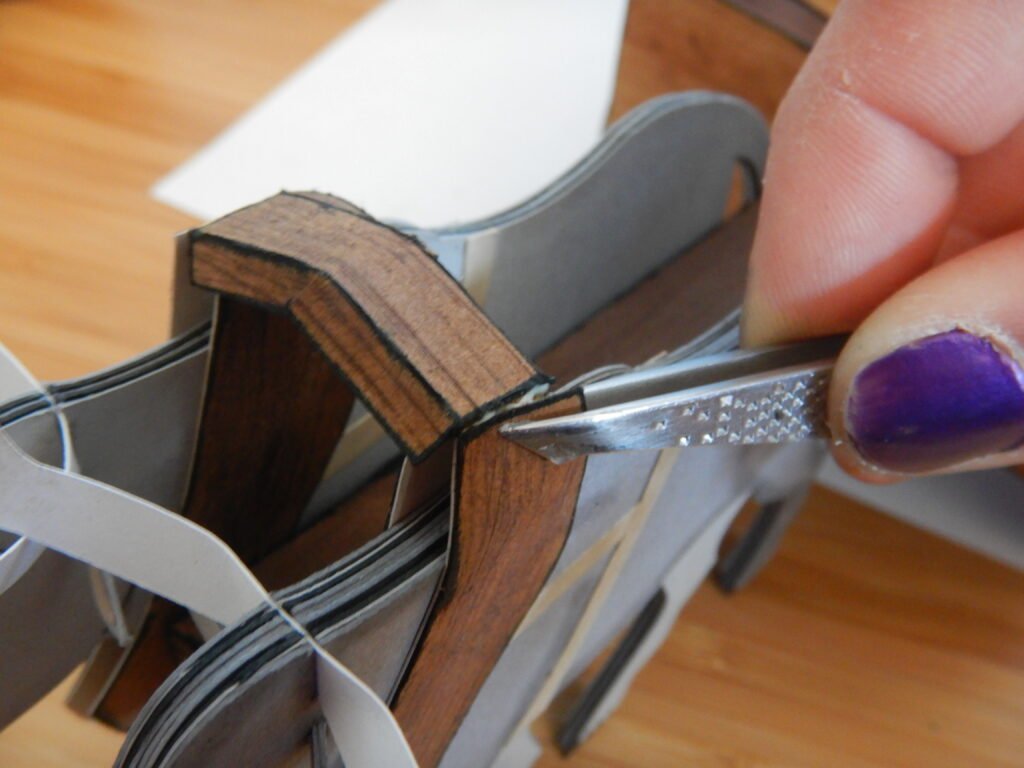
Before attaching the box to the other side of the Conestoga wagon, we made the barrel to put inside. To make the barrel, we gently encouraged each piece to curve just a little. Be careful as it’s a small connection between each panel. Then we added a little glue to two of the tabs and held them in place with a finger. Make sure to line them up as much as possible. There will be little gaps visible but that’s fine. Work your way around until all the sides are attached. To close the circle, we attached the large tab at the bottom of the last panel to the bottom of first panel. When the glue is set you can attach the two top tabs the same as before. We found it easiest to use tweezers to help hold pieces together.
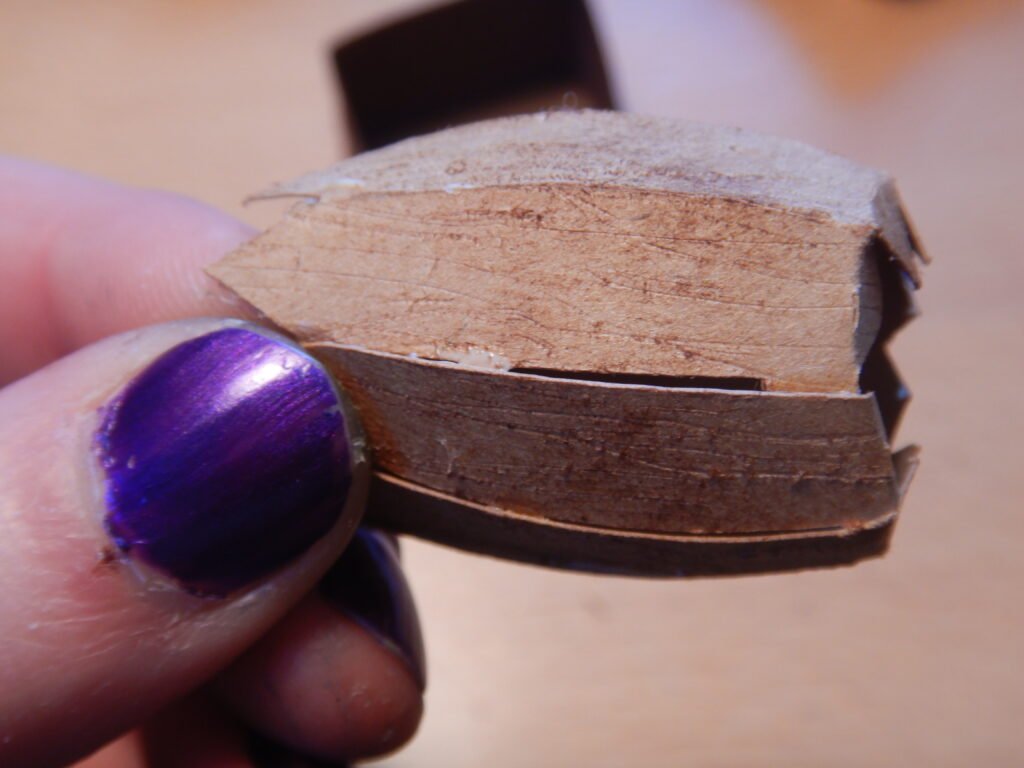
Fold in the tabs on either end to see which side the octagon shape fits best. There’s no real top or bottom as they should be identical but while assembling all the tabs one side might come out a little better than the other. Once you have picked an end, add glue to the tabs and hold the top in place.
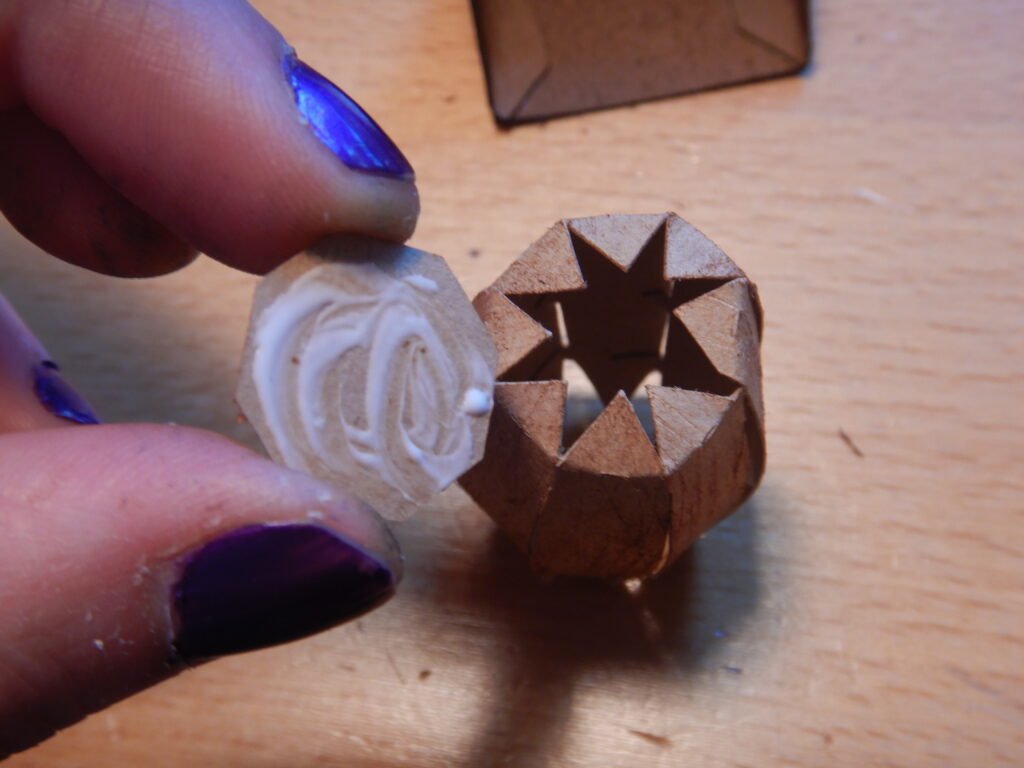
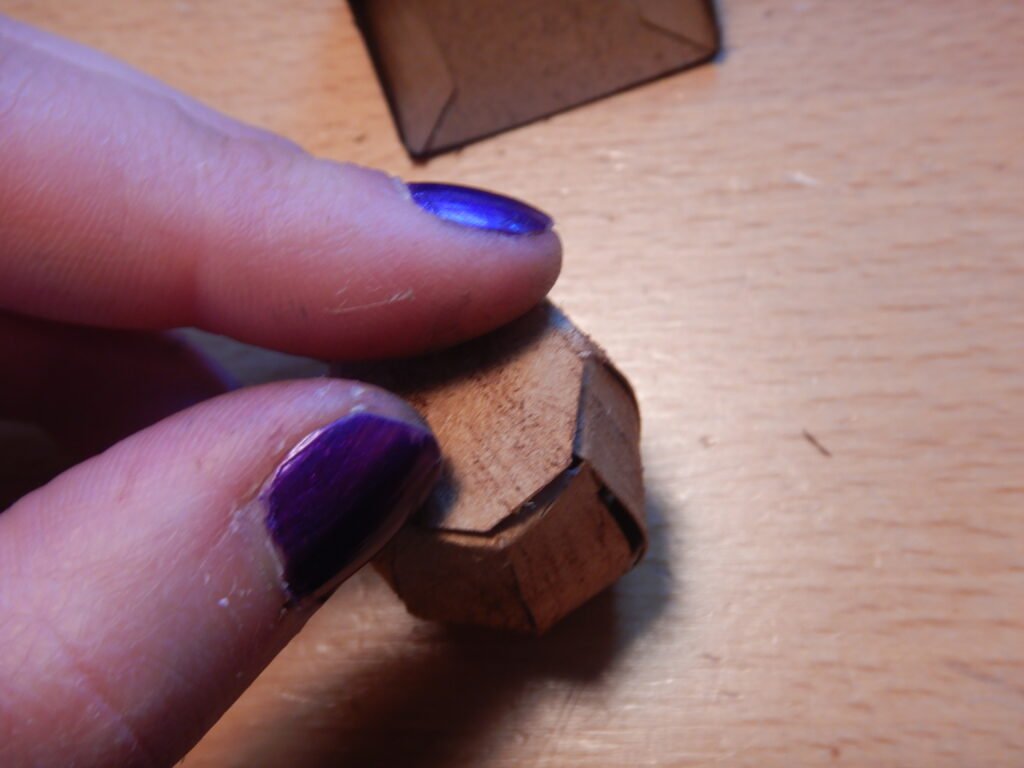
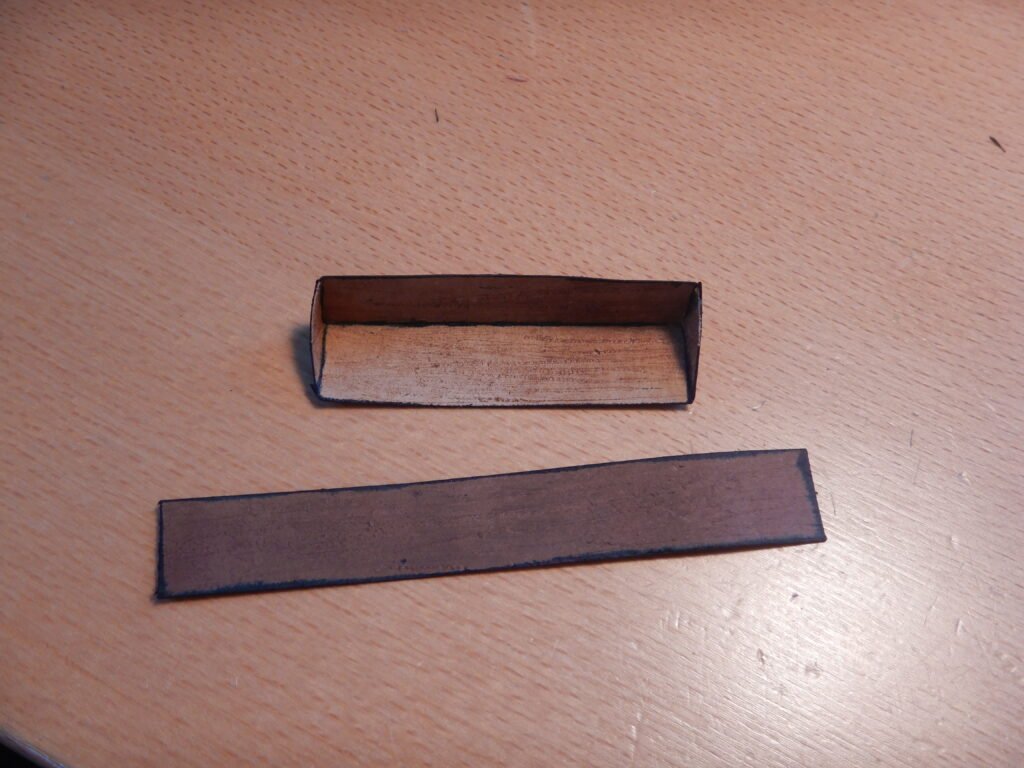
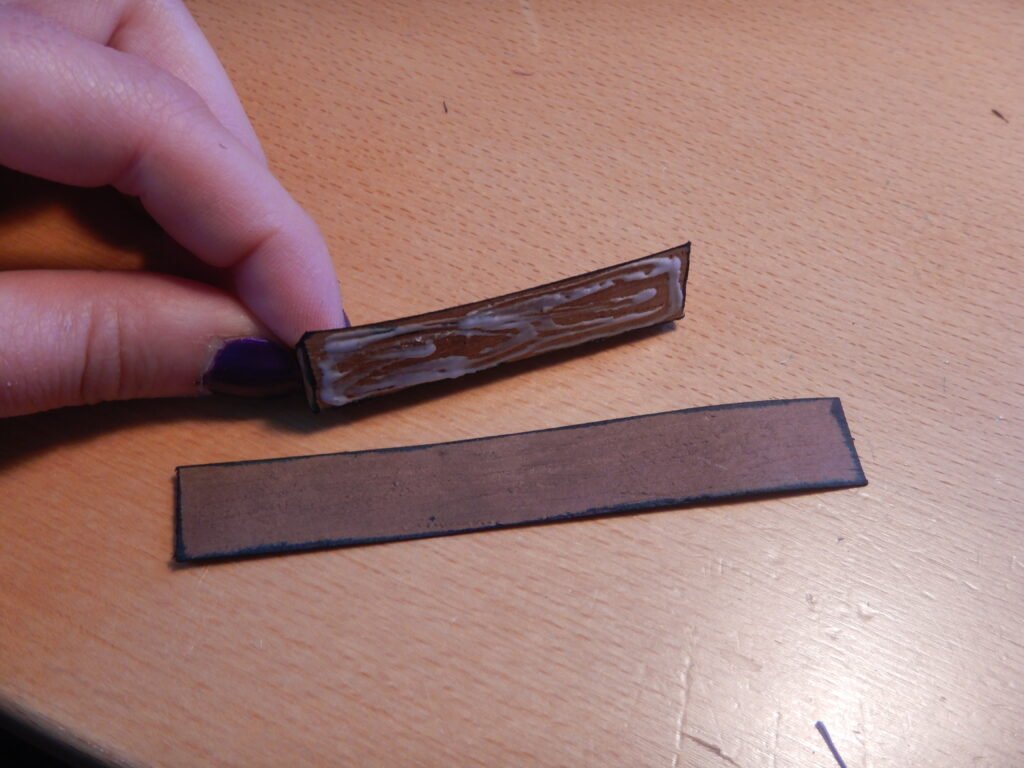
When the glue was set, we added the paper that makes the metal strap around the barrel. This is set down from the top/up from the bottom by just a little. Because there’s some variation in the assembling of the barrel, do a dry fit to see where it’ll fit best then apply glue and place on the barrel. In the picture below, the strap on the left is for the top and the one on the right is for the bottom. They are identical but need to be oriented in the opposite way to correctly go around the barrel. We accidently placed our bottom strap a little off so the back didn’t meet (the top we got right!). It doesn’t really matter since the side where their ends meet we put toward the box so it’ll never be seen.
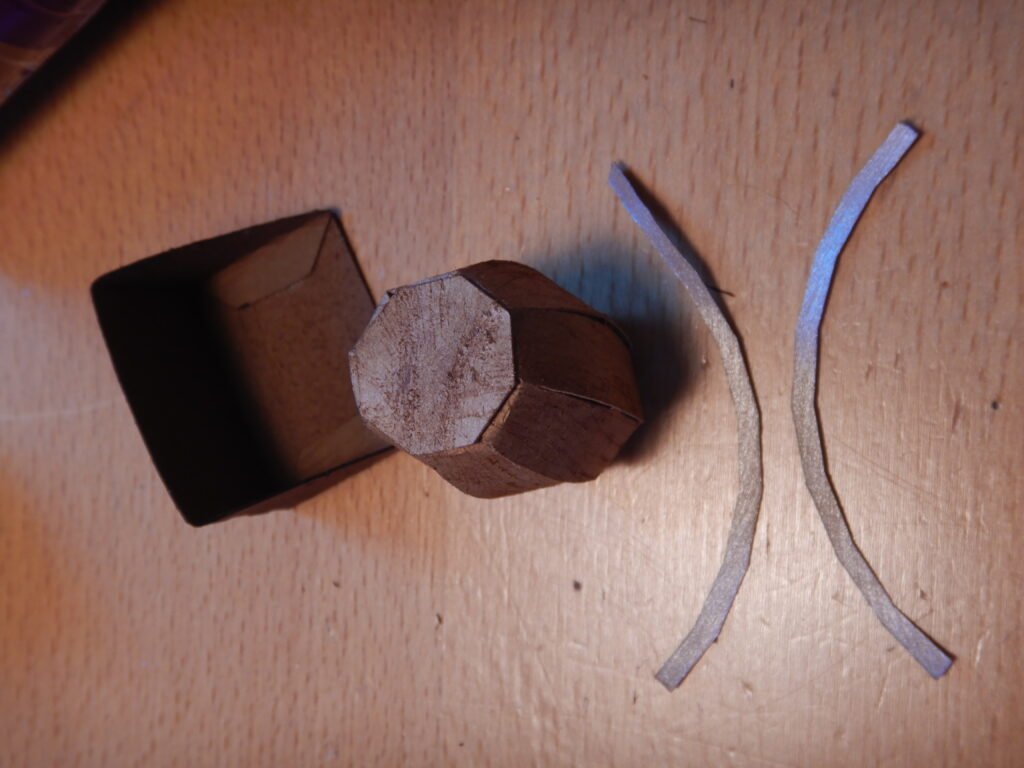


When the straps are in place, you can add glue to the bottom tabs and place them in the shelf/box. Apply pressure on the top to create a tight seal.
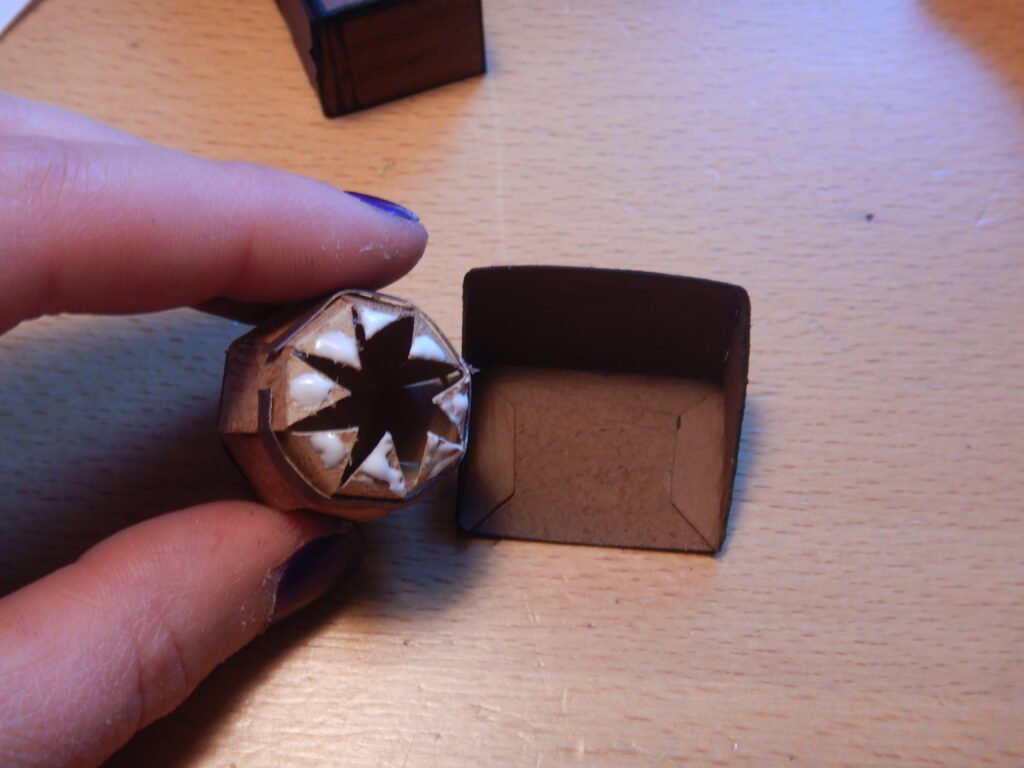
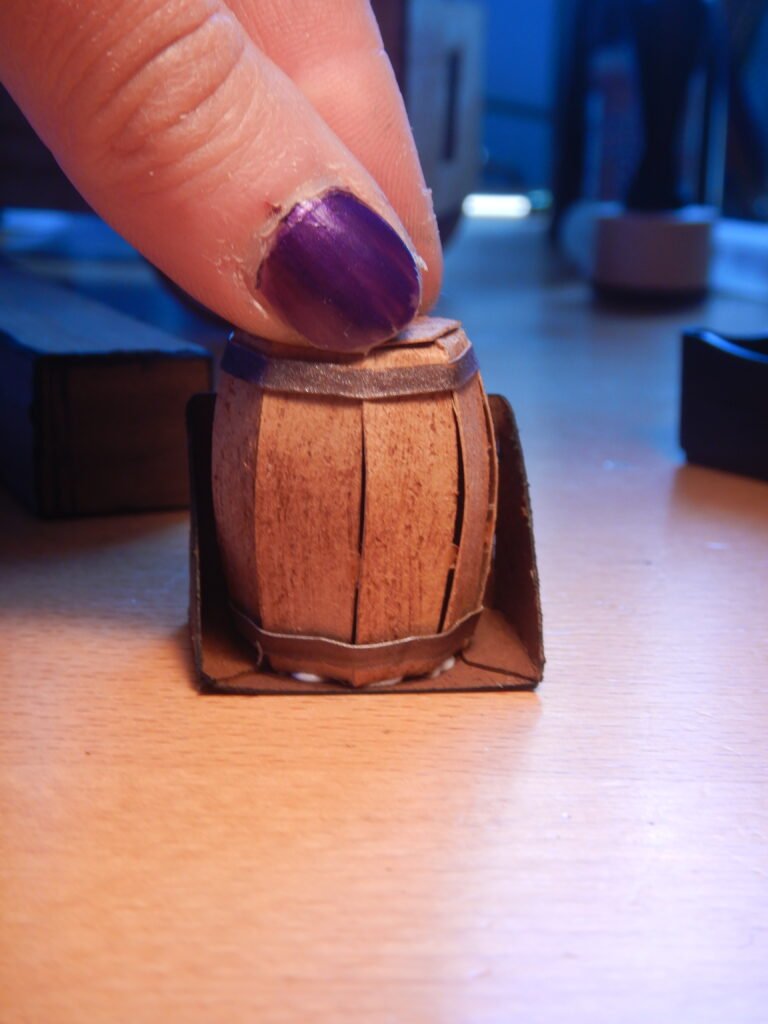
Once this is dry, you can add glue to the back and attach it between the wheels on the side of your wagon.
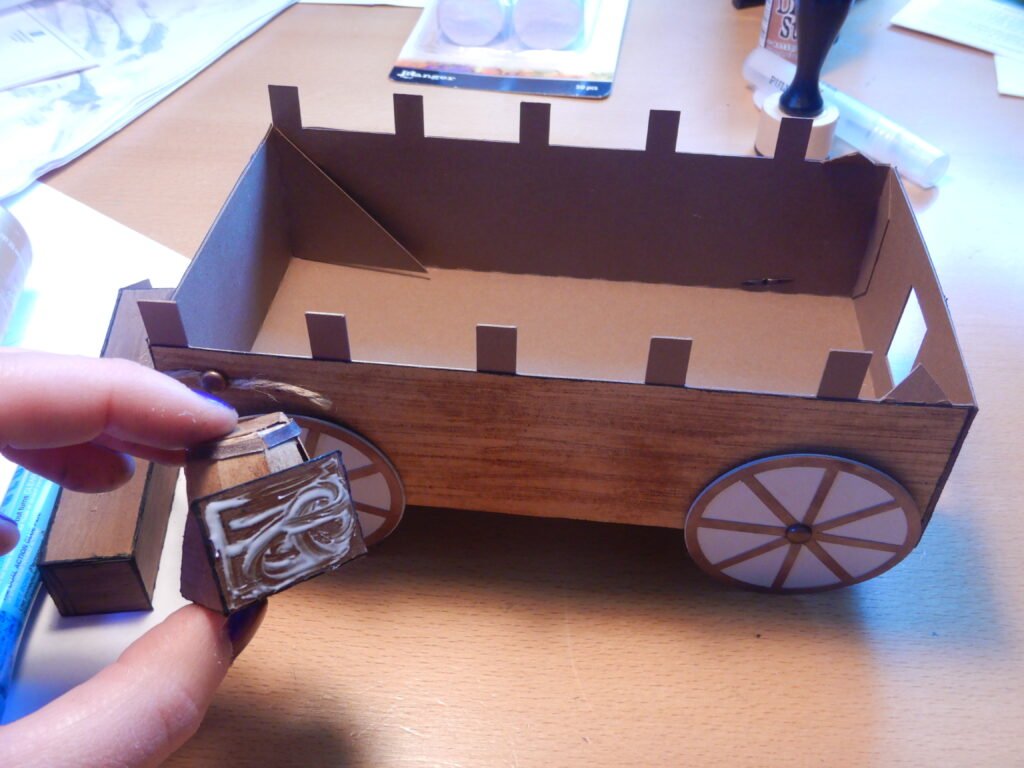
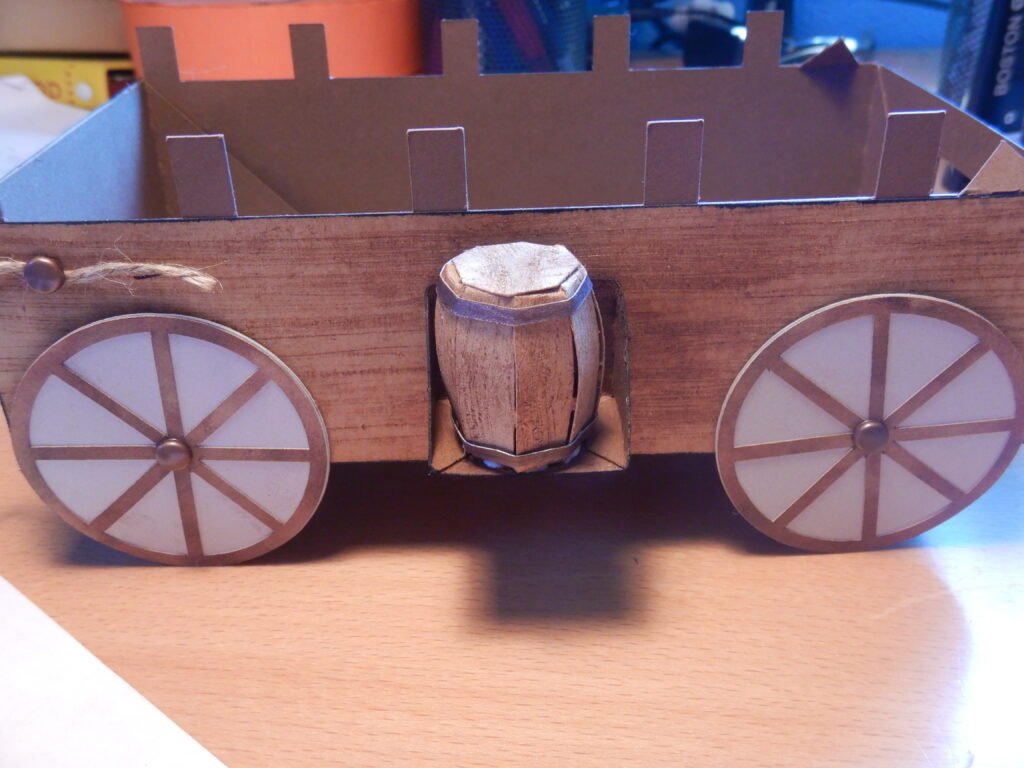
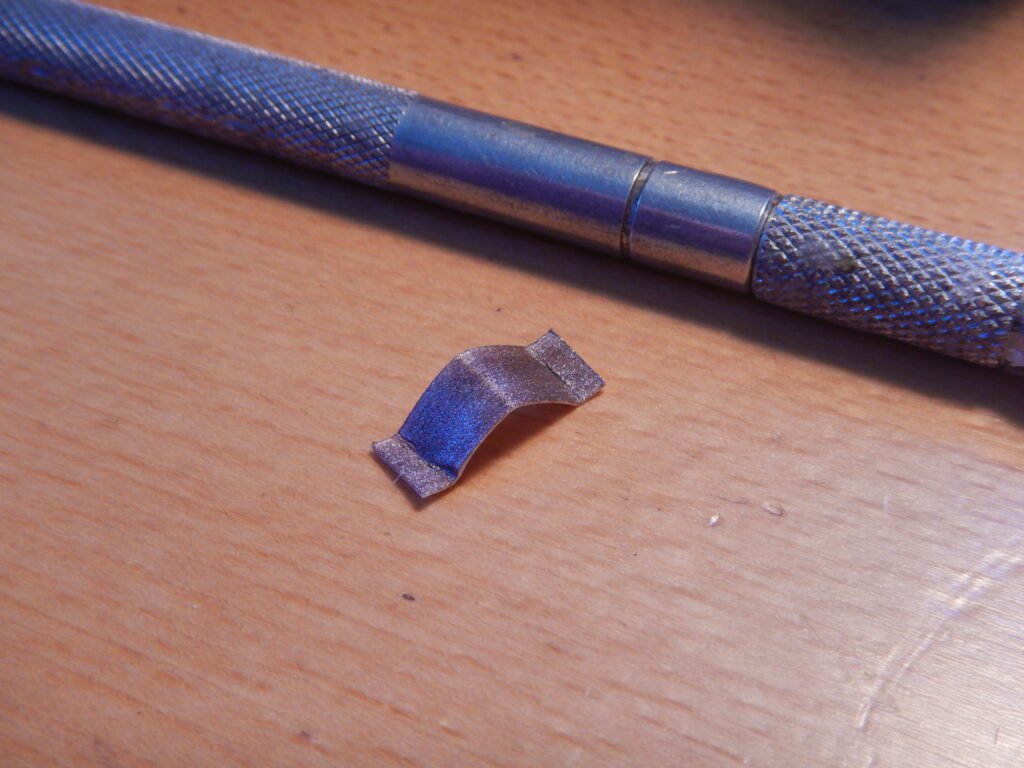
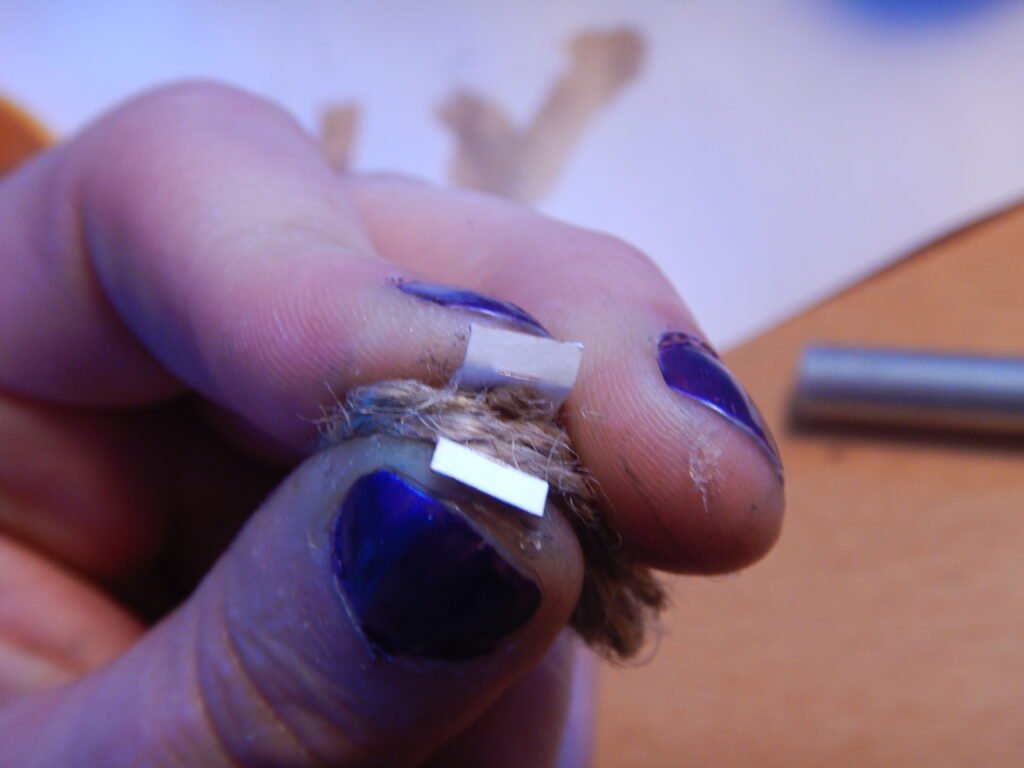
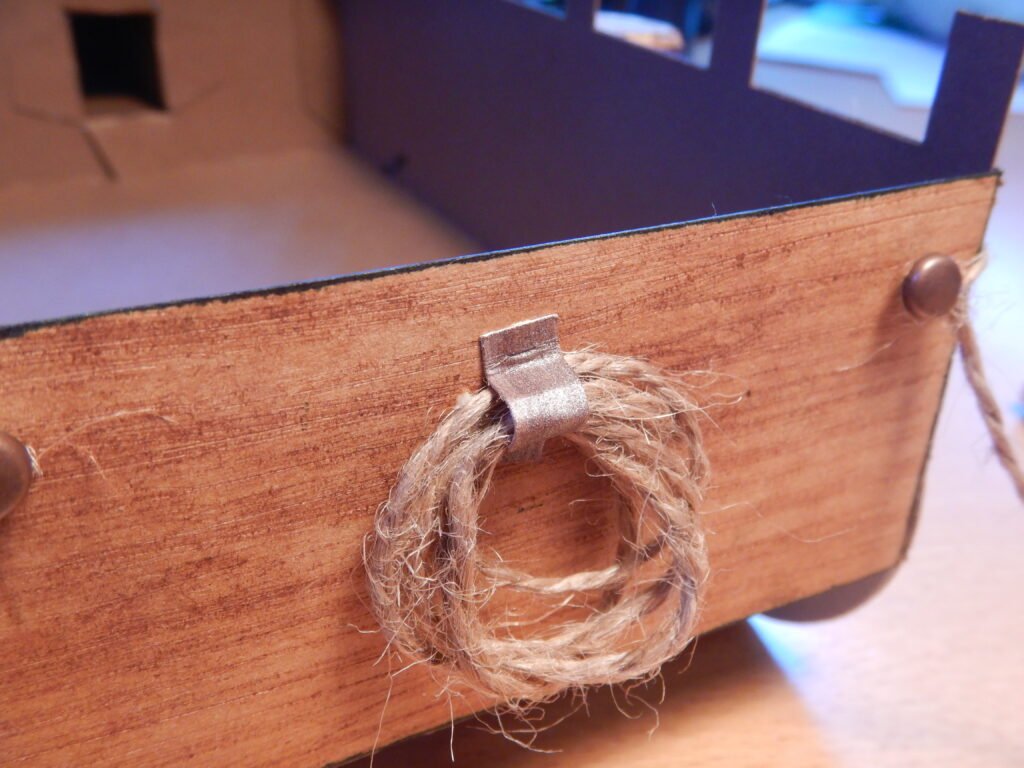
Next we took the bracket that is just a small rectangle with little fold lines on each end. We bent the middle a little to encourage it to curve then bent the tabs to have them lay flat when on the tail gate. You can use this to hold any attachments you want to add. We used it to hold some twine on the back to be a rope. We just took some bakers twine and gently wrapped it around a couple fingers. Then we put the bracket around it and added glue to the tabs. We held it in place for a few seconds, then once the glue was really set we could adjust the ‘rope’ a bit to help it lay the way we wanted.
Attaching The Wagon Tongue & Seat
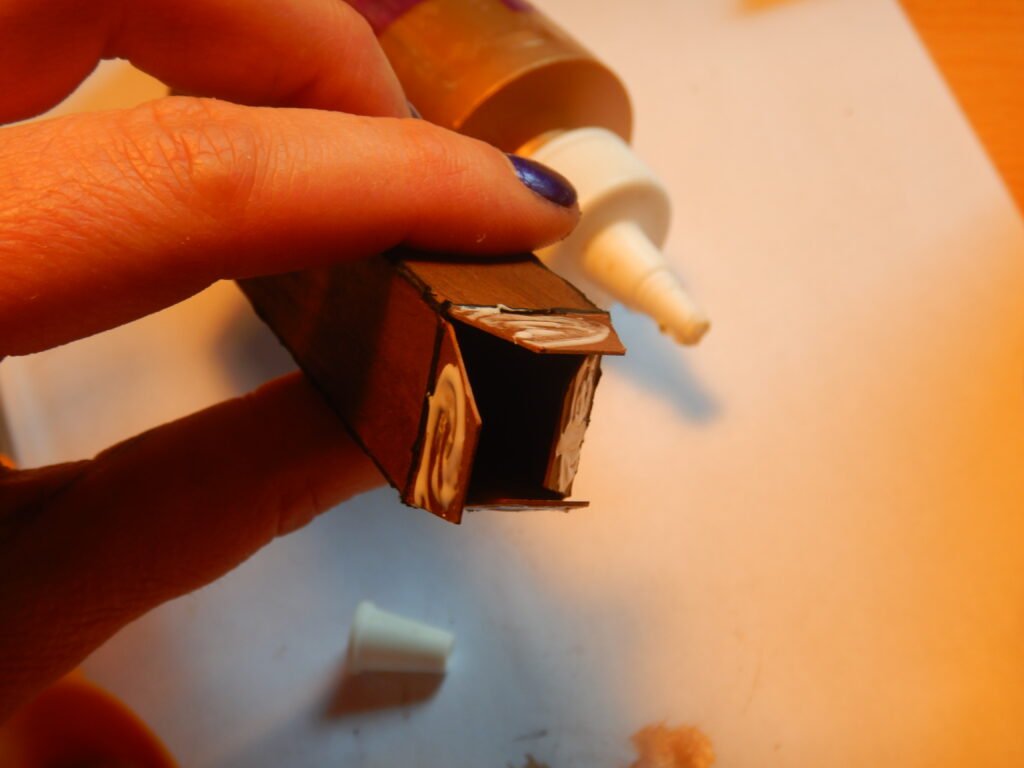
The next step is to attach the tongue to the wagon. We just put some glue onto the four tabs and slipped it through the hole in the front of the wagon. We then applied pressure to the tabs to ensure a strong hold.
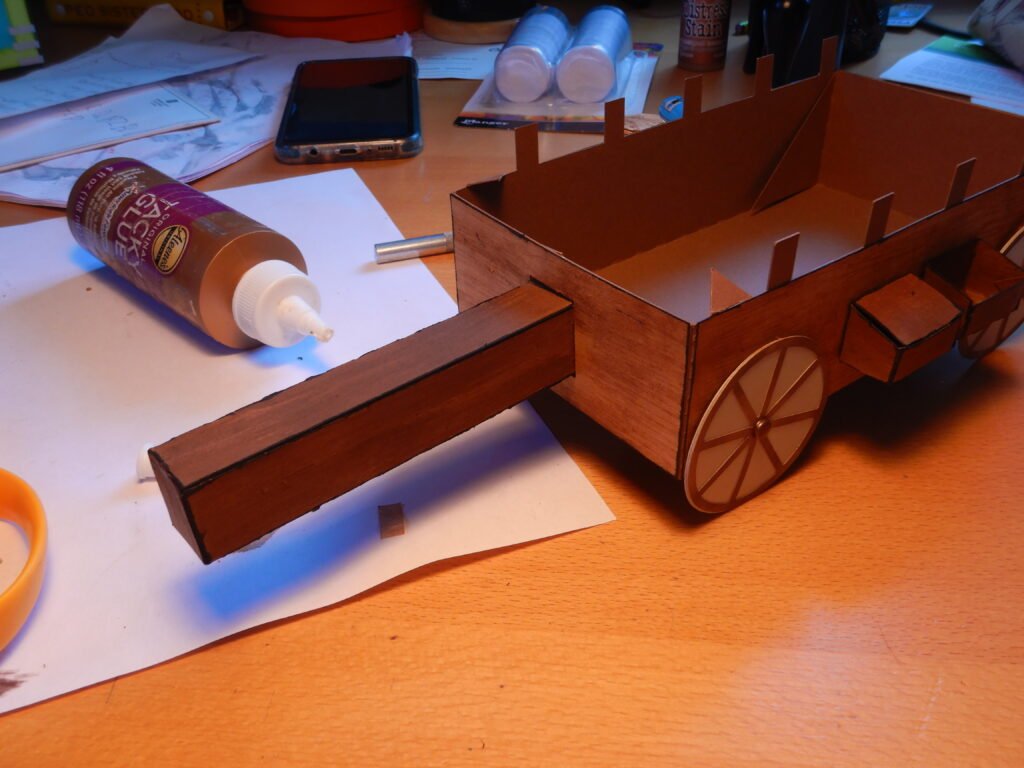

To put together the bench at the front of the wagon, take the bench piece, fold in the tabs and glue to create a triangle as shown. Then add glue to the bottom (the slightly wider side) and glue it in the center of the rectangular flat piece for the bench. Once this is dry you can take the bench assembly and glue it to the two triangle tabs at the front of the wagon.
Oxen Assembly
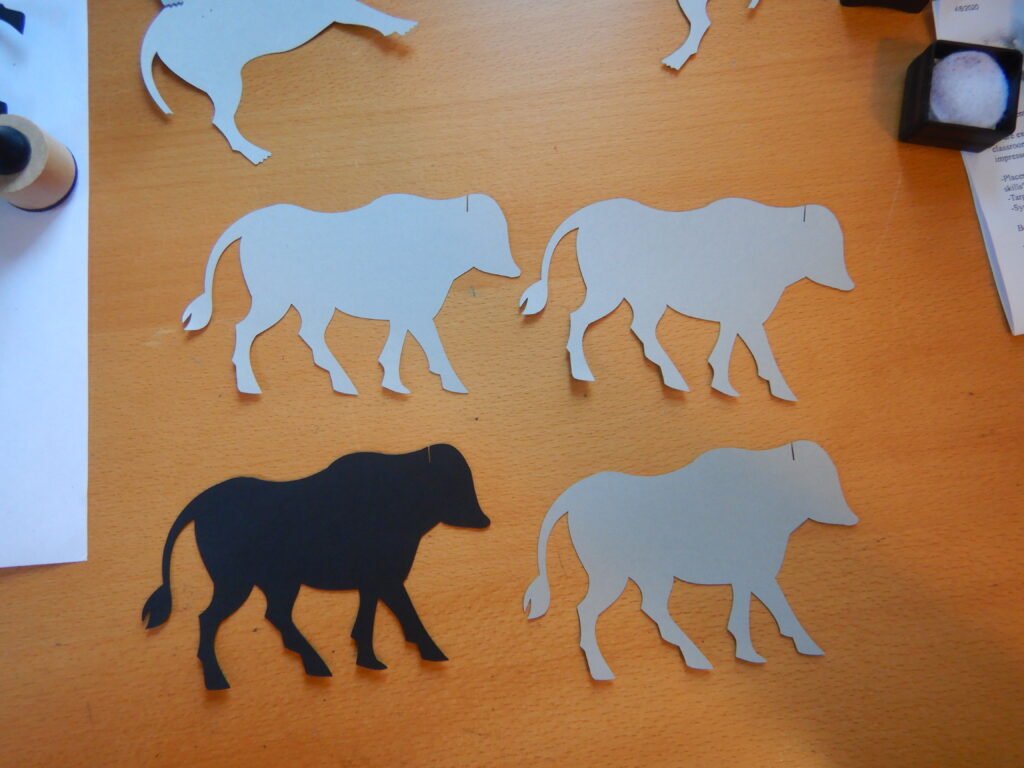
The next step is to make and attach the oxen. The oxen have several extra layers to give them some reinforcement. Here the 3 grey oxen are the center, we used the black layer as the base. Once the ox was complete, I made the mirror image and attached it to the other side.
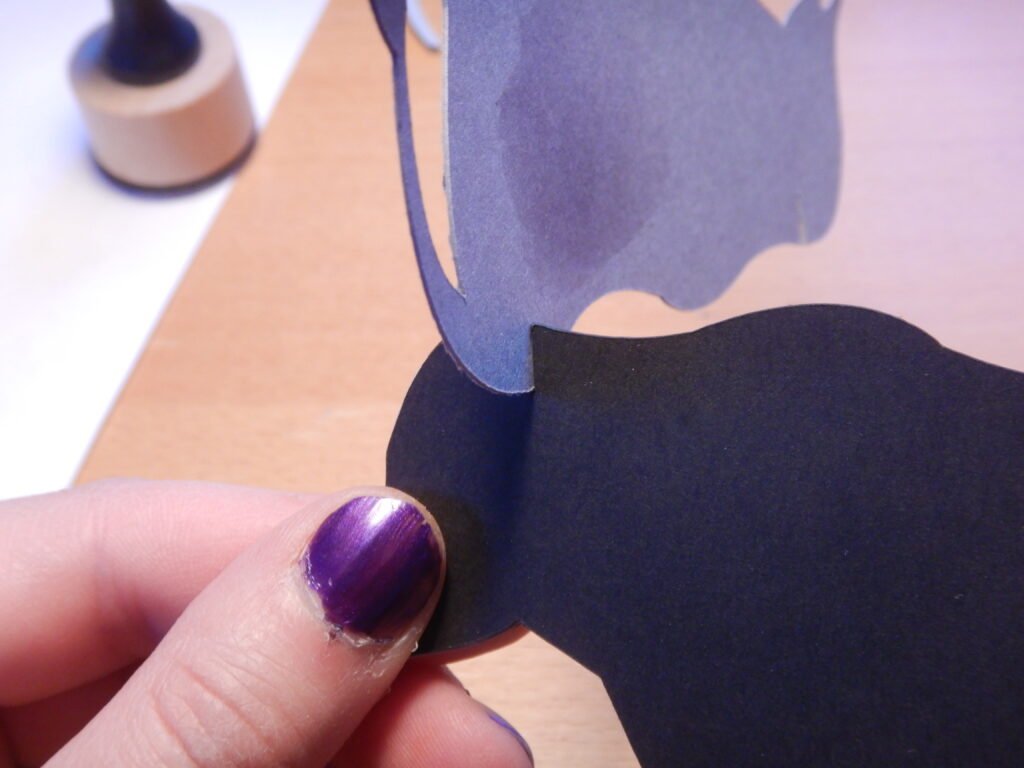
When assembling the oxen, make sure the slit at the top of the head is carefully lined up. You’ll need this to attach the horns at the end. When adding layers I sometimes checked this by inserting a piece of scrap paper in the slot.
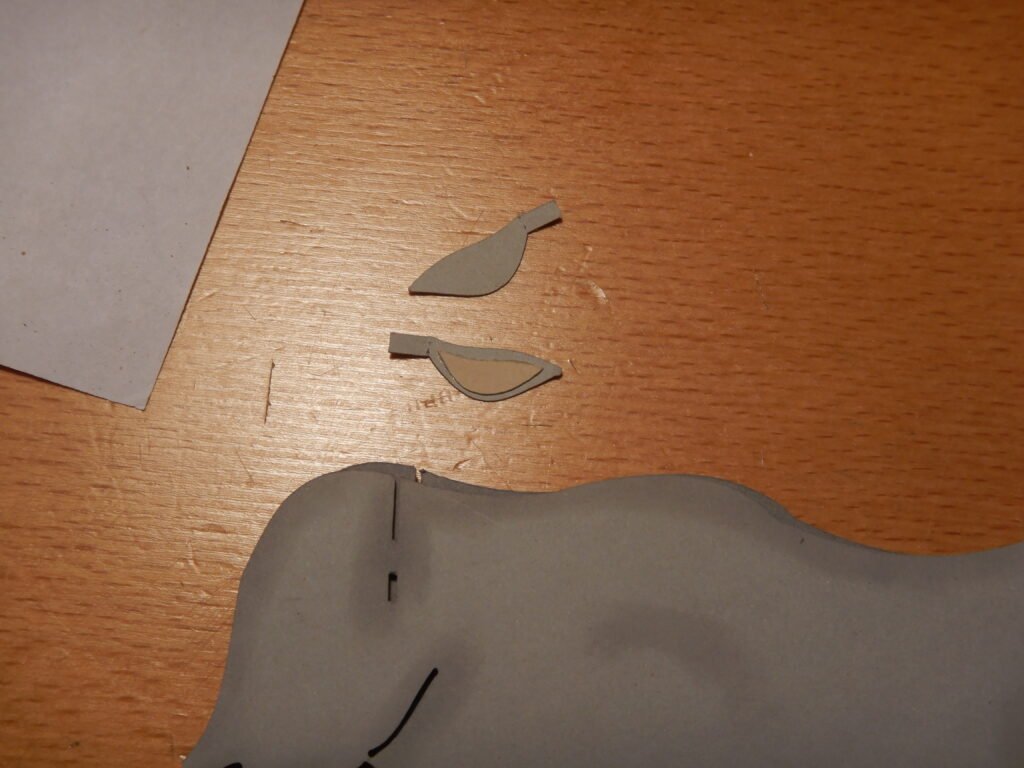
After the black layer and the four legged colored layer are done, it’s time for the two legged layer. Before you attach this, you’ll need to assemble the ears and put them through the rectangle cut out on the side of the 2 legged colored layer.
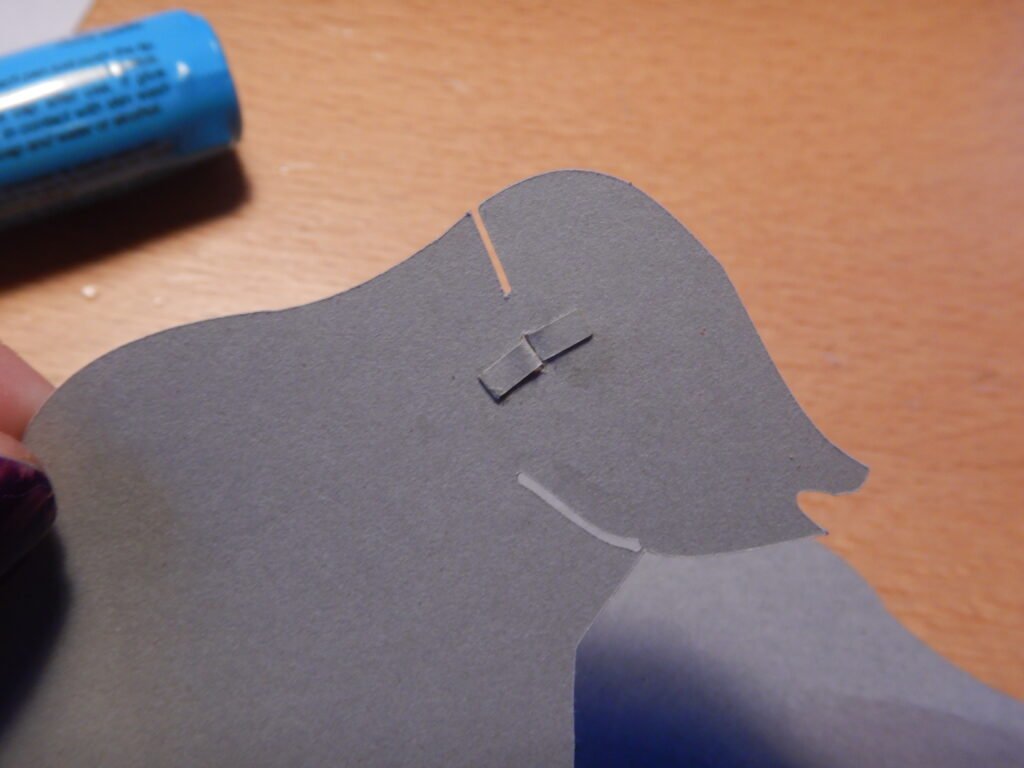
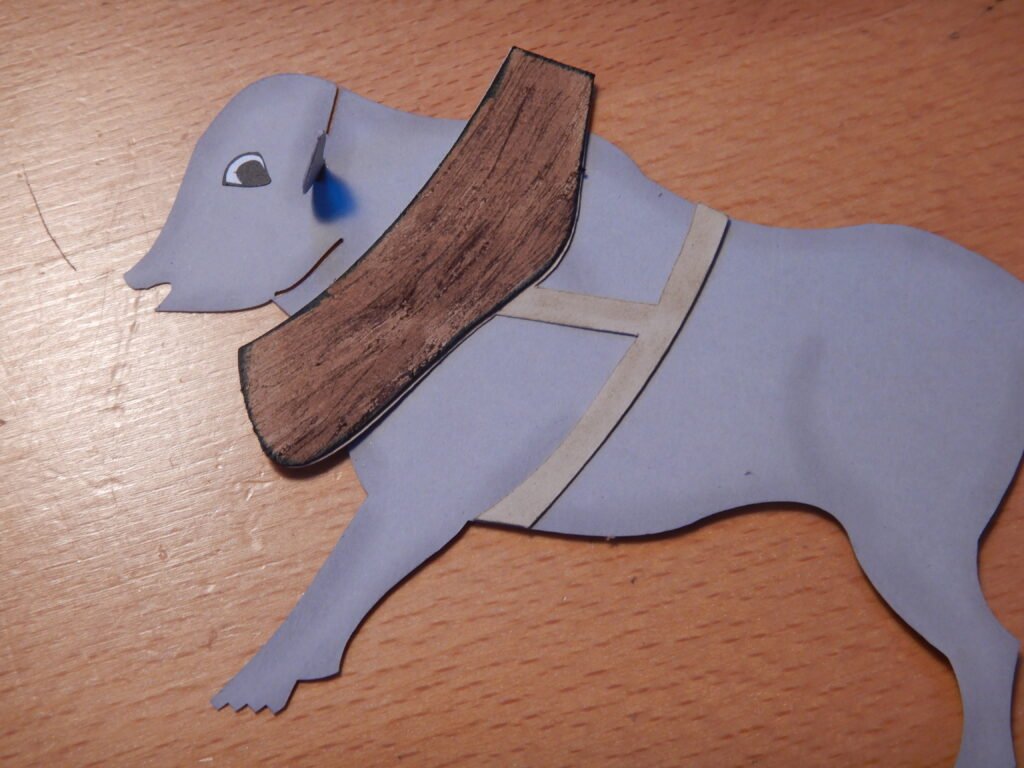
You can now add this layer to your core/black/4 legged set or you can add the harness first. Either is fine. Once you have a completed ox attached to either side of the stacked core, you can add the horns by putting a dab of glue on the bottom center of the horns and sliding them down in the slot.
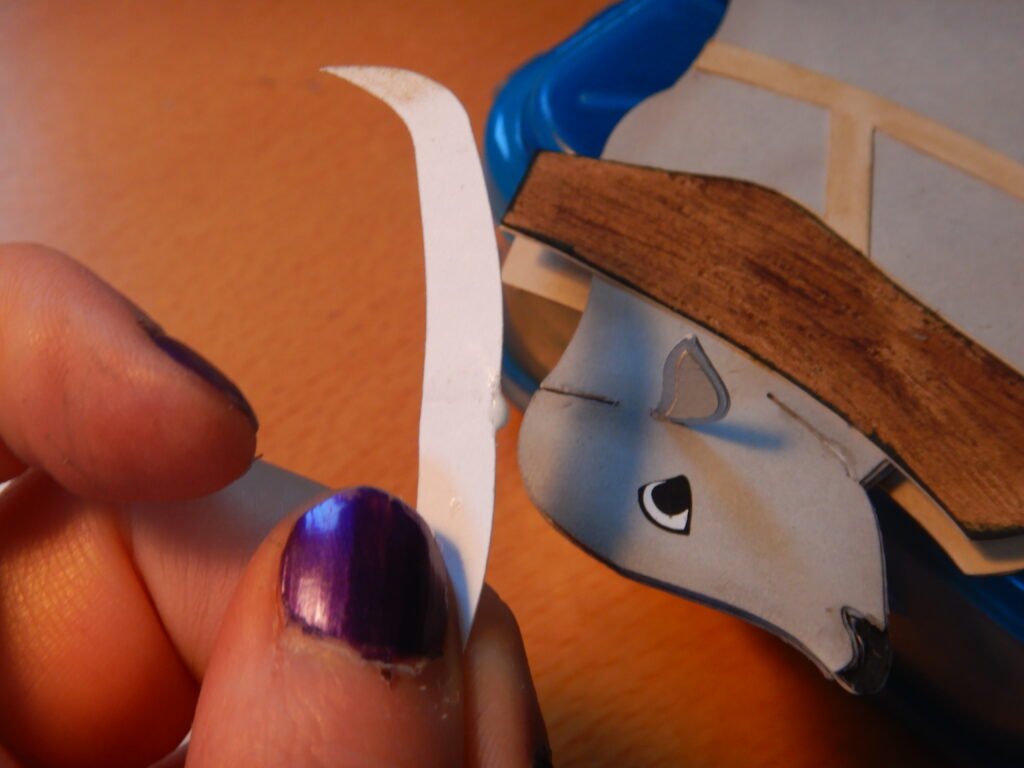
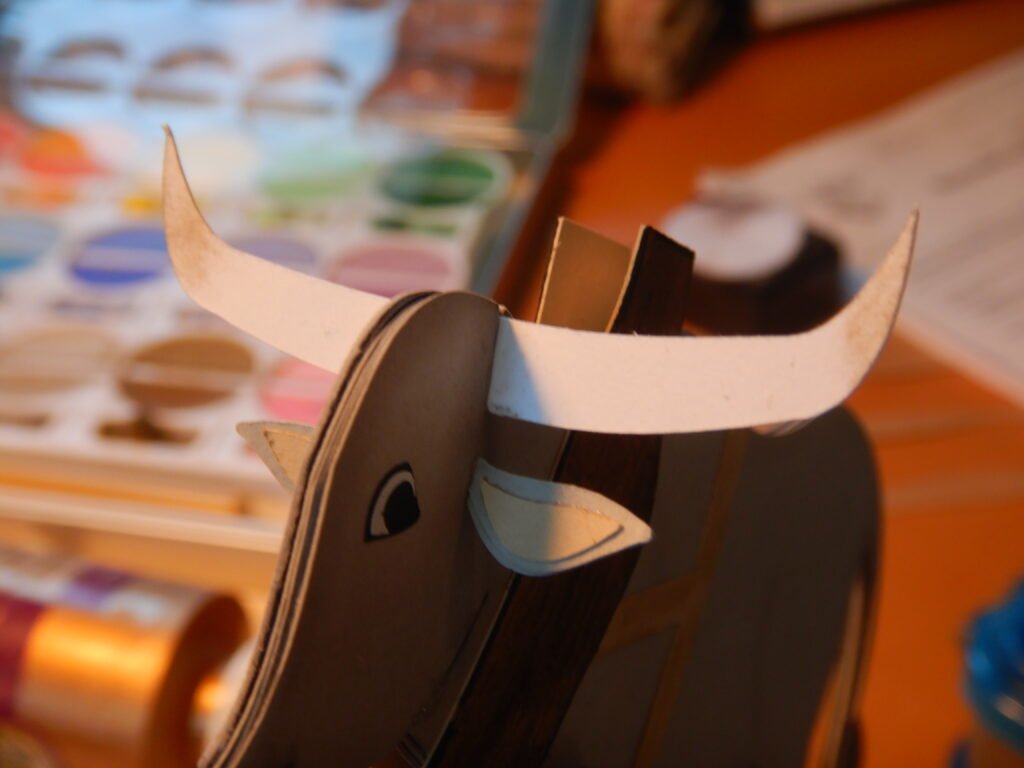
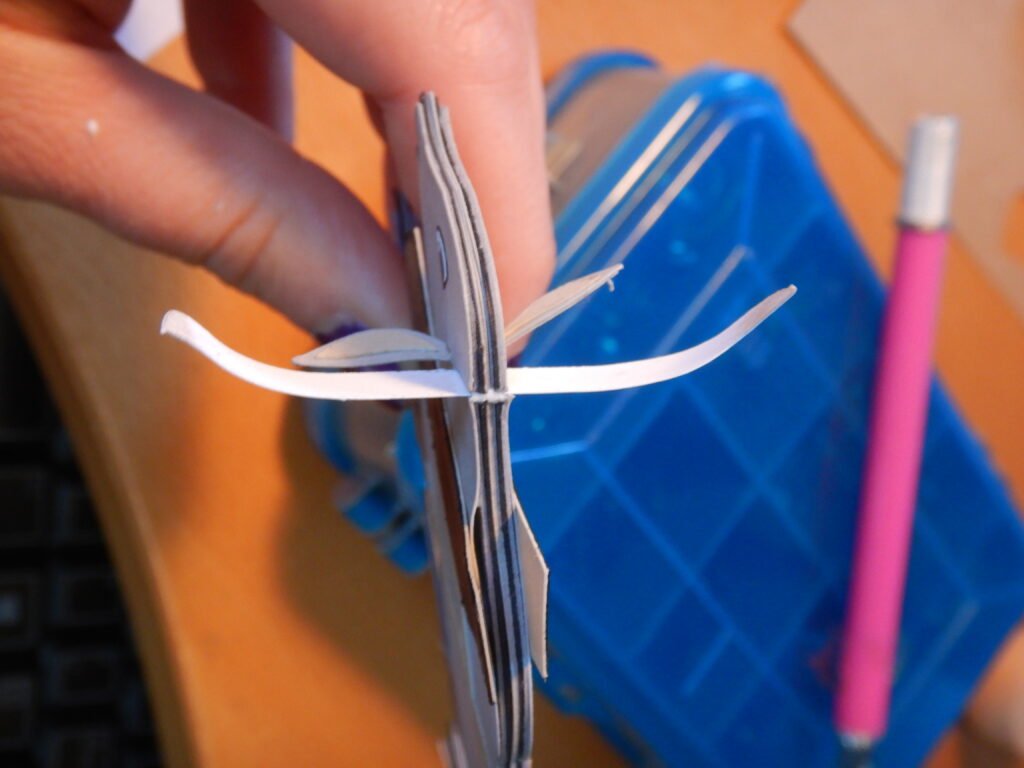
Repeat all this to make a second ox for the wagon.
Attaching The Oxen
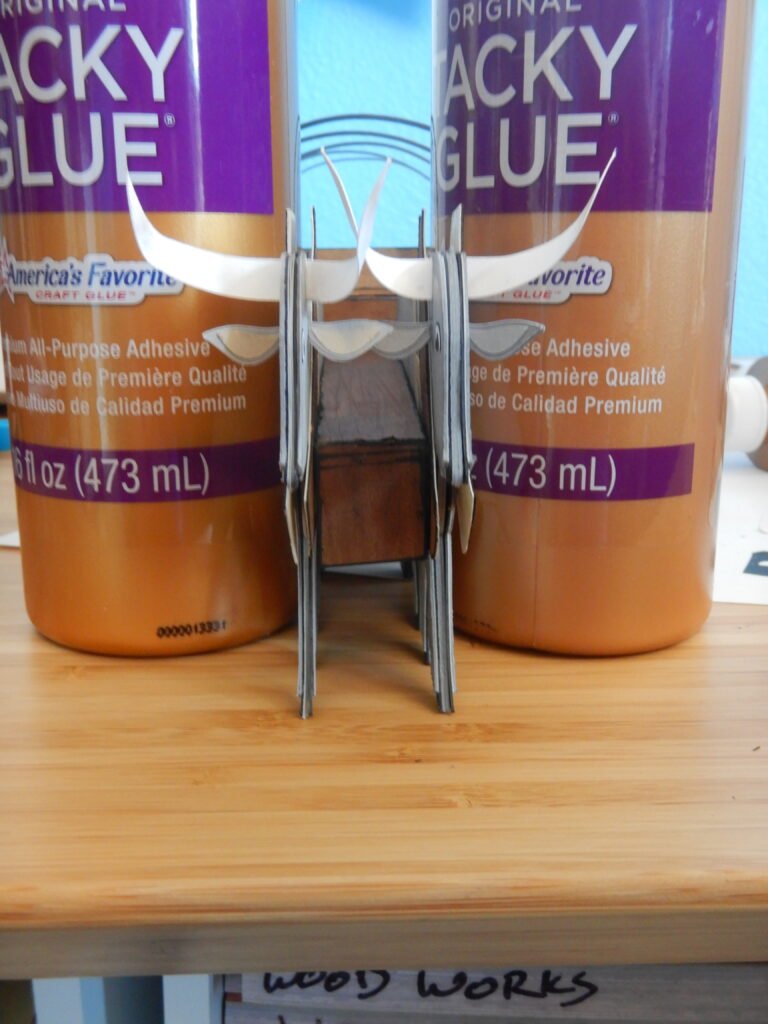
Once the oxen are complete, apply glue on one side of the tongue (first line up the ox to see how far back to put the glue. Then stand the ox in position and apply pressure to both sides. Finally, add glue to the other side in the same manner and press in the ox. To hold it in place for an extended period we used two full glue bottles to press the oxen together for a few minutes. You could chose to use hot glue for this instead.
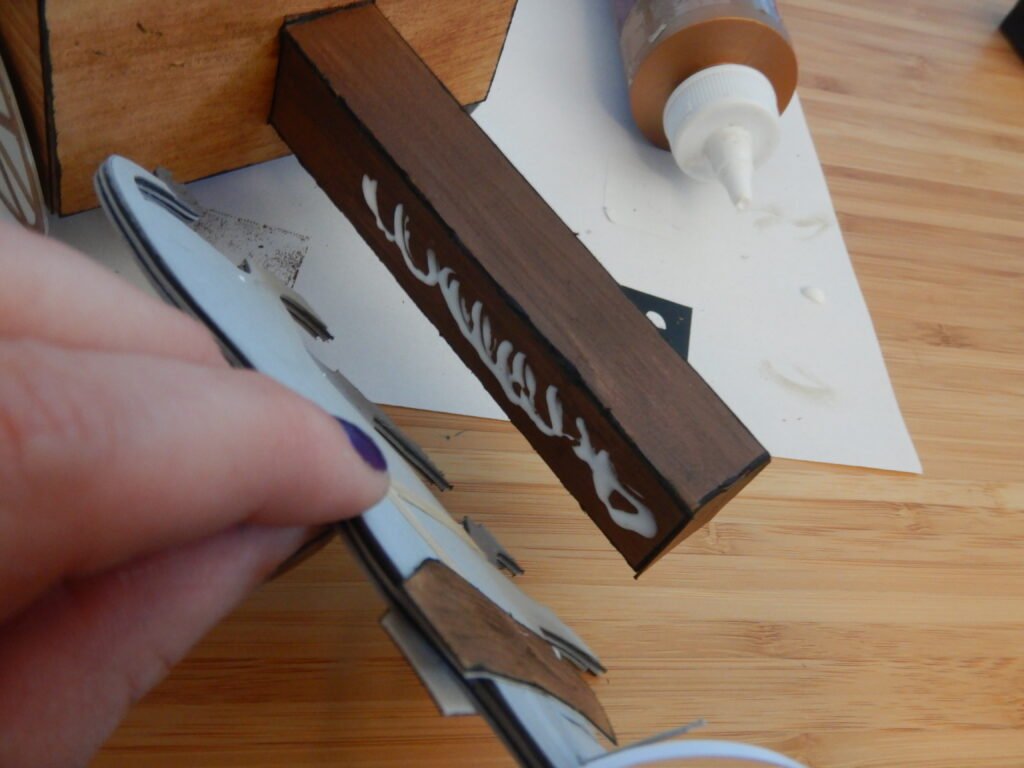
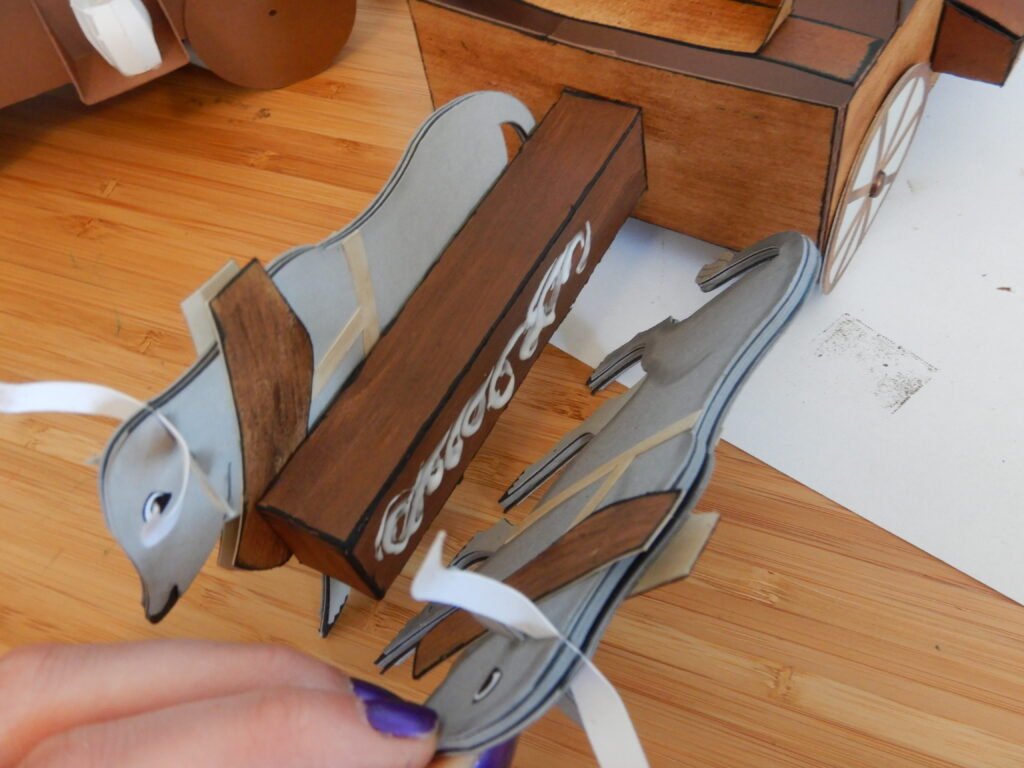
The final step is to add the connection between the two oxen. We folded in the tabs on the end which will be where you put the glue. Then curved the center. To help the center to curve, there’s a slit on either side which allows the sides to come down while the center is curved.
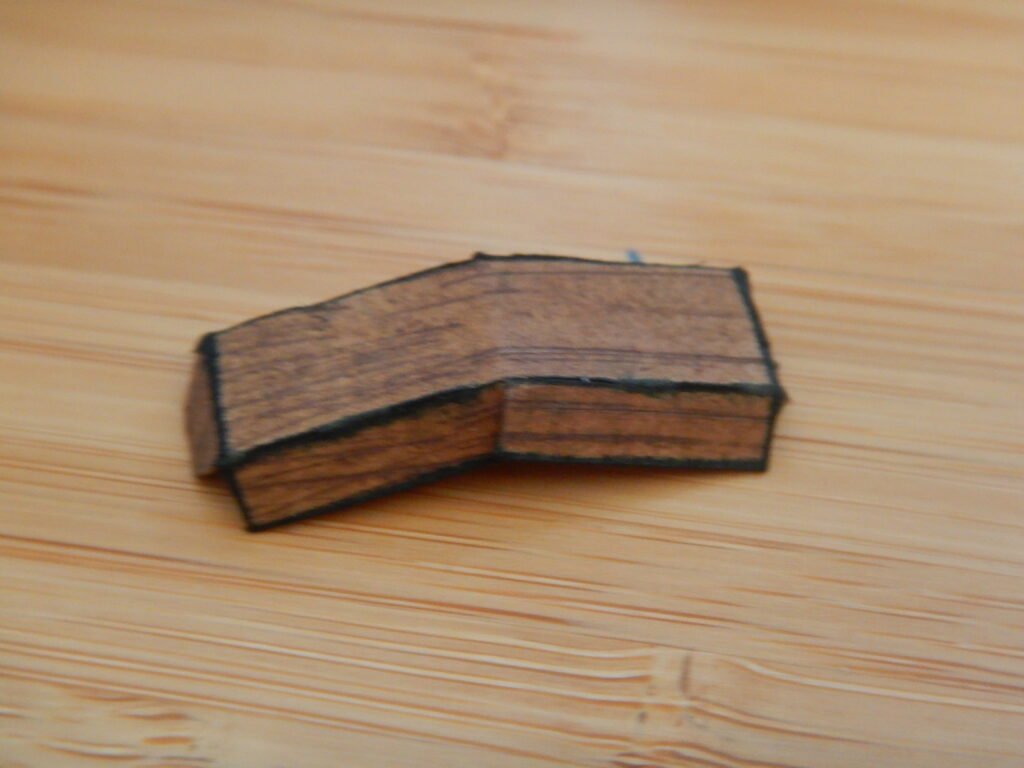
Attach one tab to the inside of one of the ox’s harness, and once set, attach to the inside of the other ox’s harness. We chose the outside harness on each of the oxen.
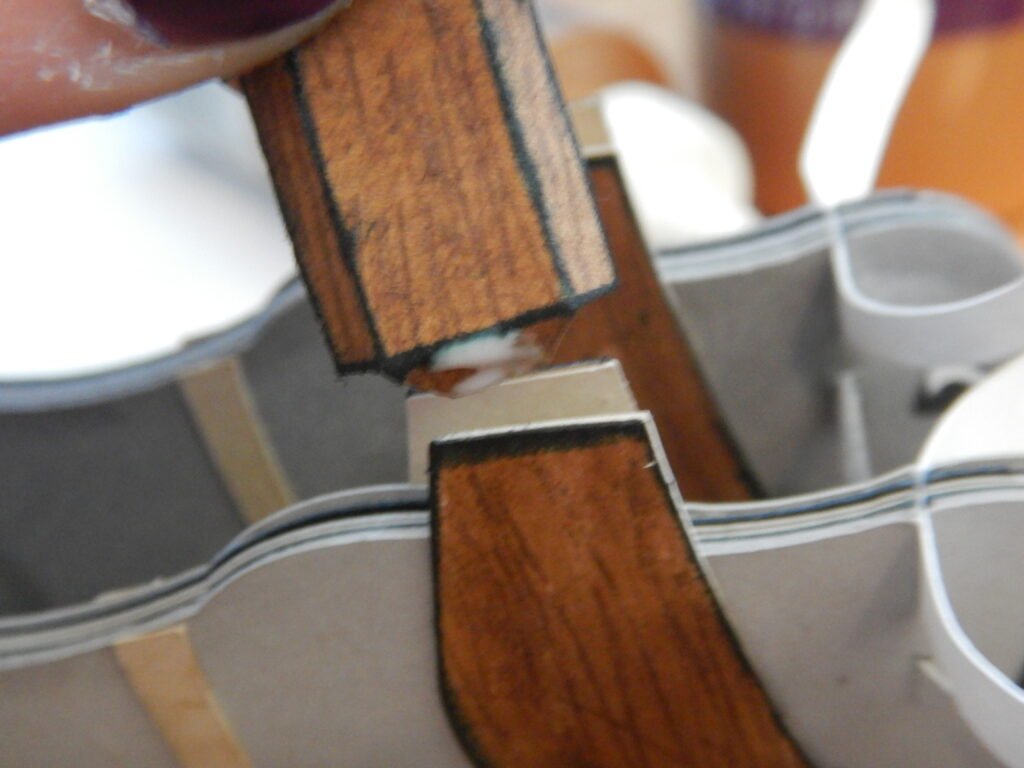
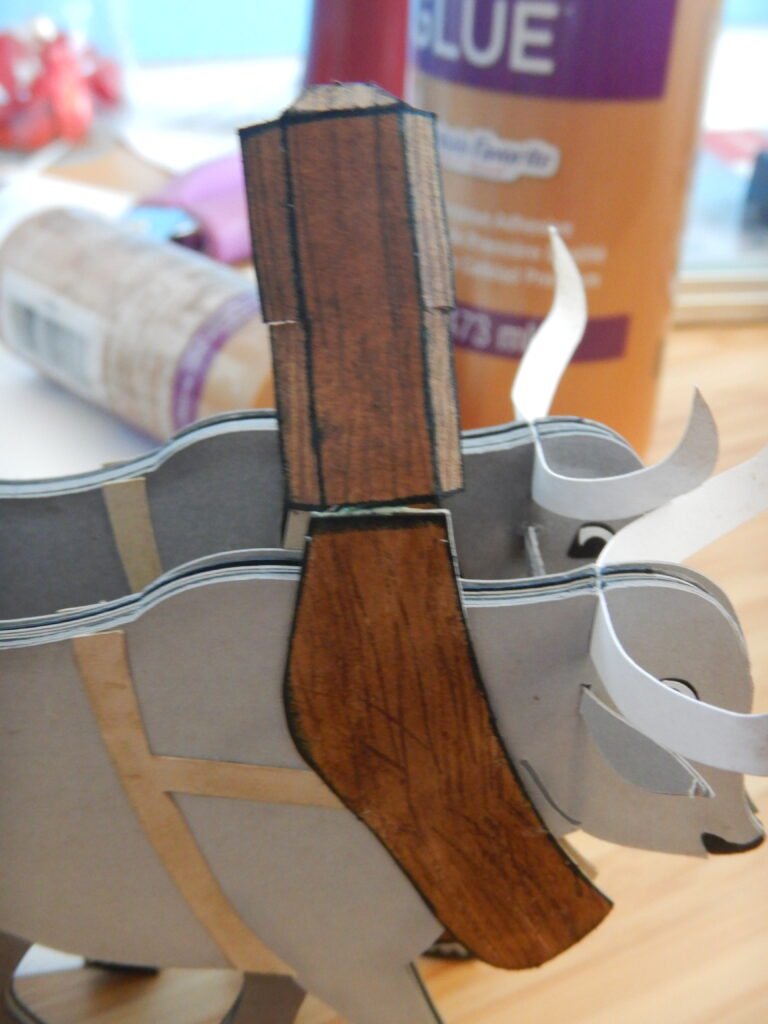
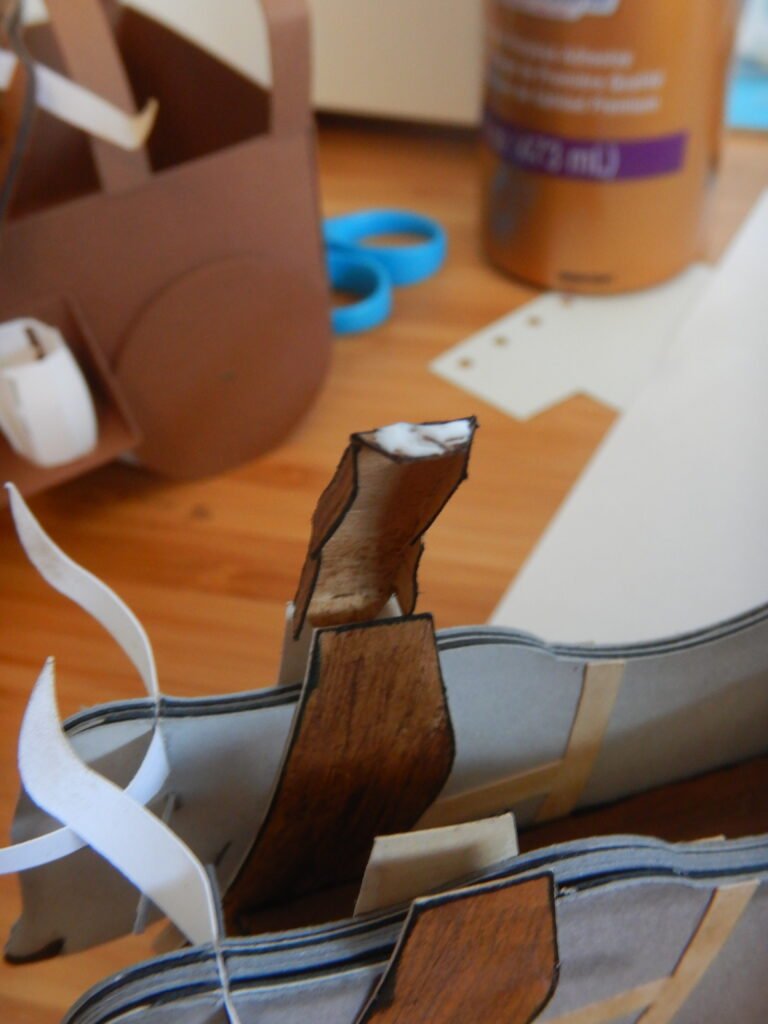
Once the first tab is in position, you can glue the other side. It’s a tight space so we used tweezers to hold the tab in place while the glue set.
Covering the Conestoga Wagon
The final step is to add the cover of the Conestoga wagon. There are three options. The first is a solid cover. It’s a square so there’s no need to keep track of which is the side and which is the front or back. This option gives you a clean ‘new’ wagon look. The second option is a somewhat tattered cover, also made of paper. It has two holes and three patches you can add if you want to have a bit rougher look. They both attach the same. Add a bit of glue to the five rectangular tabs that sick up on the side of the wagon. Attach one side of the cover to these tabs. Once dry, add glue to the tabs on the opposite side and curve the cover over to attach to those tabs.
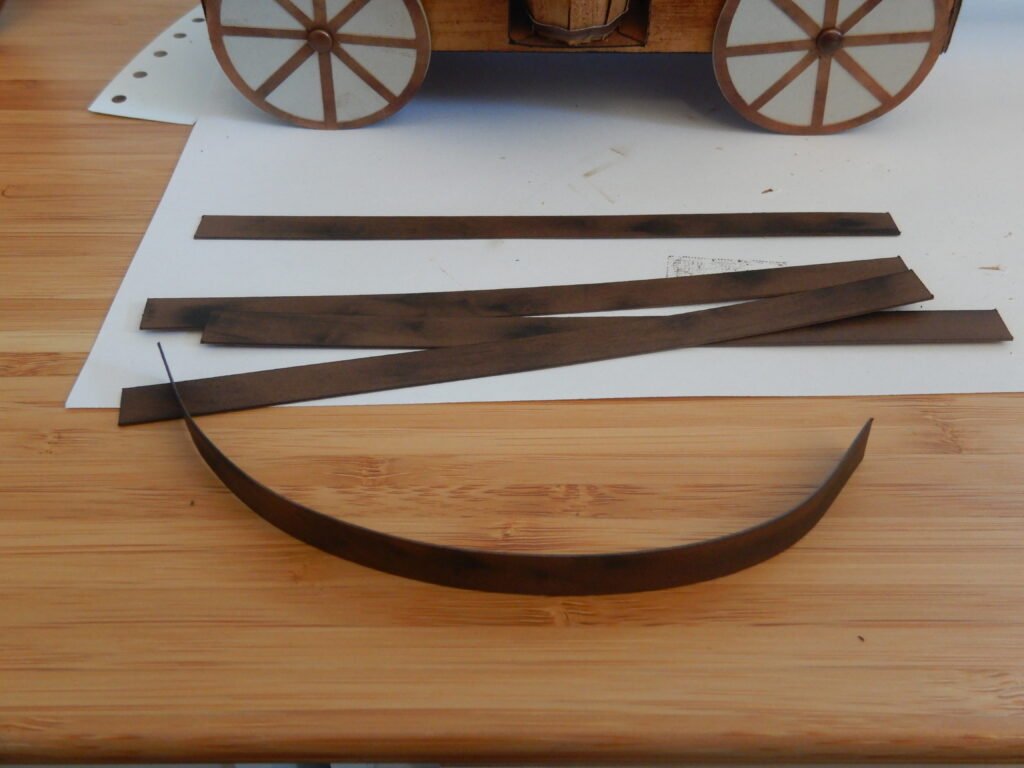
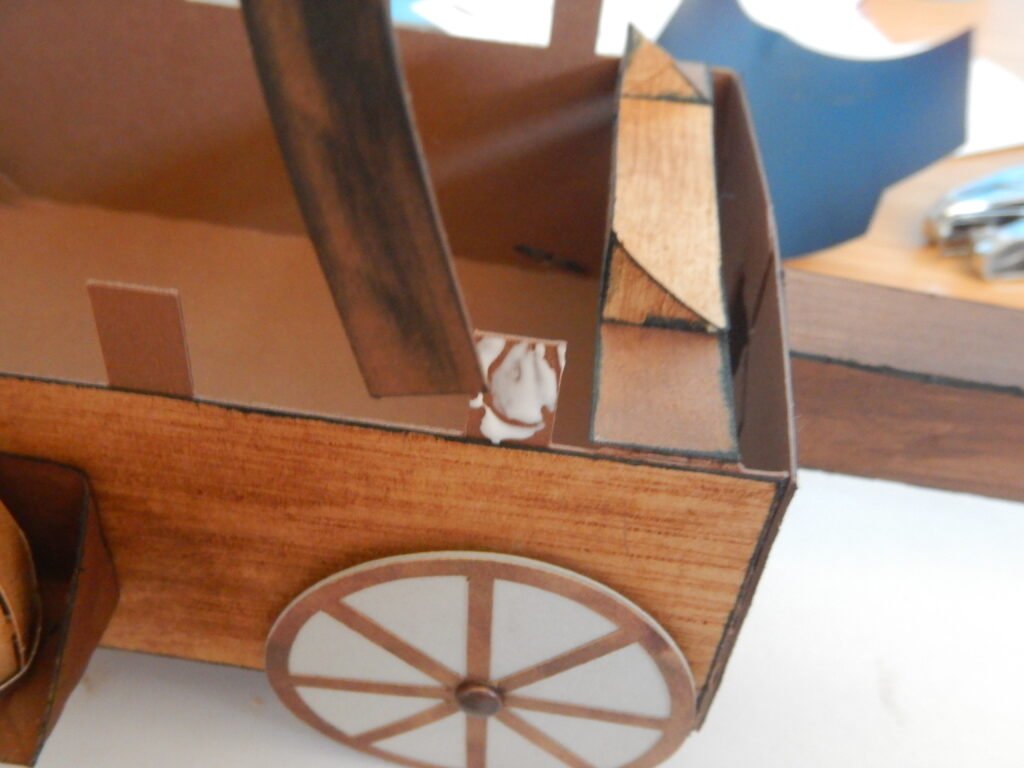
The third option for the wagon includes the ribs which can be left exposed or you can add a fabric cover. We chose a pretty heavy card stock for the box base and ribs (110lbs cardstock instead of the standard 65lb cardstock) to help support the weight. I’m not sure the heavier paper was really needed but it seemed better to be safe. To attach the ribs, one by one, add glue to the rectangular tabs on the side of the box then add a rib to each. Once dry, one by one add glue to the opposite tab and curve the rib over to glue in place.
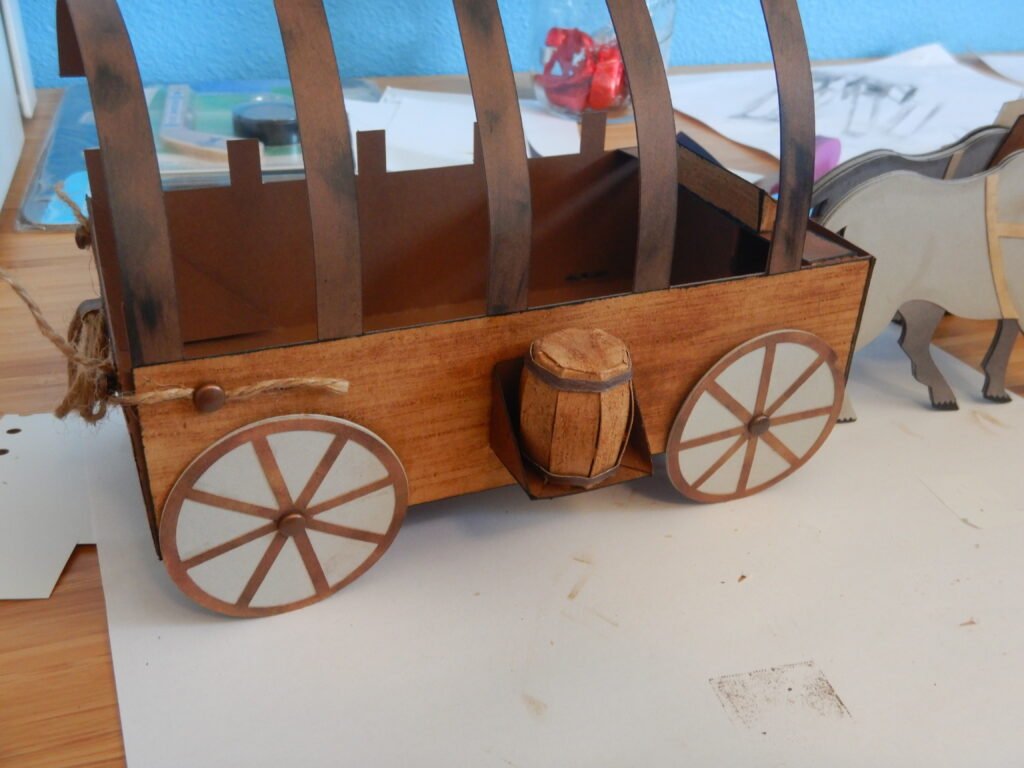
We then cut a 6.5inch x 6.5inch piece of white fabric for the cover. We happened to have some left over fabric from hemming a set of oversized IKEA curtains. To secure it, glue dots were placed along the bottom of the ribs on one side, the fabric was pressed into place then this was repeated on the other side.
