Materials Used
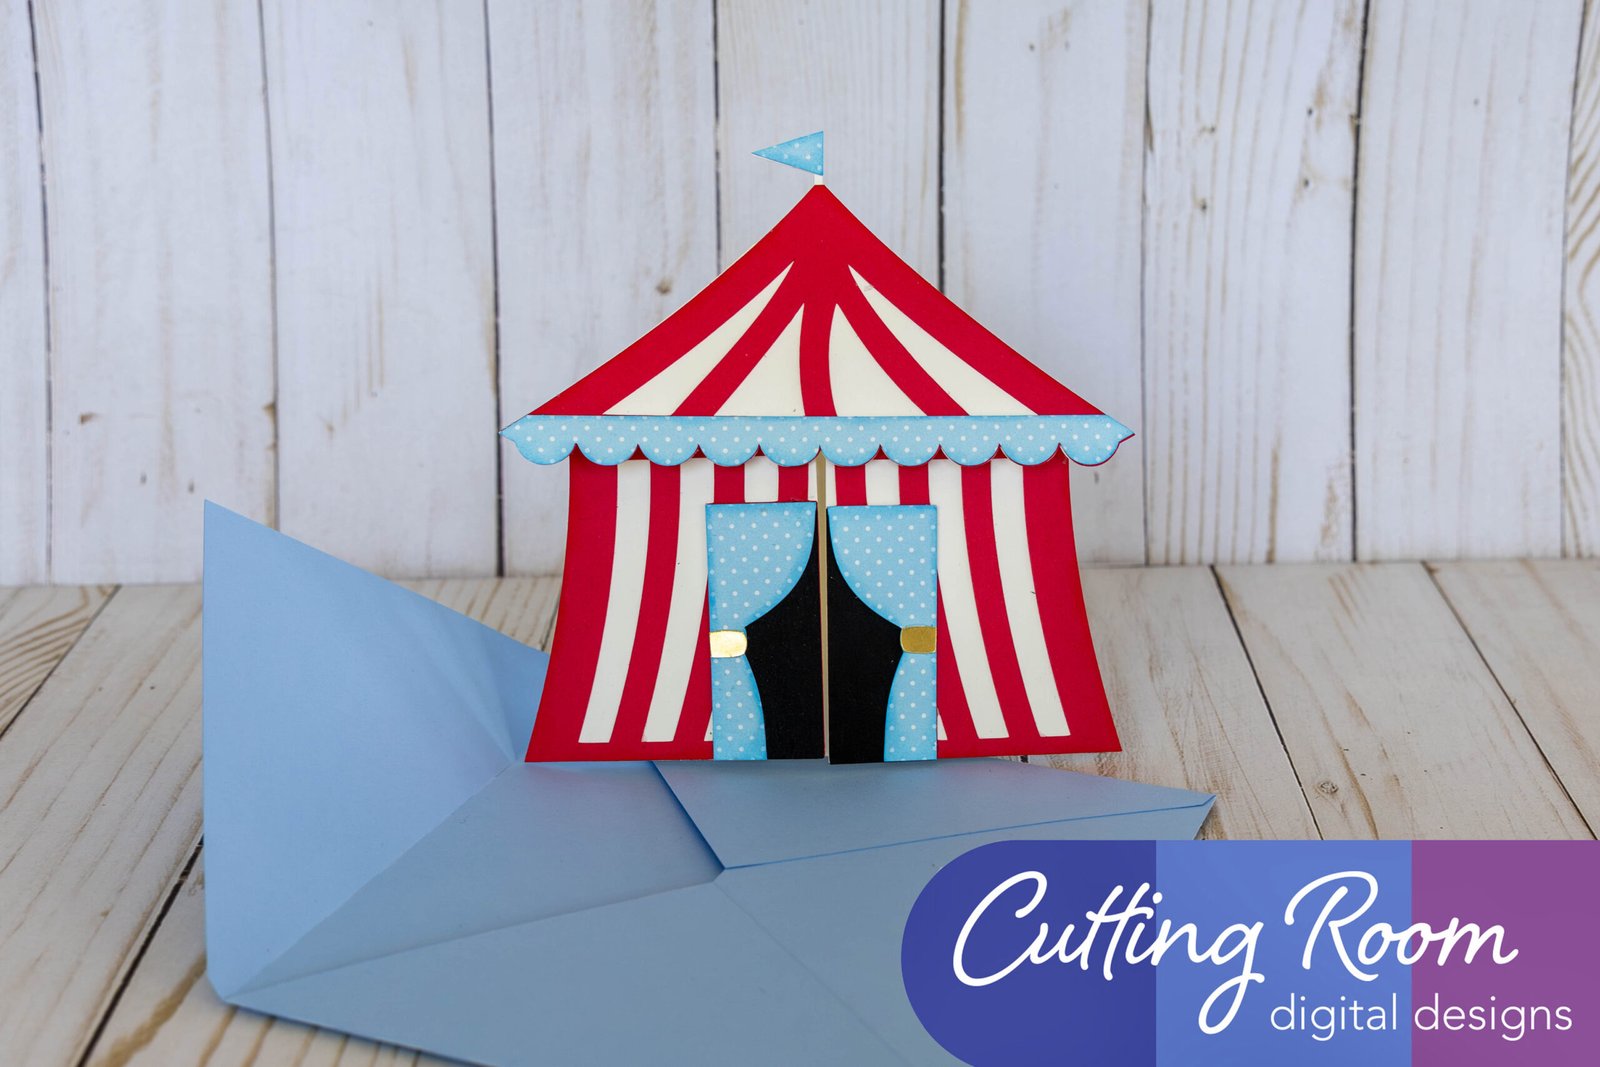
We used several products and supplies in the making of this fun circus tent. Below is a list of what we used.
- Circus Tent and Carnival Greeting Card or Party Invitation – Digital Download SVG & DXF
- Recollections cardstock
- Lawn Fawn Metallic Cardstock – Gold
- Photoplay Cardstock
- Art Glitter Glue
- Electric Cutting Machine – Cricut or Silhouette
***Note that this post contains affiliate links and we may receive compensation if you buy something using one of our links. ***
Circus Tent Card Assembly:
The card is made by first assembling the 2D decoration of the circus tent. You can change this up to any colors needed or by using patterned paper (as we did with the blue). Below you can see that we laid out the pieces that make the decorations of the card. We also have all the assembled pieces shown below, ready to be placed on the card.


Set these aside for a moment and lay out the card base. Fold on the score lines, first the left and right, then the top score line. We recommend using a bone knife or similar tool to press on the fold to get a crips fold and allow the pieces to more easily lay flat.


Now you can start attaching the decorative pieces. We started with the base of the tent. Add glue to one of the card flaps and attach the corresponding decorative panel. Repeat for the other decorative panel. Note that the outer edges will go beyond the card base.


With these in place, add glue to the flap at the top that will be the roof of the tent. Using the scalloped edge as a guide, attach the decorative panel.


We recommend placing the card under something flat to apply some gentile and consistent pressure while the glue sets.
We made our card using white paper so we didn’t need to place anything inside to make writing stand out better. However, if you choose to use colored or patterned paper for your card, the file does include a liner the shape of the inside of the card. Cut this in white or another light color to make writing a message or invitation easy to see.

Envelope Assembly:
For the envelope, the pointed flap is the one that you secure last, after inserting your card. To assemble the envelope, fold in the bottom flap then the side flaps. Use a bone knife or similar to get a crips fold.


Add glue to the edge of the bottom flap and fold the sides in, securing them in place. Make sure not to use too much glue or it will get on the rest of the envelope and seal it closed. Once these three in place, you can add your card and anything else to the envelope. Fold down the pointed flap and secure with glue, tape, stickers, etc.


Leave a Reply