Materials Used
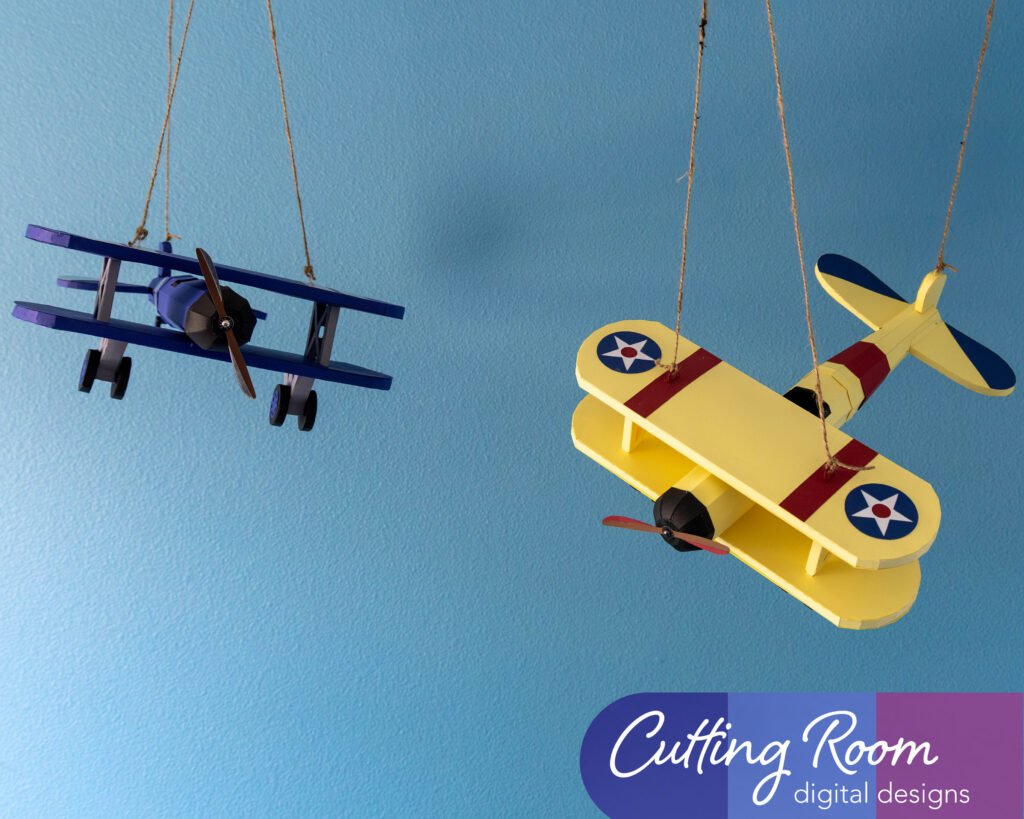
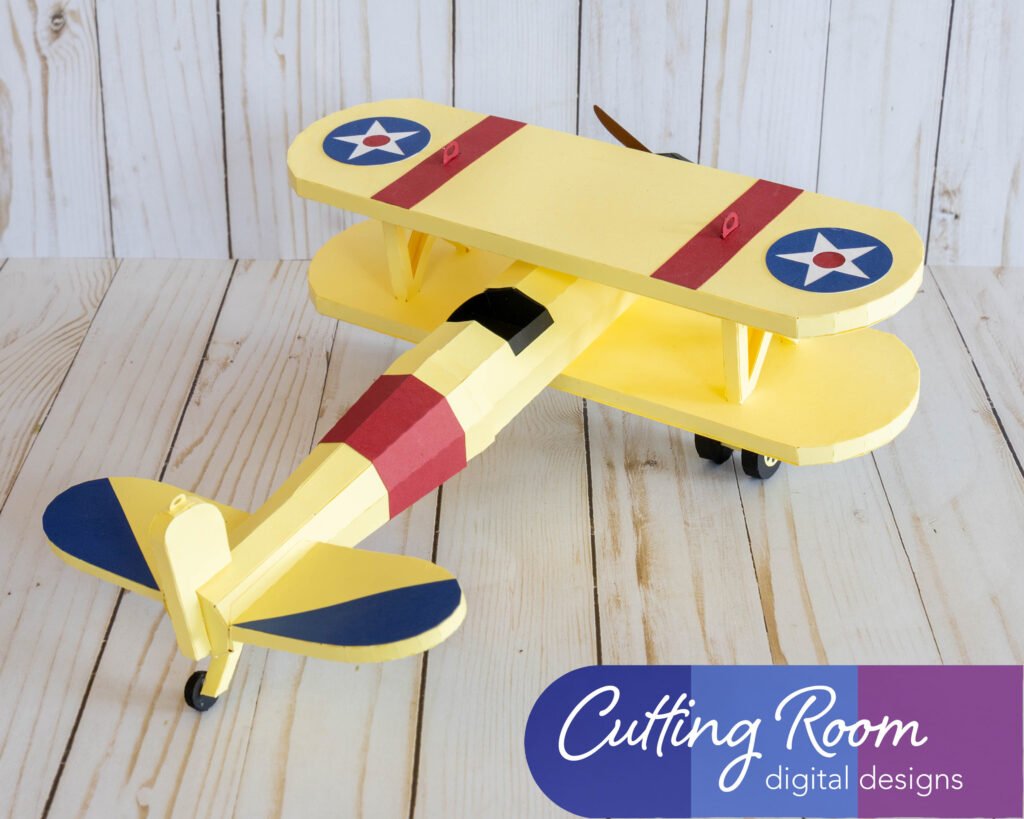
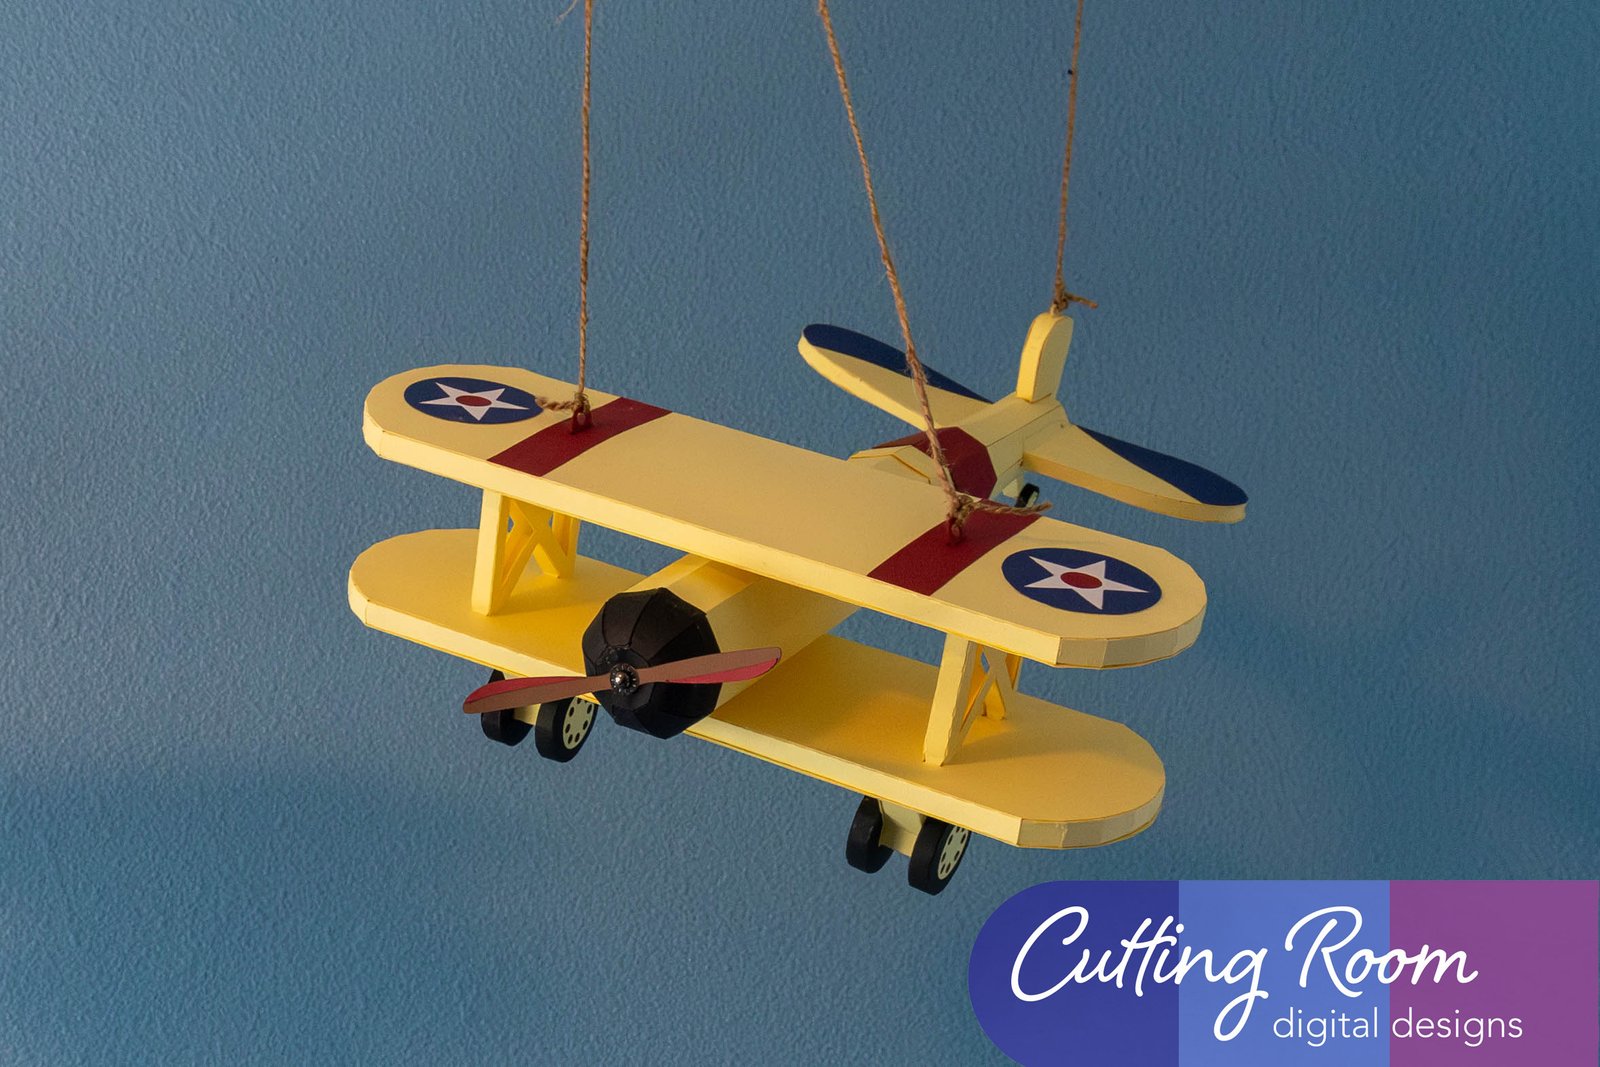
We used several products and supplies in the making of our biplane decoration. Below is a list of what we used.
- Antique Biplane Party or Room Decoration – Digital Download SVG
- Recollections cardstock
- Brads
- Recollections Foil Cardstock
- Art Glitter Glue
- Royal Brites White Foam Board
- Electric Cutting Machine: Cricut or Silhouette
***Note that this post contains affiliate links and we may receive compensation if you buy something using one of our links. ***
Biplane Wing Foam Fill
First we cut foam board using the wing template. We used it in both of the front wings. It gives the biplane some extra strength which is especially good if you are planning to hang it from the ceiling.
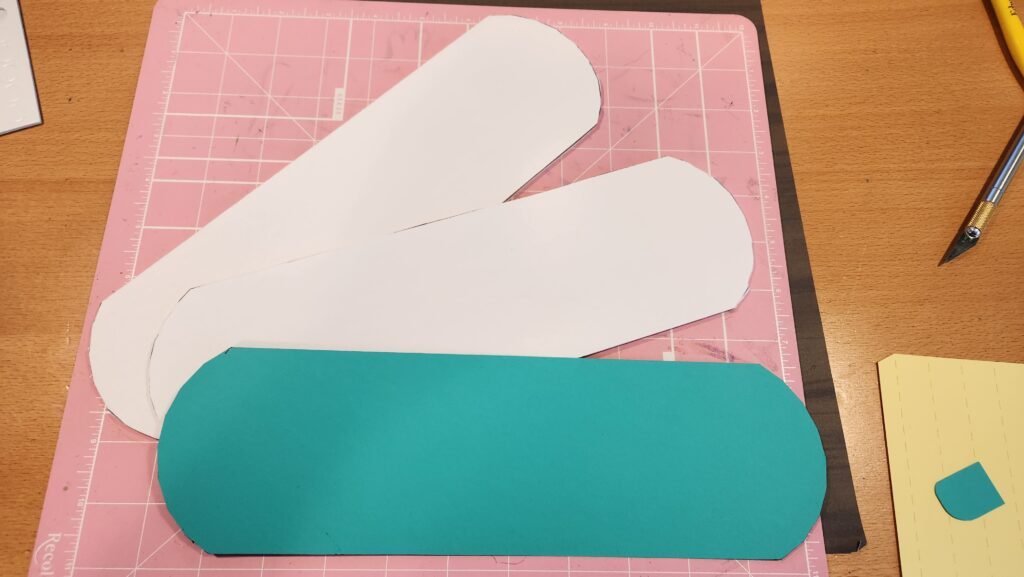
Biplane Front Wing Assembly
We started by assembling the front wings for the biplane. It’s easiest if you just go ahead and make two wings using the side panels and the large wing shaped panels. The decorative panels that hold the wings together or onto the wheels can come later.
To assemble the base of each wing we started by taking the side panels and attaching them end to end. Make sure to alternate so you have a long oval shape when done. Check that the wing shaped panels you are using for this base assembly have no score marks or holes in them. You will need these marked/altered wing panel shapes later.
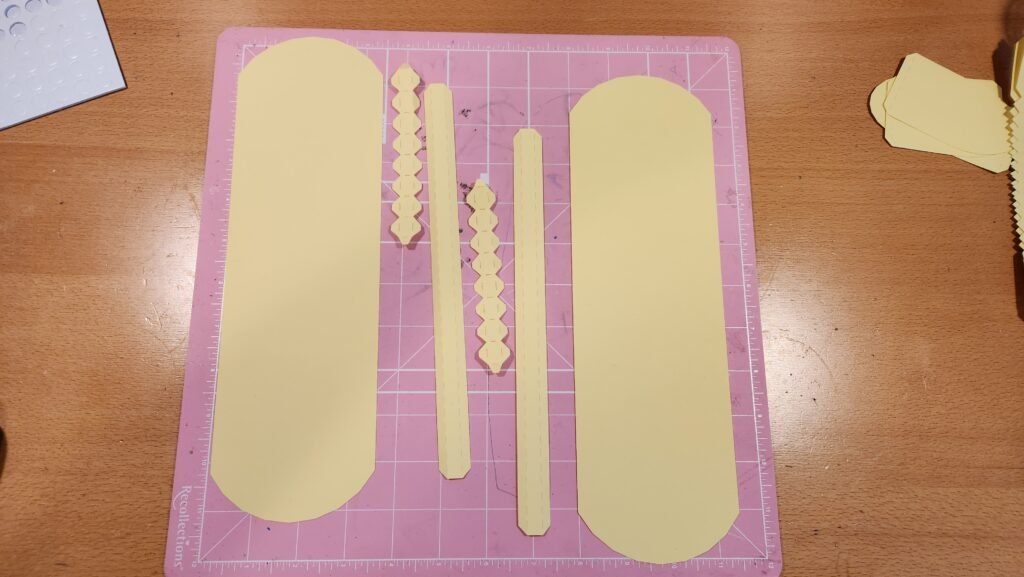
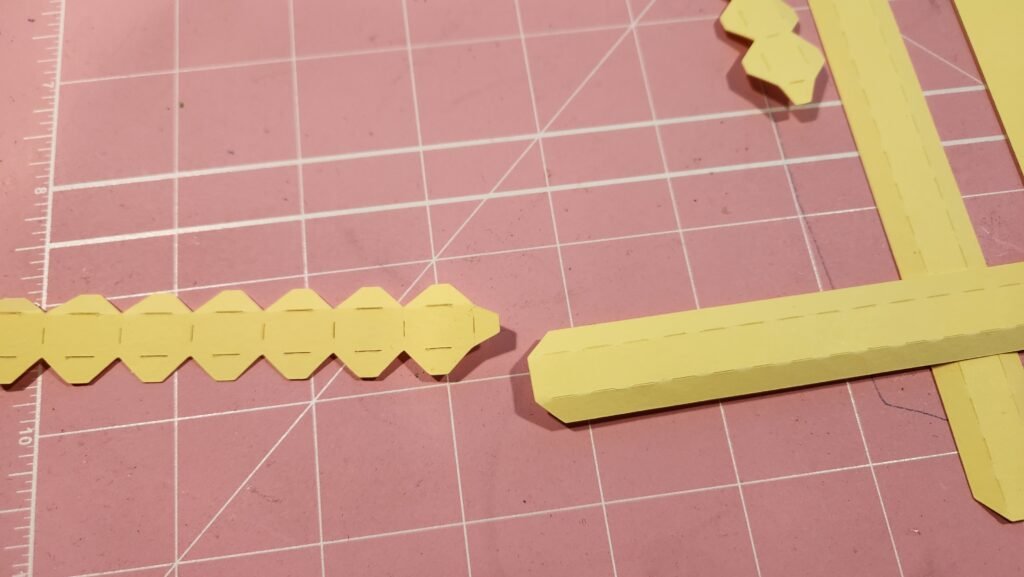
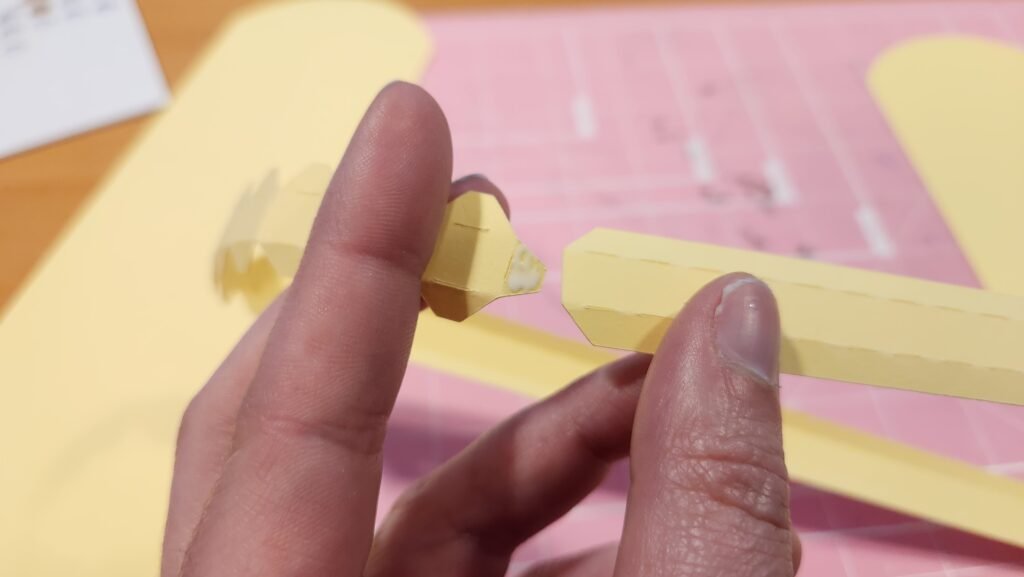
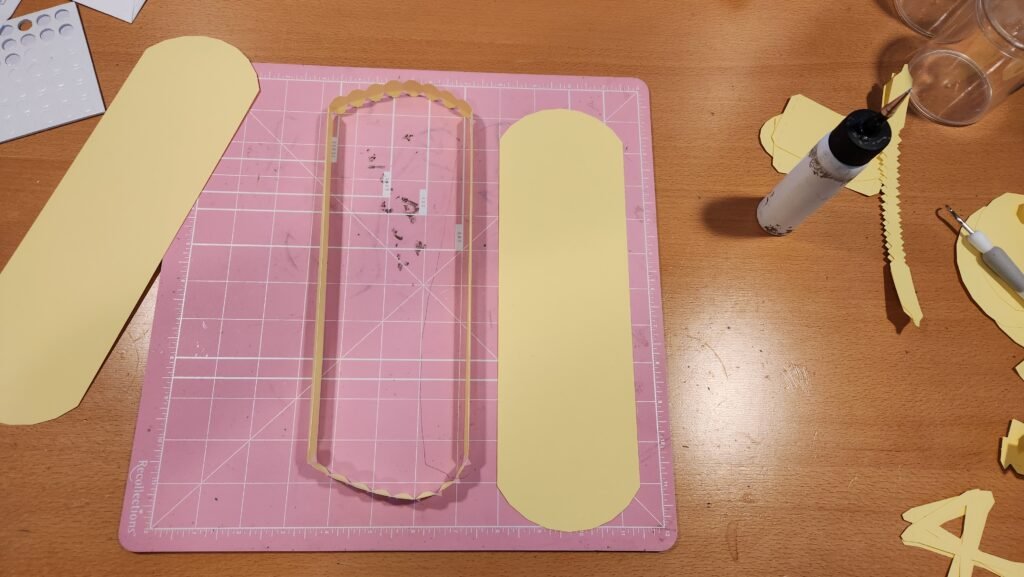
Once you have this shape, fold in one of the long tabs and attach the oval wing panel. Make sure to have the ends line up with the ends of the side panel and that the wing shaped piece is snug into the fold of the tab.
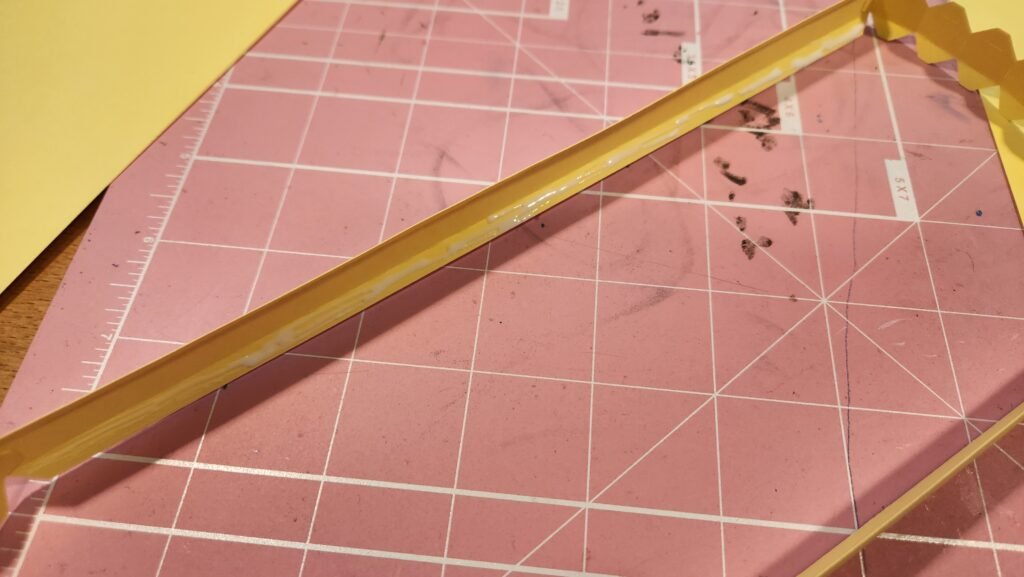
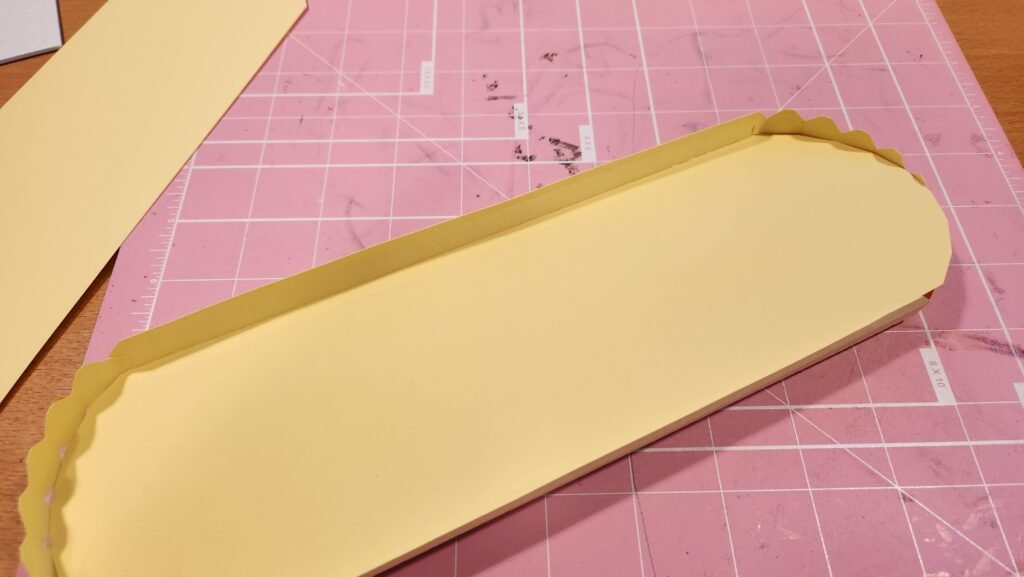
Once you have this secure, you can work your way around the rest of the wing. We found it easiest to break it up in sections, but you can do the rest in one go if you prefer.
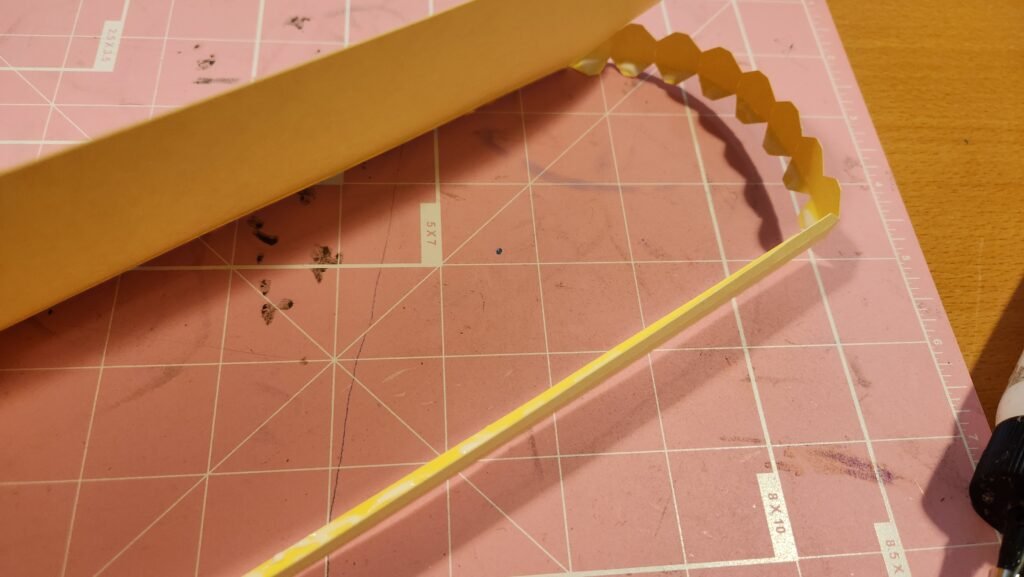
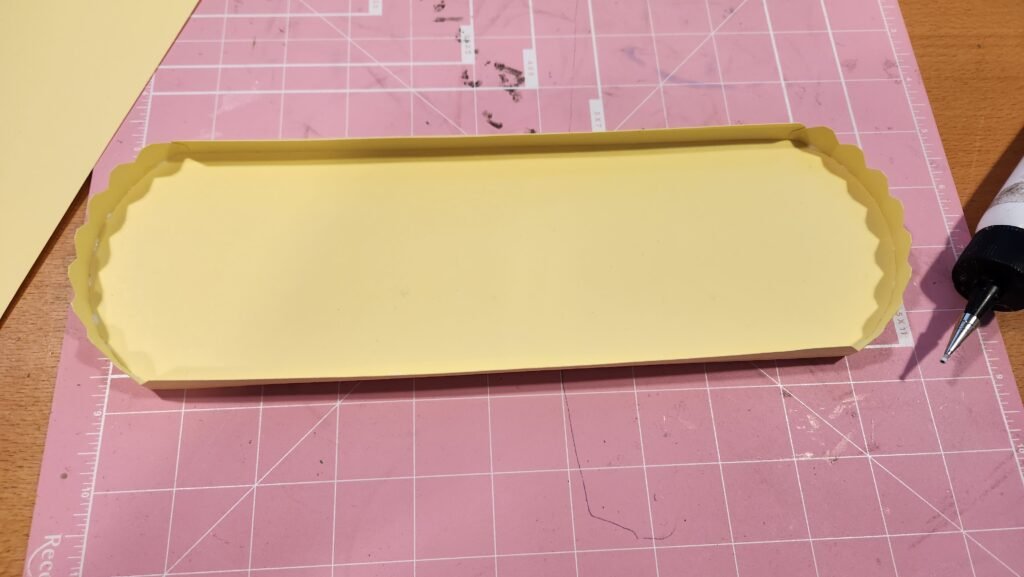
Add glue to one of the long tabs and secure the other wing shaped panel. Once this was in place, we added the foam board to the inside of the wing.
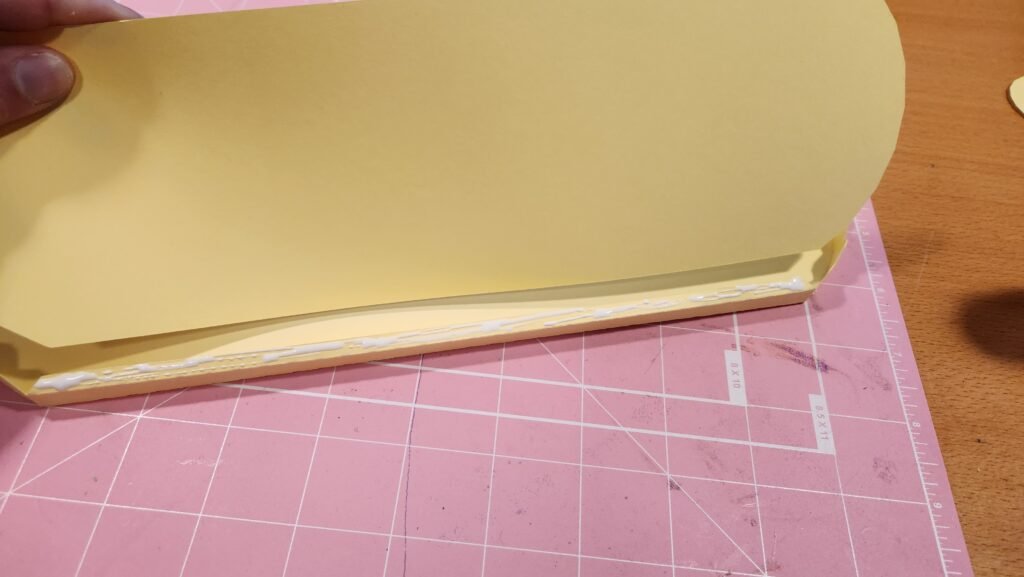
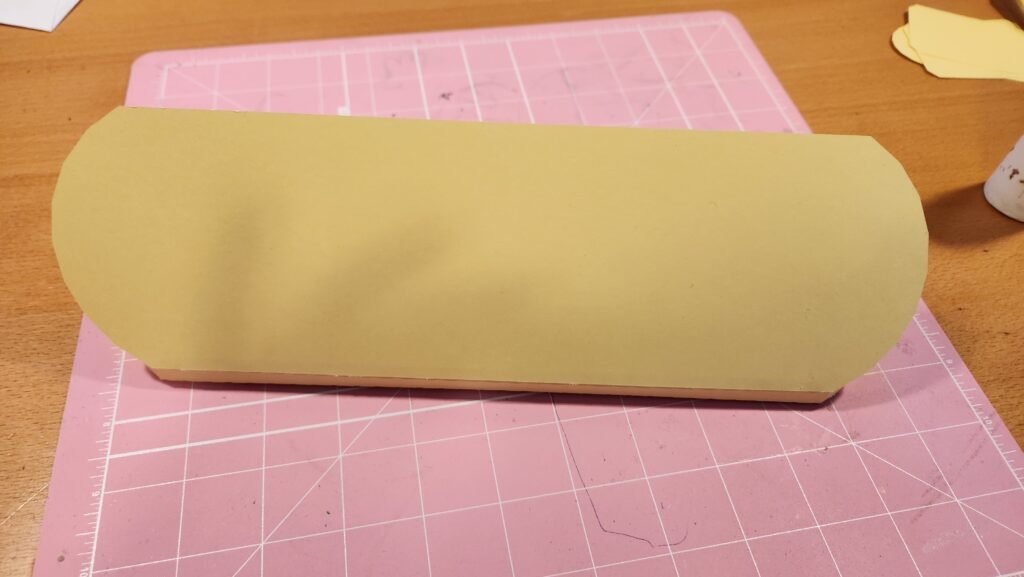
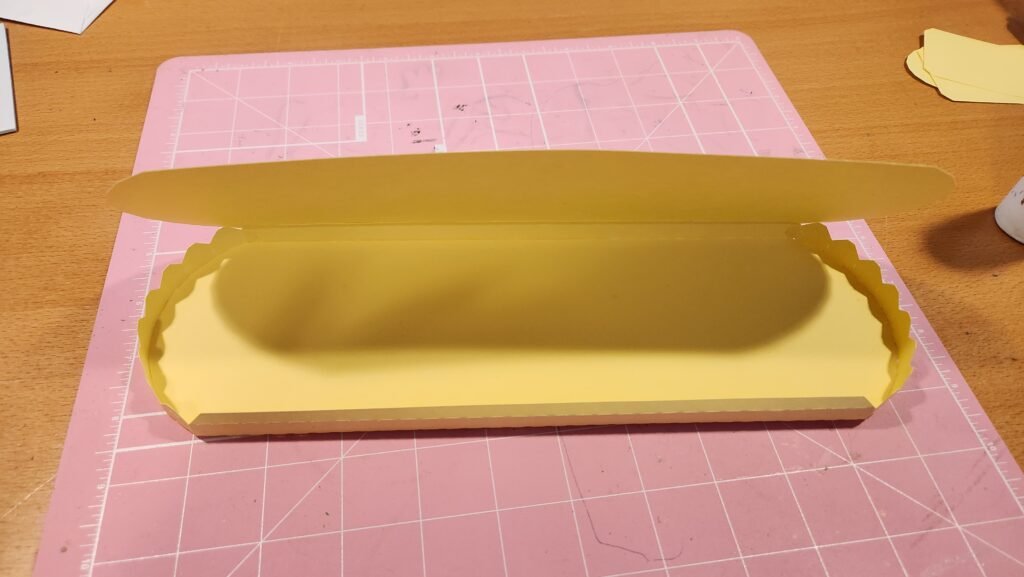
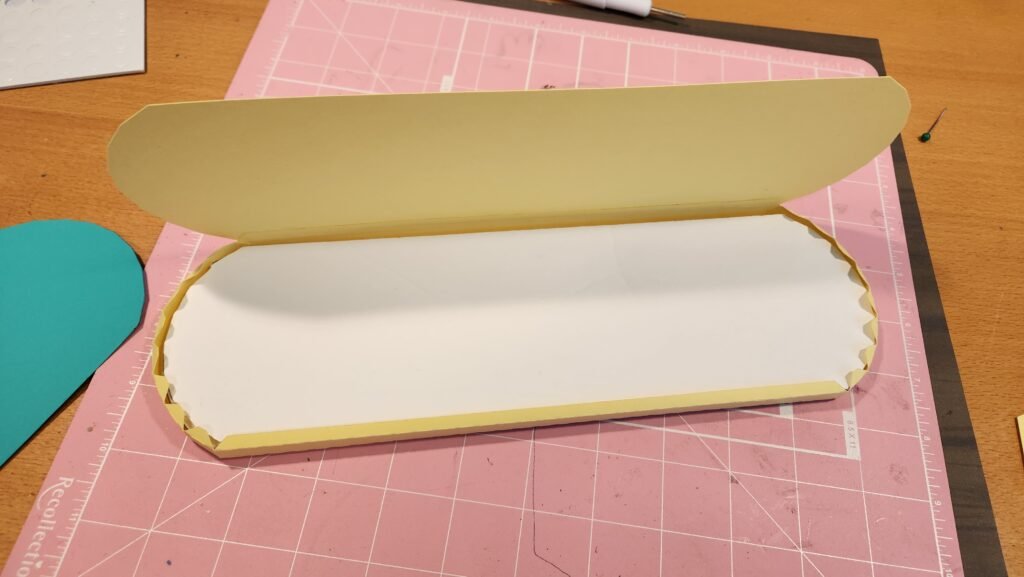
Now you can add glue to the remaining tabs. Fold the wing panel over to close off your wing shape. You will repeat this process for the second wing assembly. Decorations are where the two wing pieces will become different from each other.
Decorating The Top Wing
We then put together the decorative panel that will be the very top of the biplane. We started by taking the loop pieces and gluing them back to back. Make sure that the tabs at the bottom do not get glued to each other. Assemble two of these, one for each end of the wing. Then place them through the slot in the stripe and attach. If you are using patterned paper, be sure that the loop is sticking out on the side you want visible. Once we had these assembled, we took the decorative panel that has two small score lines on each end. These lines are used to help line up the stripes so they are equally spaced and straight.
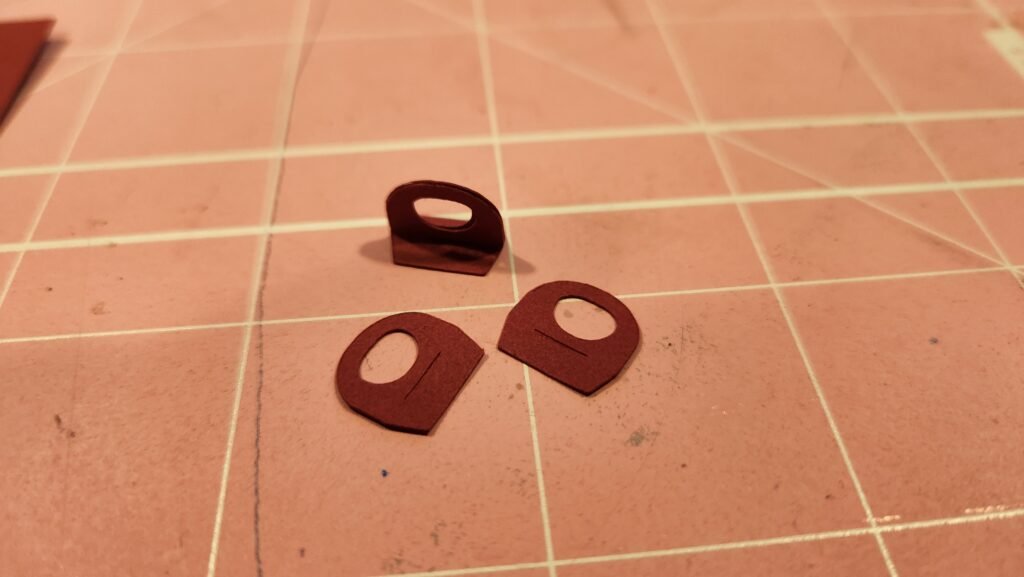
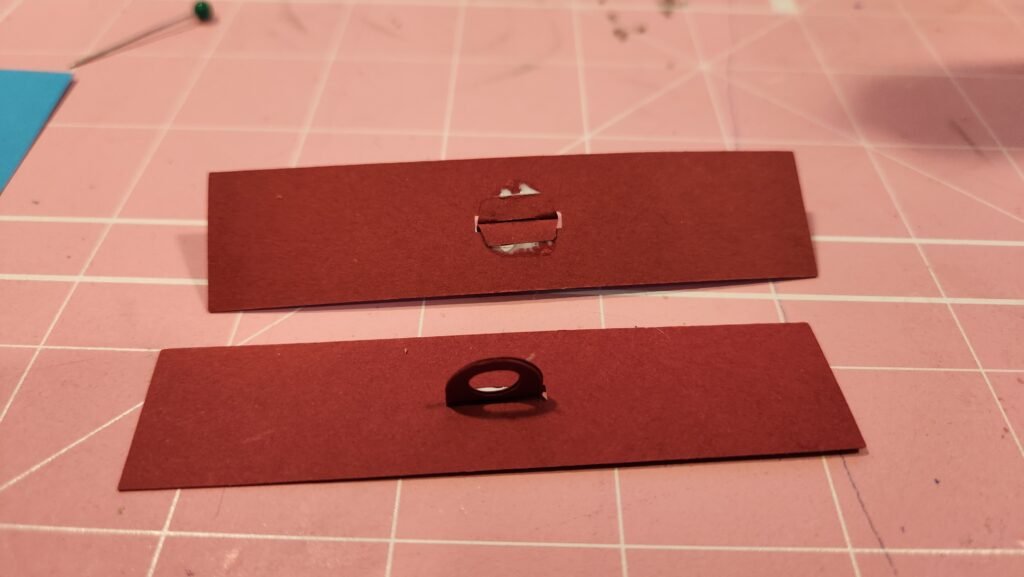
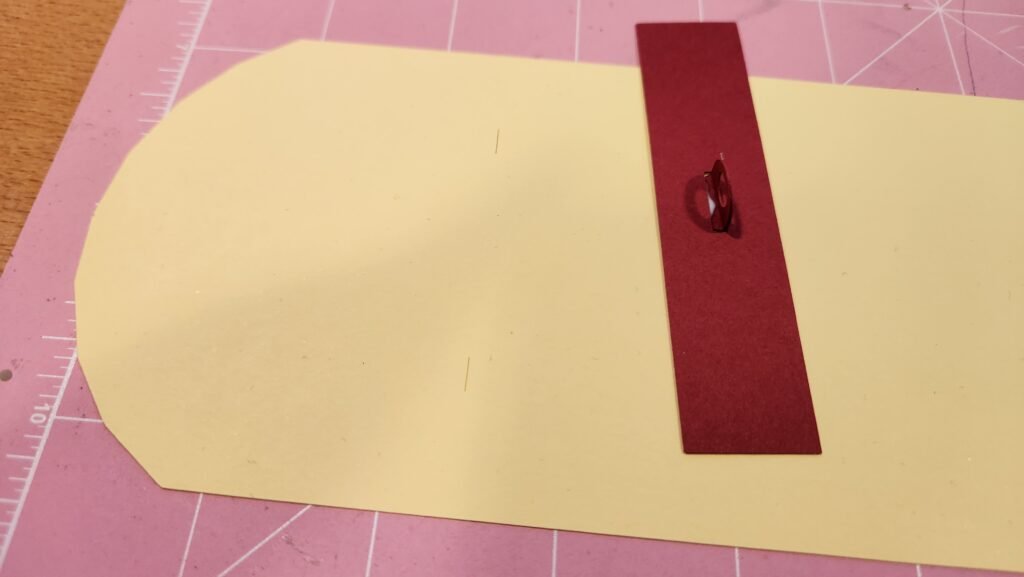
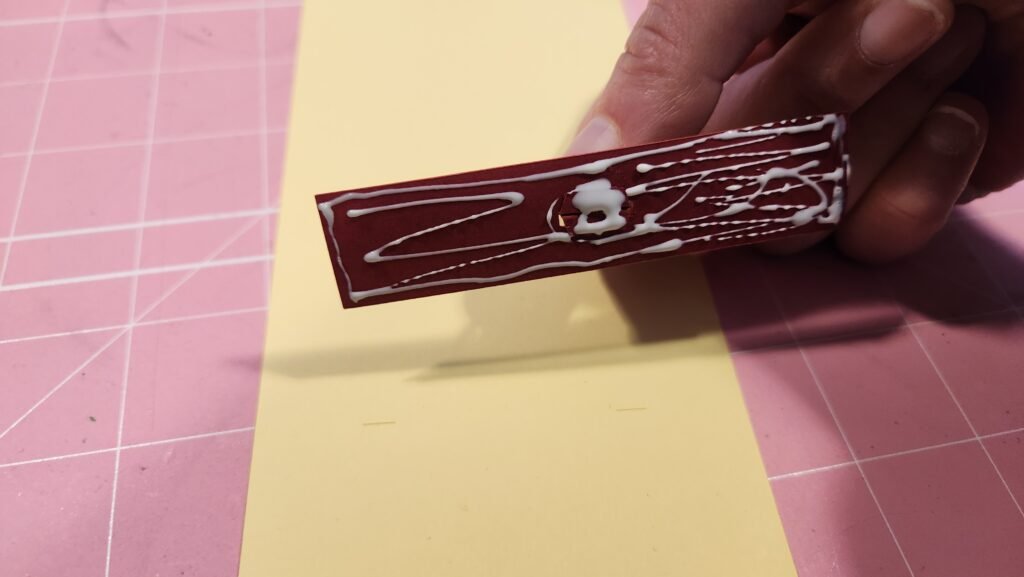
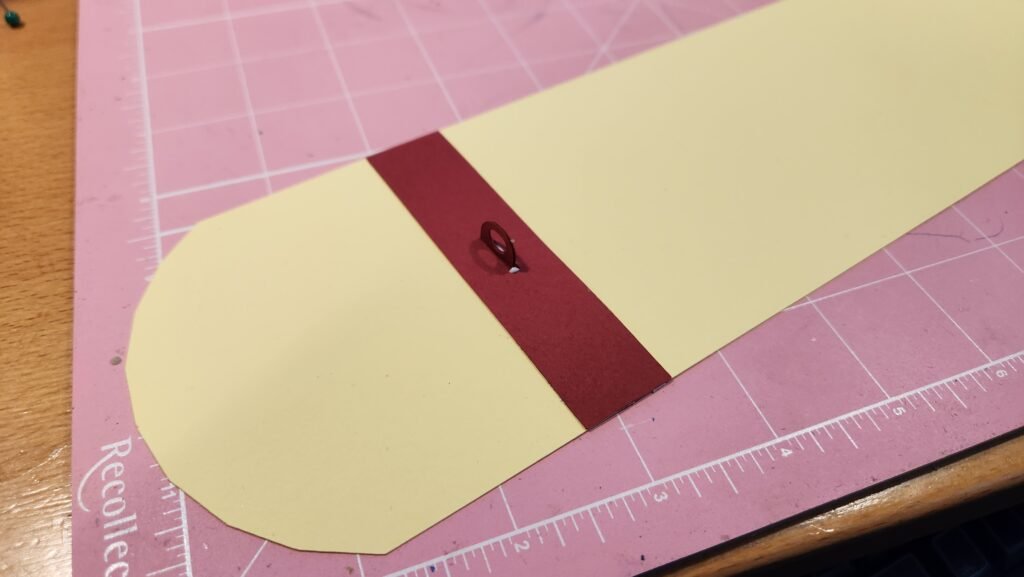
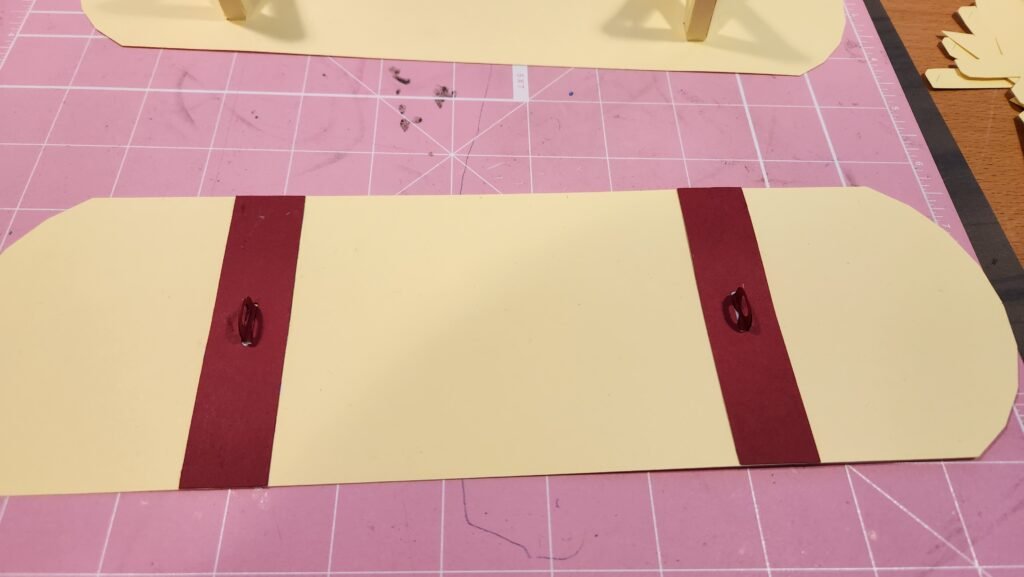
To finish the decoration on the top of the wing we assembled the star and placed it on the outer section on each side.
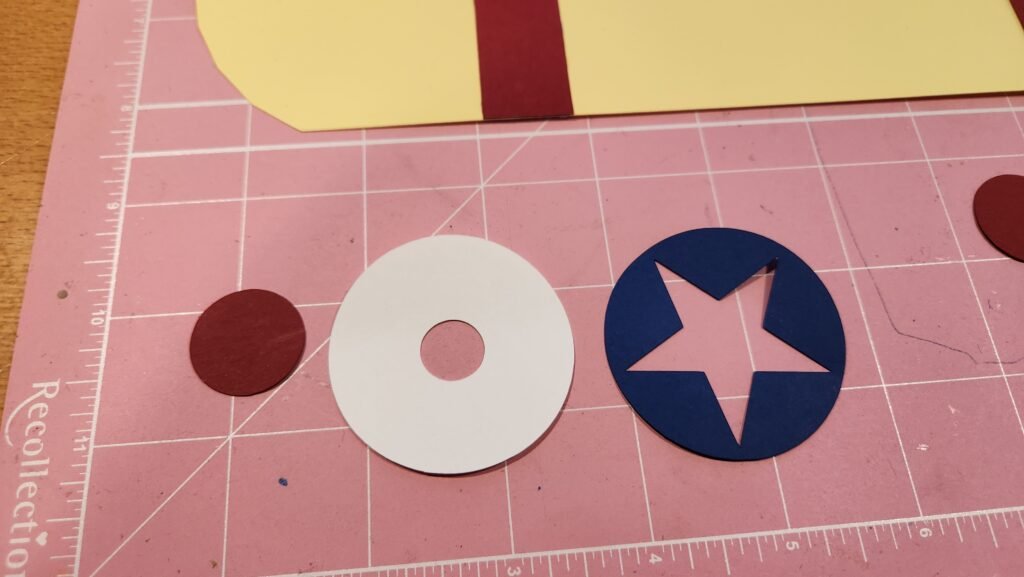
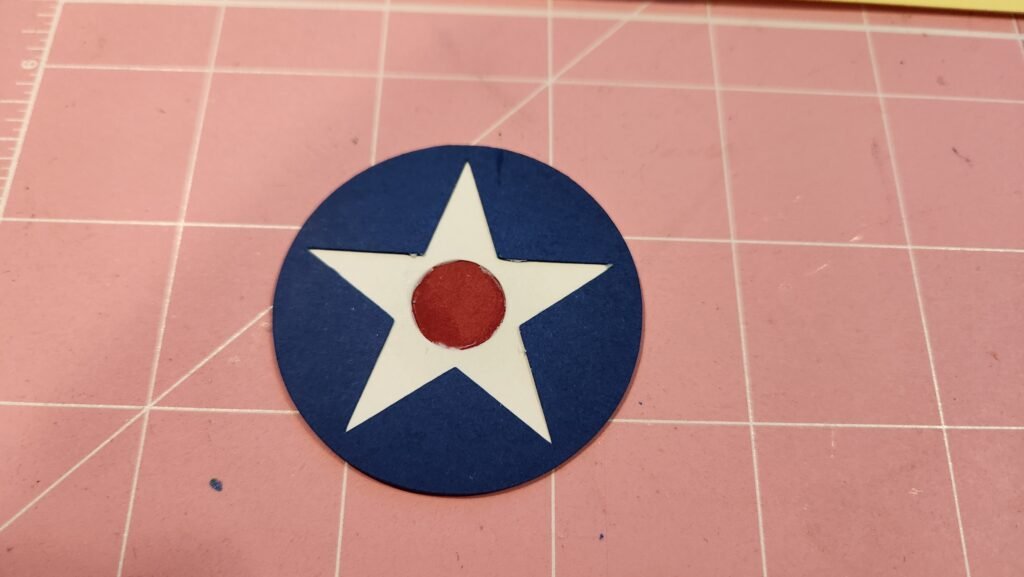
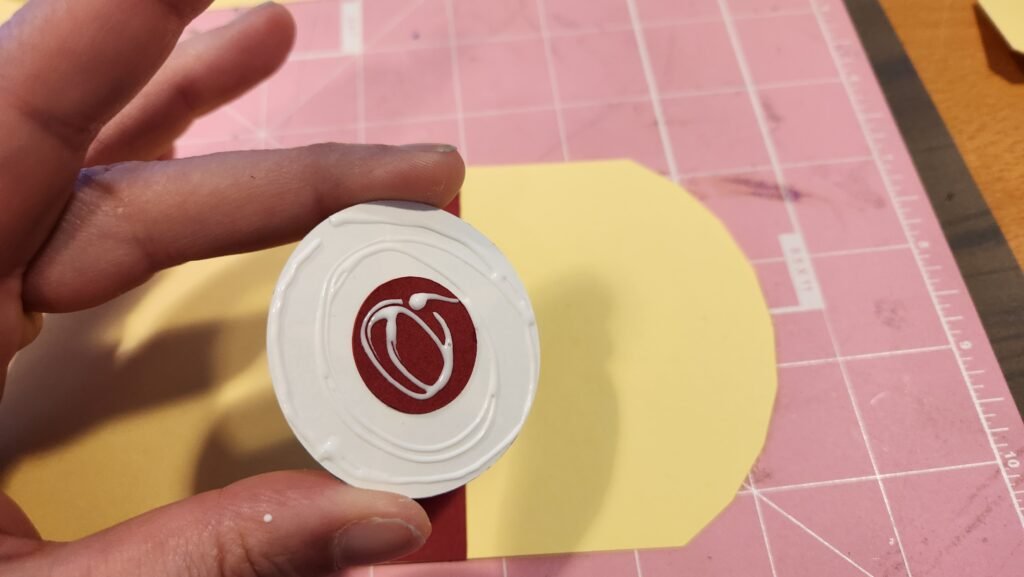
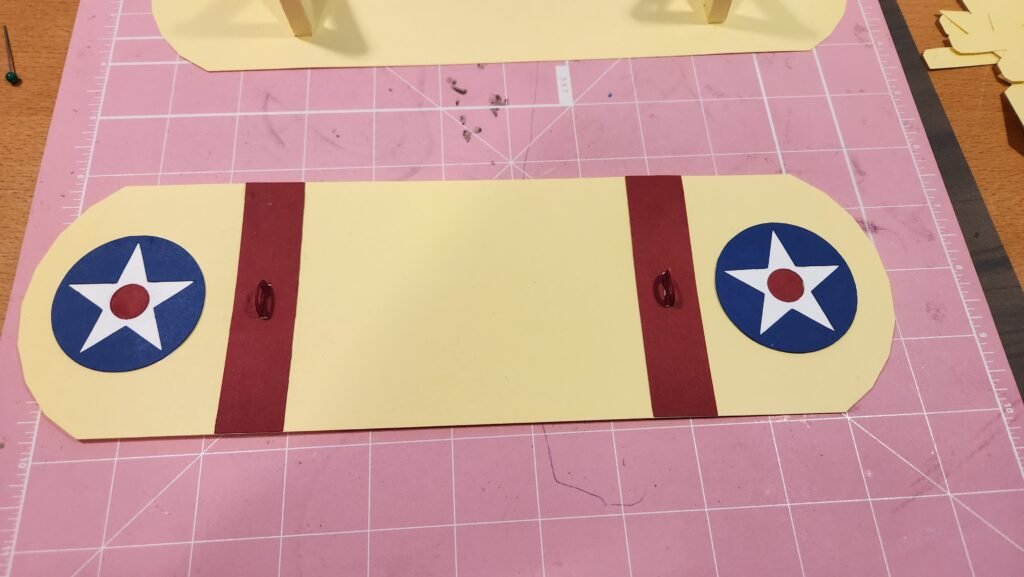
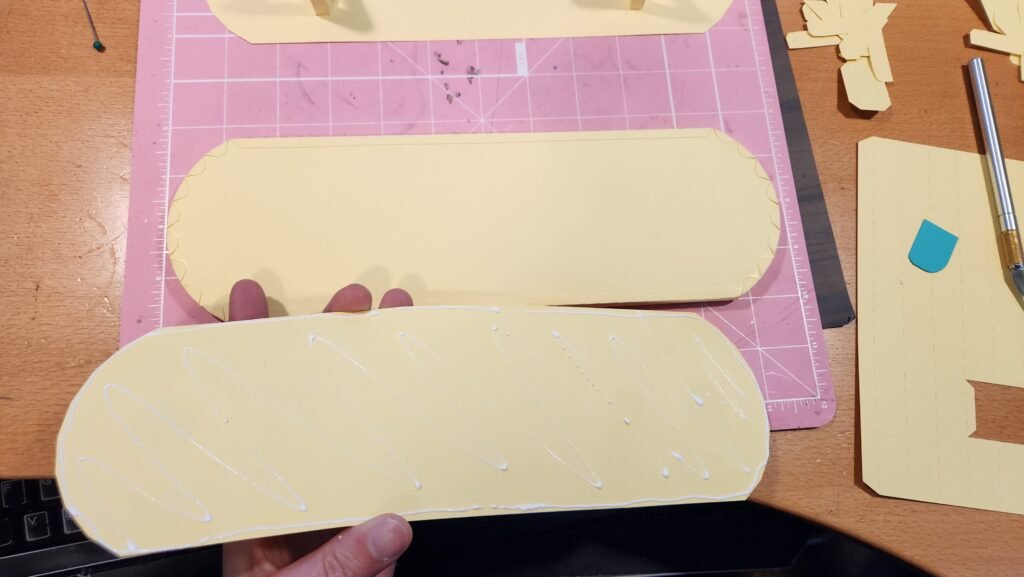
With this panel complete, we attached it to one of the wing assemblies.

Biplane Wing Supports
In order to assemble the wing supports, we laid out one of the wing supports as shown below. Make sure to use the cross pieces with tabs at the top and bottom.
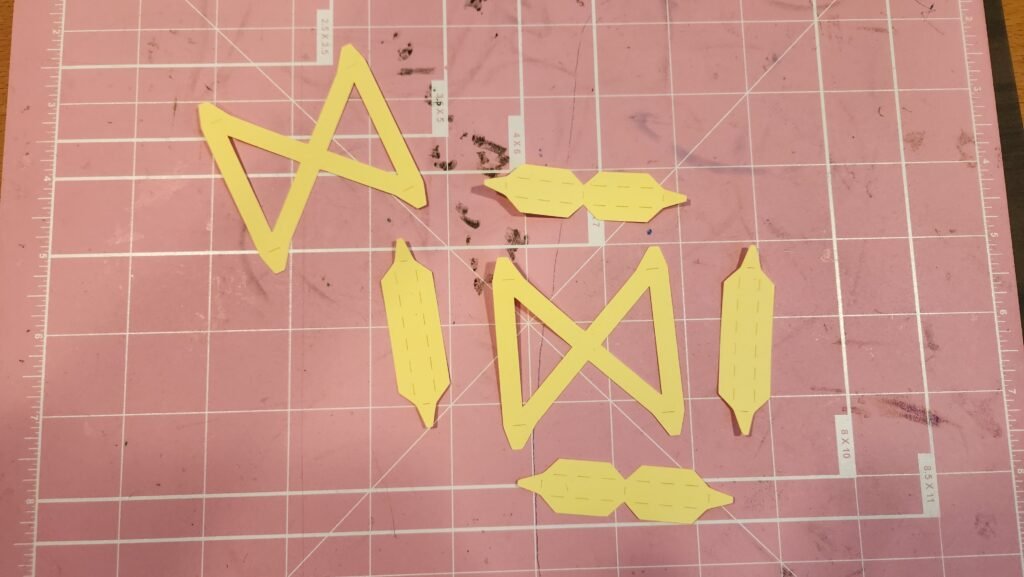
Fold on the score lines and attach the side panels one at a time making sure to get a snug fit.
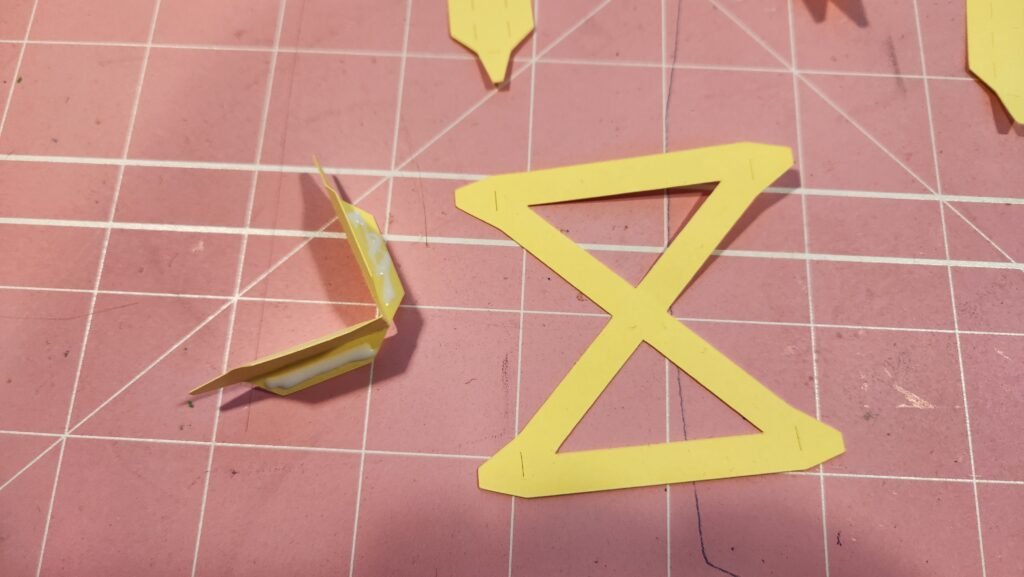
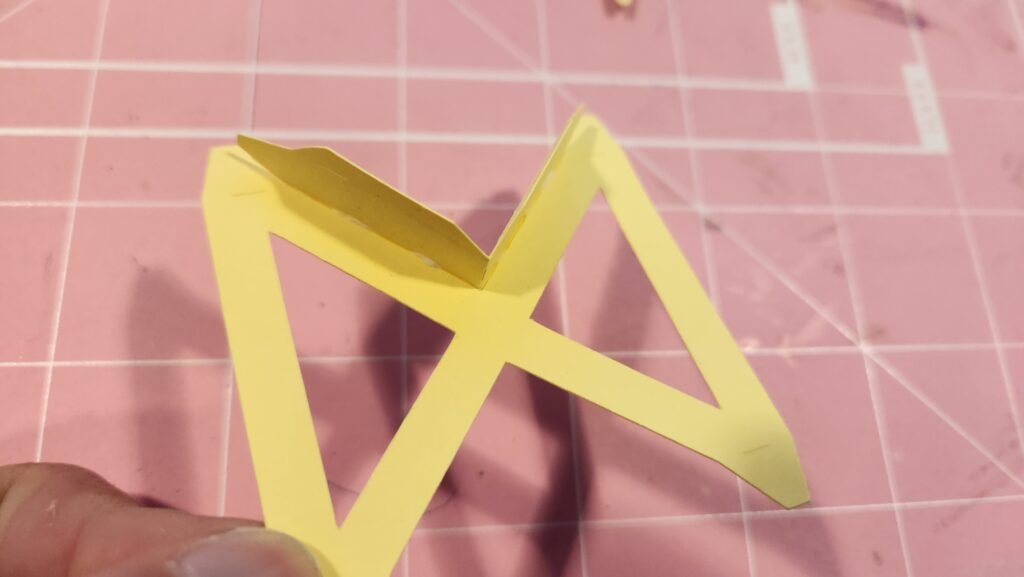
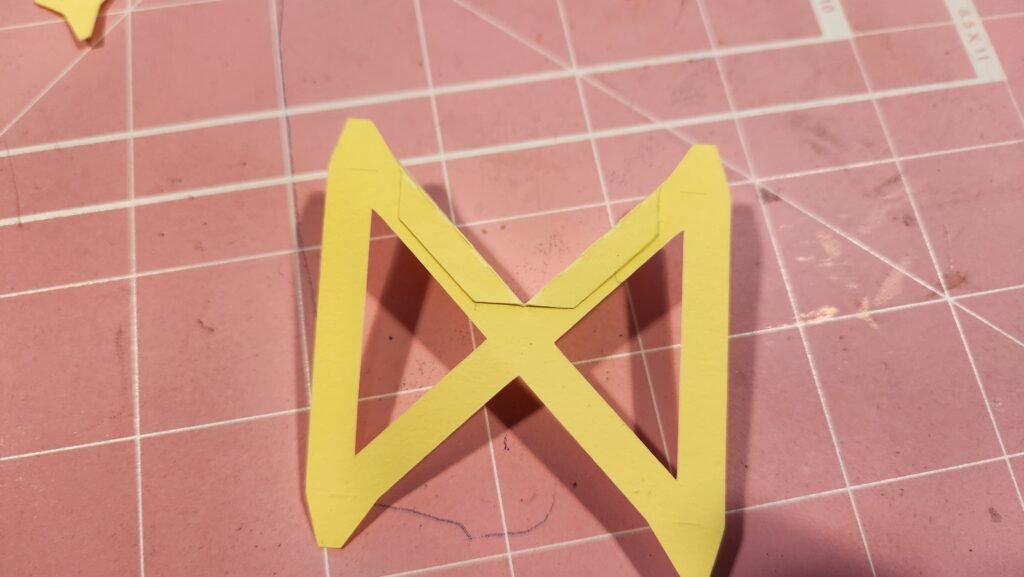
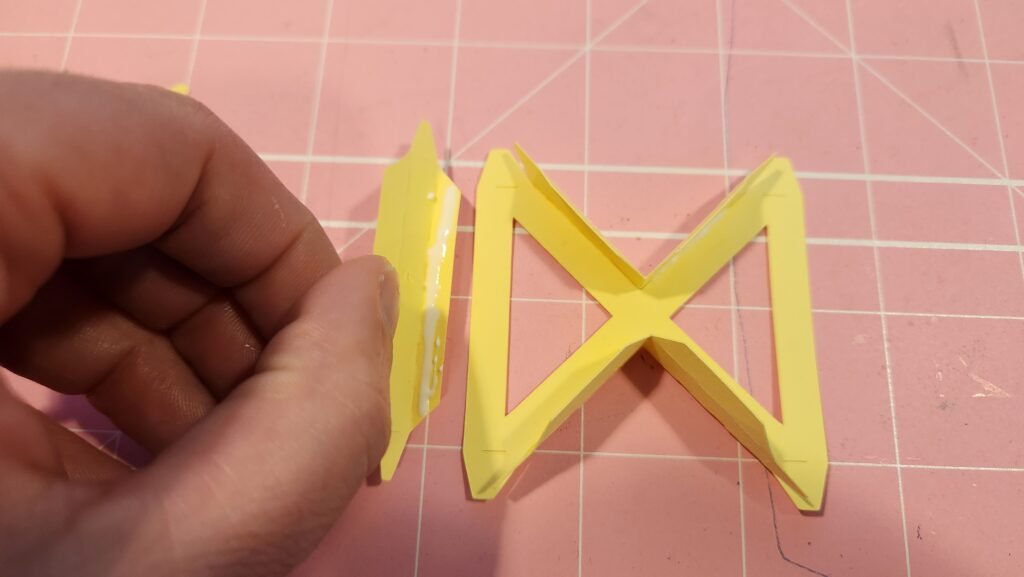
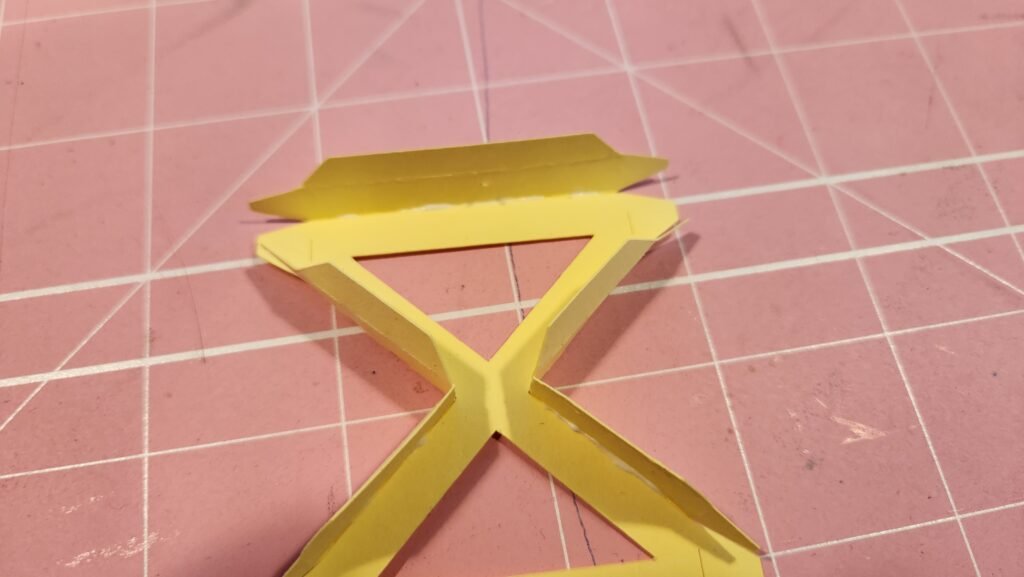
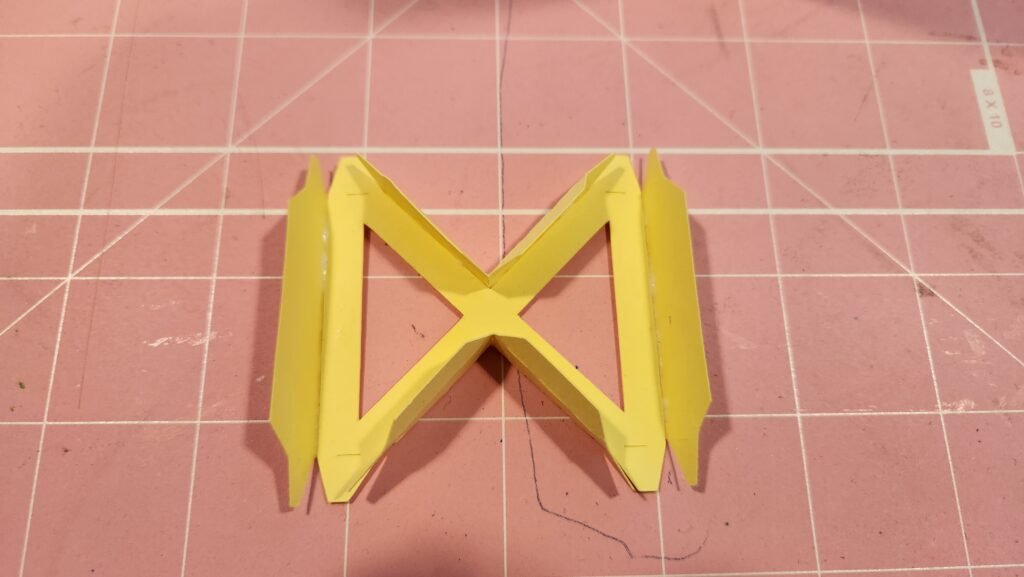
Once you have all the side panels attached to one X shape, you can attach the other cross piece. We did this by first securing one of the longer tabs. Once that was in place, we added glue to the other tabs and attached them, making sure the pieces lined up on the edges.
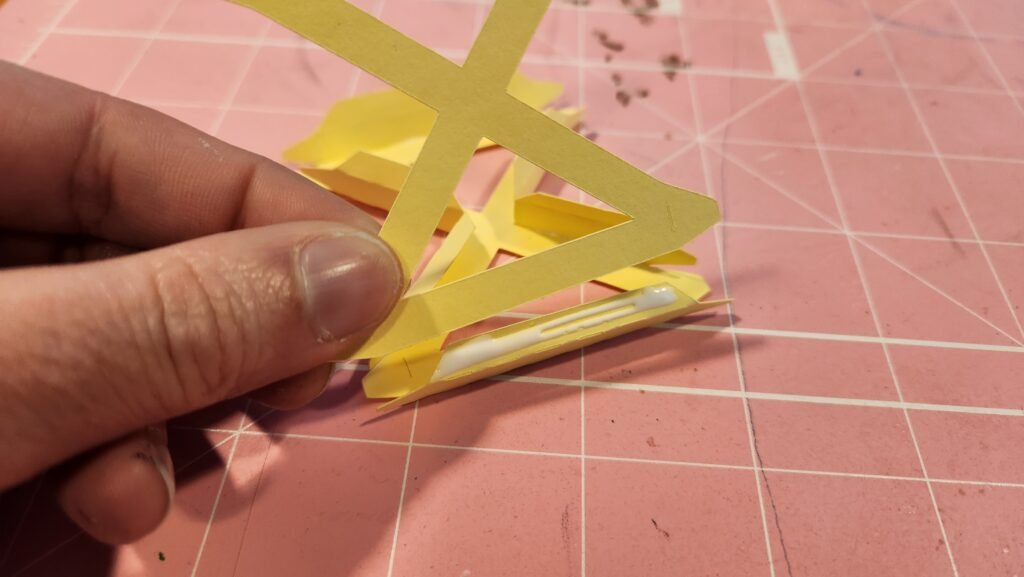
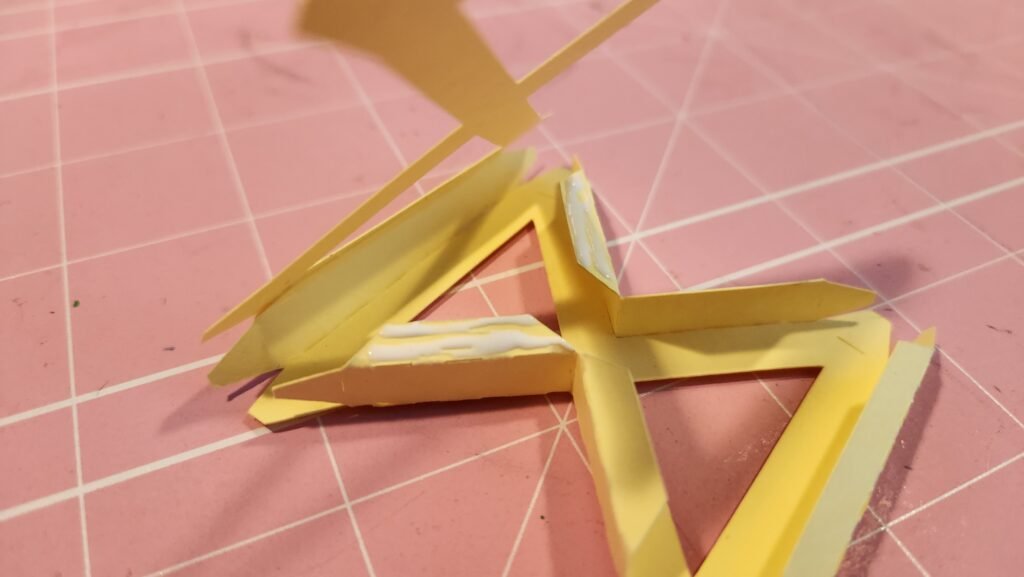
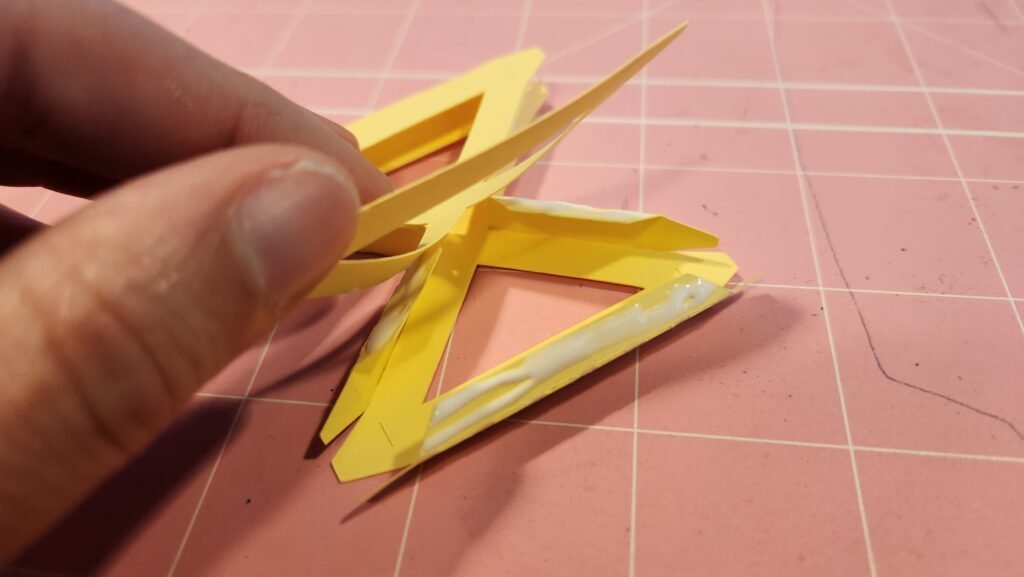
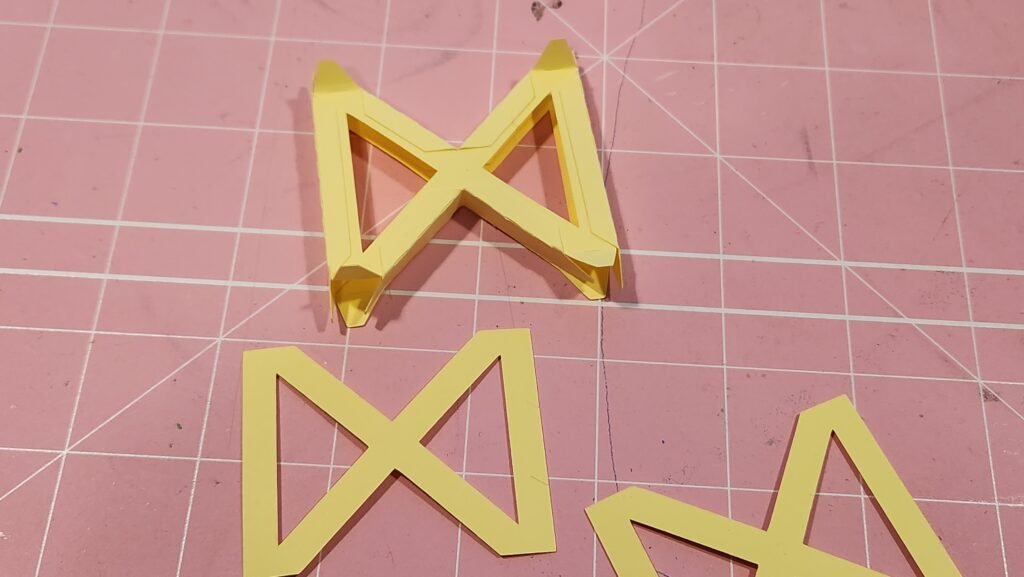
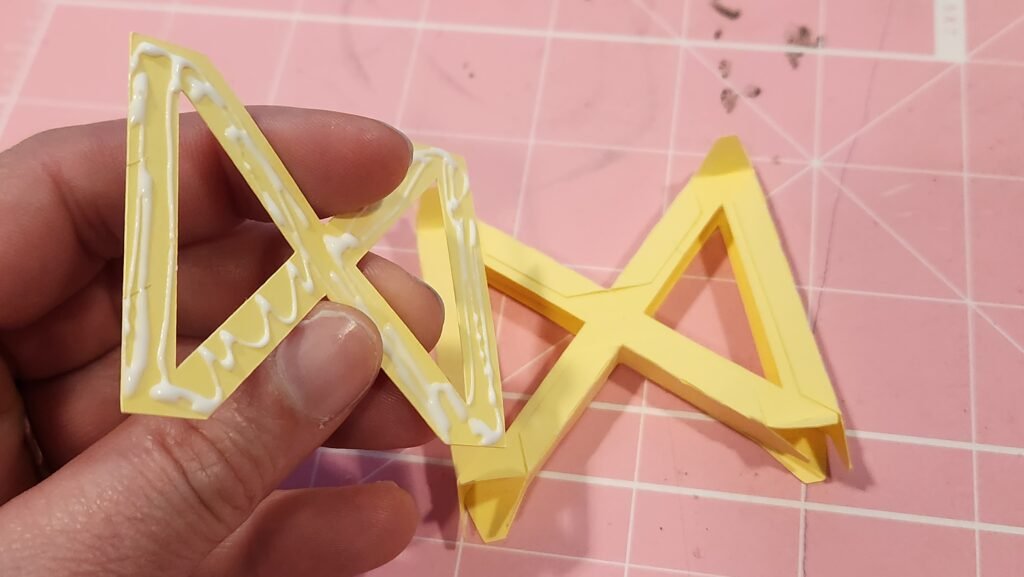
Once you have two of these cross pieces assembled, you can add the decorative panel to each. There is a decorative panel that is the same as the cross shape minus the tabs at the ends. This is used to cover the exposed tabs on each of the assemblies.
Attaching The Wing Supports
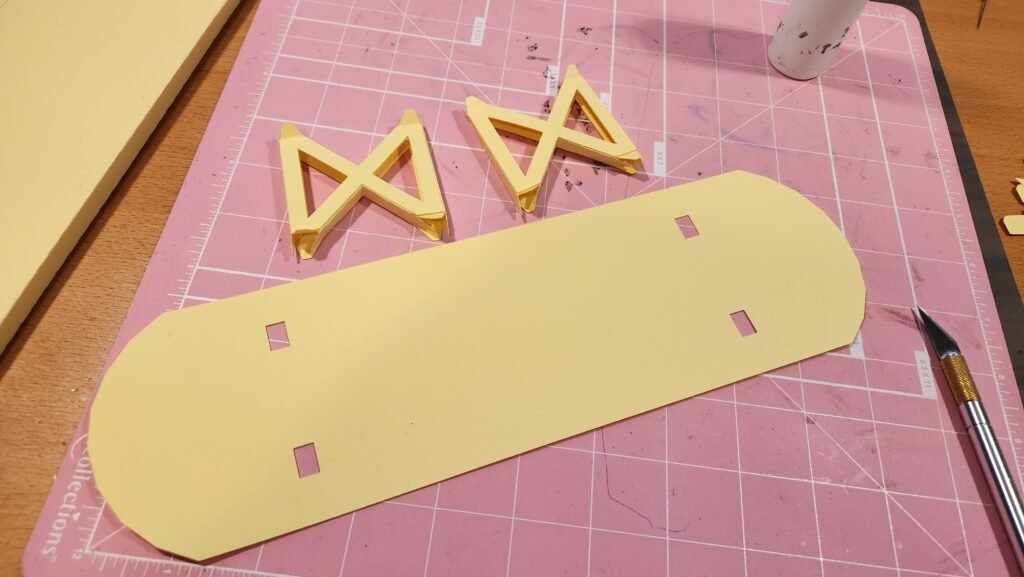
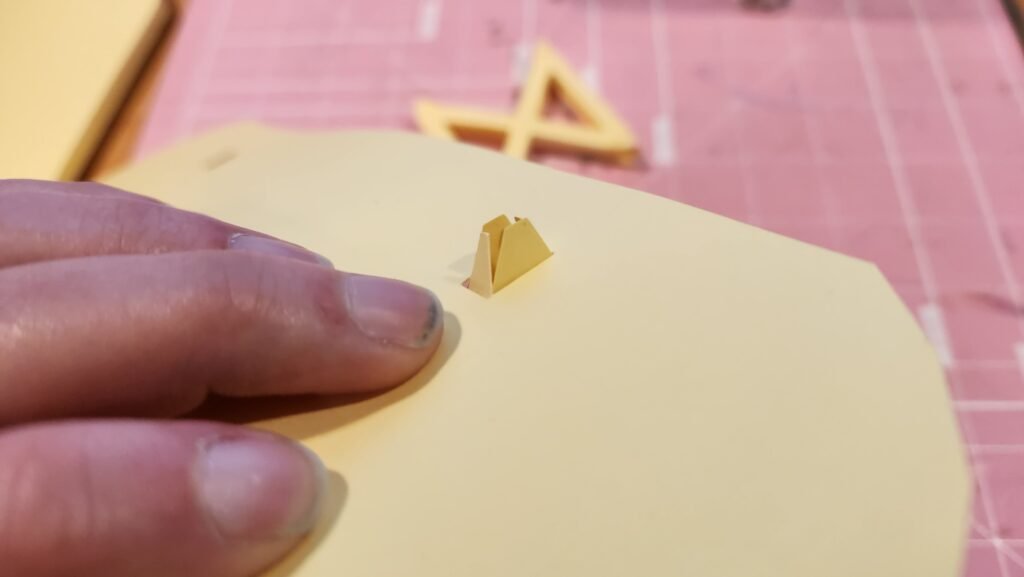
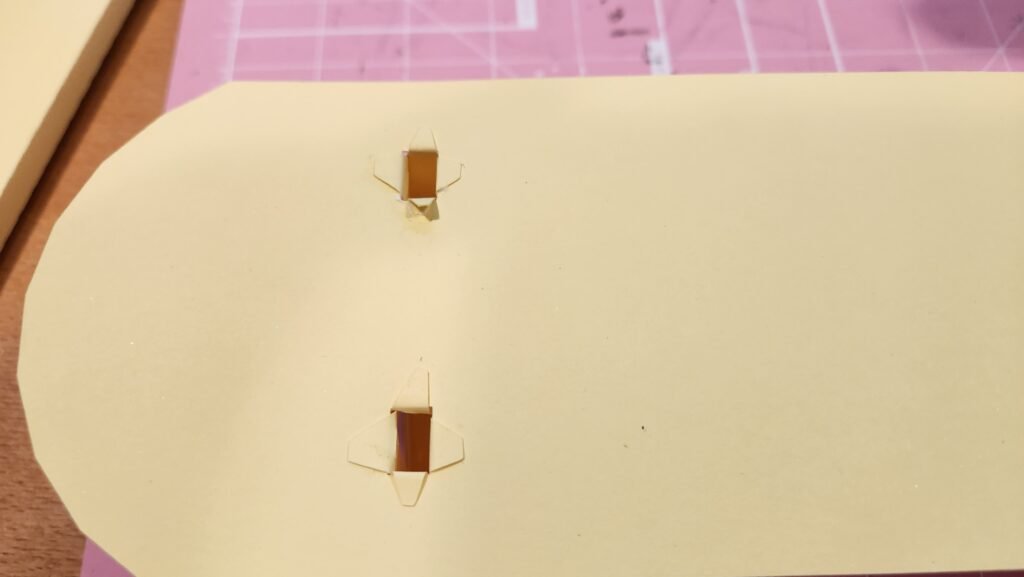
Make sure that the decorative panel used in the next step only has the four holes – two on each end. You do not want the one that has these holes and two score lines in the center. To attach these cross pieces to the decorative wing panel, we placed the tabs of one through two of the holes on the panel. Add glue to the tabs and fold them over to attach. Once you have one cross piece in place, you can repeat the process for the other one.
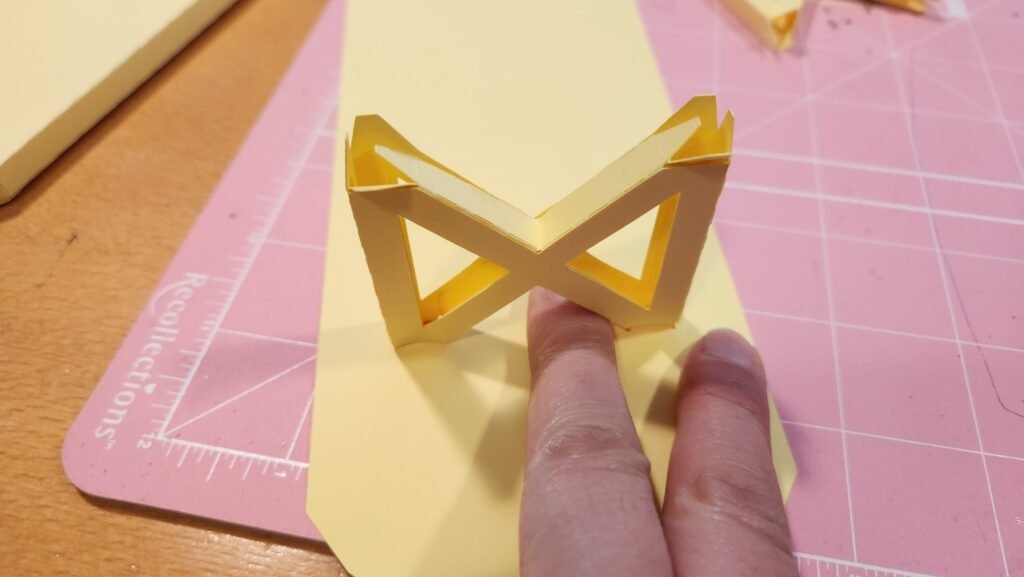
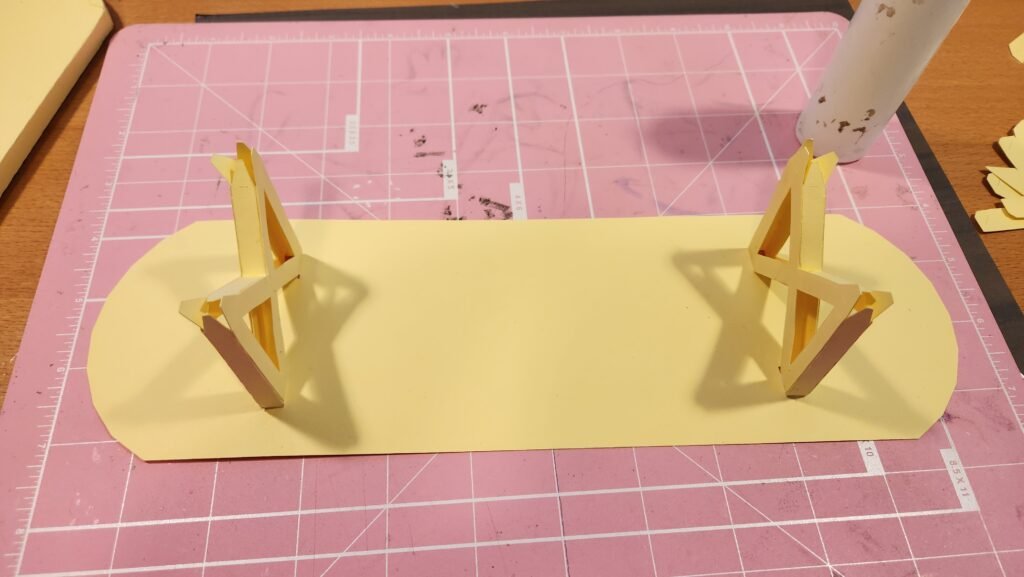
With this complete, you can add it to the wing assembly you just decorated. Once you put on glue, press it firmly onto place to be sure you get a good and uniform attachement.
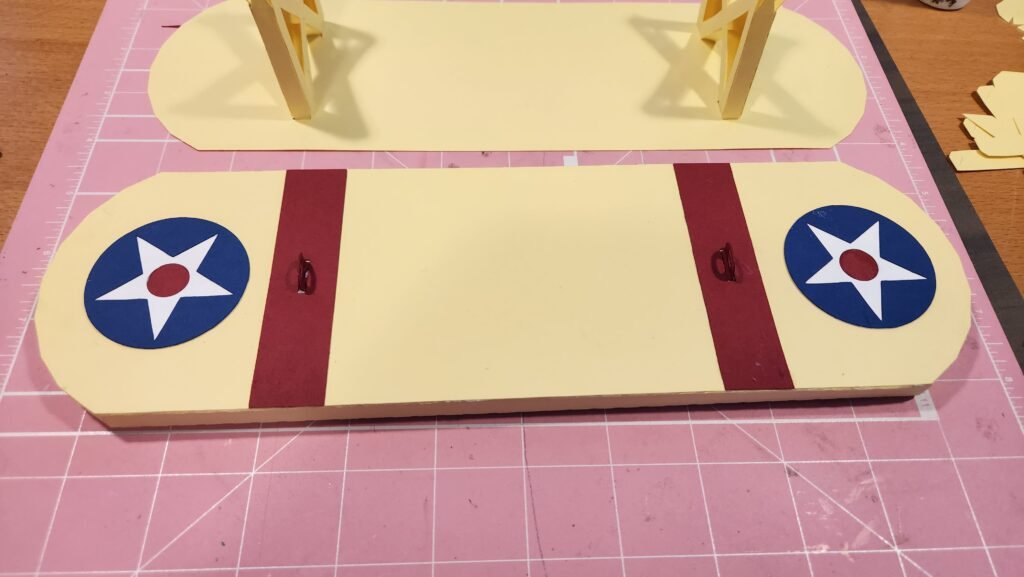
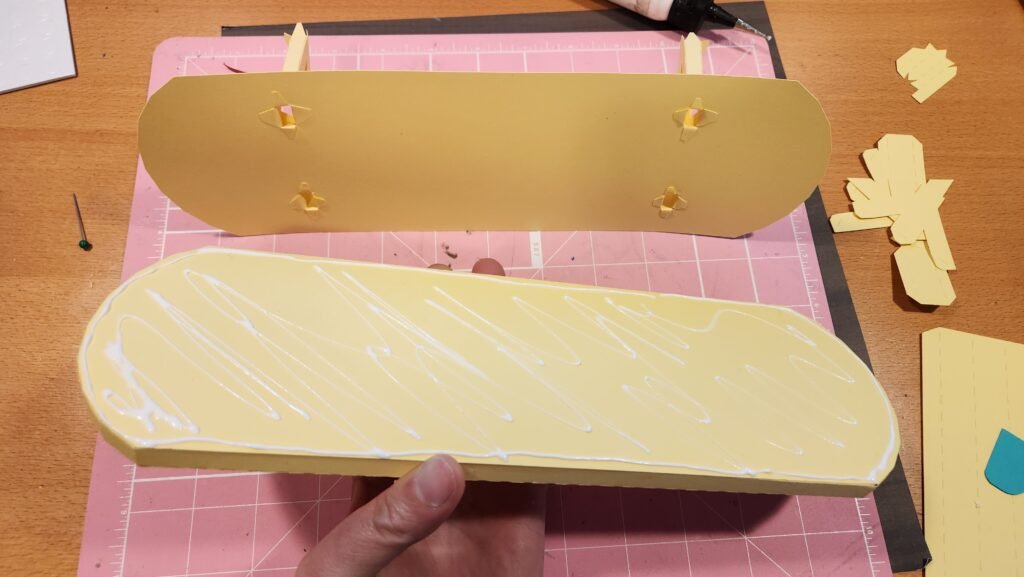
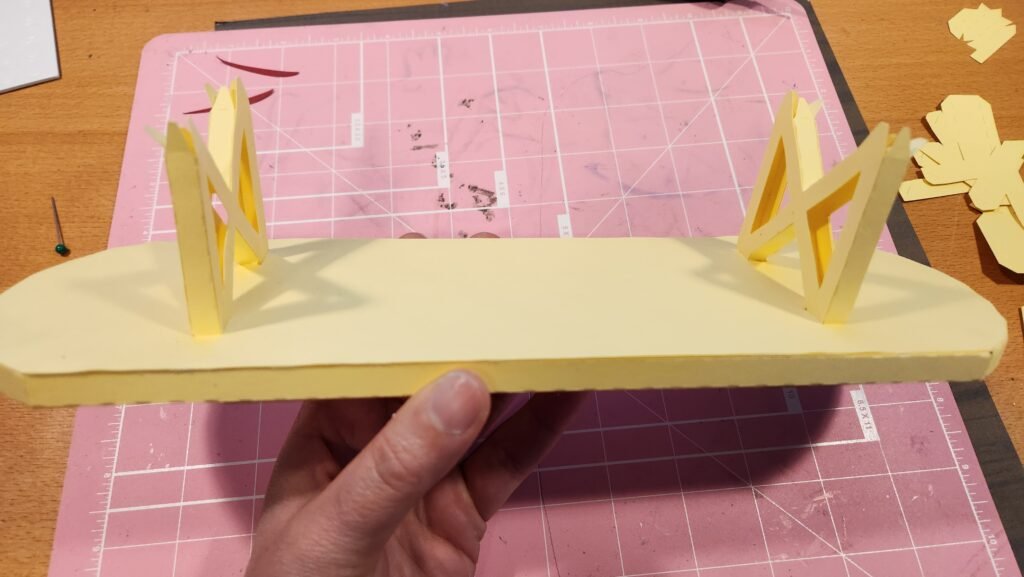
Take the other decorative panel – the one with four holes and the two score lines in the center. Take a pencil and mark the score lines on both sides of this decorative panel. Then attach it to the other end of the wing supports. Once you have this securely attached in all four spots, you can set your wing assembly aside.
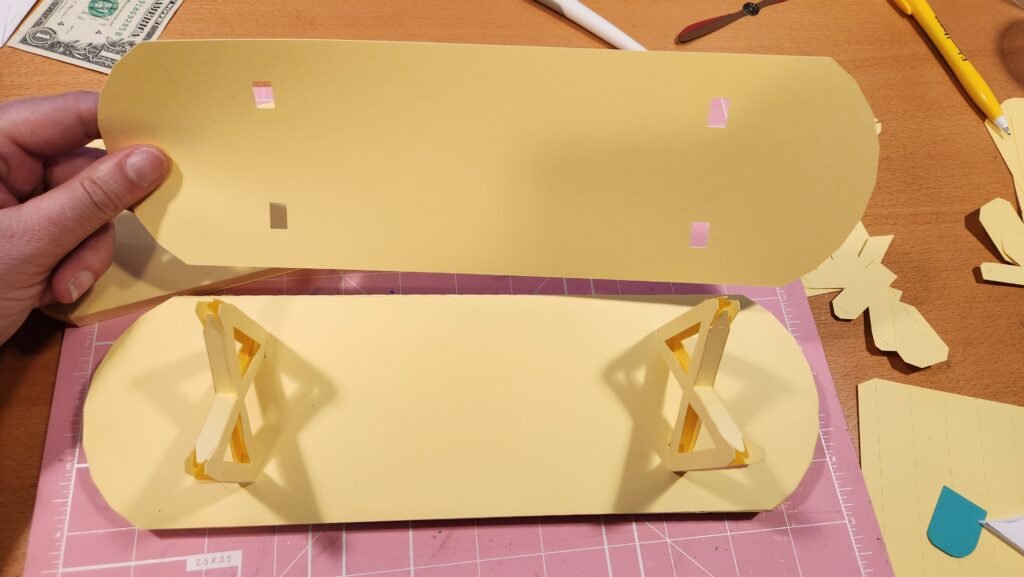
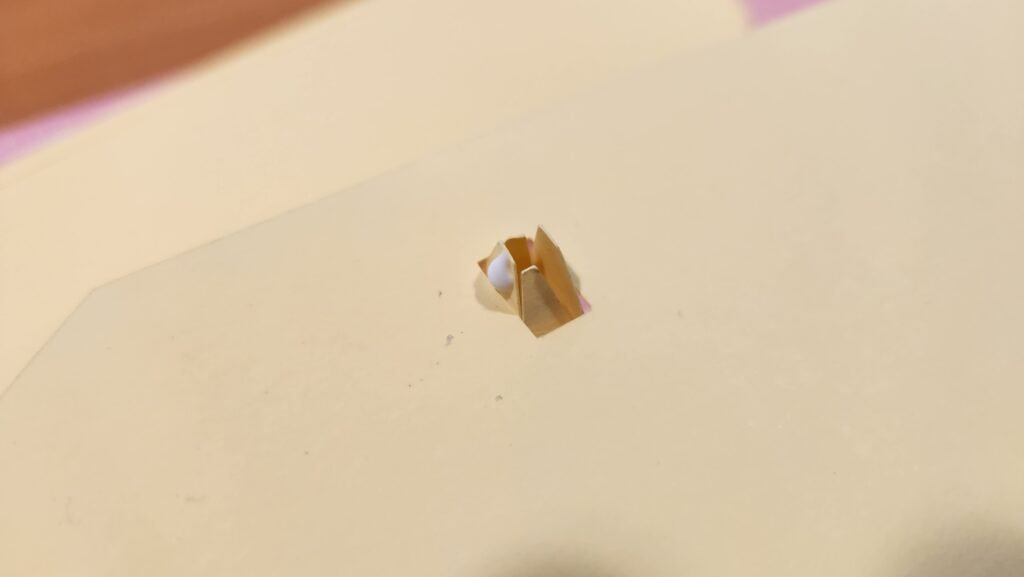
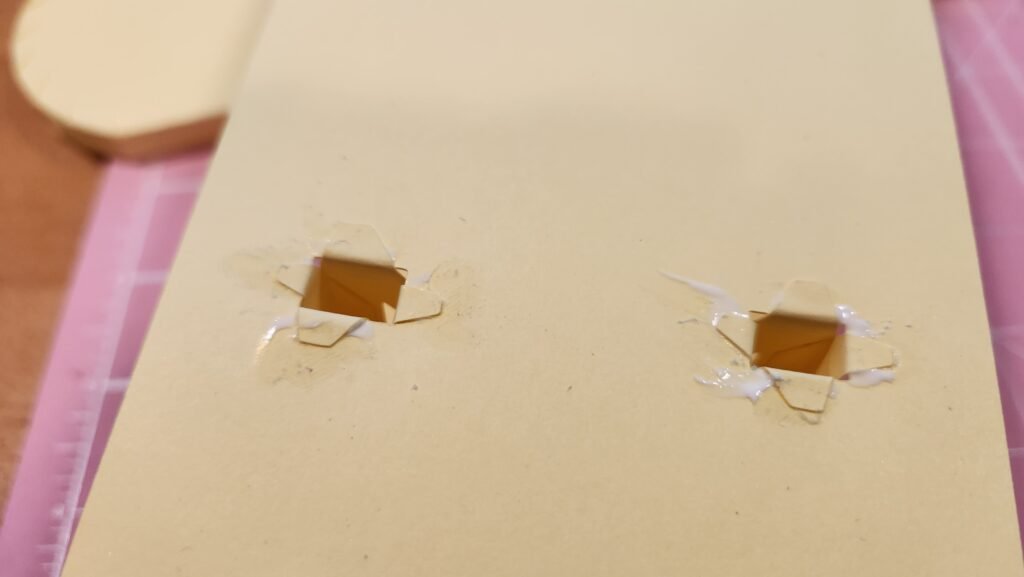
Front Wheel Support Assembly
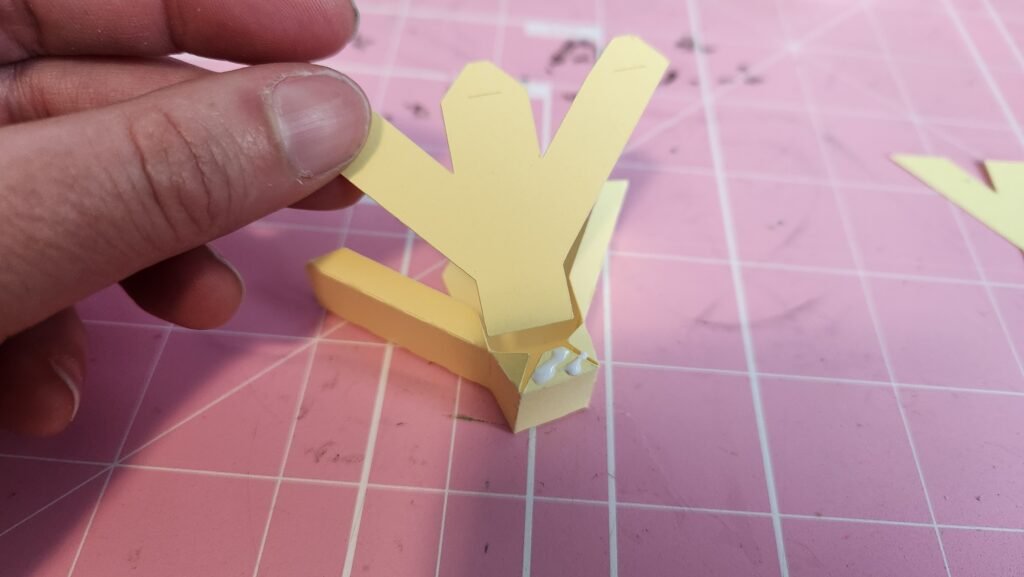
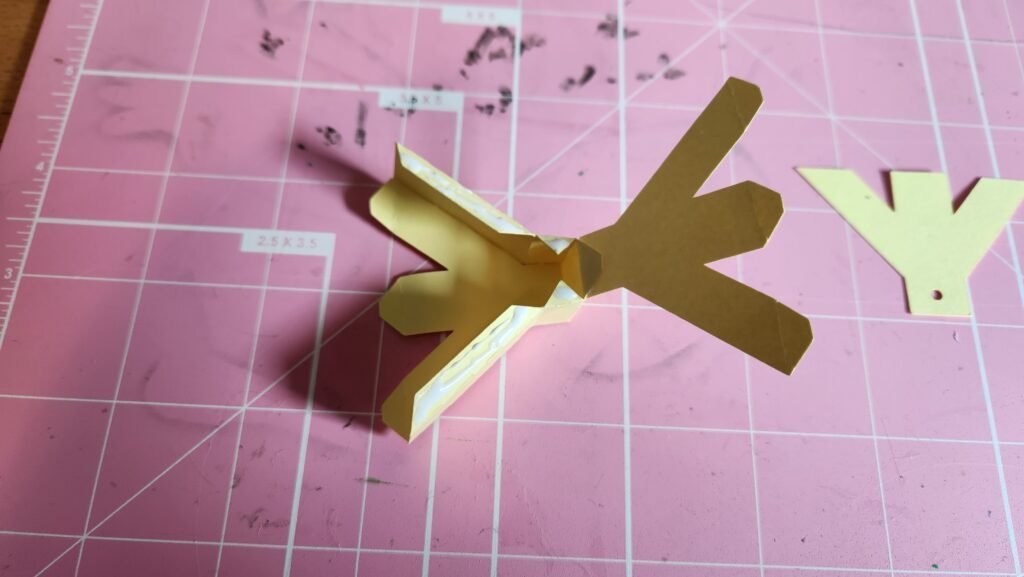
Our next step was to assemble the wheel supports. They are made using the set up seen below. Note that two of the Y shaped supports have tabs at the top and one does not. This one without will be used to cover the exposed tabs of the finished assembly.
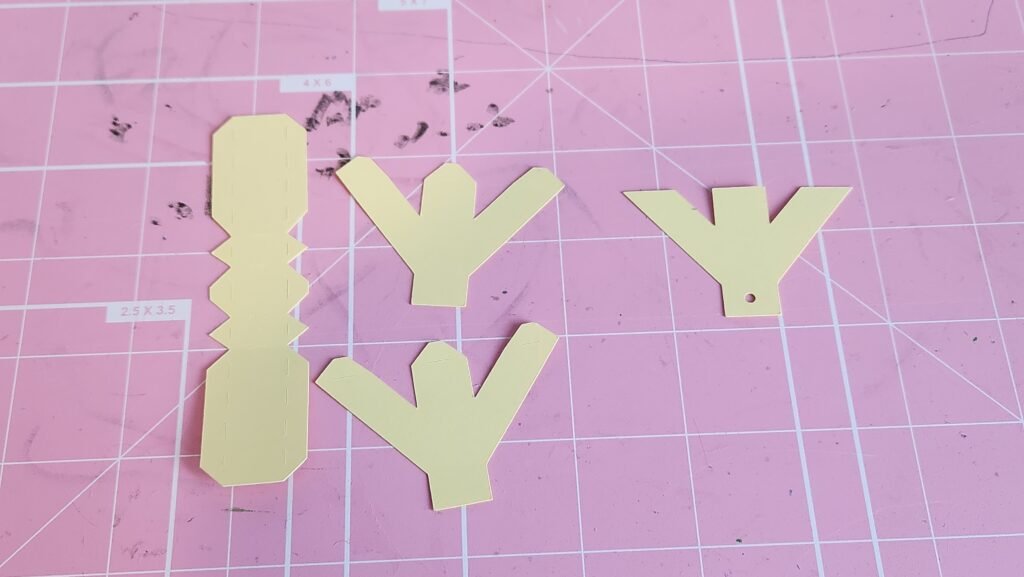
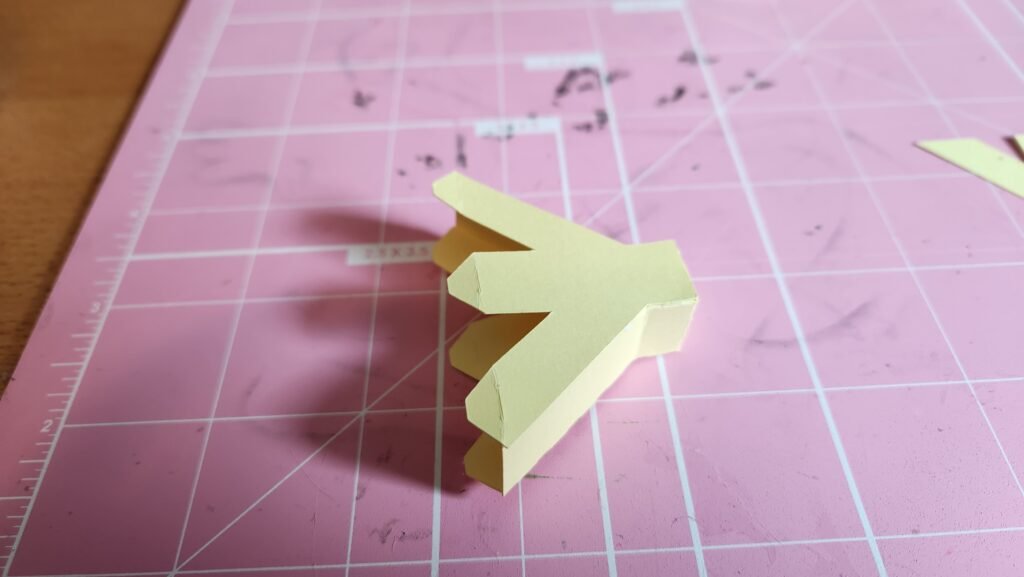
To assemble the wheel support, we folded the tabs on the long panel and started attaching them to the Y. Start at the bottom where you could use the corner of the shape to get a good alignment. Add glue to the tabs and attach them one or two at a time until you have gone all the way around the outside of the shape.
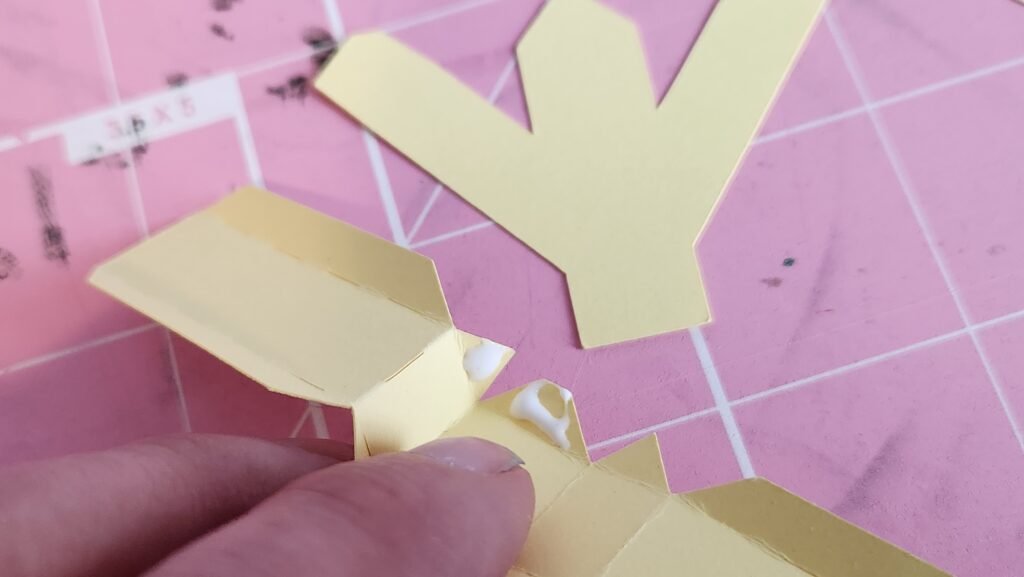
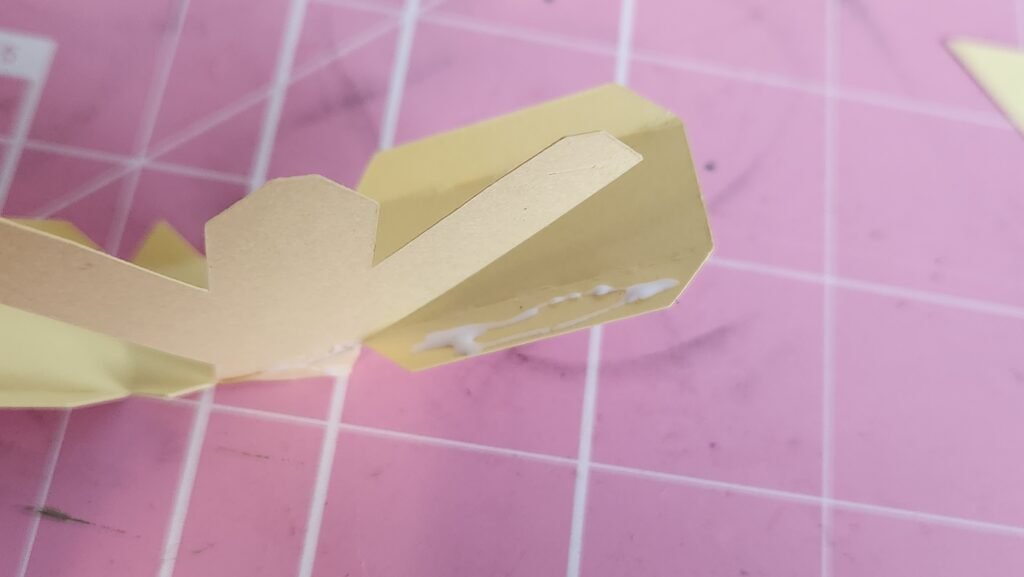
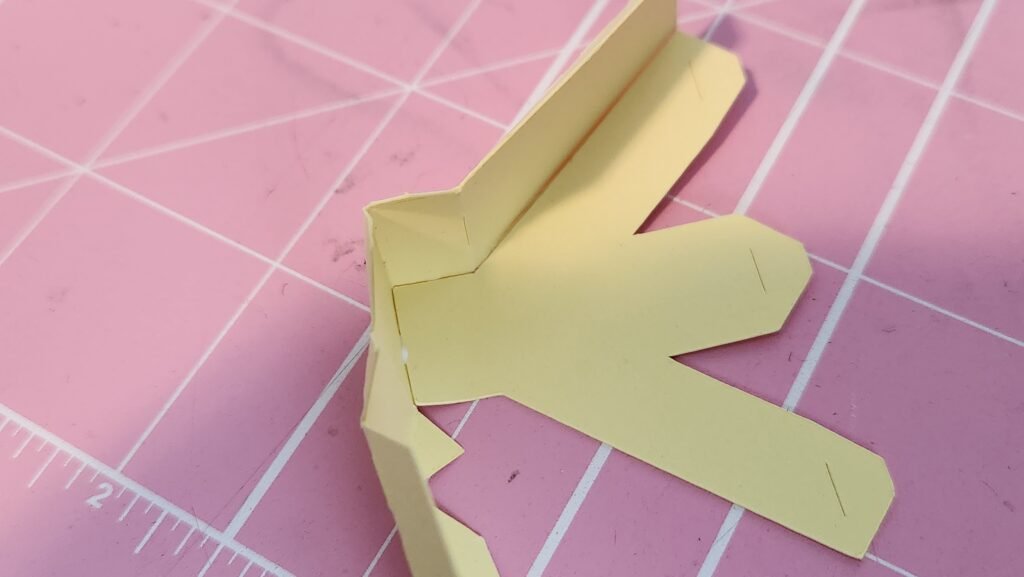
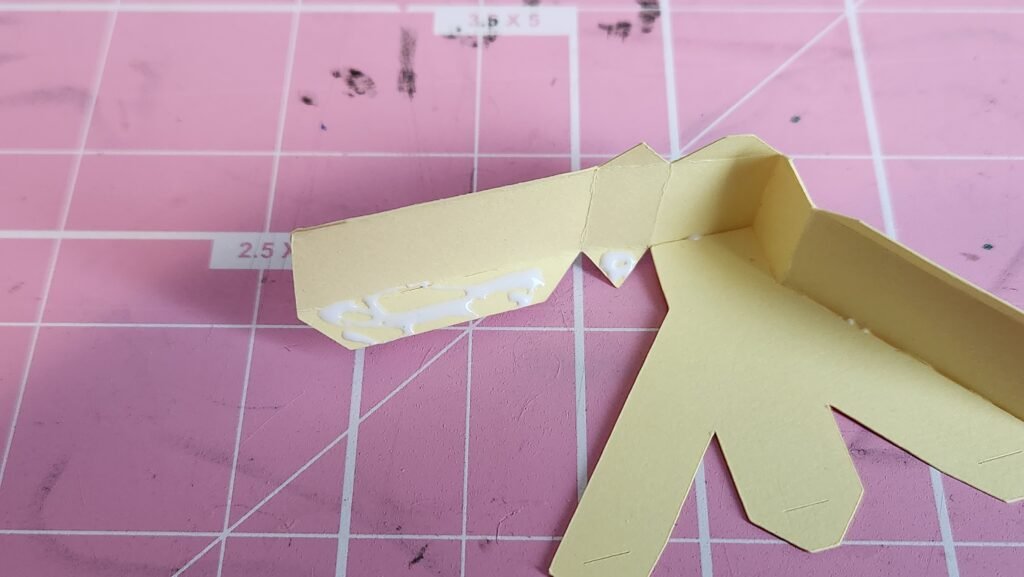
Once one of the Y shapes is fully attached, close off the top of the structure. Start by attaching the Y shape to the bottom tab so that you can be sure it’s squared up, then attach the rest of the tabs. Repeat this process for the other Y shaped wheel support.
Assembling The Wheels
Next, we assembled the wheels. There are four of them. Start by taking one of the long panels with tabs and encourage it to curve. Then attach it into a loop, using the score line on the tabs as a guide. Once the glue is set, fold in the tabs on one side, add glue, and place one of the circular panels inside. Using the eraser end of a pencil or the flat end of a craft knife, press the circle down making sure that it’s not folded up or curved anywhere.
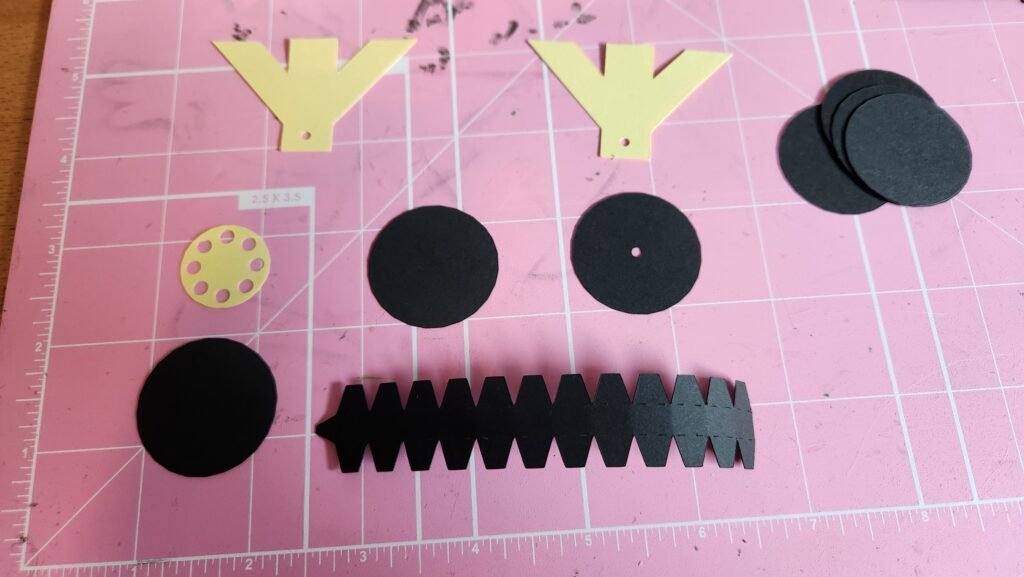
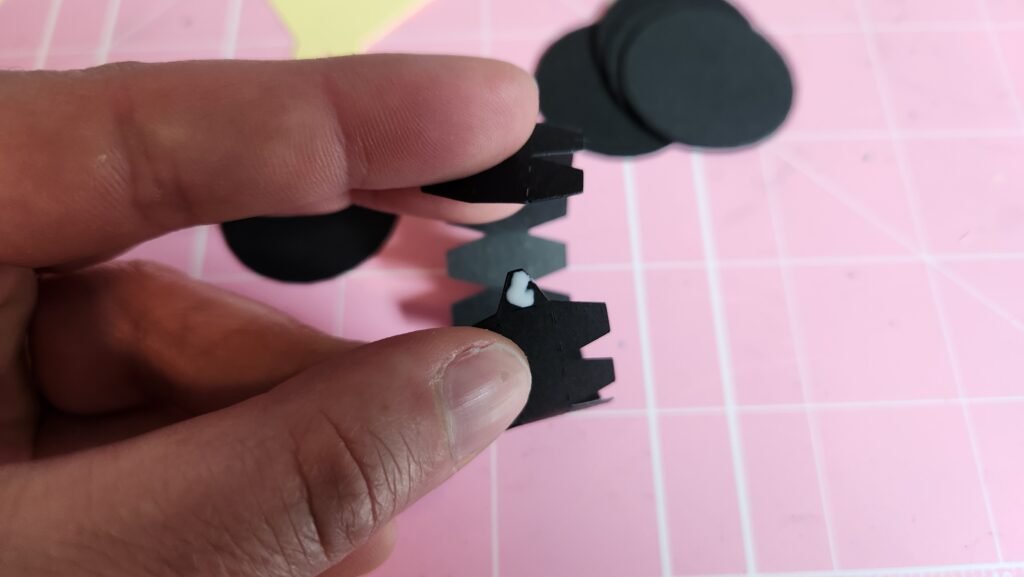
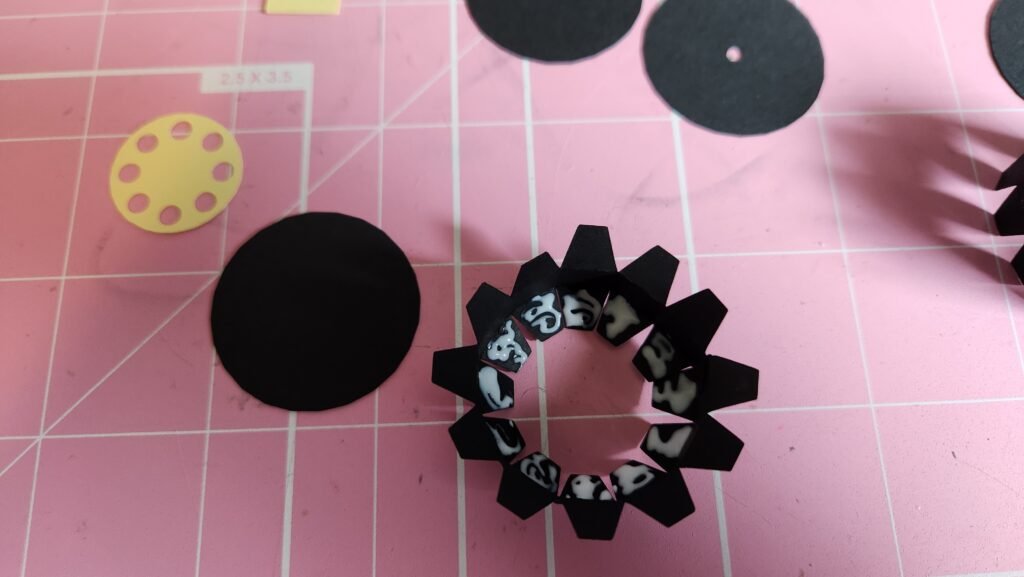
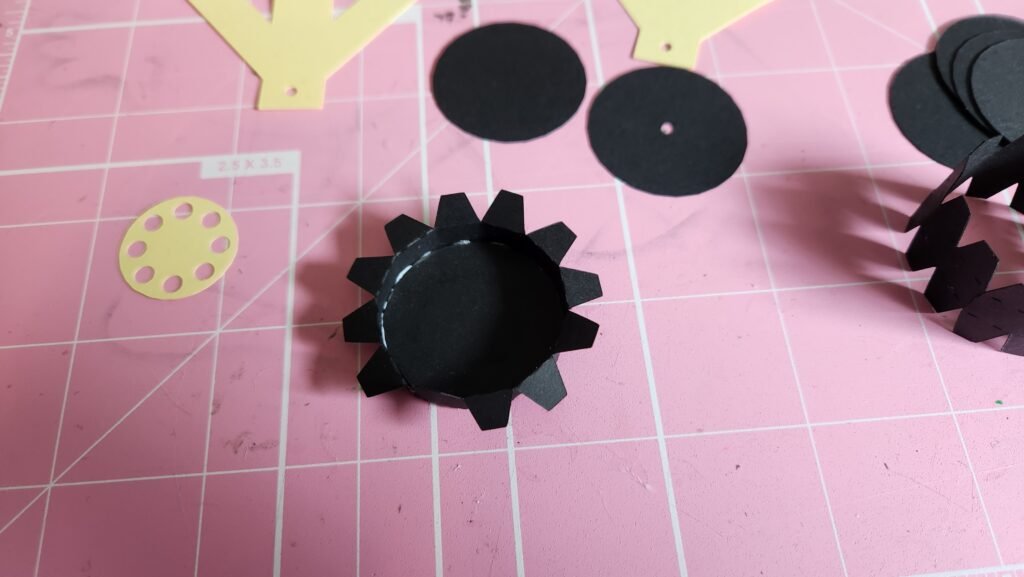
Fold in the remaining tabs and close off the wheel shape with another circular panel. With this closed up, you can add the decorative hub cap to the side of the wheel with no exposed tabs.
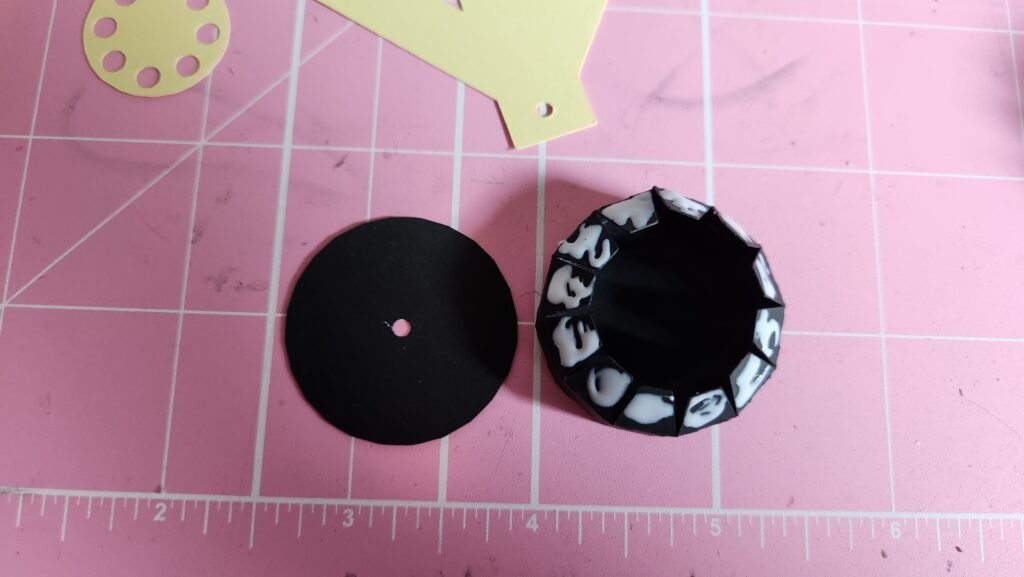
Take one of the Y shaped pieces with a hole at the bottom, and using one of the round wheel panels, attach the wheel panel to the Y, using the hole as a guide for placement. Then attach the assembled wheel to this. Do this so you have four wheel/Y assembly sets.

Attaching The Front Wheels
Now you can take the Y assembly with the tabs and attach them to the decorative panel. You will use the wing shaped panel with six square holes cut out, three on each end. They are attached using the same method as the wing supports attached earlier.
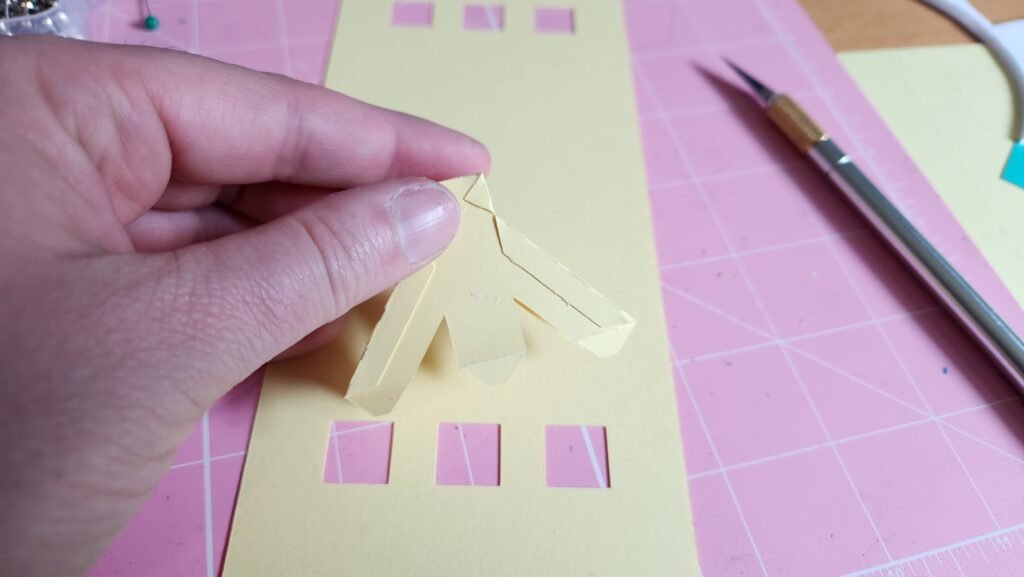
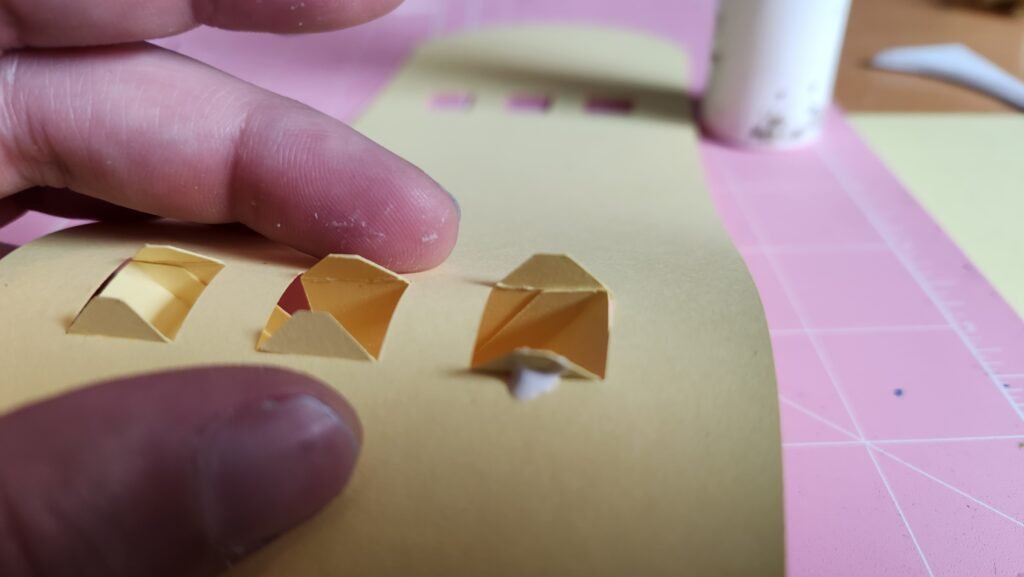
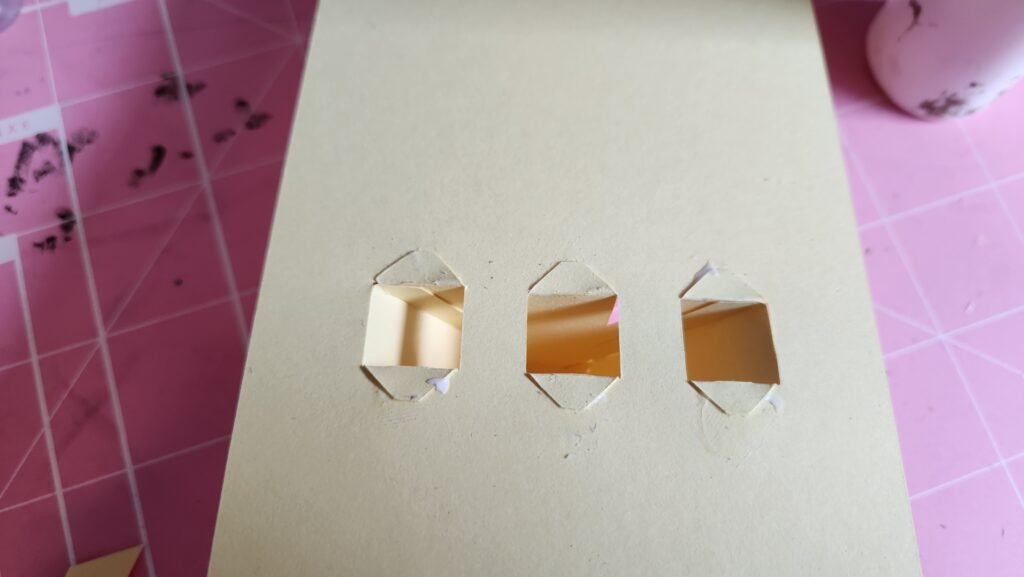
With both of these secured, you can attach the decorative panels with the wheels. One on either side of the Y assembly.
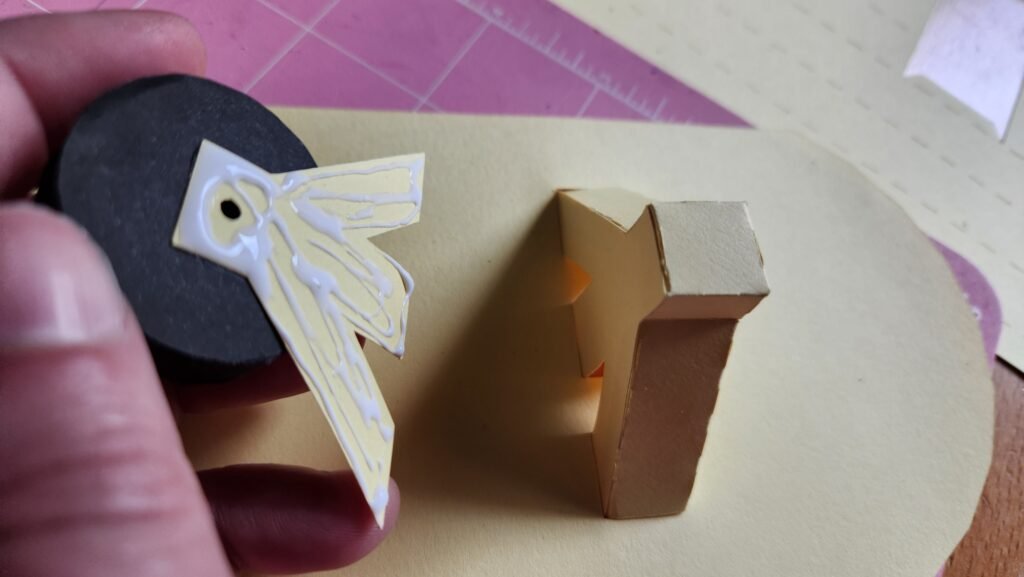
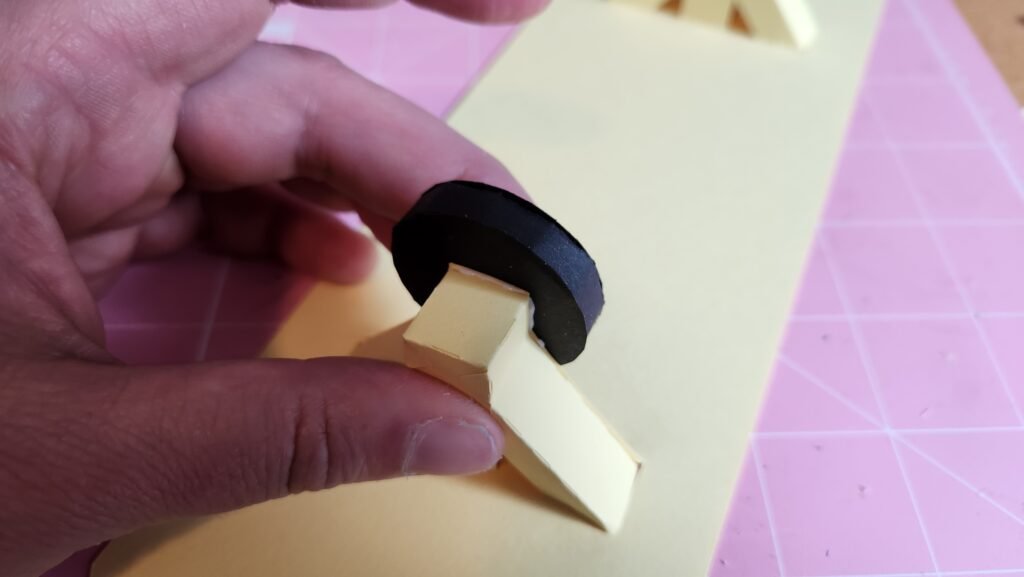

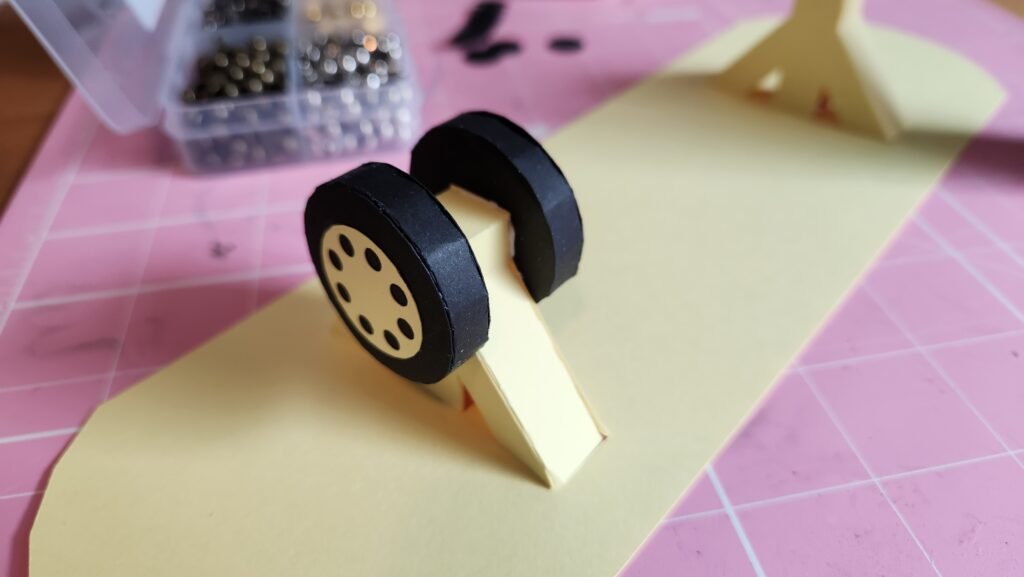
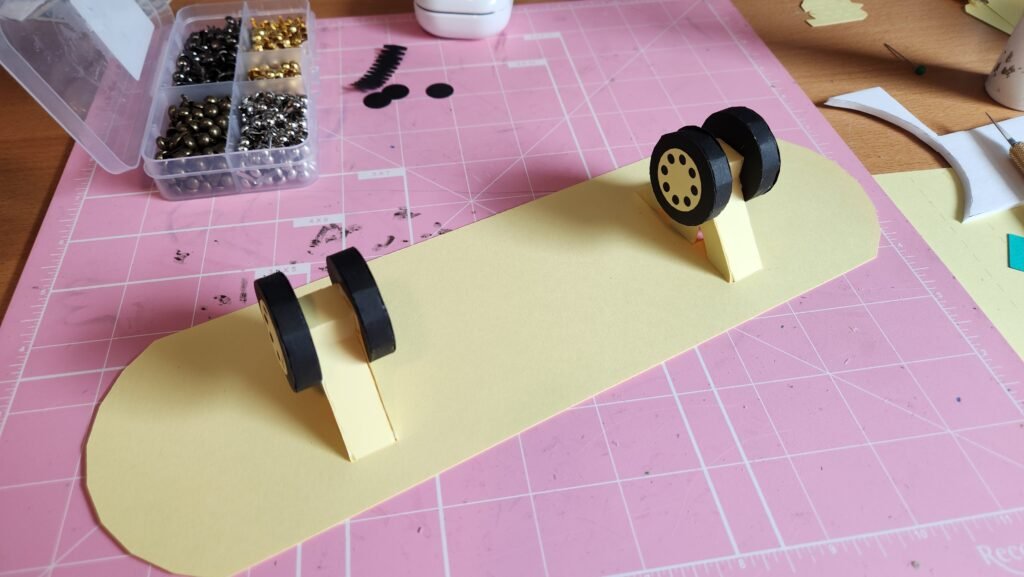
Now we took this assembly and attached it to one side of the remaining unused wing assembly.
Attaching the Wings To Each Other
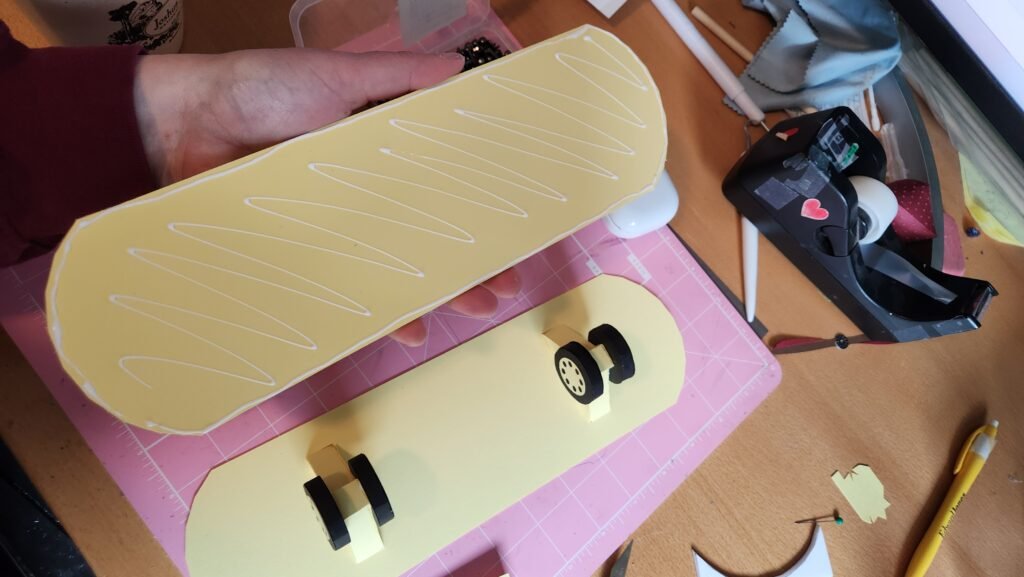
Take the wing assembly and attach it to the other assembly you have created. This will give you the two wings separated by the wing supports.
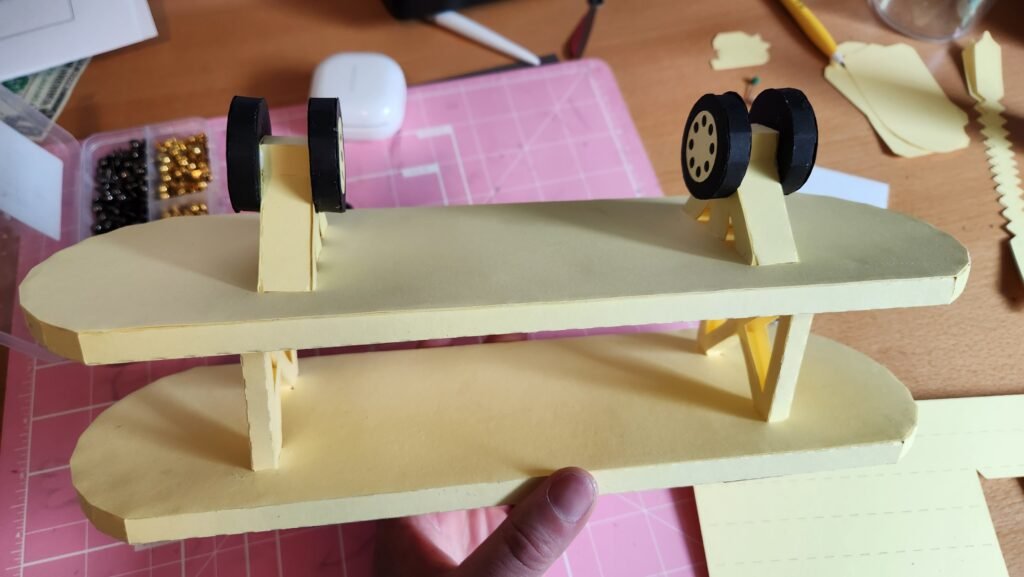
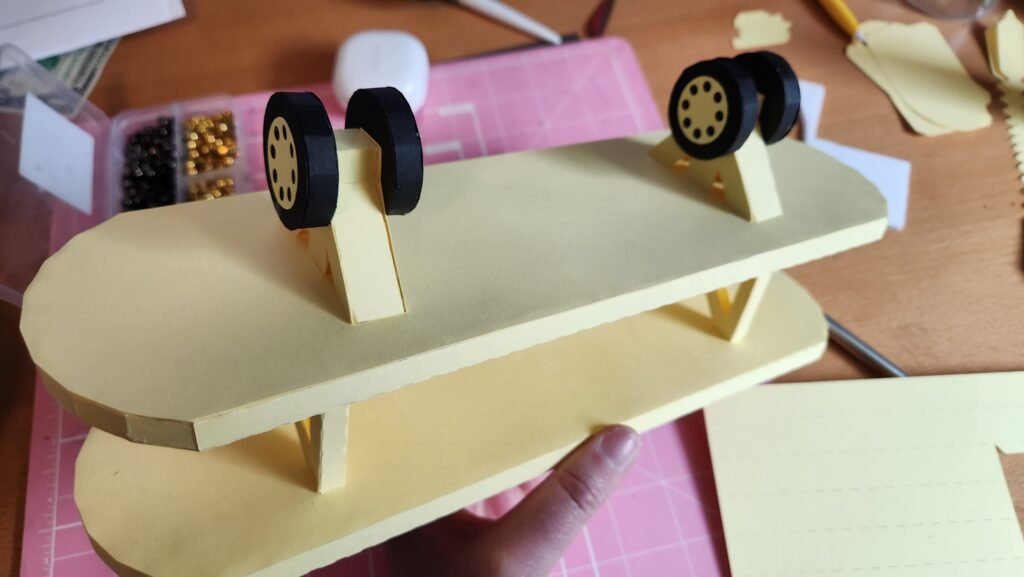
You can set this wing set up aside. It won’t be needed again until the body of the biplane is ready to be attached.
Assembling The Biplane Body
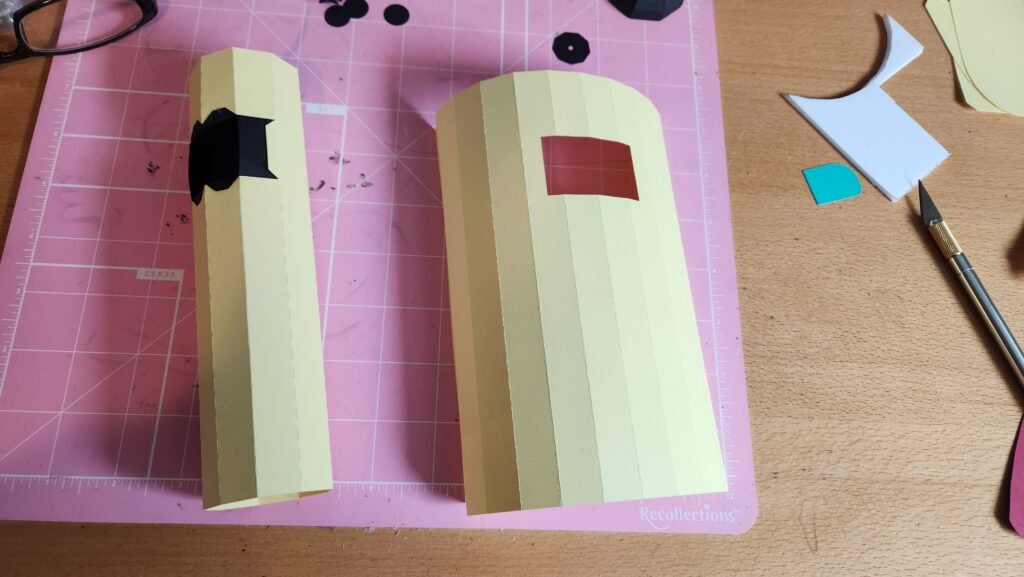
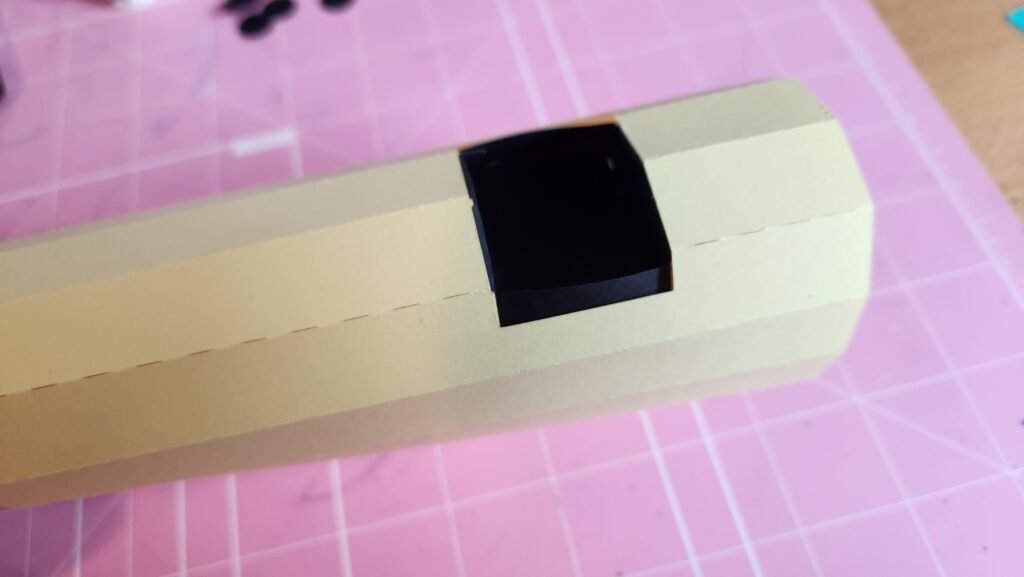
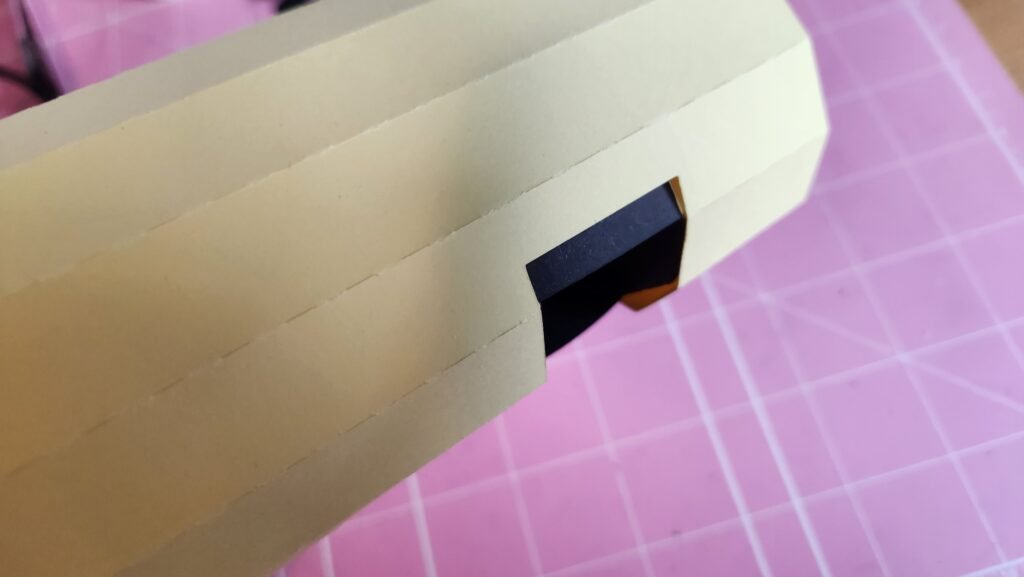
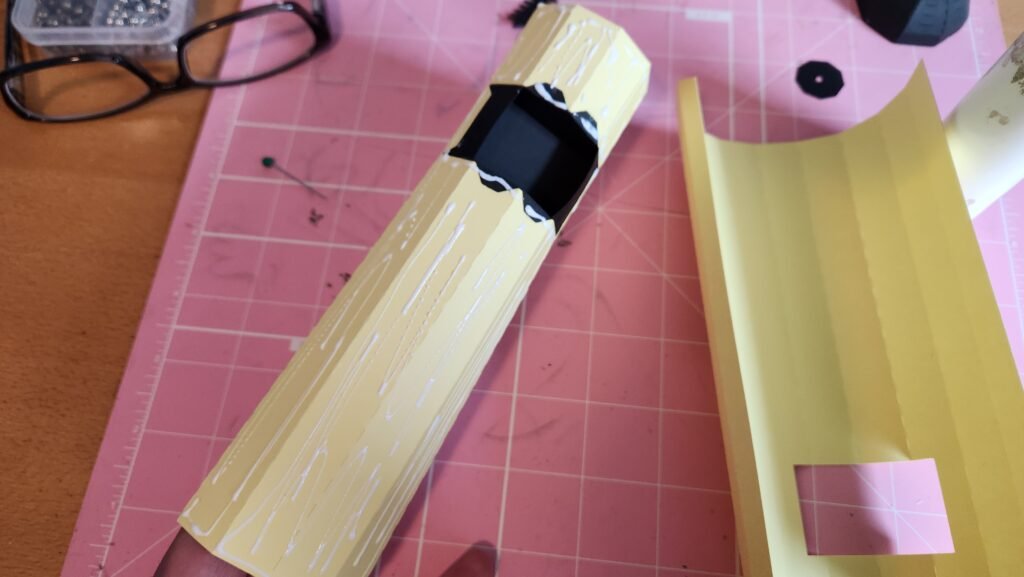
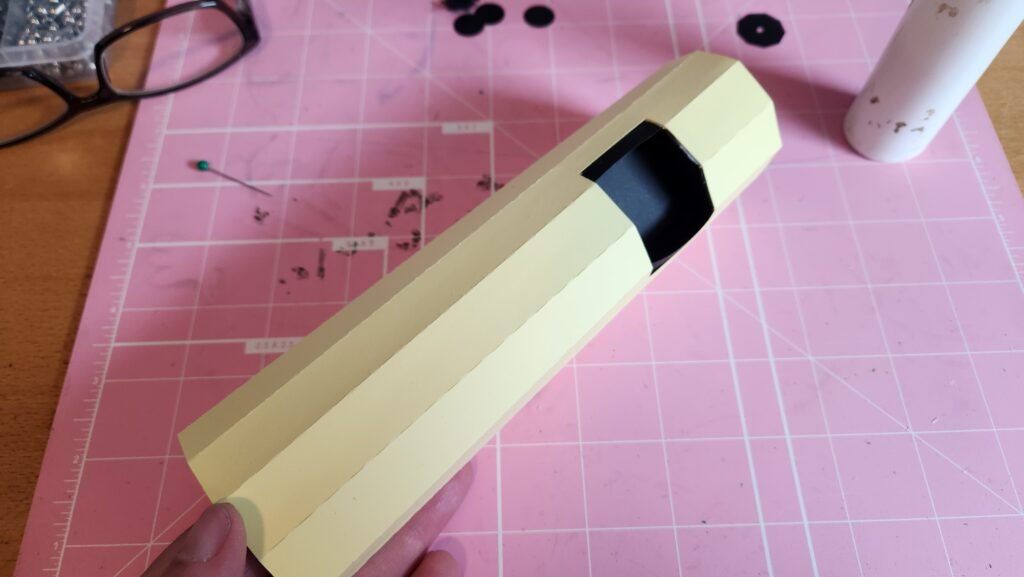
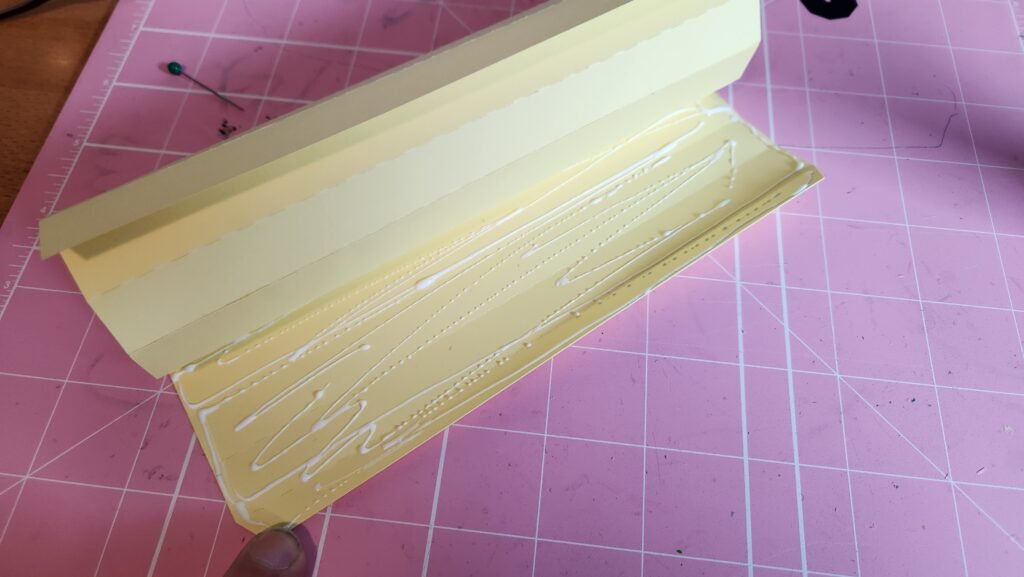
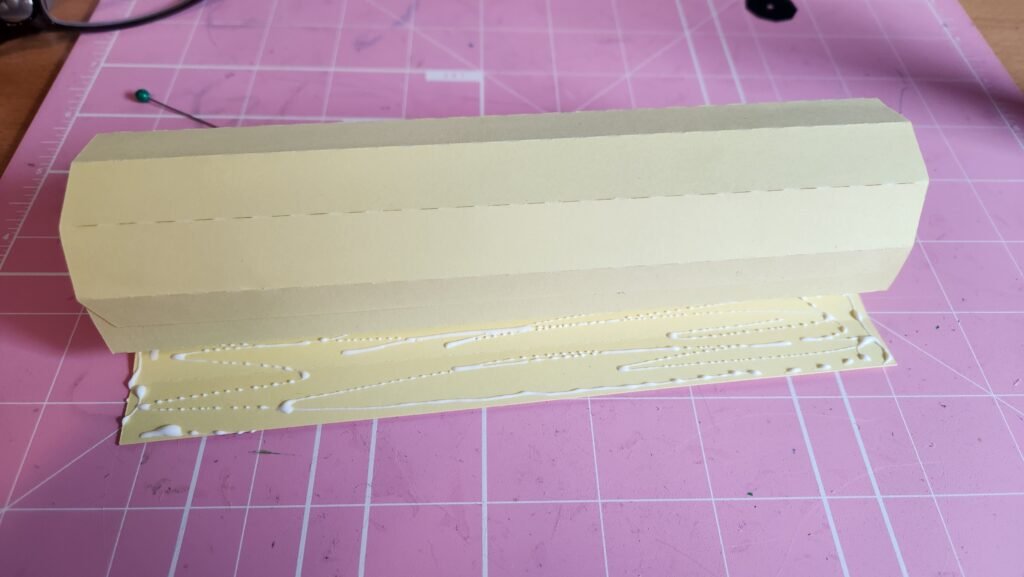
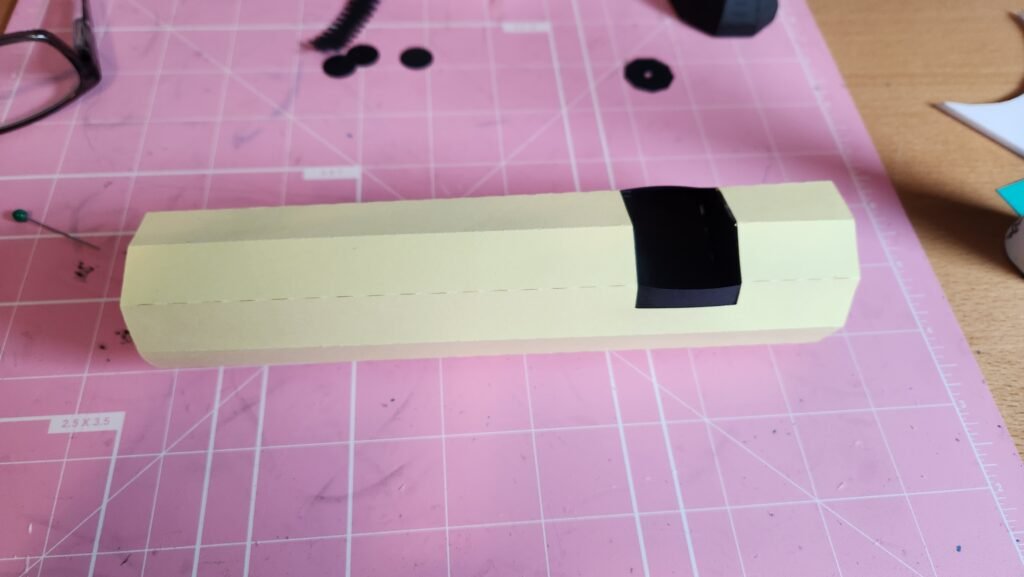
To build the body, there are two rectangular pieces with a hole at one end. One panel has tabs in that hole and one does not. Start with the one that has the tabs in the hole. Fold on the score lines and close off the shape using the long tab on the side. This will give you a nine-sided shape.
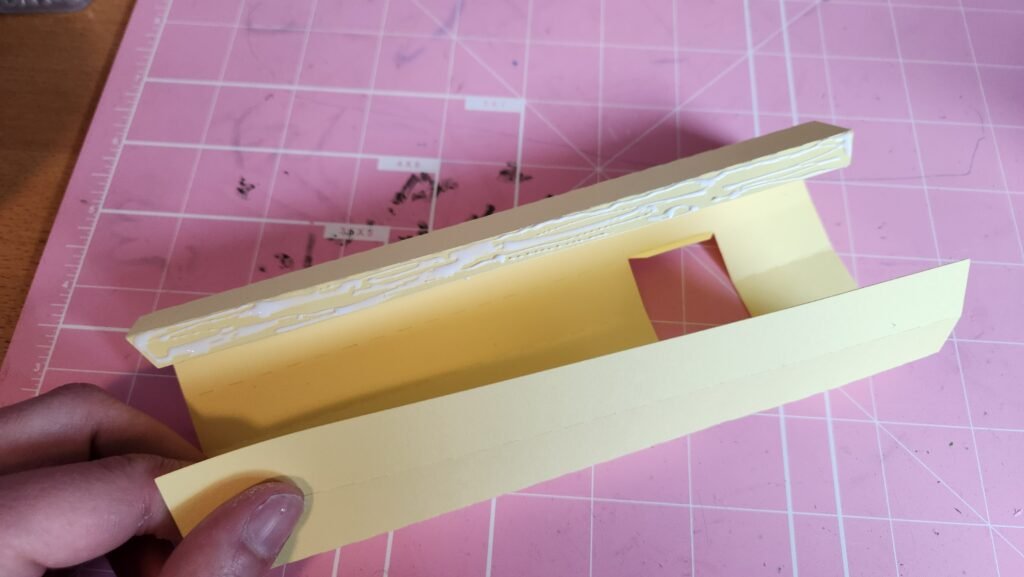
Now you can take the seat panel that will go in the hole. Fold on the score lines and use the tabs on the sides to create a box shape. On the top you will have two remaining tabs on either side.
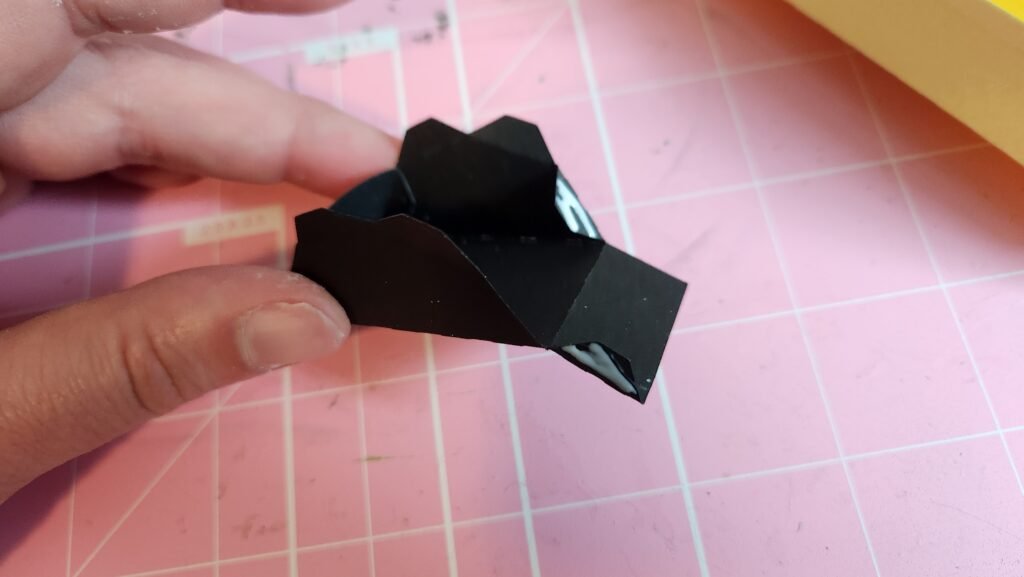
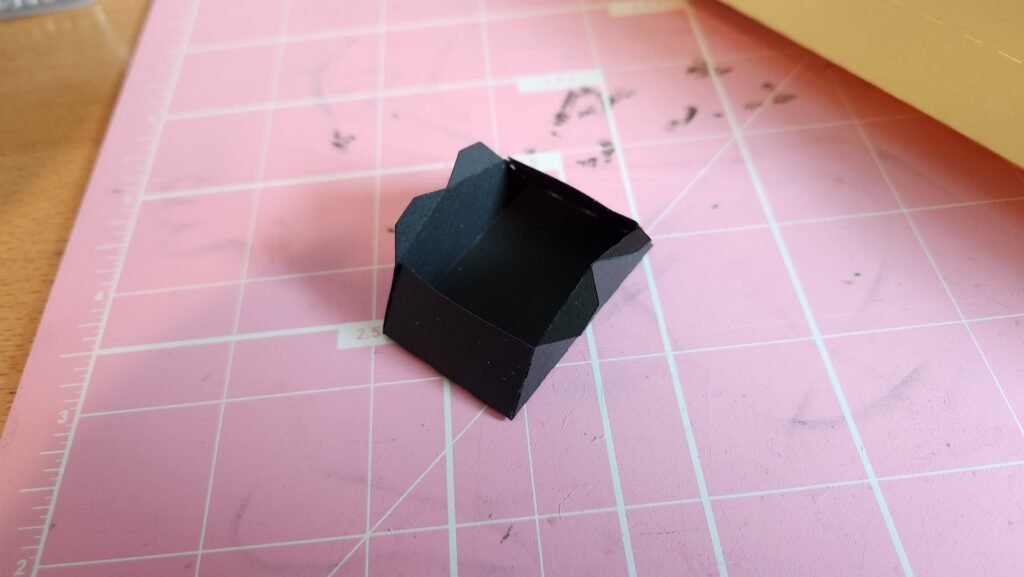
Fold the tabs on the body out away from the hole so the seat assembly can be placed in the hole. Slide this seat assembly into place. You will use these top tabs to attach the seat to the body of the biplane. The tabs that you folded away from the hole will attach to the sides of the seat assembly. Using your fingers, reach into the seat to help get it positioned as square as possible.
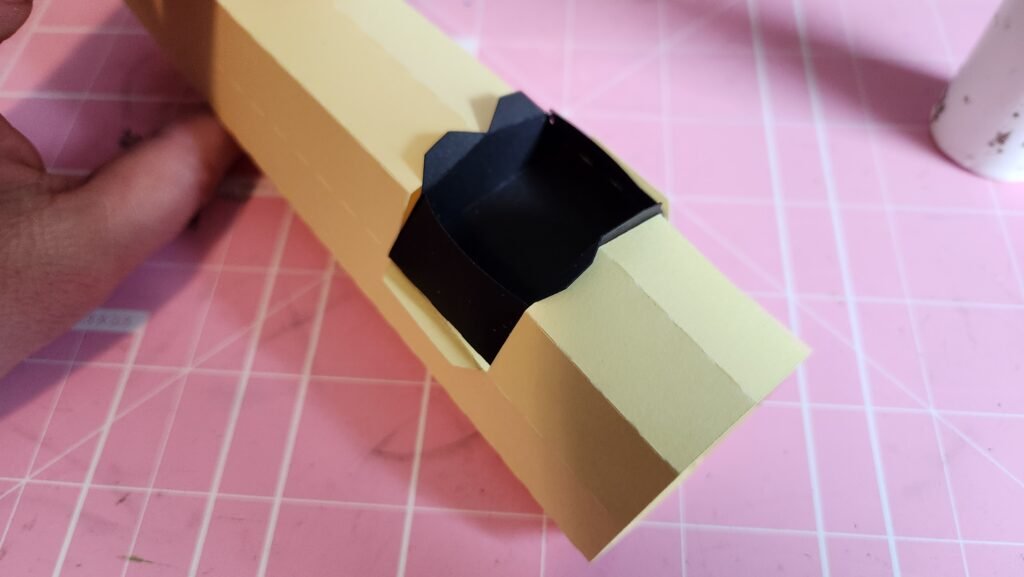
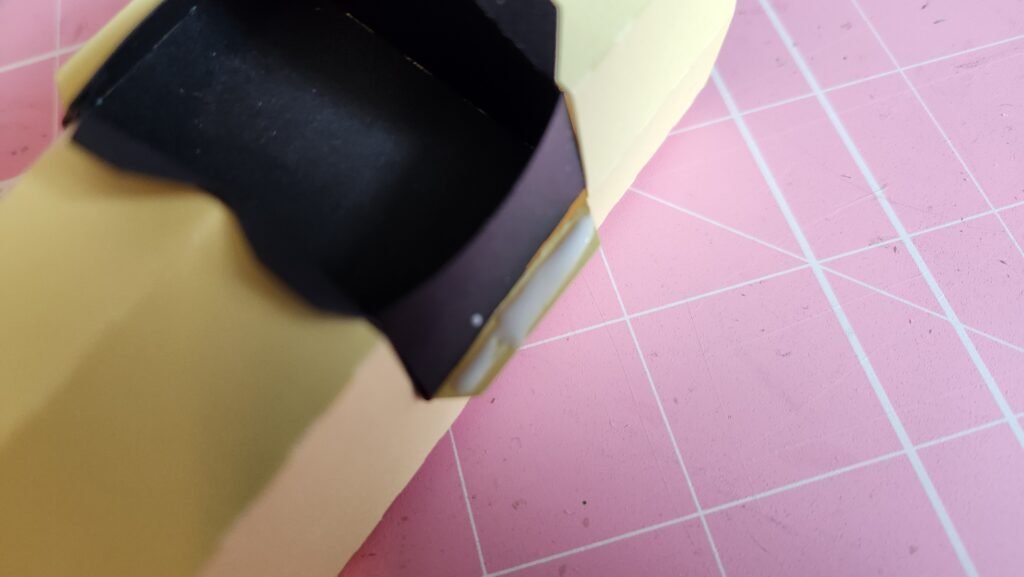
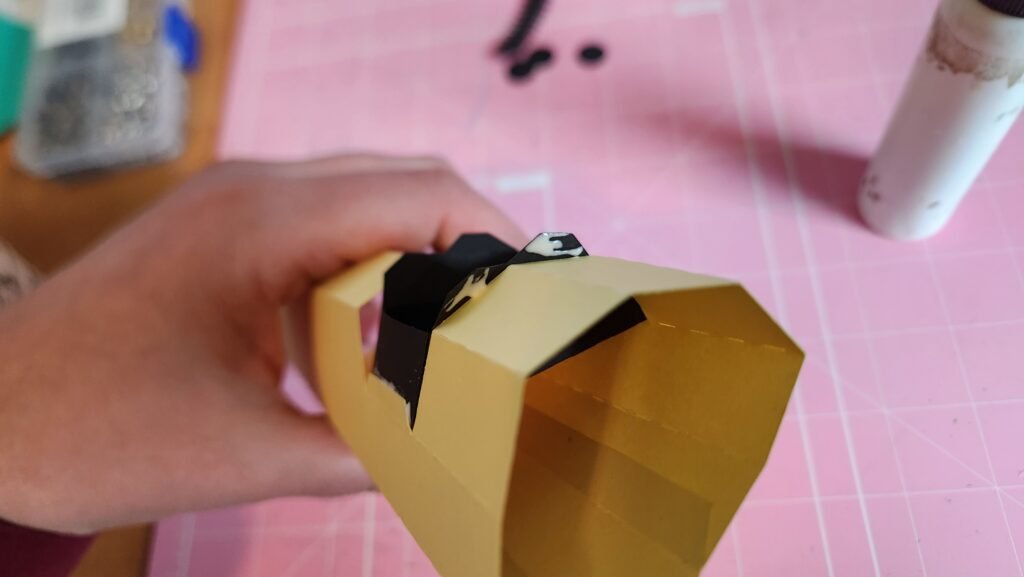
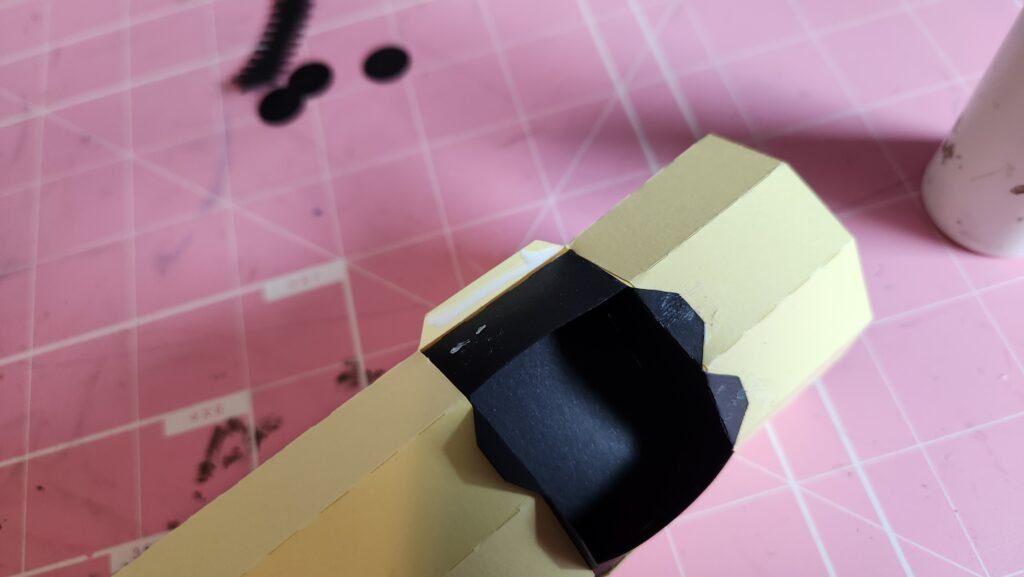
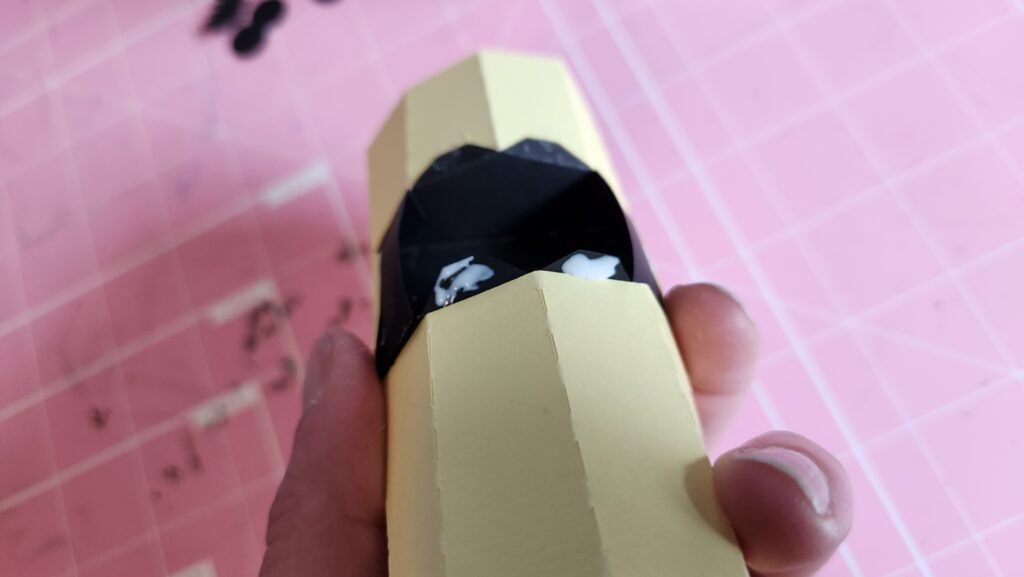
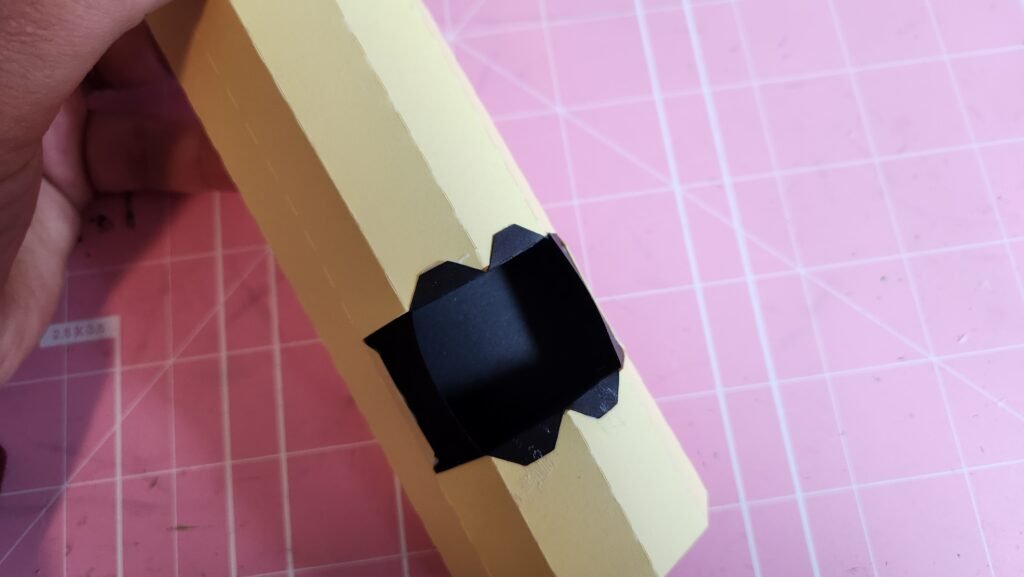
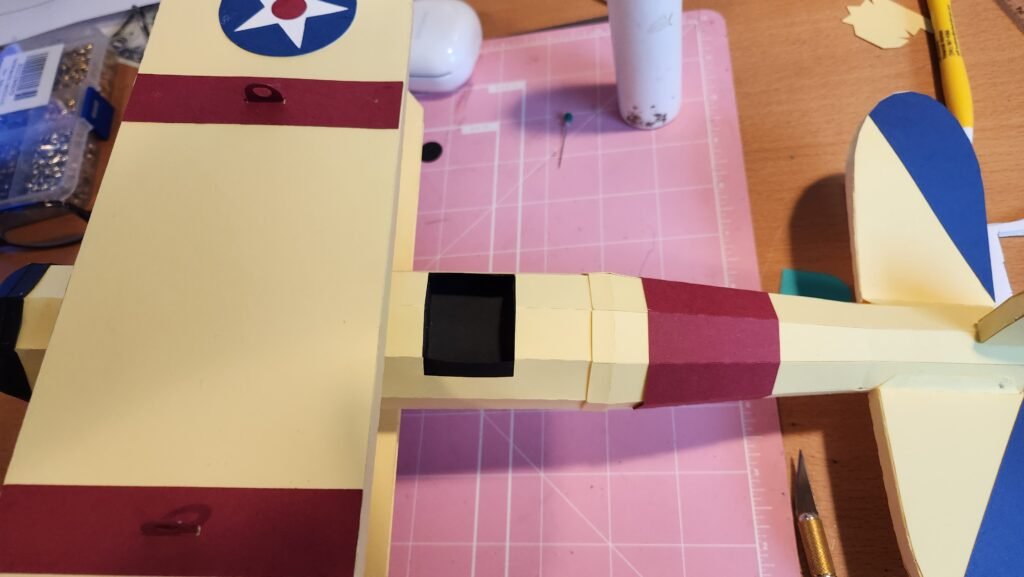
To cover up the tabs for this assembly, you will use the other rectangle panel with the hole in it. Fold on the score lines and line up the hole with the seat so the tabs are covered. Glue the decorative panel in place, making sure to keep it as snug as possible as you work your way around.
Propeller Prep
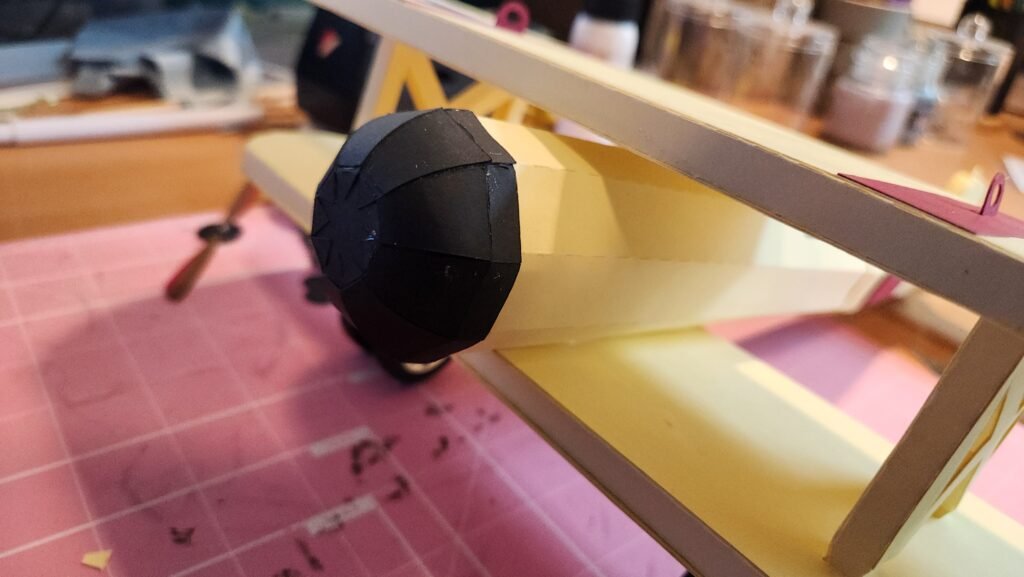
With this done, we assembled the propeller end of the body. The propeller is made of nine triangle panels that attach using tabs on the side. Starting with the bottom tab, attach it to the next panel. Once this is secure you can attach the remaining tabs. Continue this process until all nine panels are attached to each other, creating a dome shape.
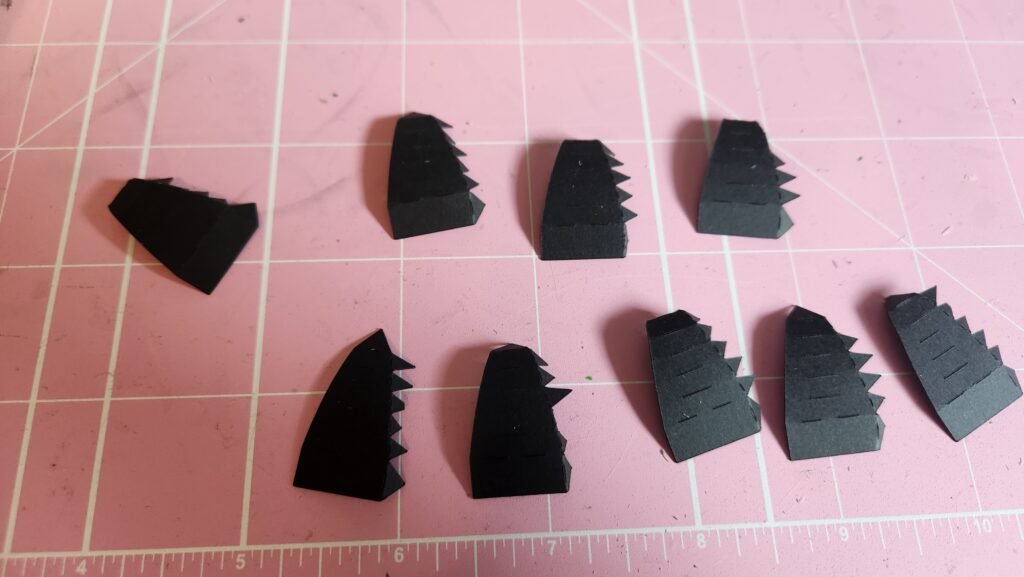
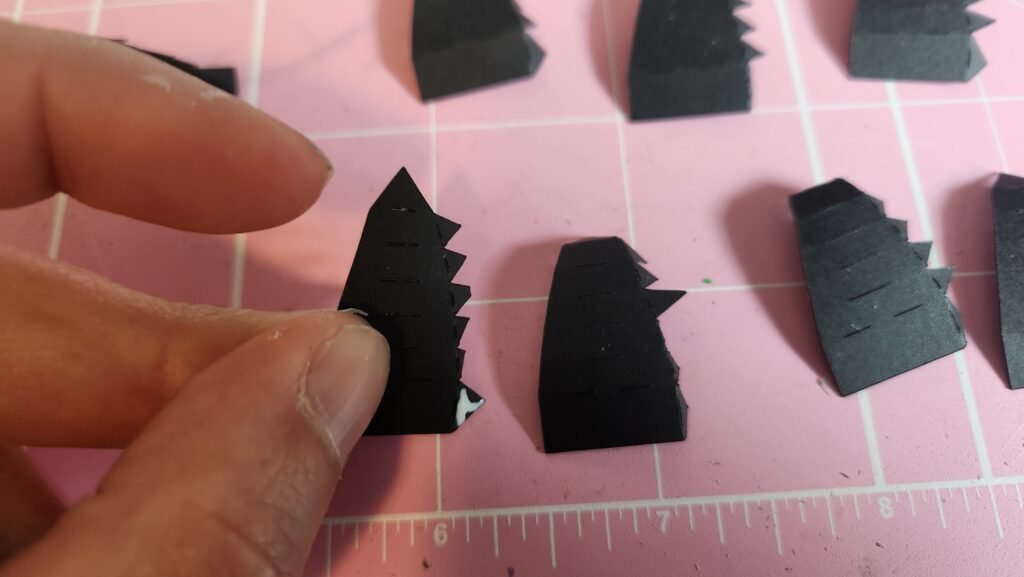
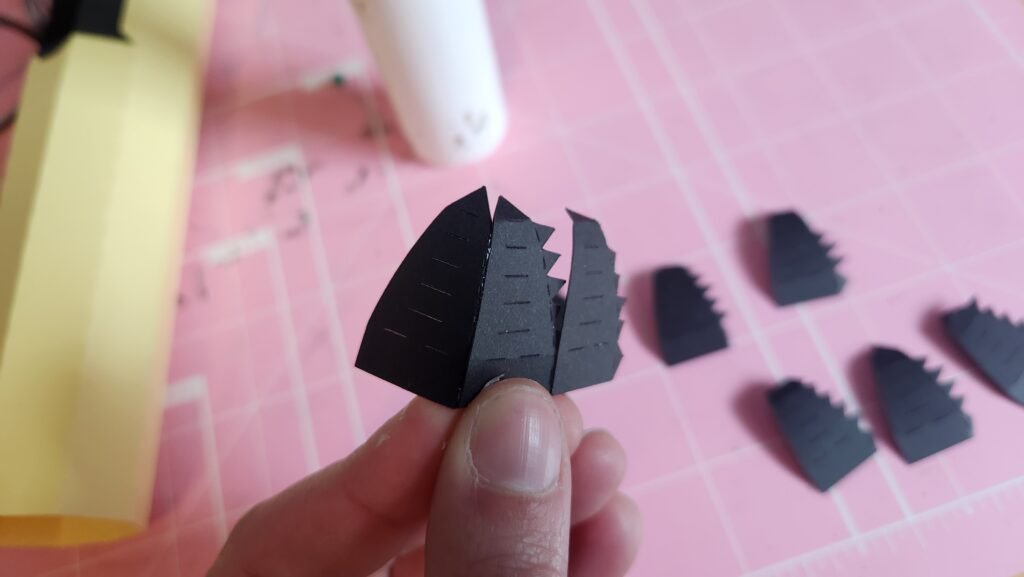
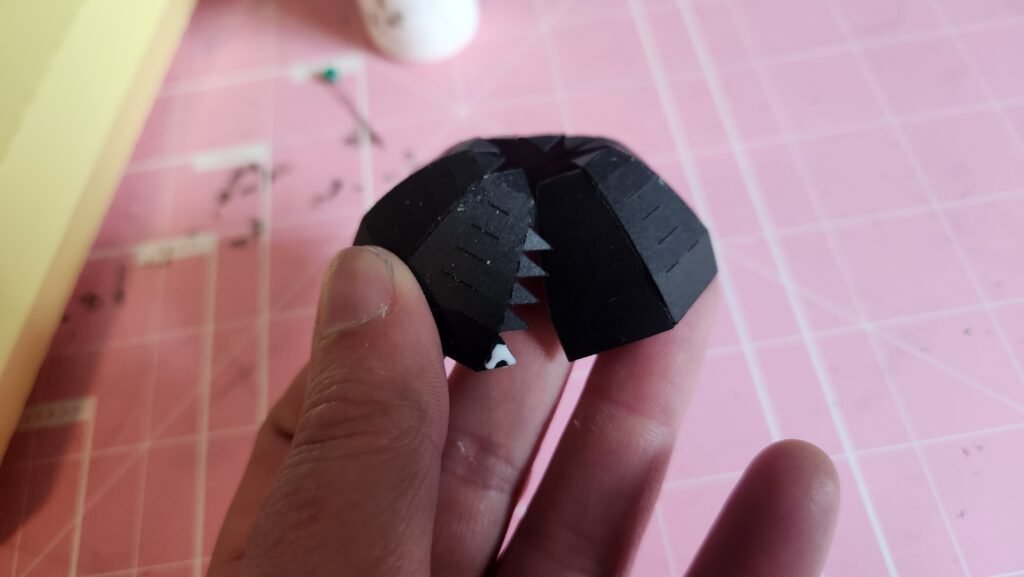
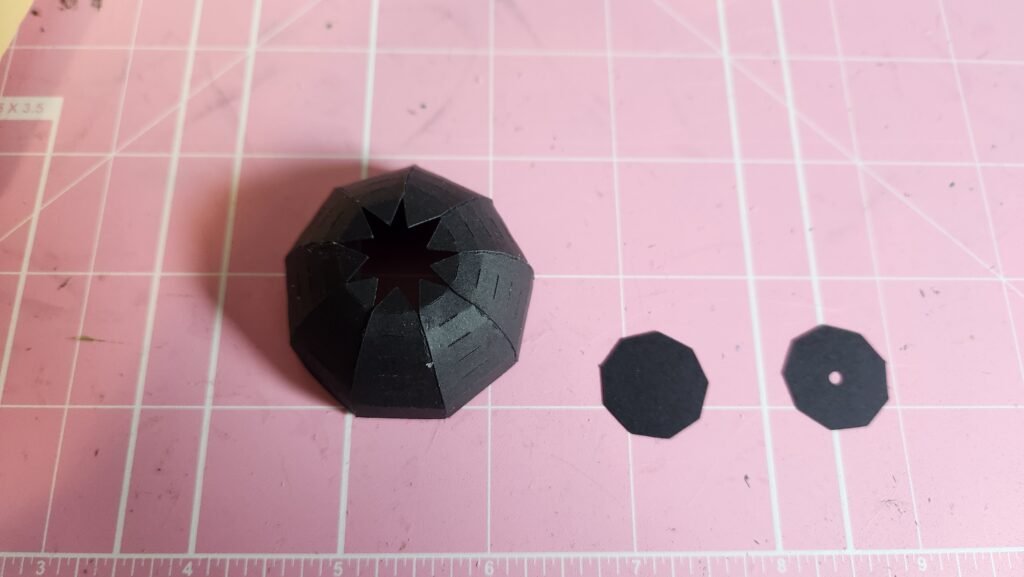
To close off the top of the dome, we added glue to the tabs on the inside and placed the solid panel.
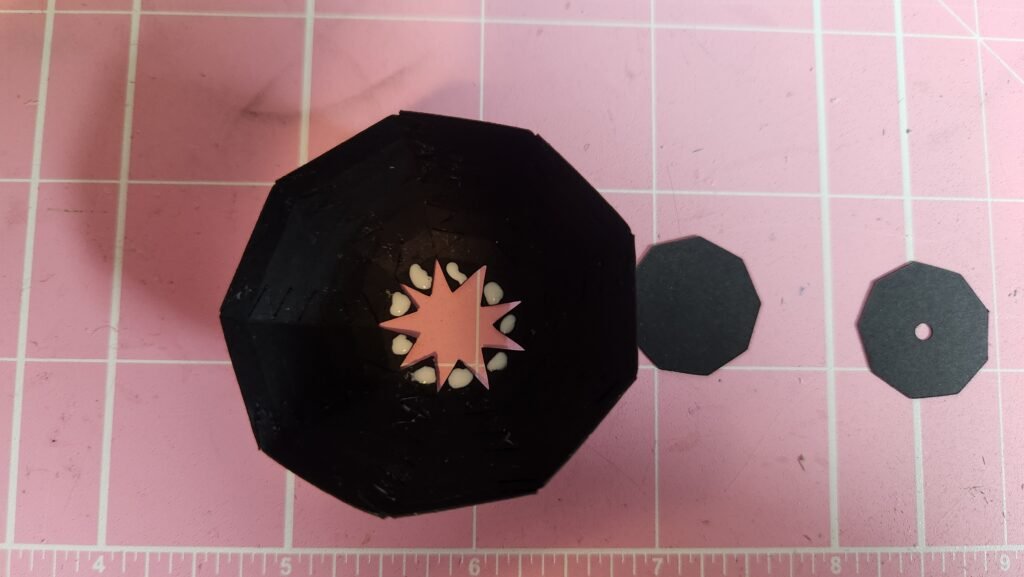
Then we added the decorative side panels that smooth out the nose of the plane. Attach these so they line up with the top of the cone and curve down toward the open end.
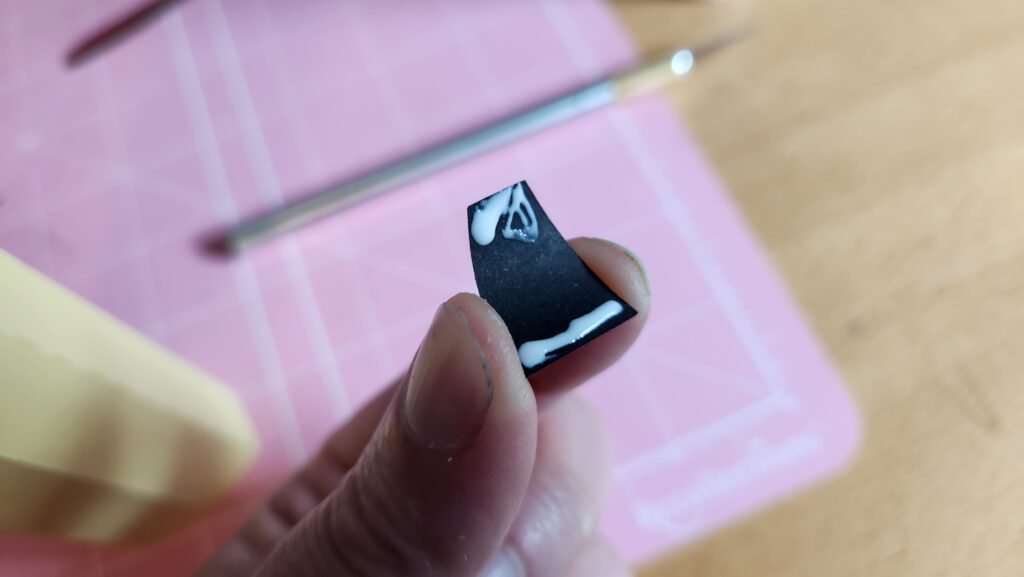
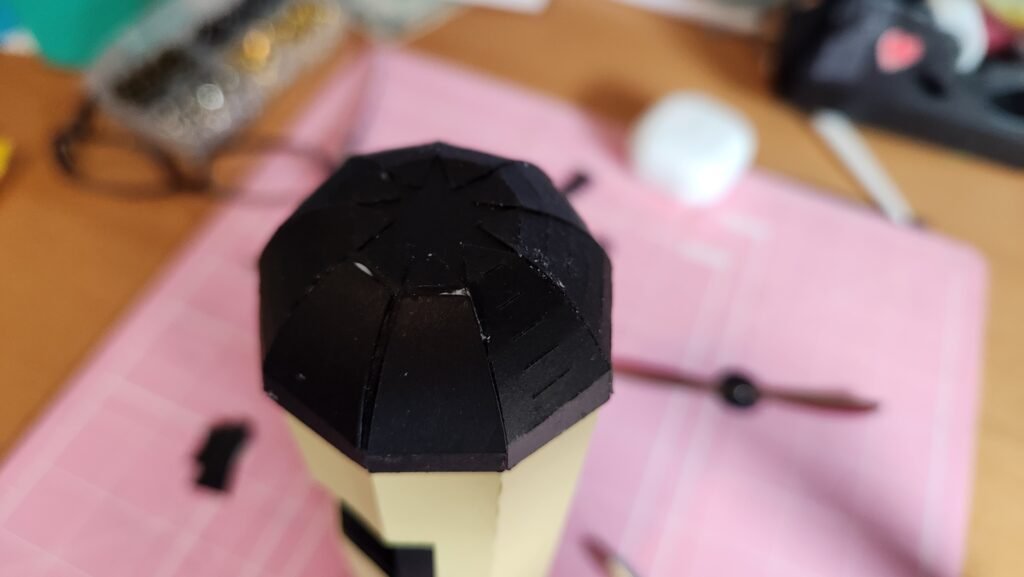
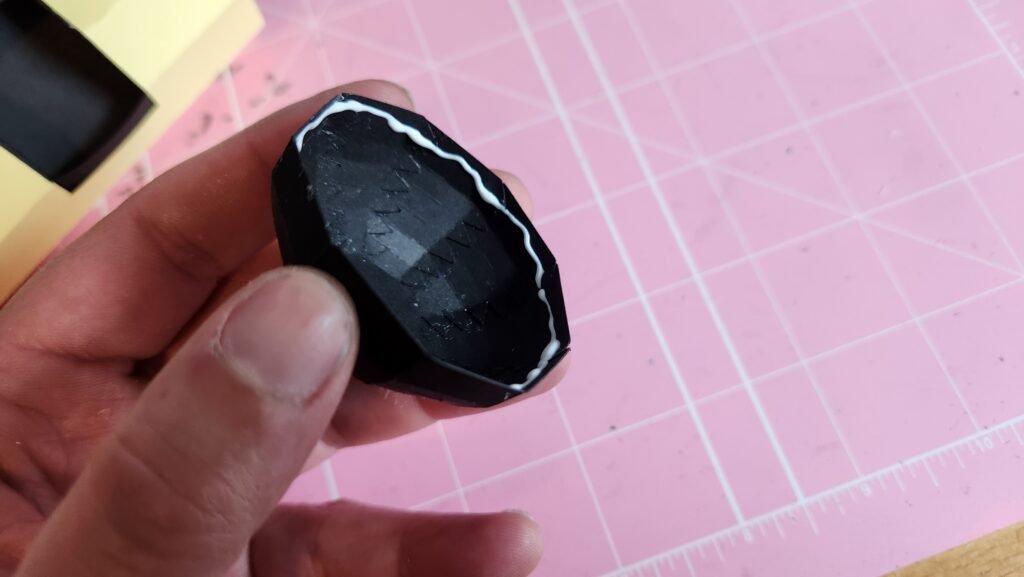
With these in place, add the cone to the end of the plane body, making sure to put it on the end farthest away from the seat. Do a test fit then add glue to the inside of the cone and place it on the body so that it stays secured and doesn’t come off accidentally later.
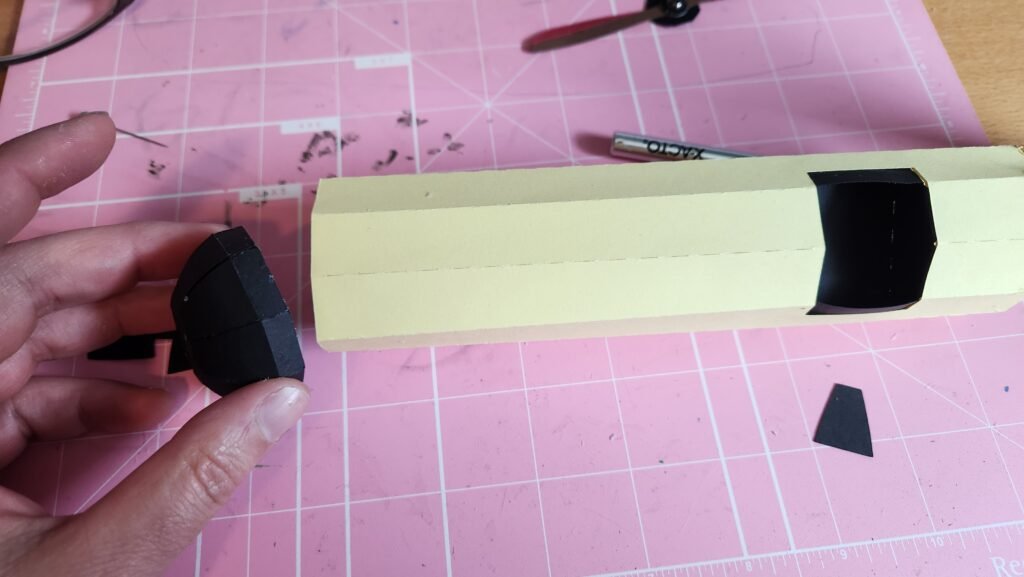
Biplane Tail Assembly
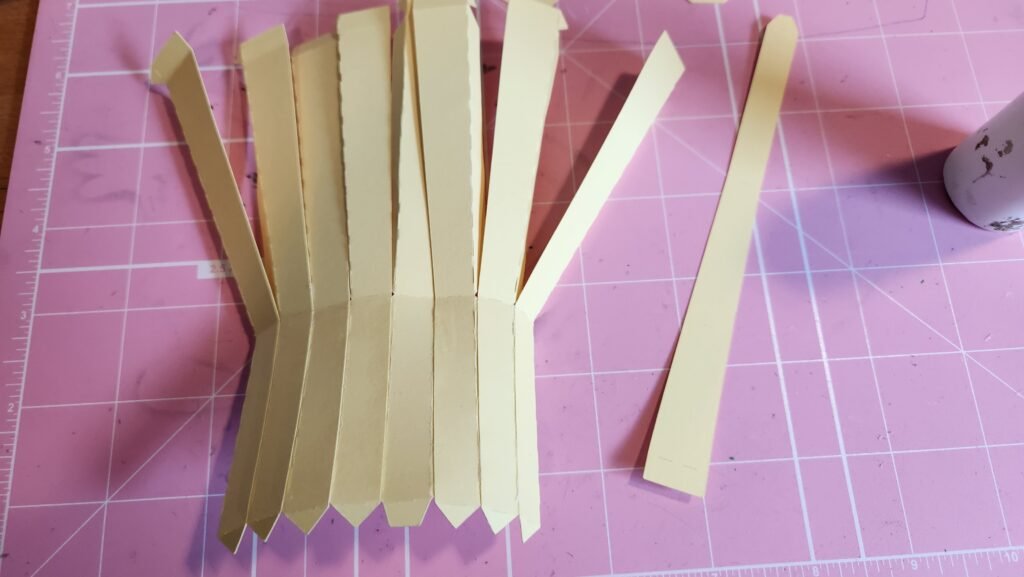
To finish the body of the biplane, we assembled the part behind the seat that will also become part of the tail. This has nine pieces, that we laid out as seen below. The panels on the right with one tab are all identical, as are the tabs on the left with one tab so you can have them in any order.
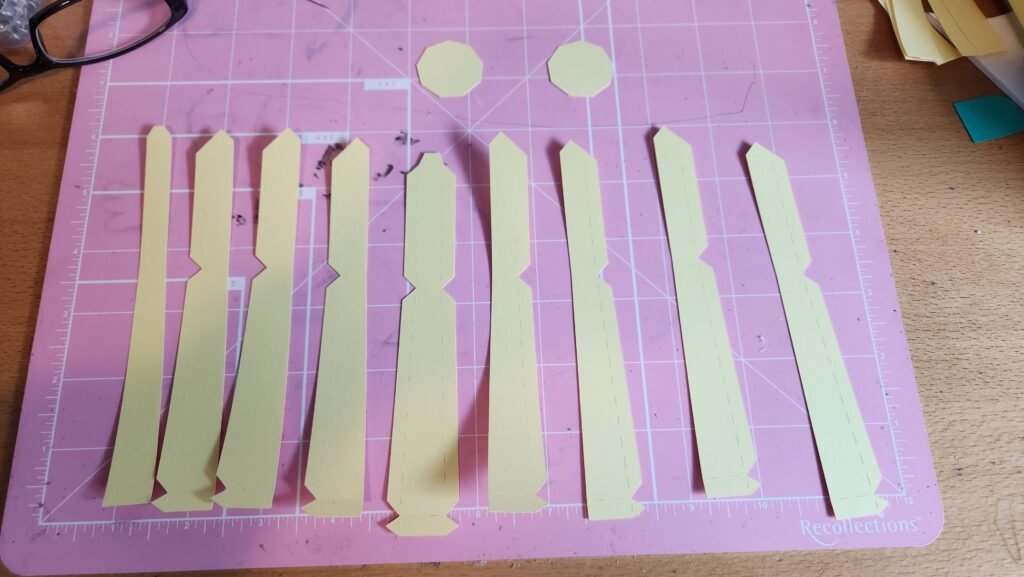
Start in the center and work your way in one direction or the other until you have all nine attached. For now we only used the tabs on the half pictured on the top in the photo above. This will create a slightly narrow straight section of the body.
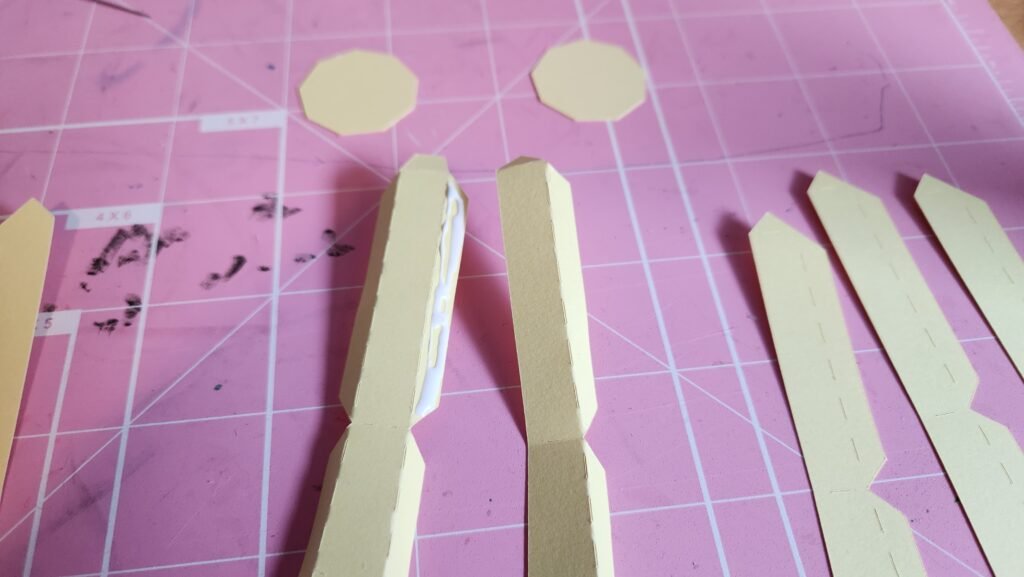
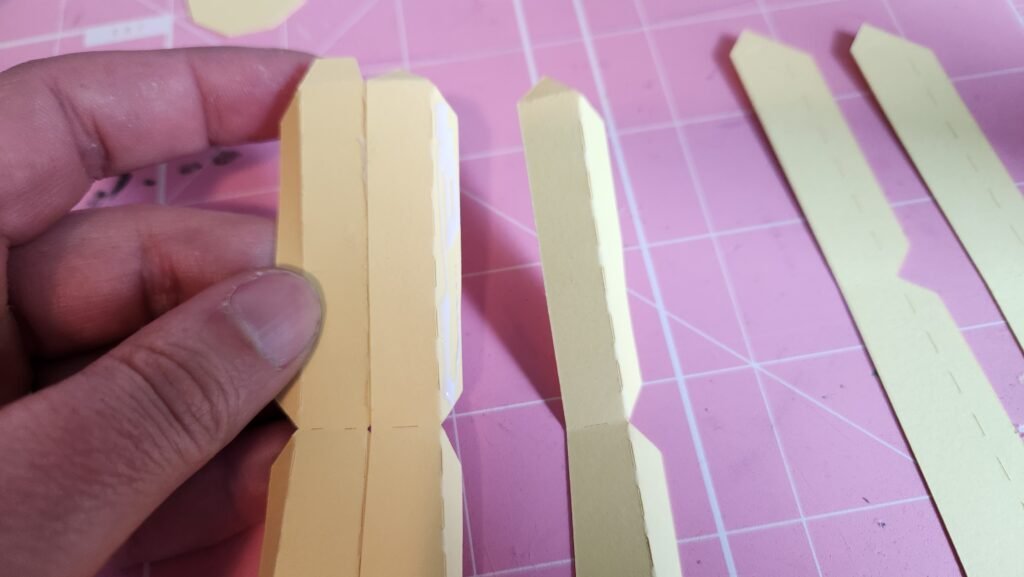
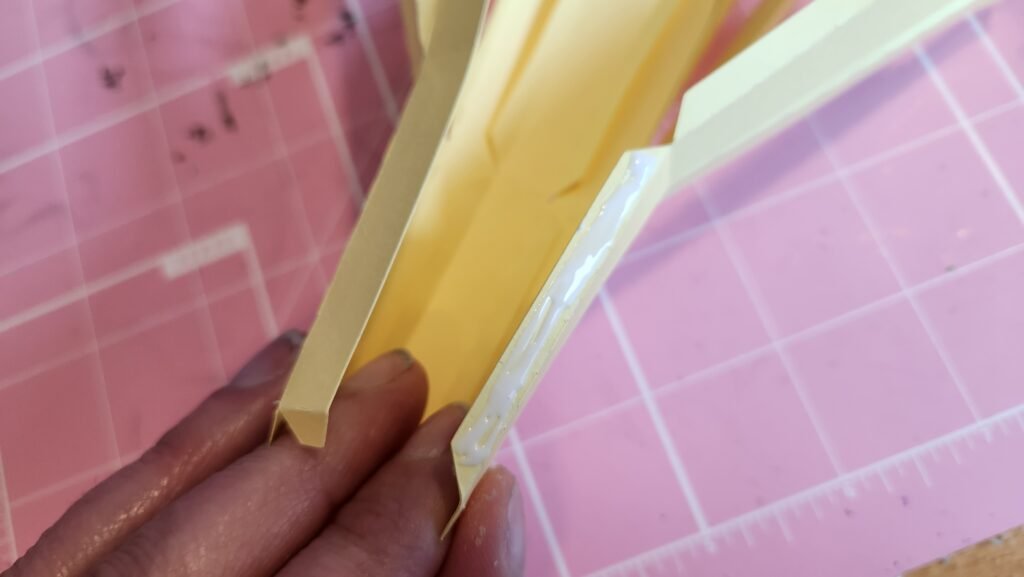
Once you have this completed tube shape, fold the remaining panels out of the way so you can add glue to the tabs at the bottom and fold them inward. Place one of the panels inside to close off the bottom and help it maintain the correct shape. In our picture below we added glue to the panel. This is also an option, both ways work and each has their pros and cons.
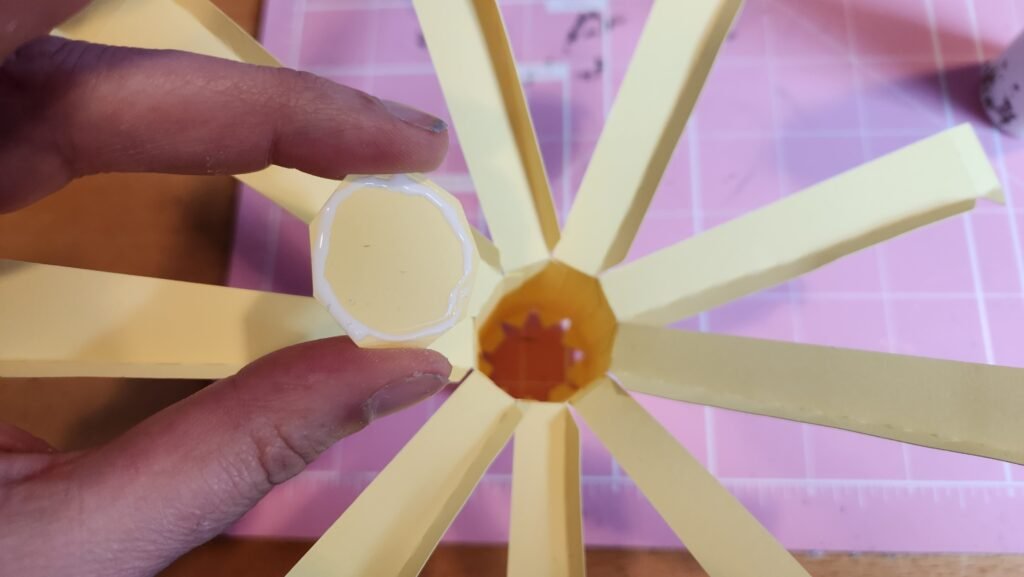
With this complete, we started attaching the remaining panels one at a time until we had a slightly cone shaped piece.
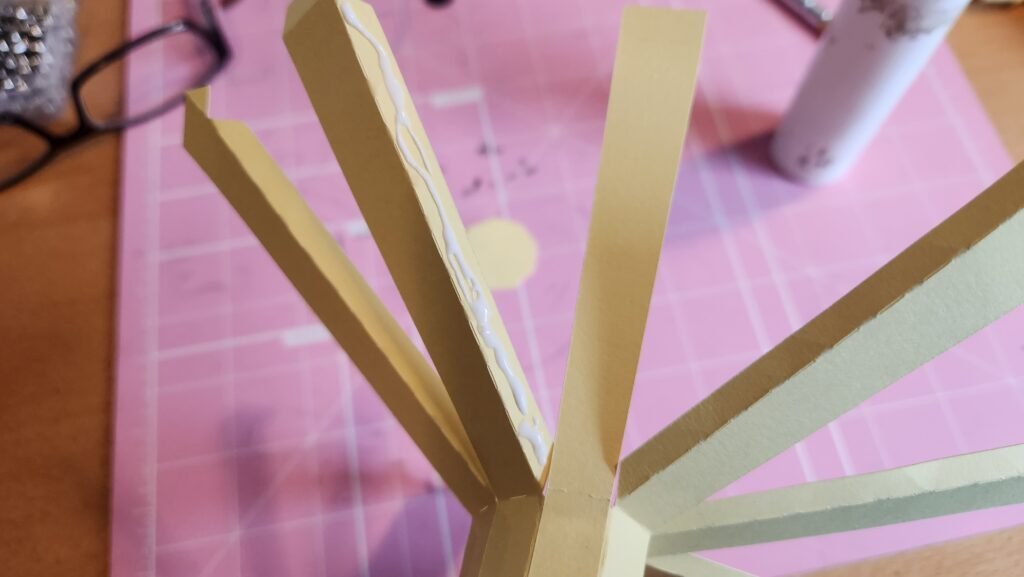
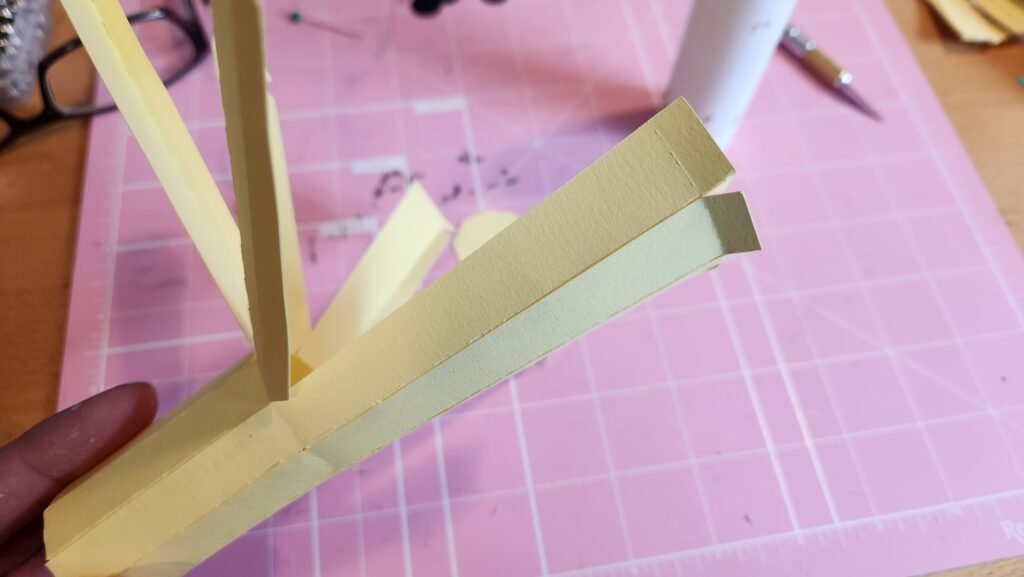
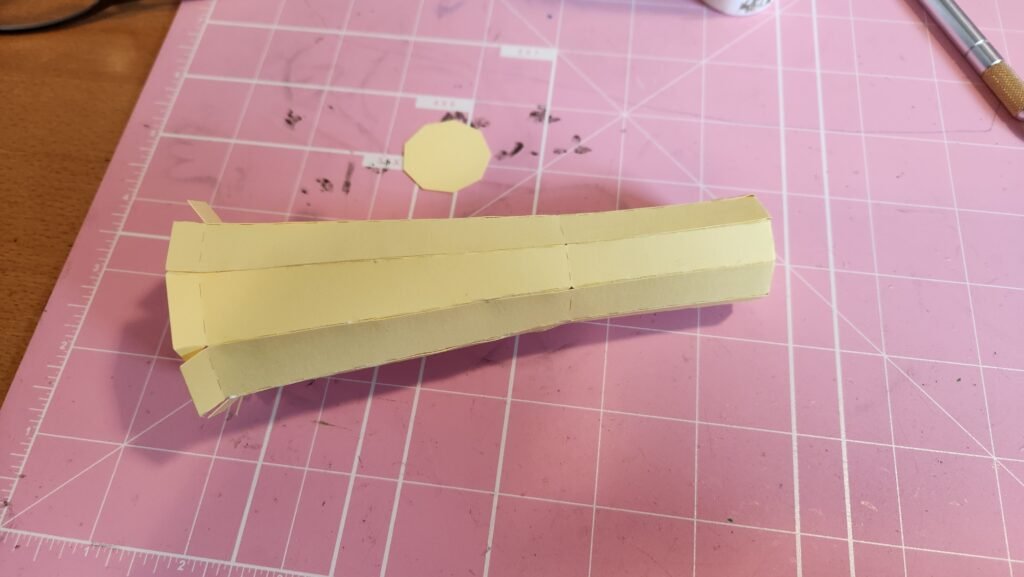
The final step for this assembly is to attach the small tabs at the very top. This panel gives the end of the piece a straight/vertical edge that will attach to the rest of the plane body
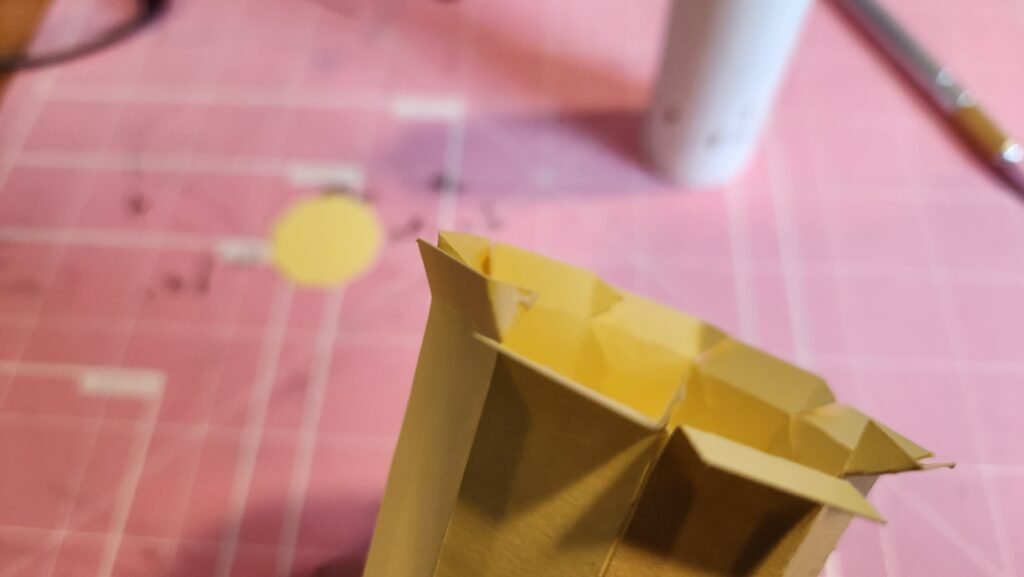

Turn the tail part of the body over and attach the other panel to cover the exposed tabs.
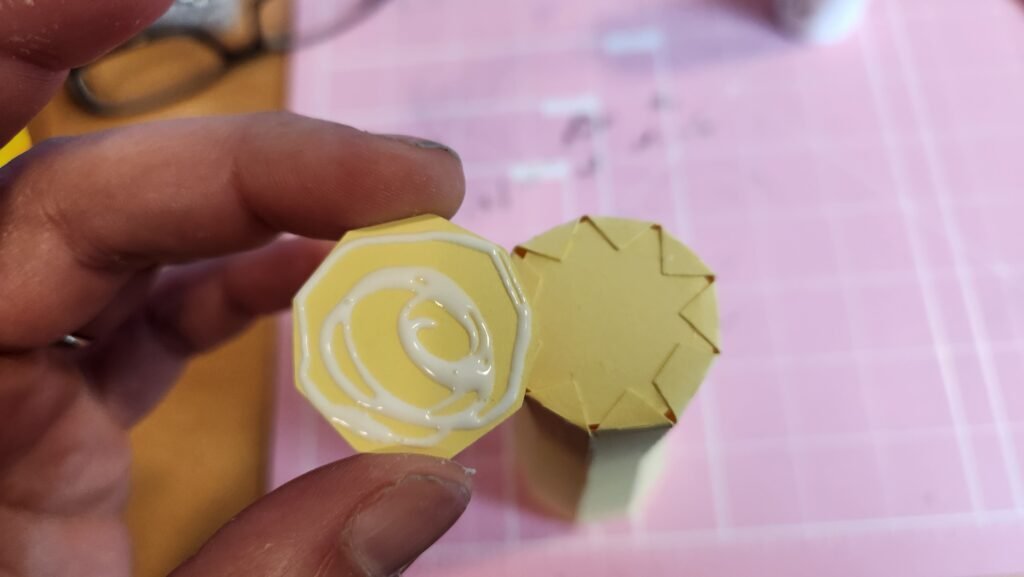
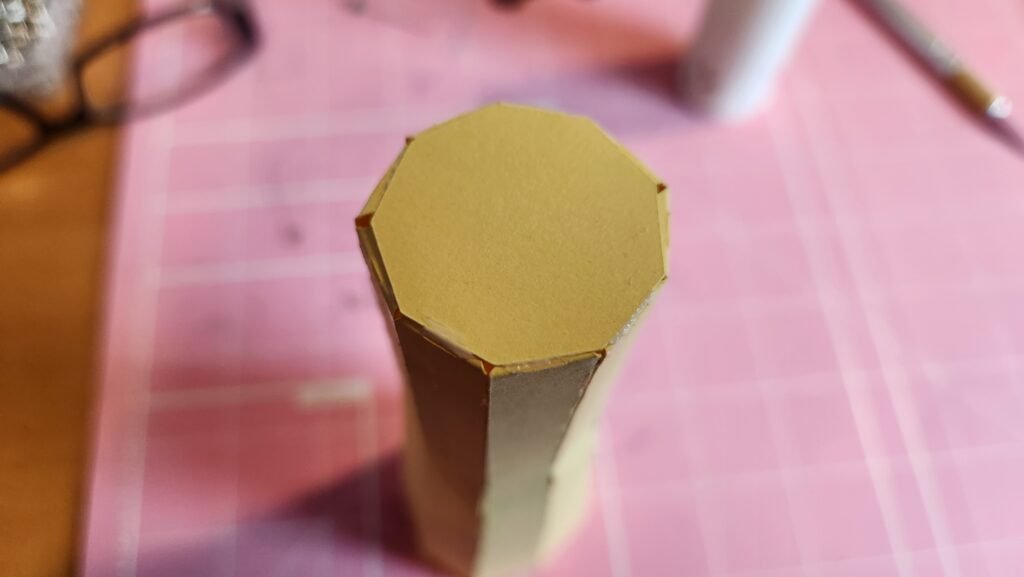
Attaching The Tail
Do a test fit over your biplane body then add some glue to the inside of your tail assembly and attach it to the rest of the body.
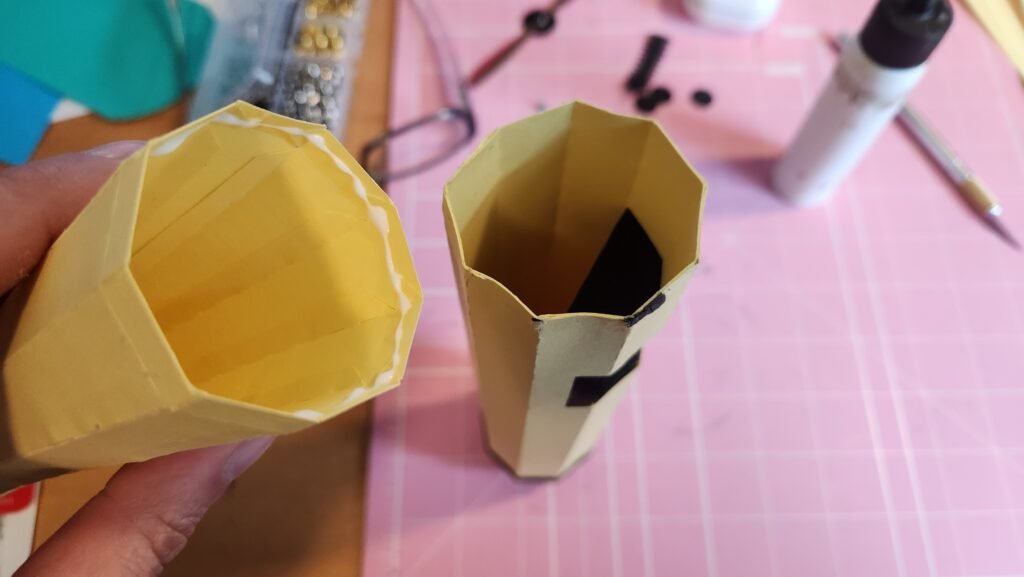
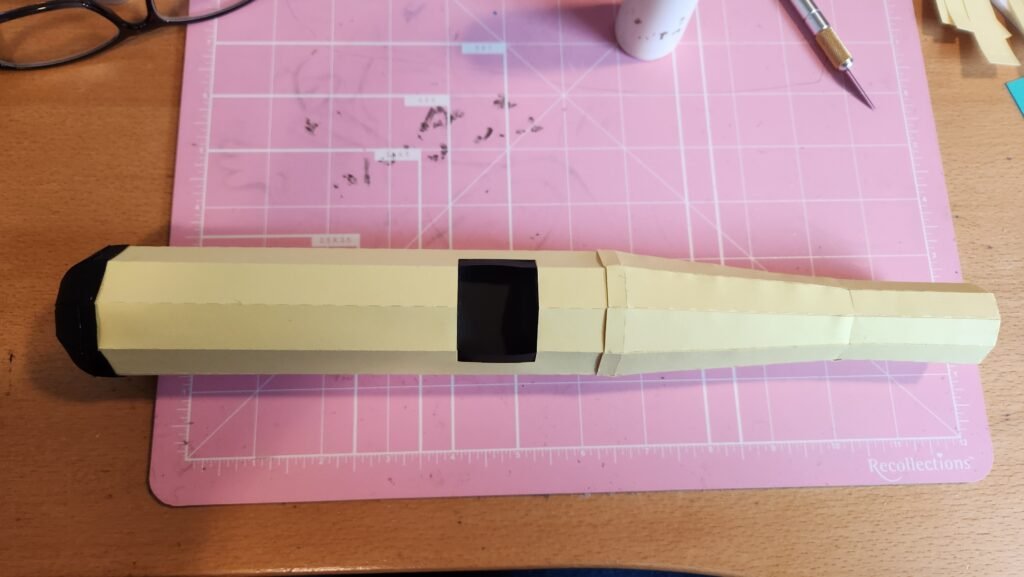
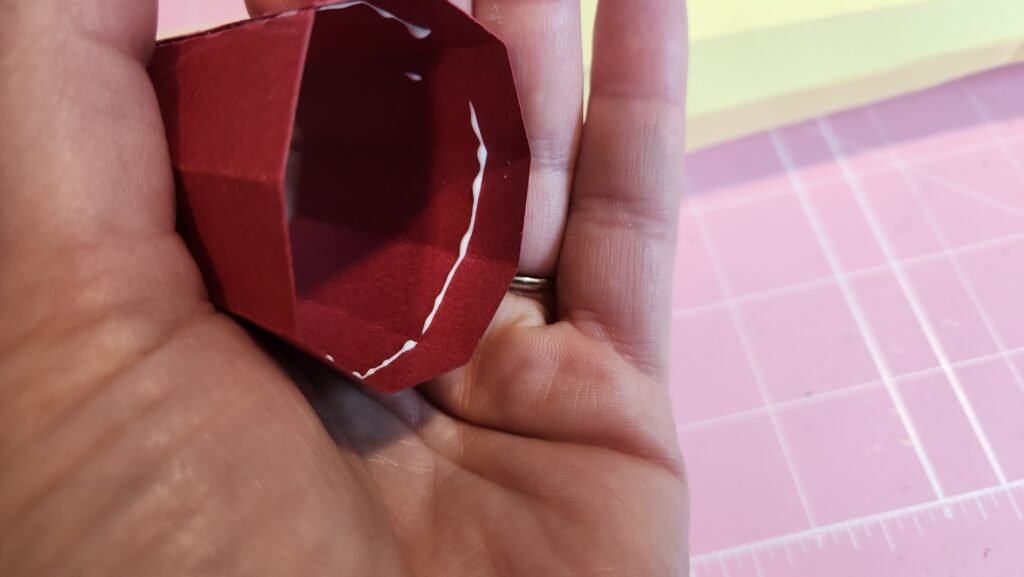
Finally, we started adding the decorative panels. Adding them one at a time, cover the end of the plane body. These are pretty subtle but can be really helpful especially if you are wanting a tail that is striped.
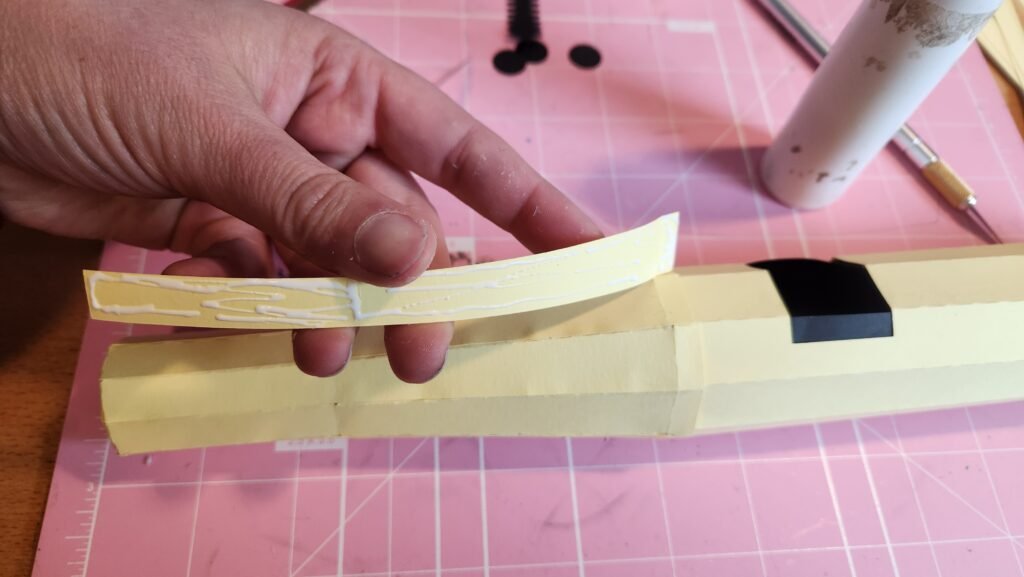
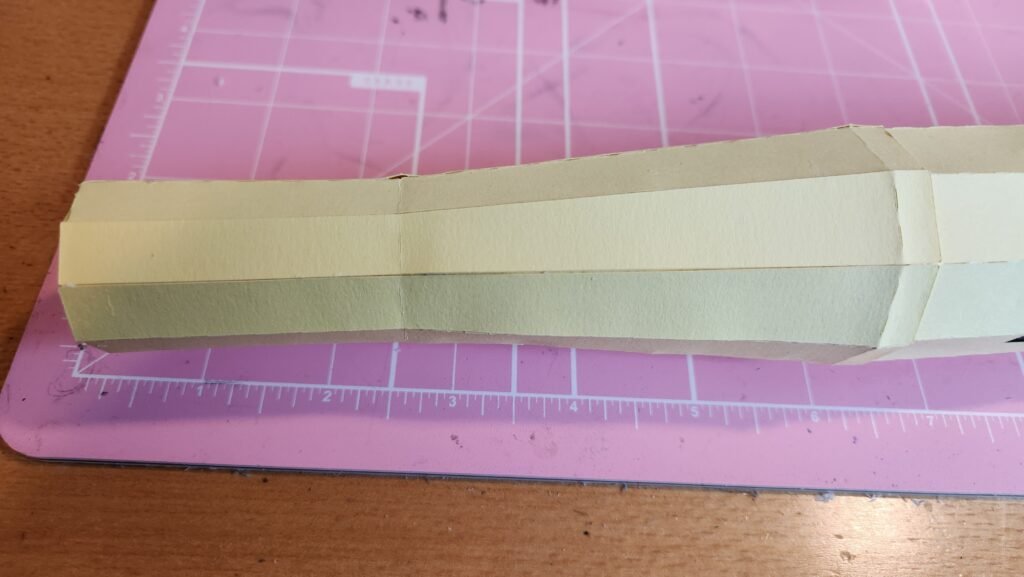
There is a wide stripe on the tail of the plane. This is made by creating a collar and sliding it into place. Fold the collar on the score lines then using the tab on one end, close it off into an open ended cone shape. Add a touch of glue to the inside, then slide it over the tail of the biplane, with the wider end going on first.
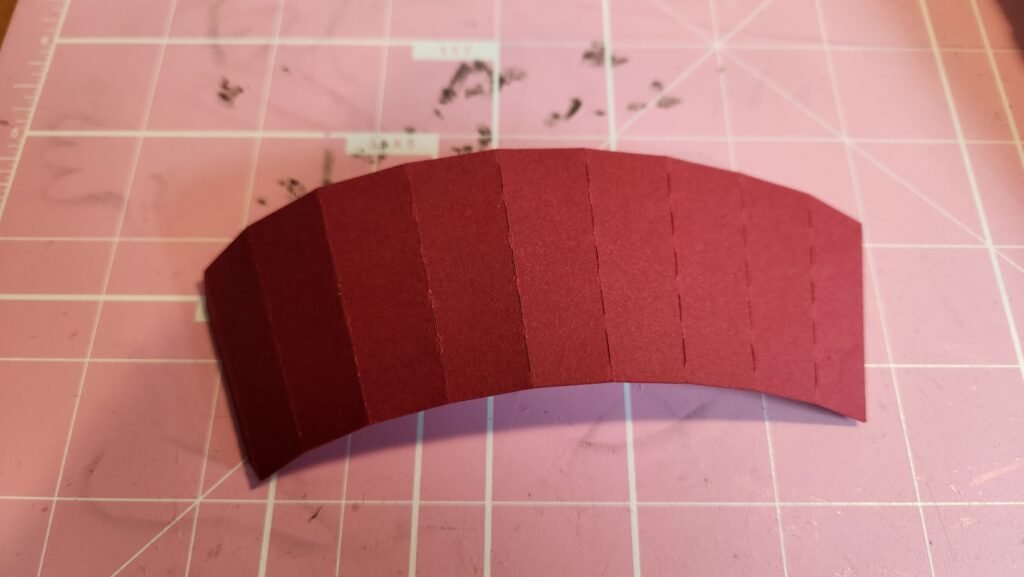
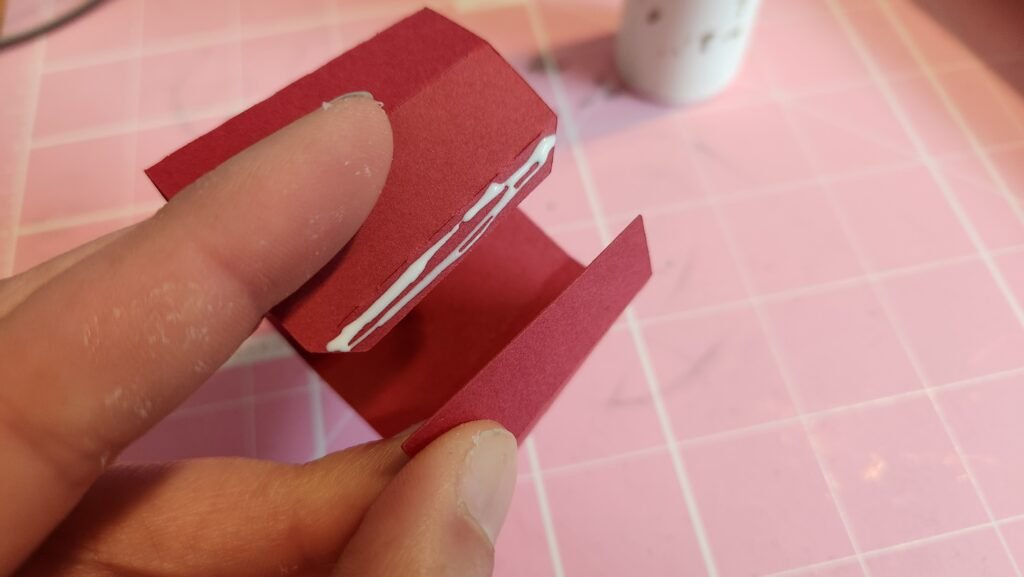
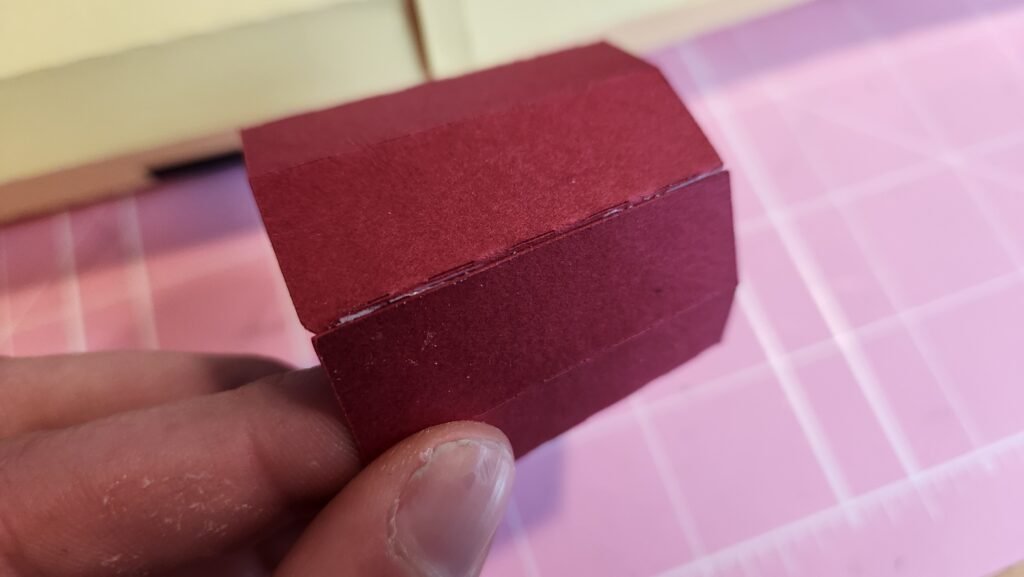

Biplane Rear Wing Assembly
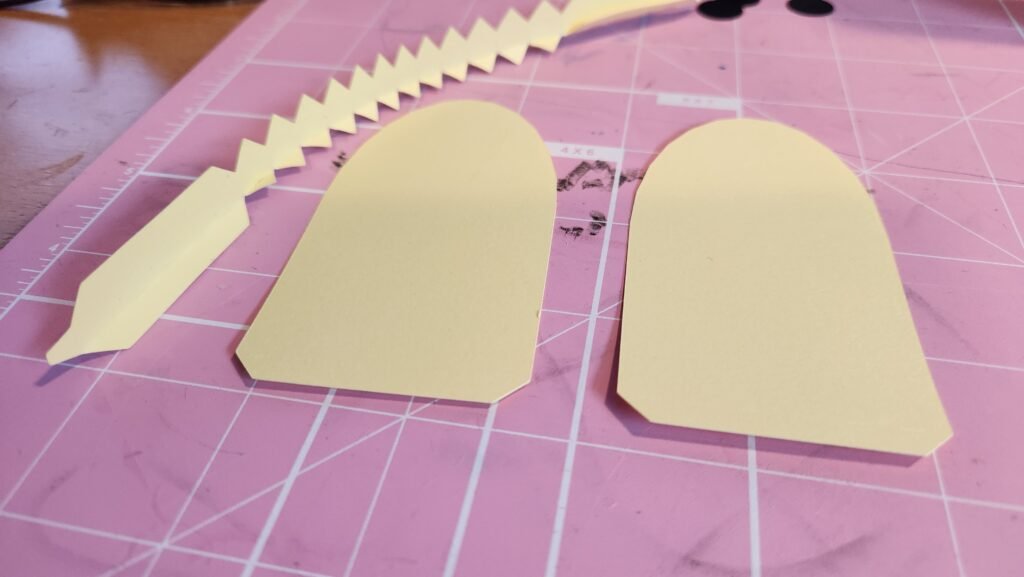
The tail end of the biplane has two small wings, a vertical fin, and a small wheel. The small wings are both assembled the same way and are identical until decorated so you don’t need to worry about left or right to start. To assemble the wings, take the two wing shaped panels with tabs at the end and the long side panel. Fold the tabs of the side panel and starting at one end work our way round the shape of the wing.
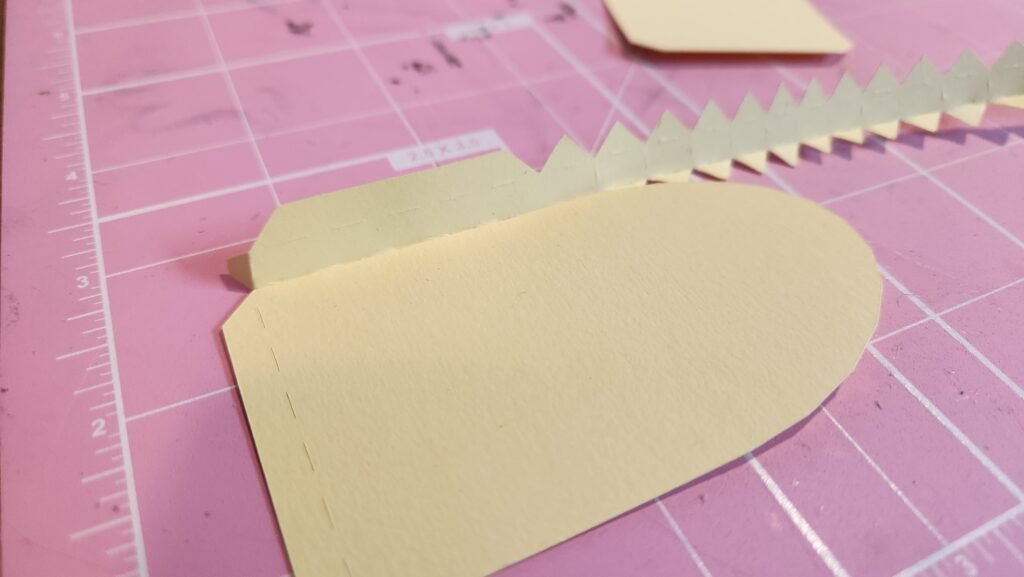
Once you have this in place, fold over the tabs on the other side of the side panel and attach the other wing shape. Starting with one of the larger tabs then working through the rest works best.
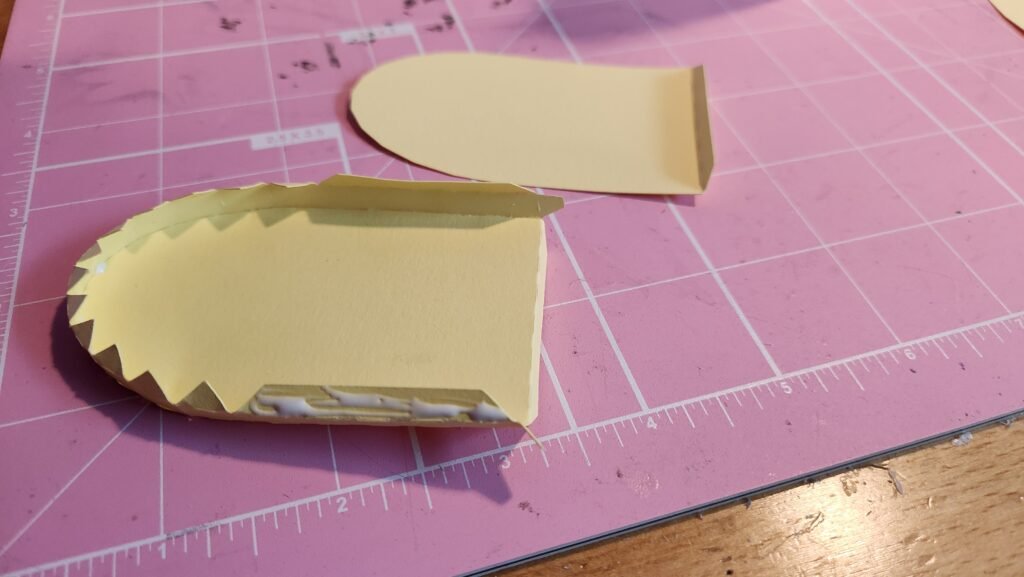
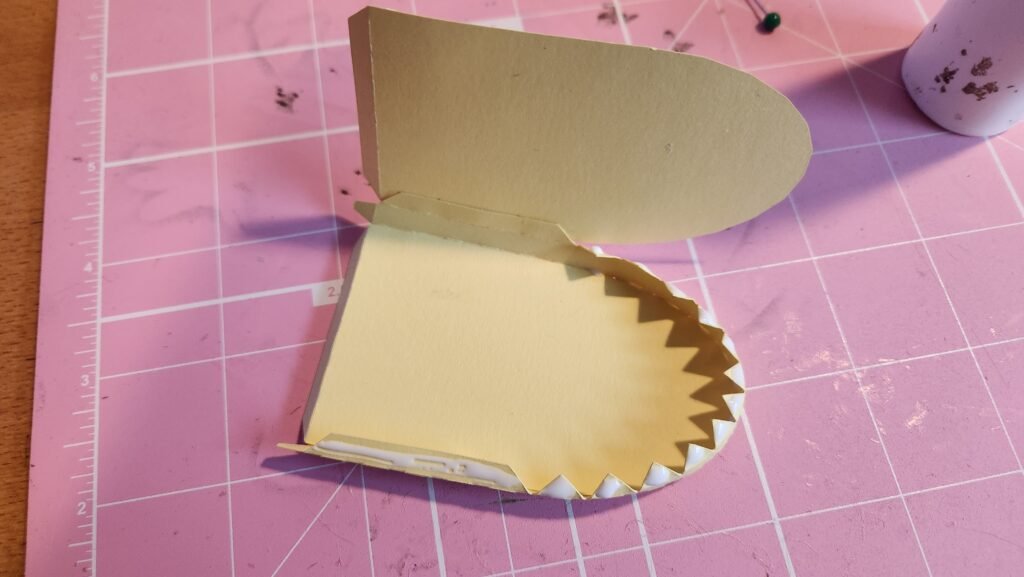
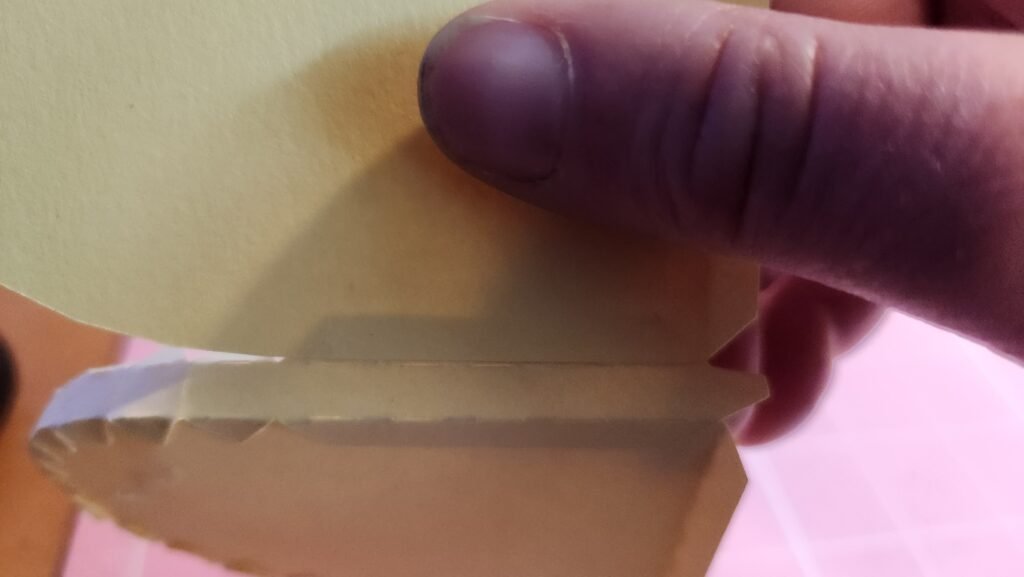
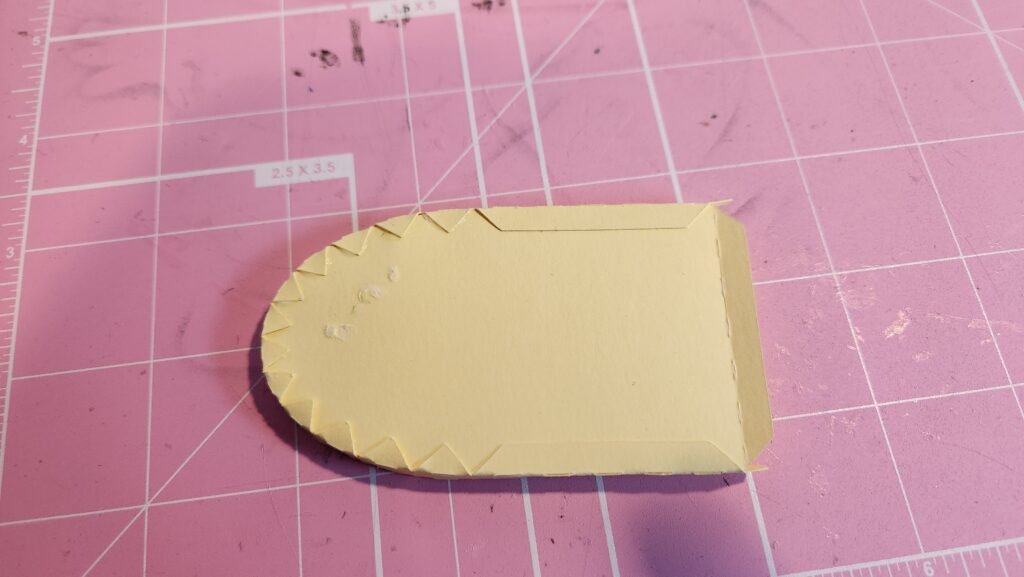
Using the wing shaped panel with no tab on the end, place glue on the back and use it to cover the exposed tabs of the wing.
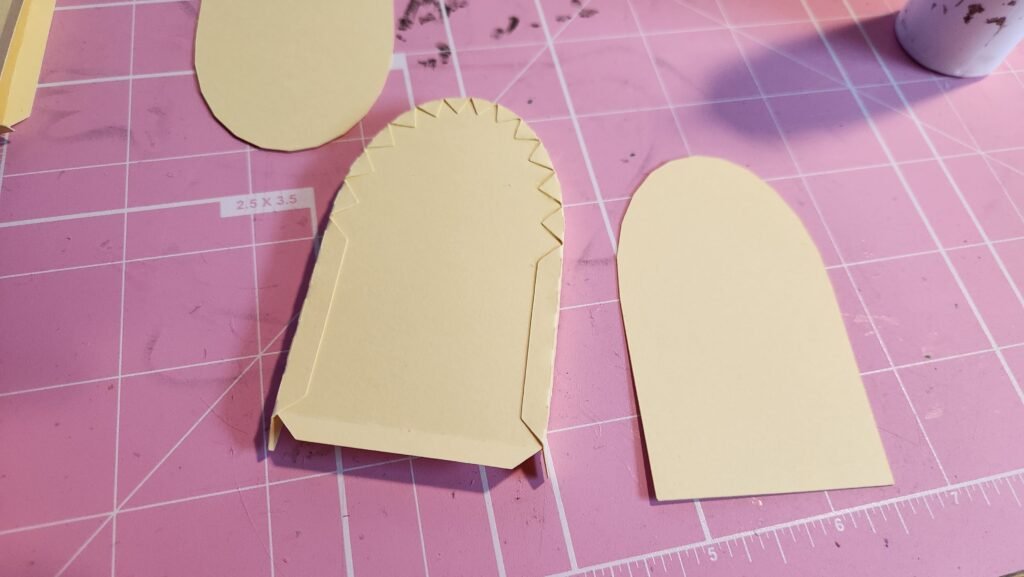
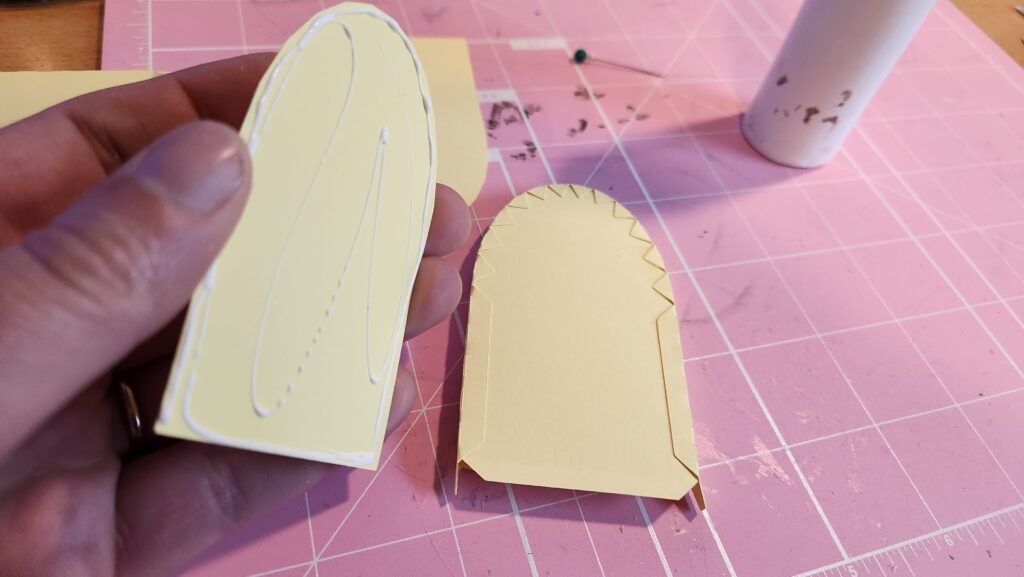
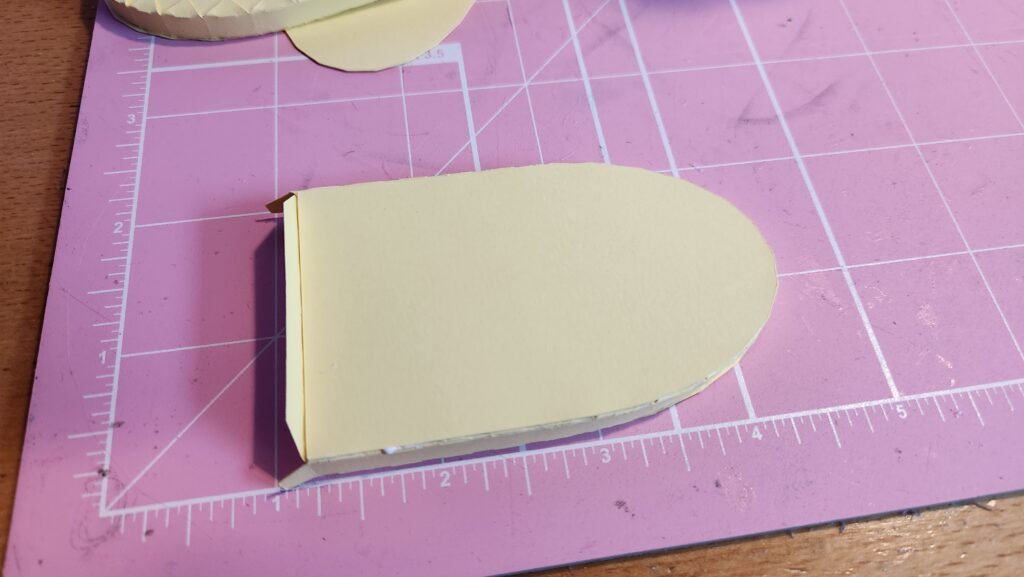
Repeat this process so you have a second wing.
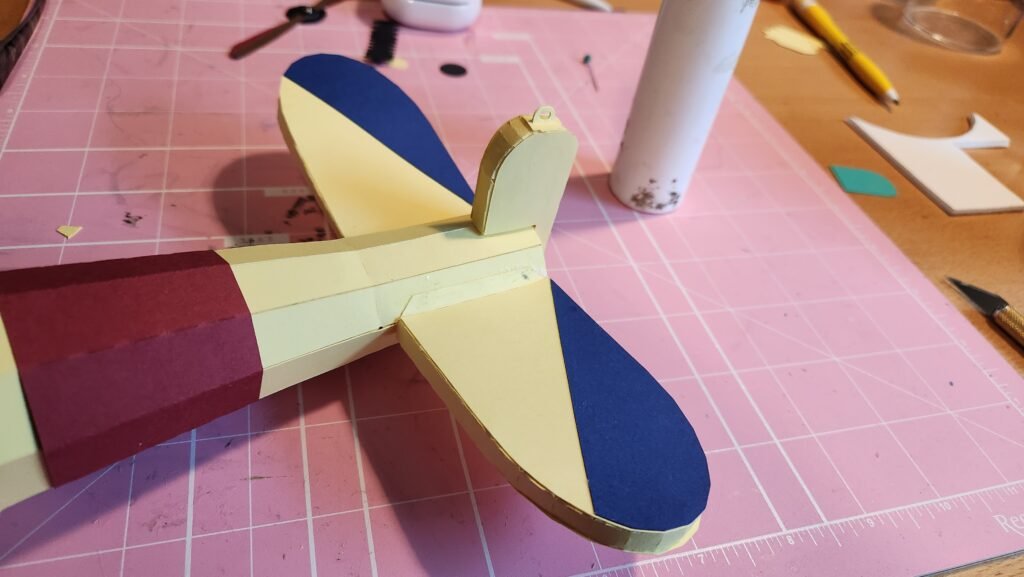
Laying out your two completed rear wings, place the decorative panel on them as desired. You can have it over the front of the wing or the back. We chose the back.
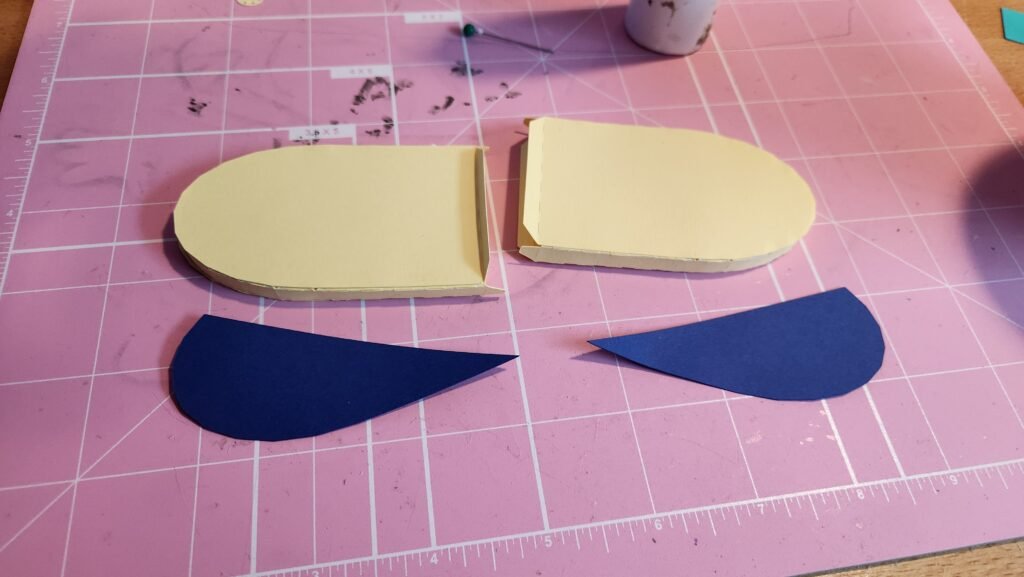
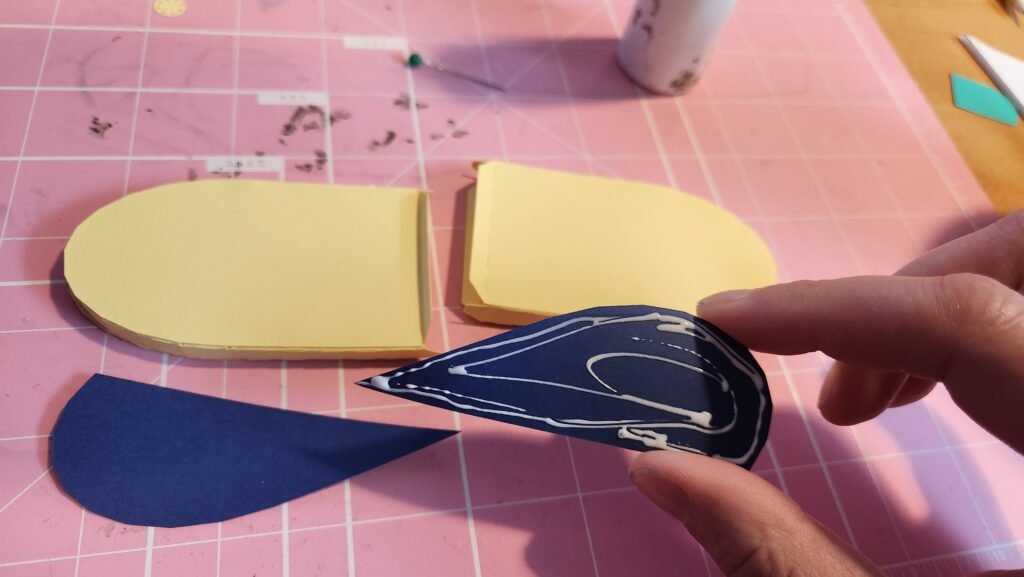
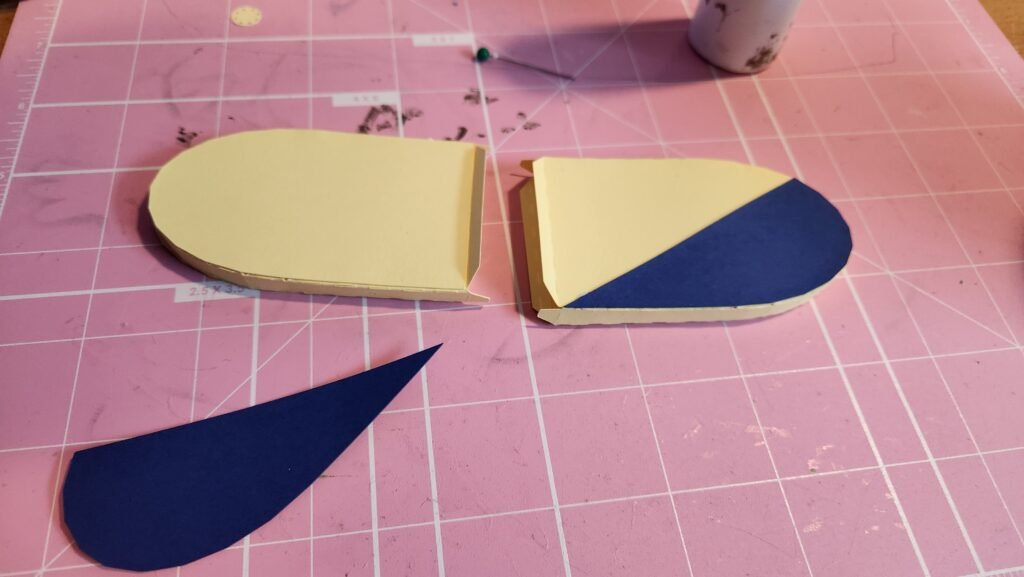
Set these aside and we’ll assemble the fin for the tail of the plane.
Tail Fin Assembly
The fin is made using a similar method. There’s two fin shaped panels with a tab on one part as well as a long side panel. Using the square corner of the fin shape, start attaching the side panel. Once you have a couple of the tabs that make up the square end in place, you can start attaching the remaining tabs.
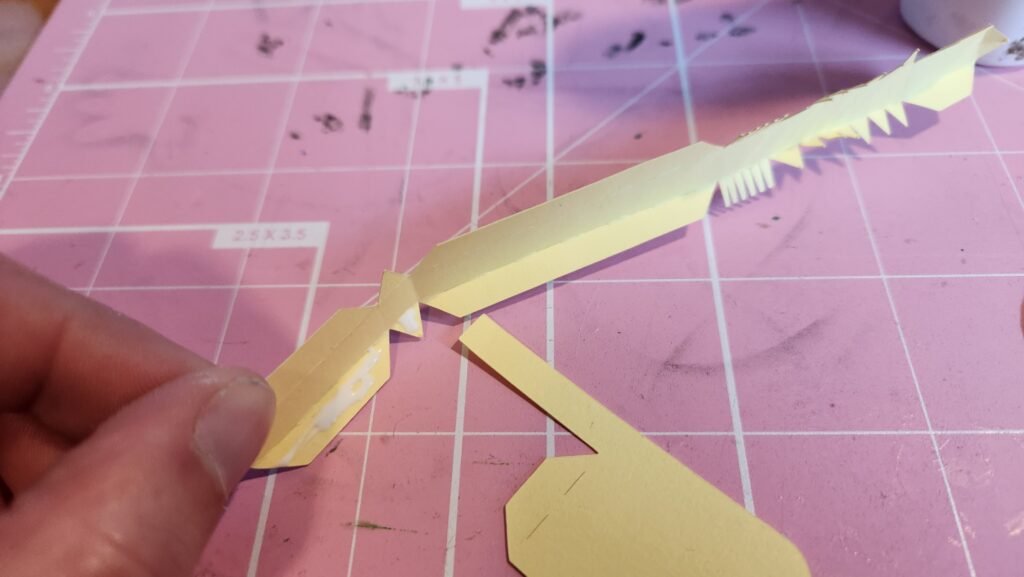
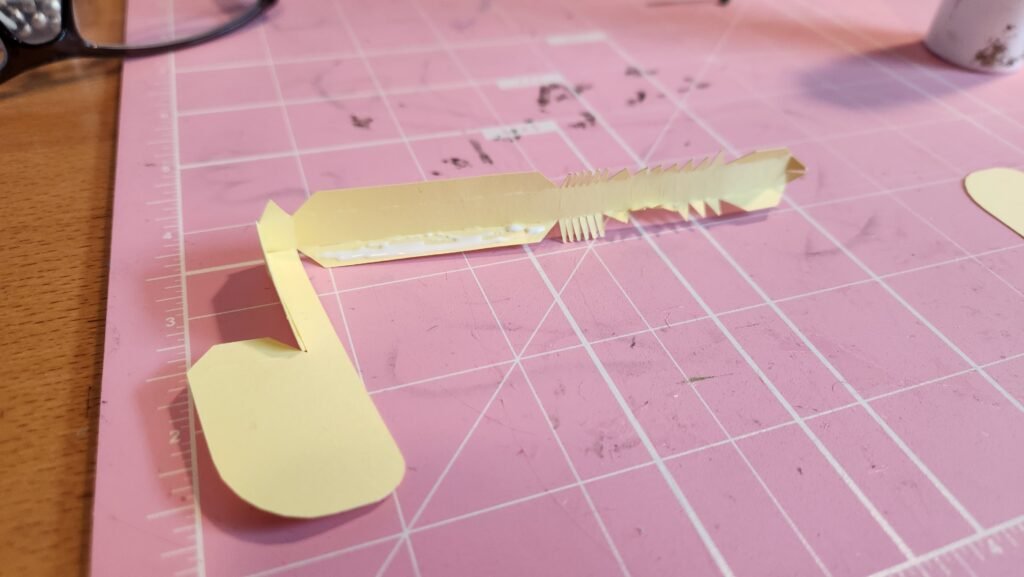
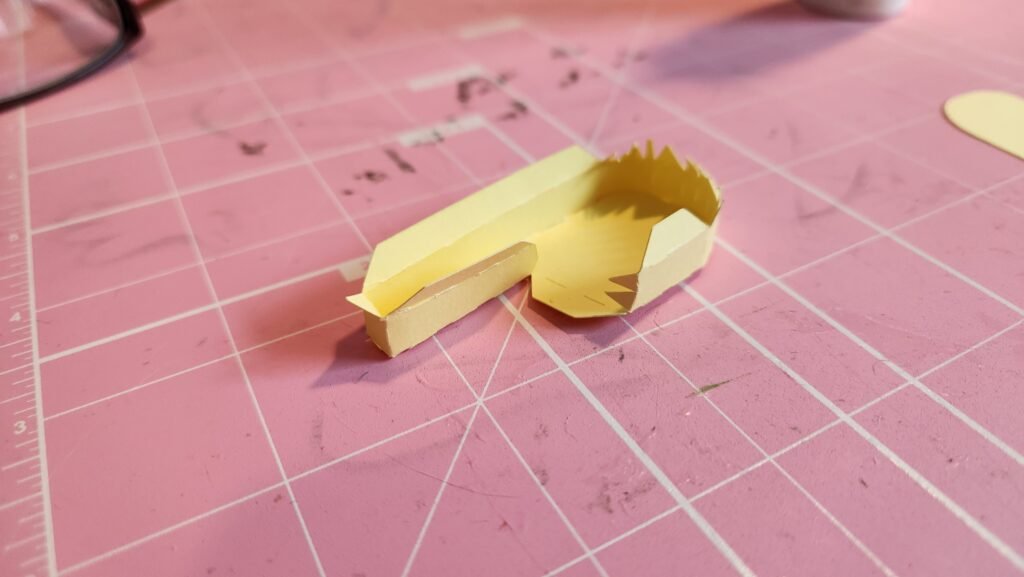
Starting with the long tab, attach the other fin shaped panel with a tab on it Once the first tab is secure you can attach it to the remaining tabs, all at once or some at a time.
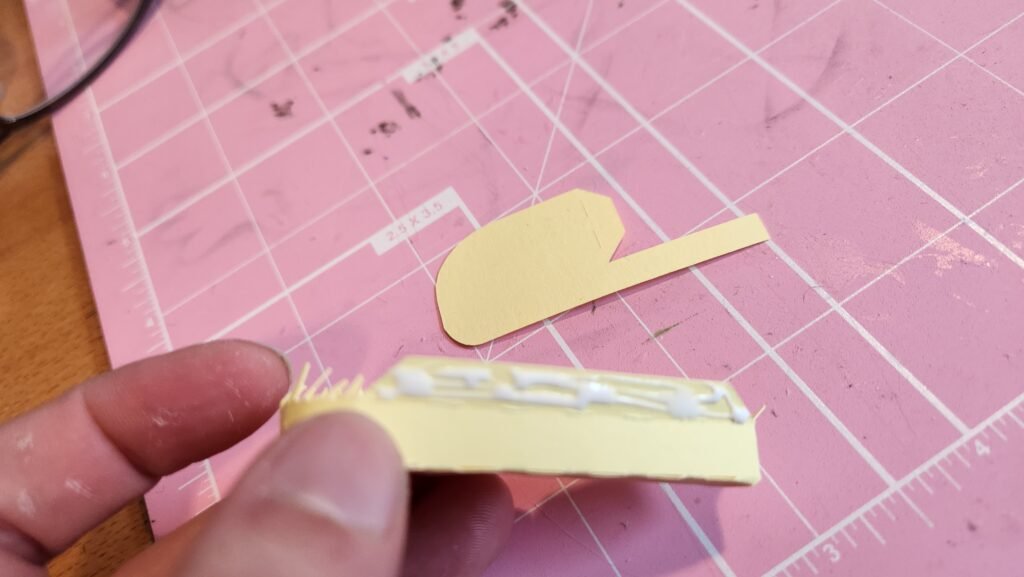
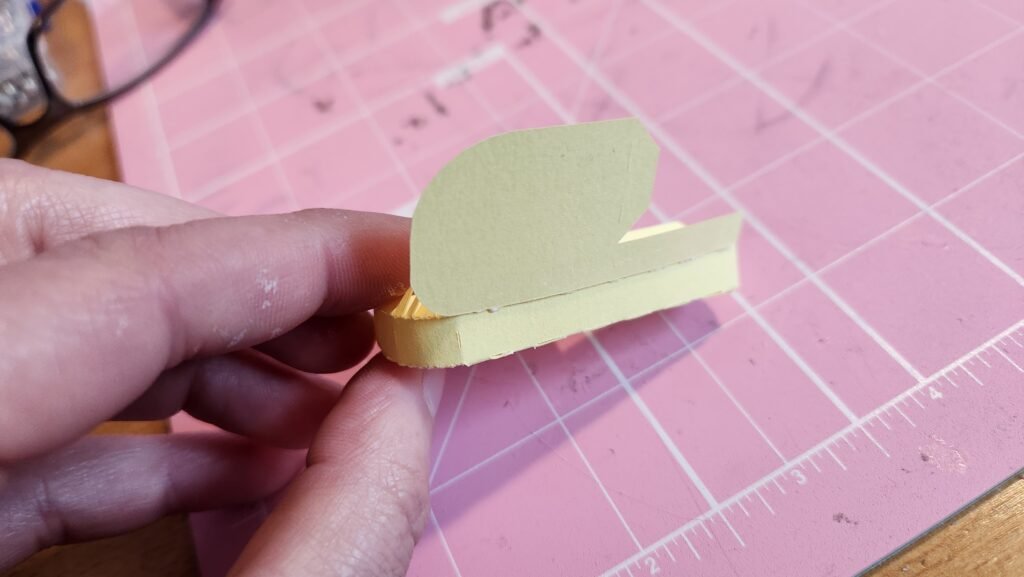
Now you can take the fin panel without a tab and use it to cover the exposed tabs.
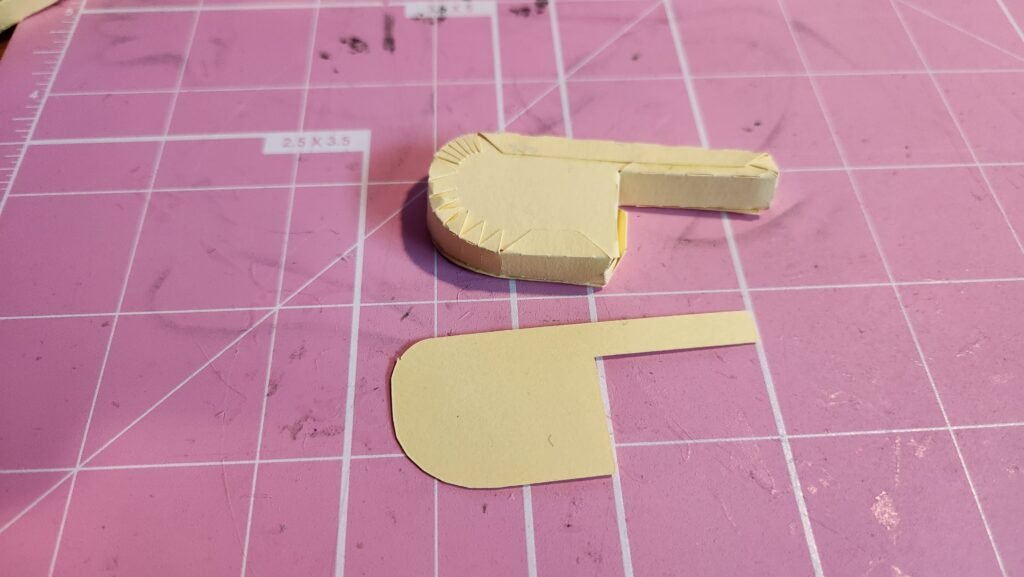
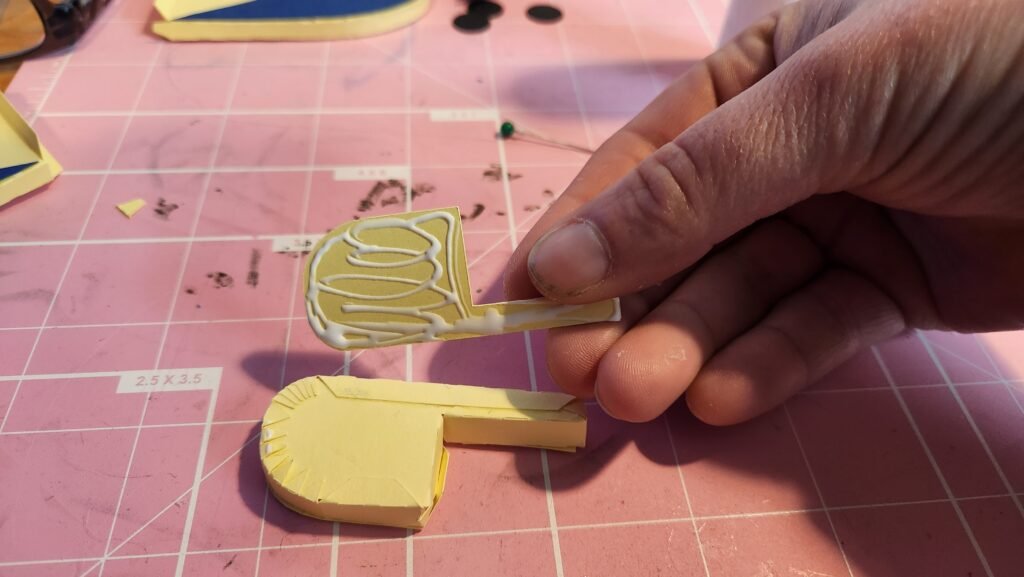
Attaching The Fin
Lay your plane body out in front of you. The top of the body should be one of the folds/ridges. This will match up with the indent on the tail fin. Put glue on the tabs on the tail fin and along the post going down. Place this on the back of the biplane, making sure it’s centered.
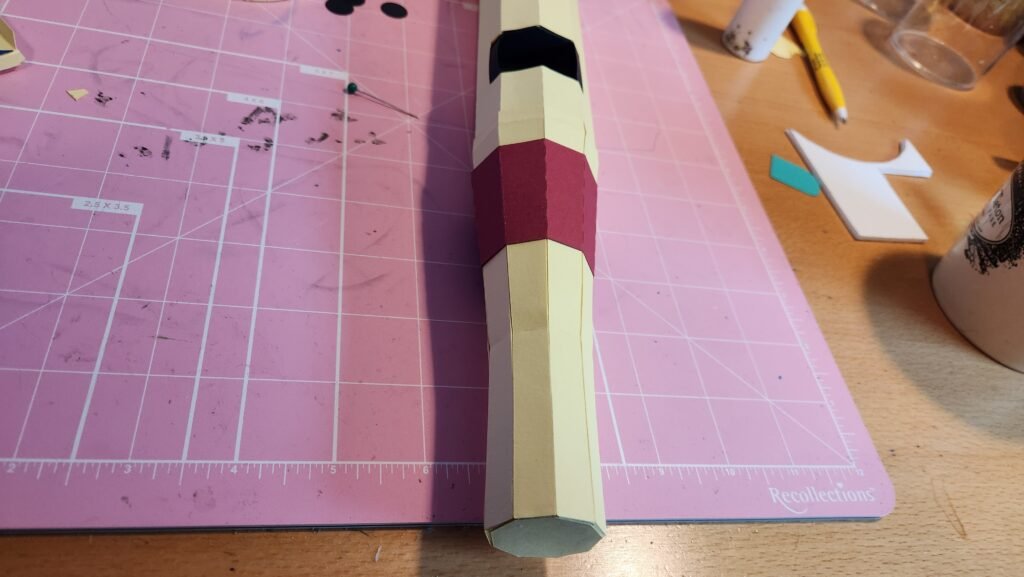
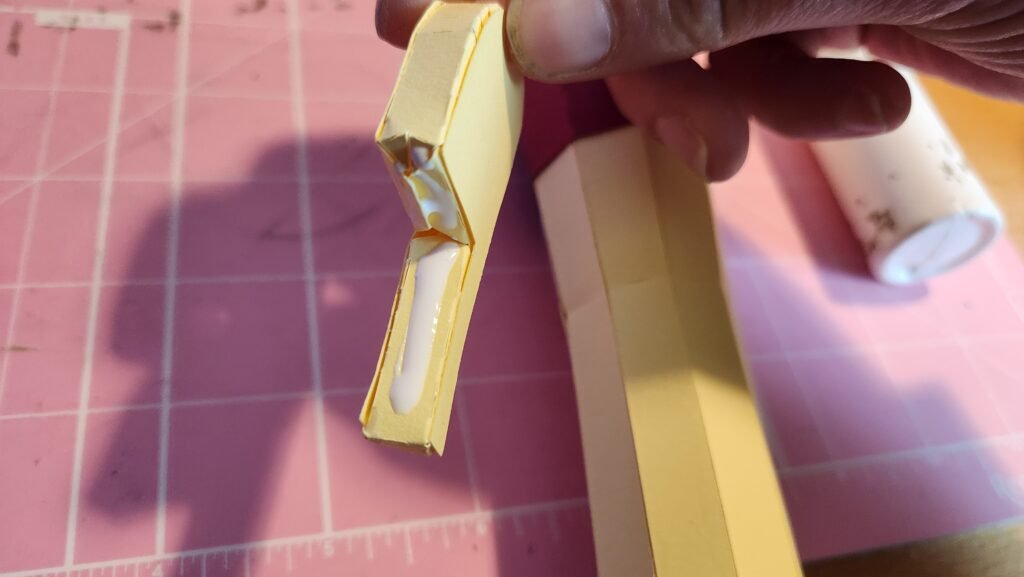
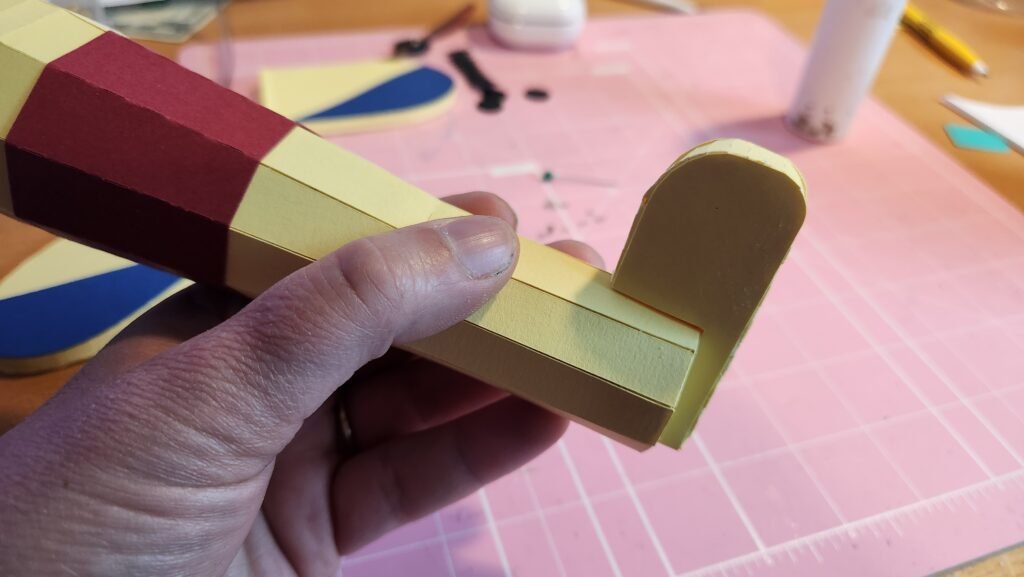
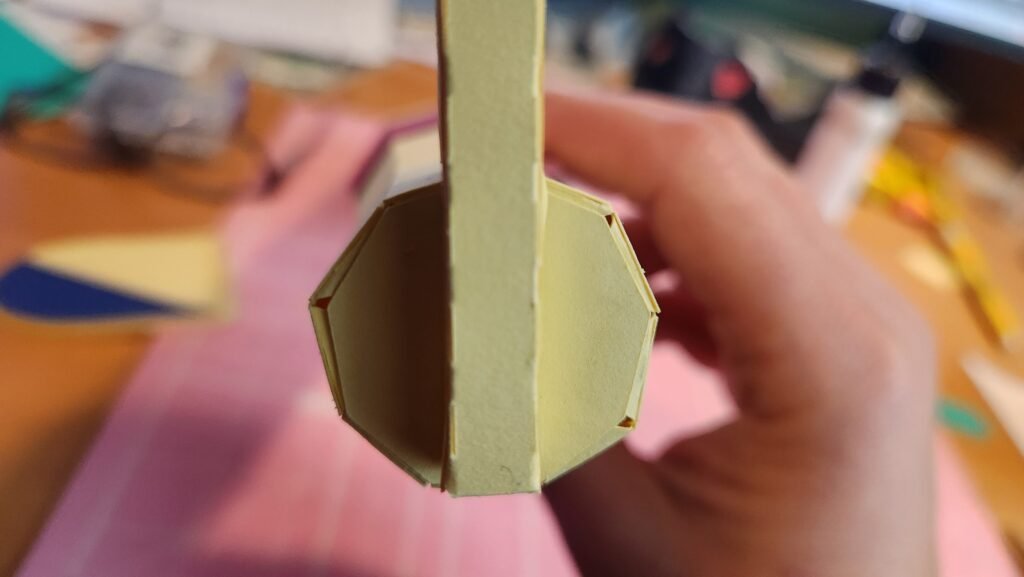
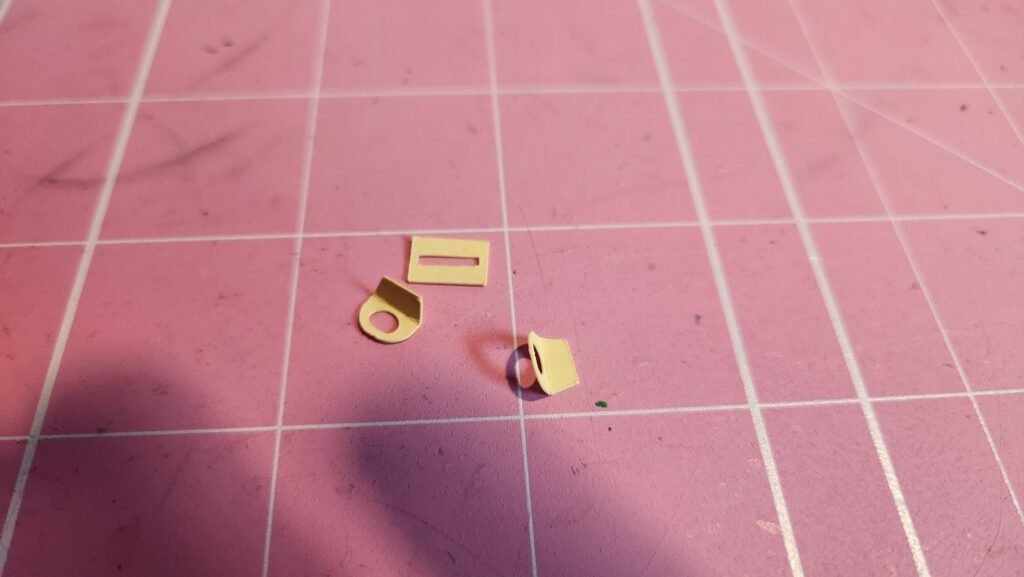
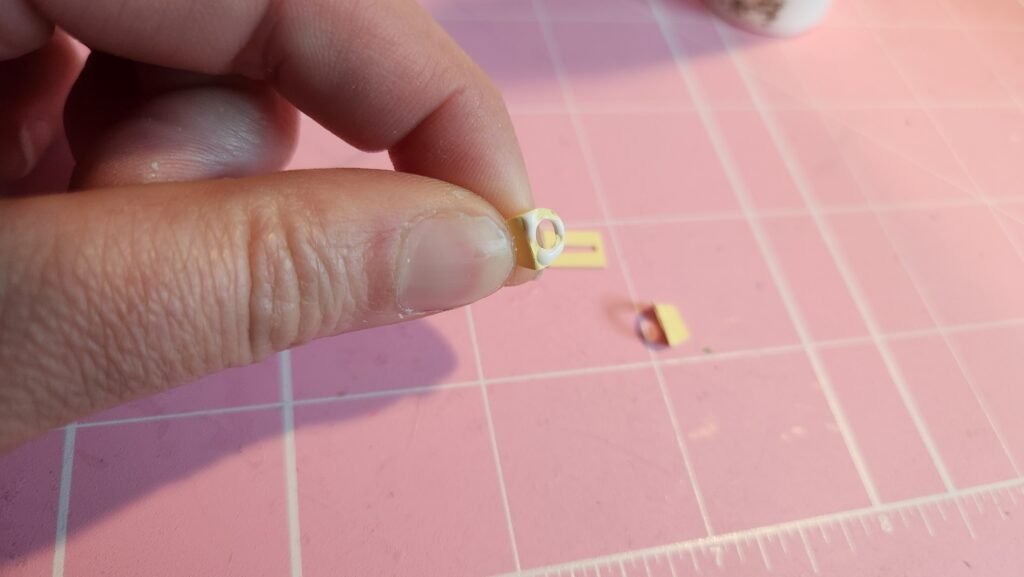
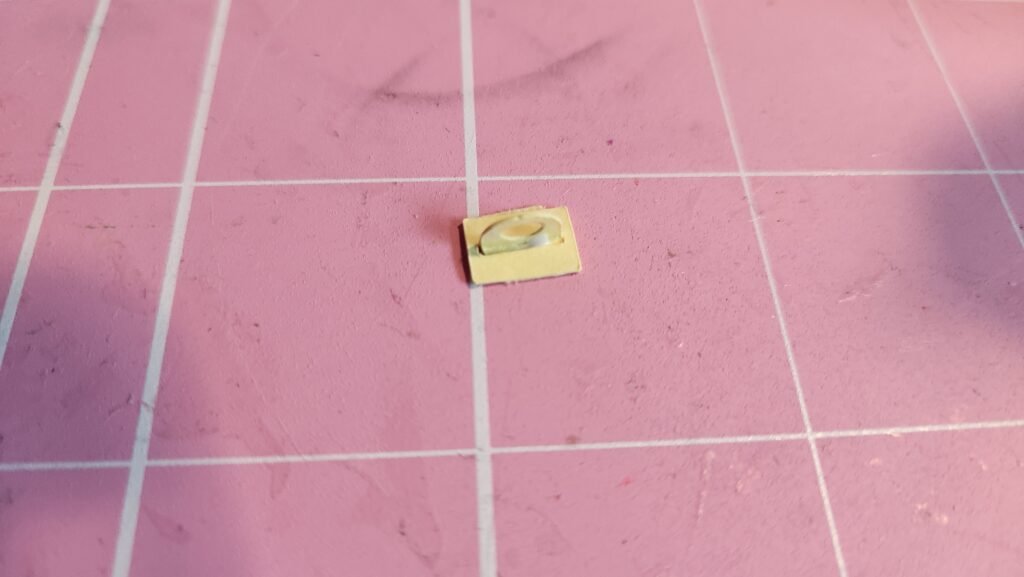
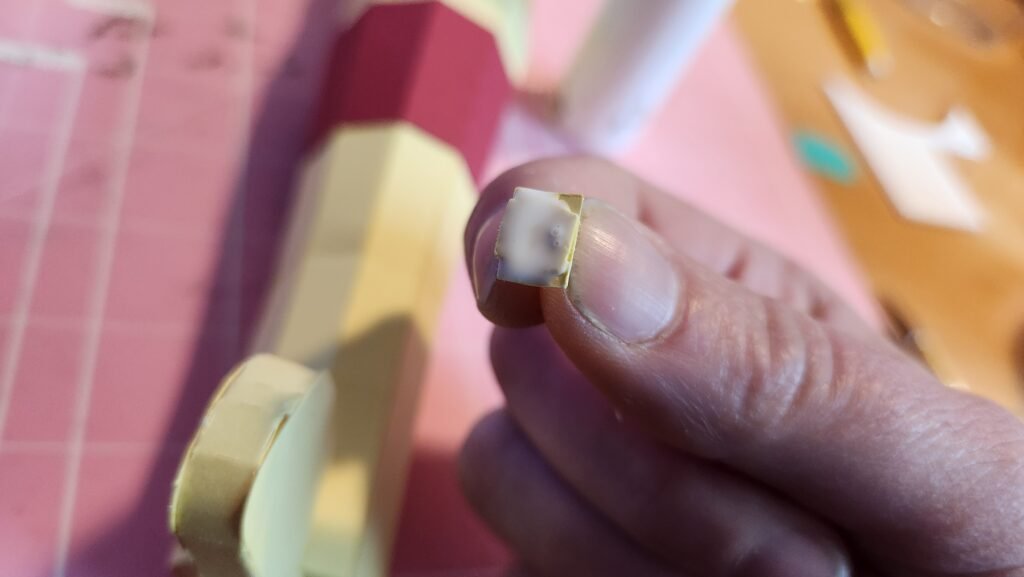
Now we added the loop for the top of the tail fin. This is assembled the same as the loops on the top wing. Once assembled, place it on the top of the tail fin.
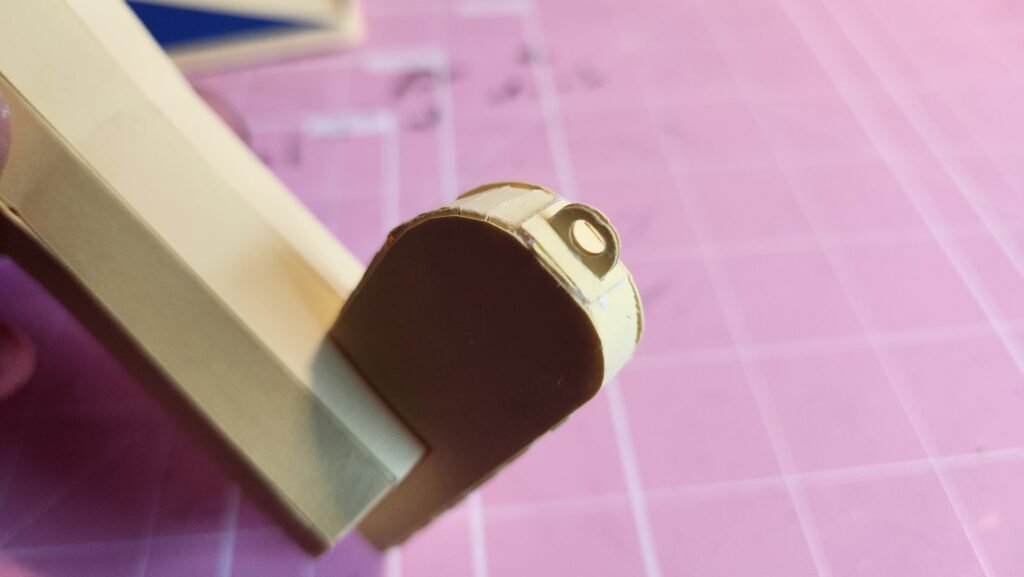
Attaching The Rear Wings
Place the plane body in front of you again and take the rear wing for the right side of the plane. Add glue to the tabs and press it into place on the plane body. Make it so that it’s flush with the back of the body. We used the shape of the biplane body to make sure they both are placed the same. Once you have one wing on, you can place the other one.
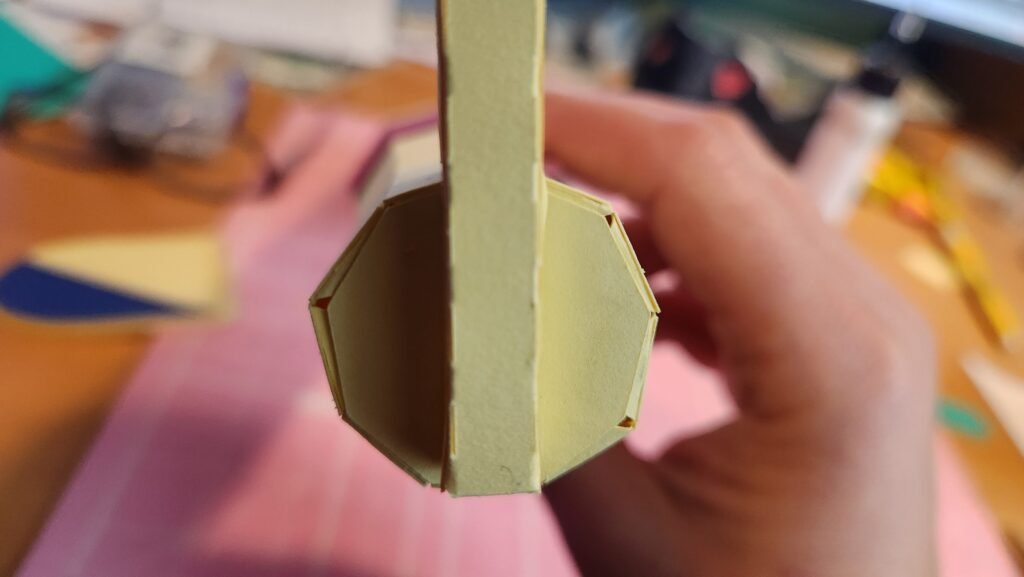
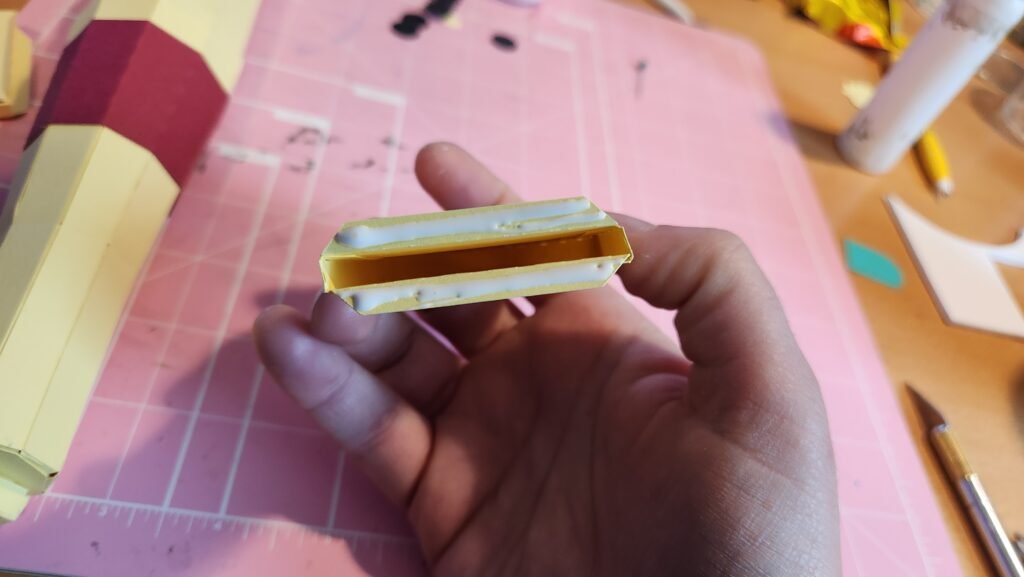
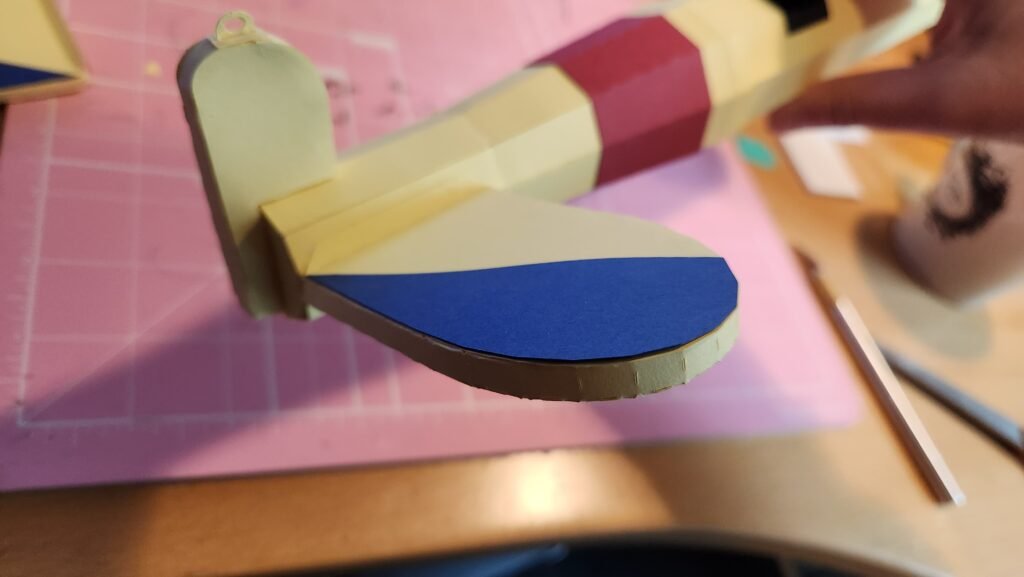
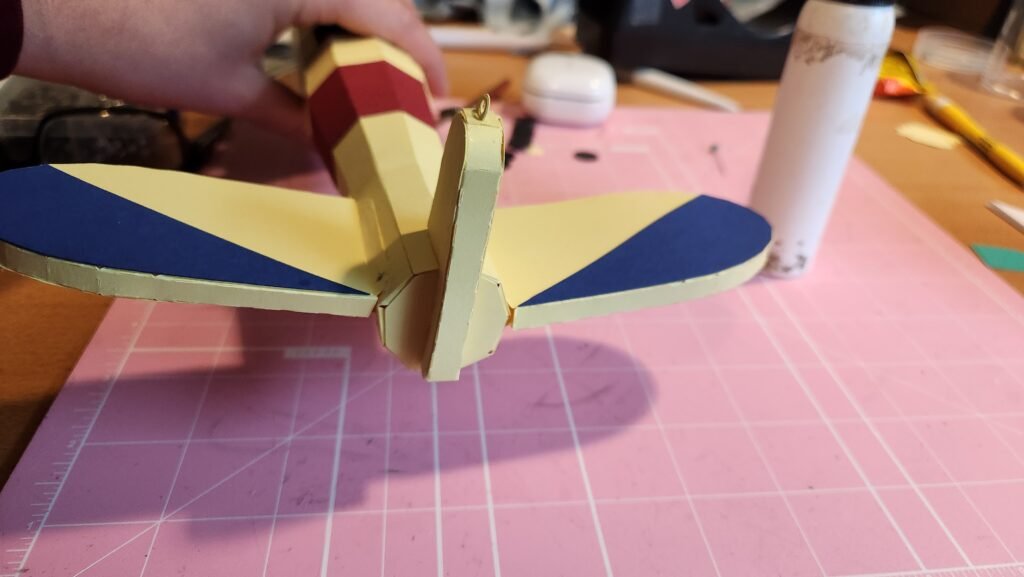
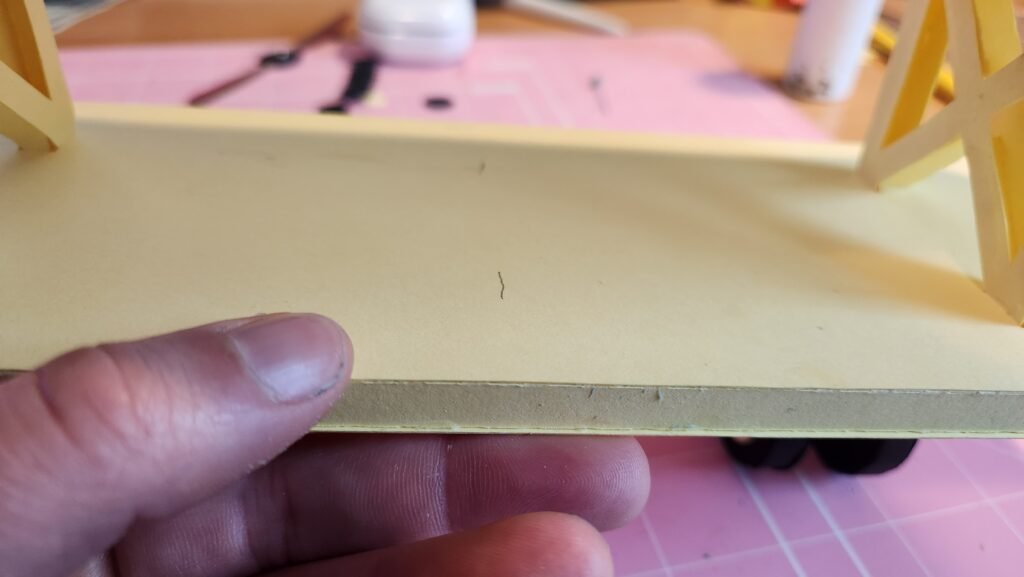
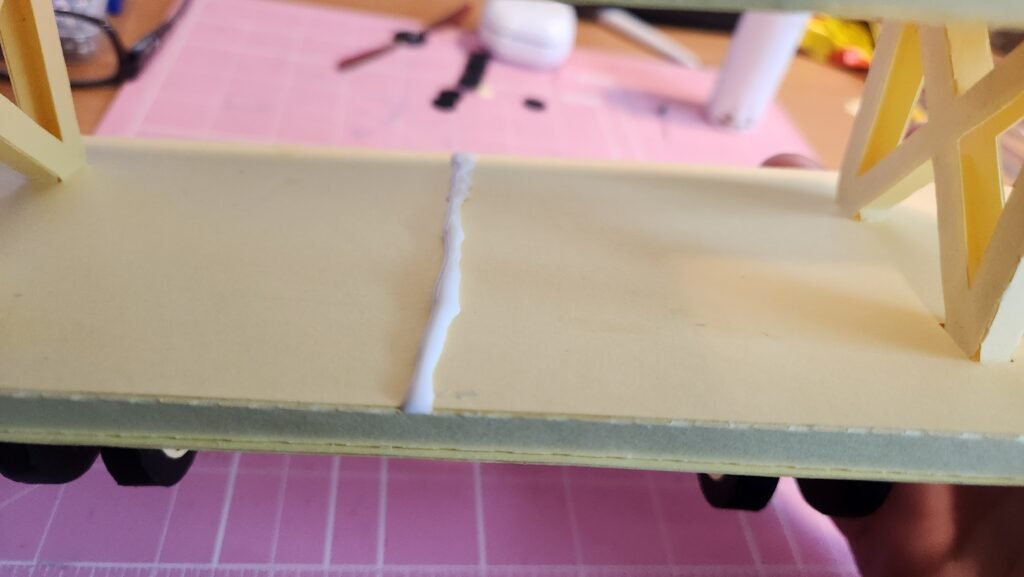
Once the tail is done and the glue is set, you can attach the body to the wings of the biplane. The bottom wing, on the inside, has the two long score lines in the center. These are to guide where you are putting the glue to attach the plane body. Place a line of glue along the score lines, being generous with how much you use. Then, slide the nose of the plain through the wings to one side of the glue, don’t get it in the glue just yet. Figure out how far forward you want the body to go, we made sure that some yellow of the body showed through the front but kept the seat from being covered by the wings. Once you hare happy, slide the body over to the center and gently press it down into the glue. You will probably have to hold it into position until the glue sets.
Finishing The Biplane Propeller
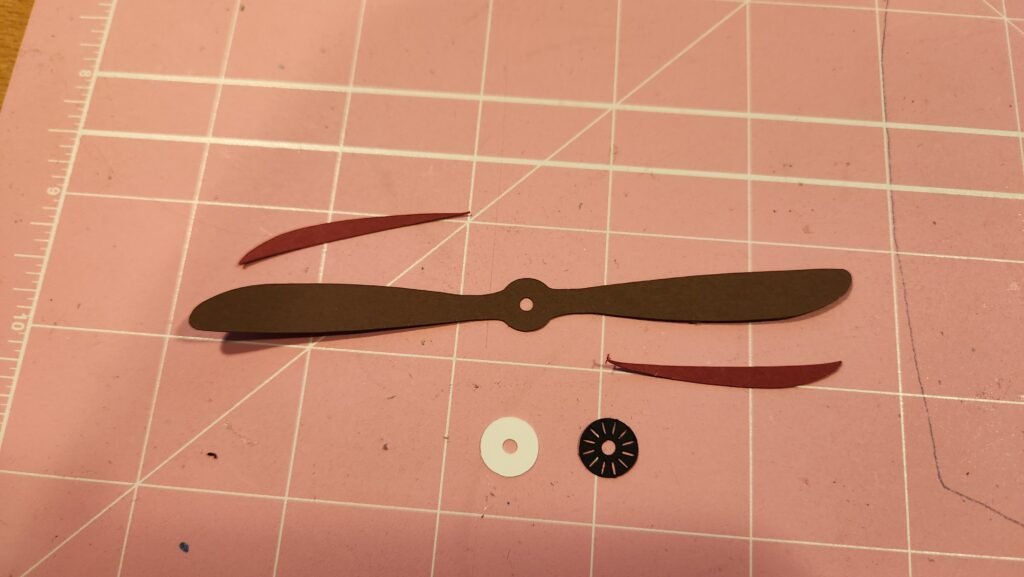
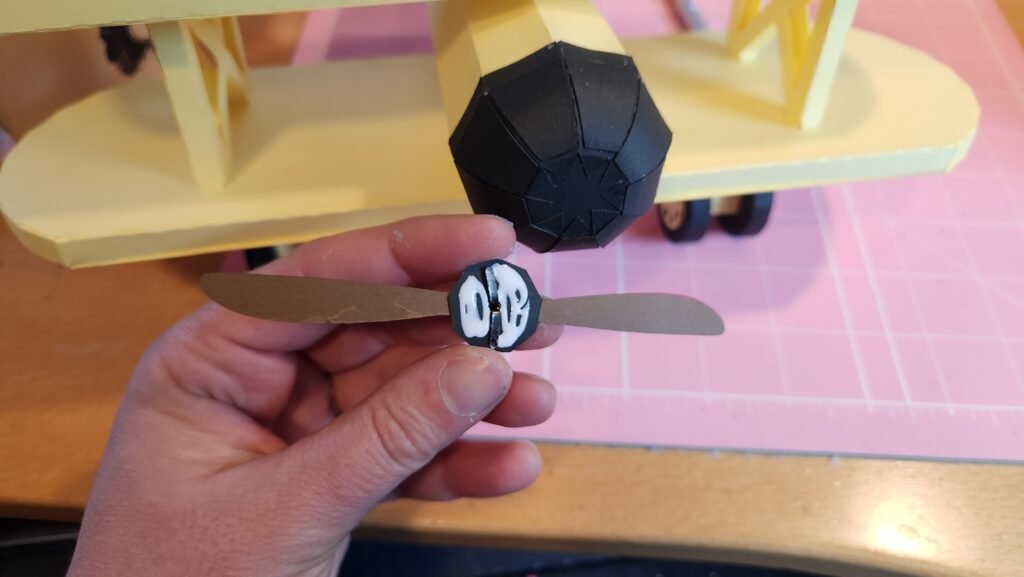
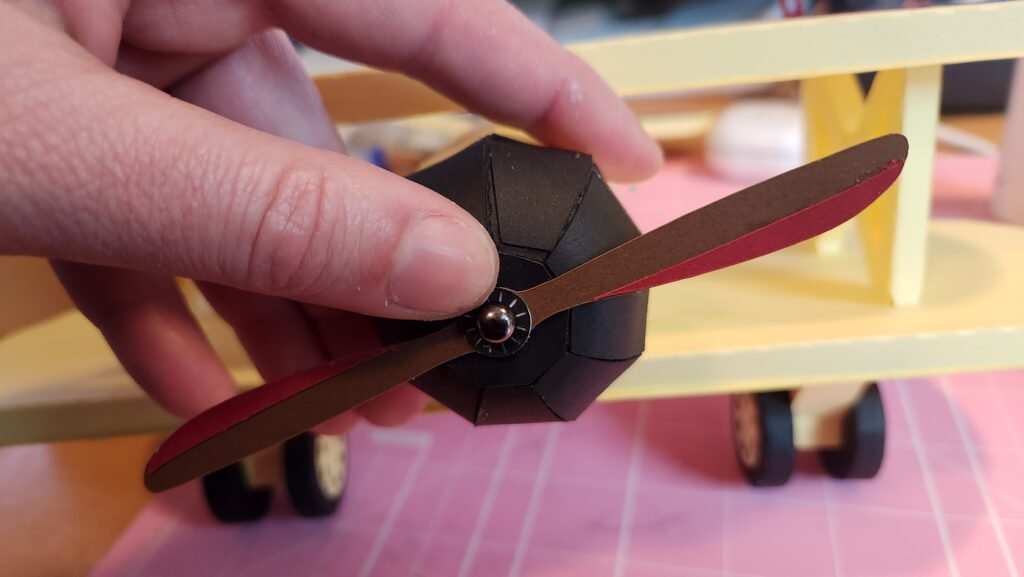
There are only two steps remaining on the plane assembly. You can now finish the propeller assembly and attach it to the front of the biplane. We layered the two circles together and placed them on the propeller then added the decorative color panels to the ends of the propeller. Then attach the propeller to the end panel with a hole in the center.
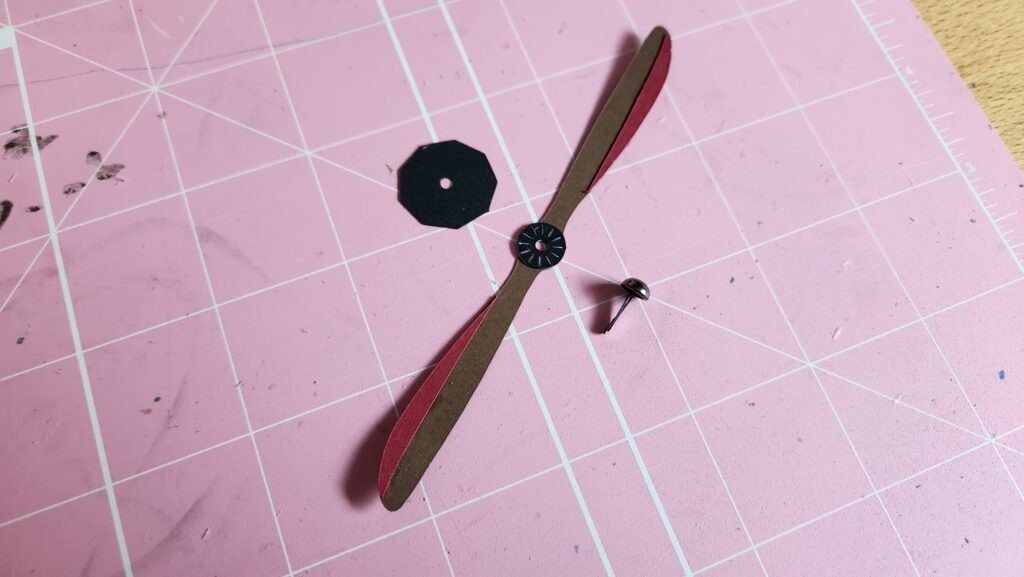
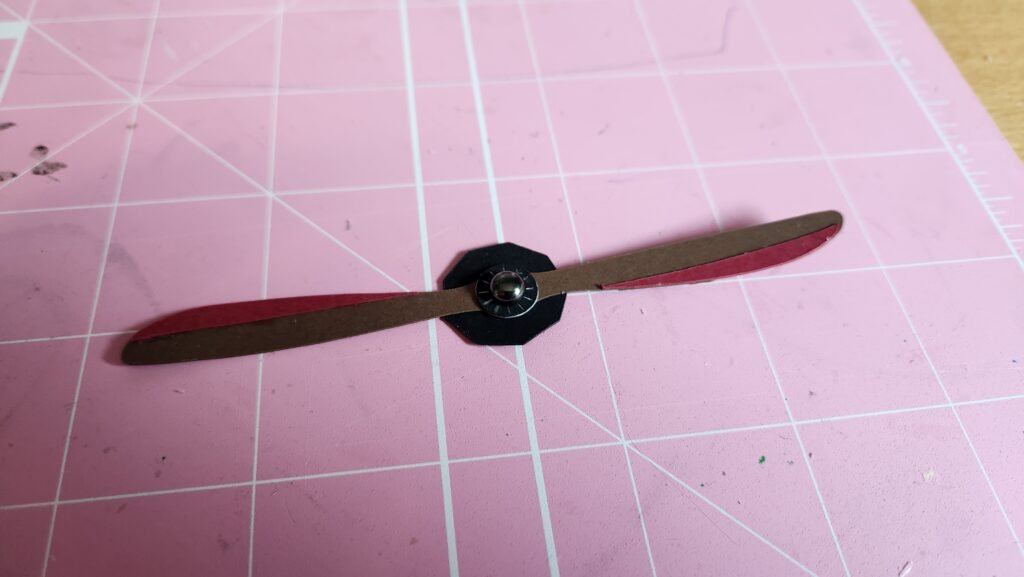
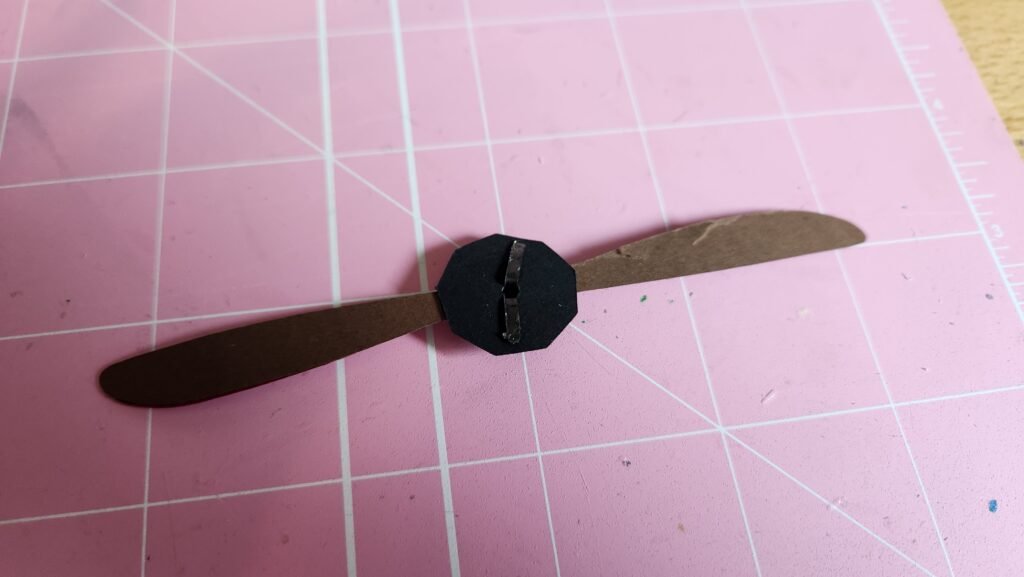
Add glue to the back of this and place it on the front of your plane.
Adding The Back Wheel
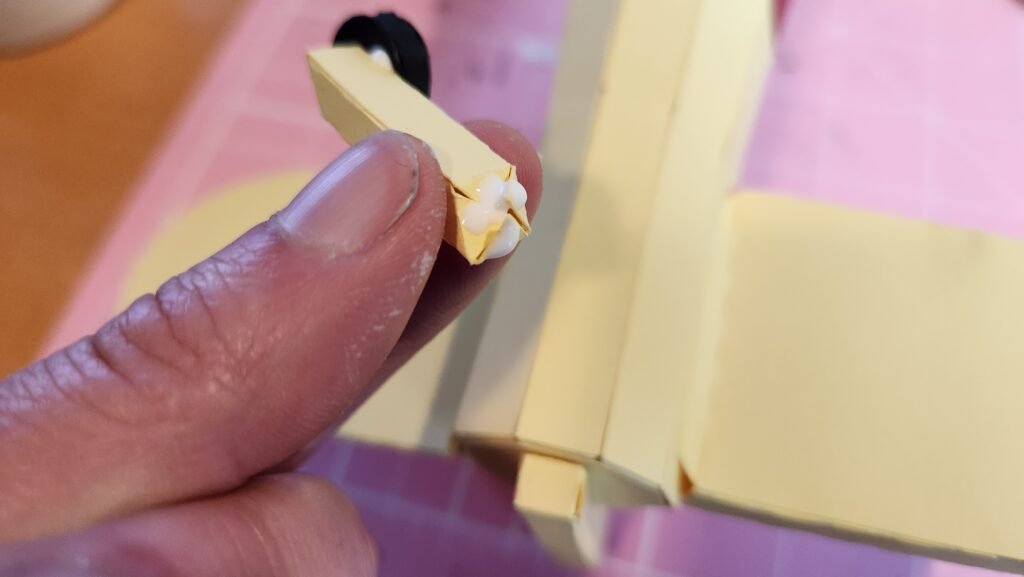
The final step for assembly is the wheel support at the back. Taking the panel with score lines on it, fold on the lines then add glue to the long tab to create a long box shape. One end has four triangle tabs, the other has three and a square flap. Fold in the tabs, add glue and close it off with the flap.
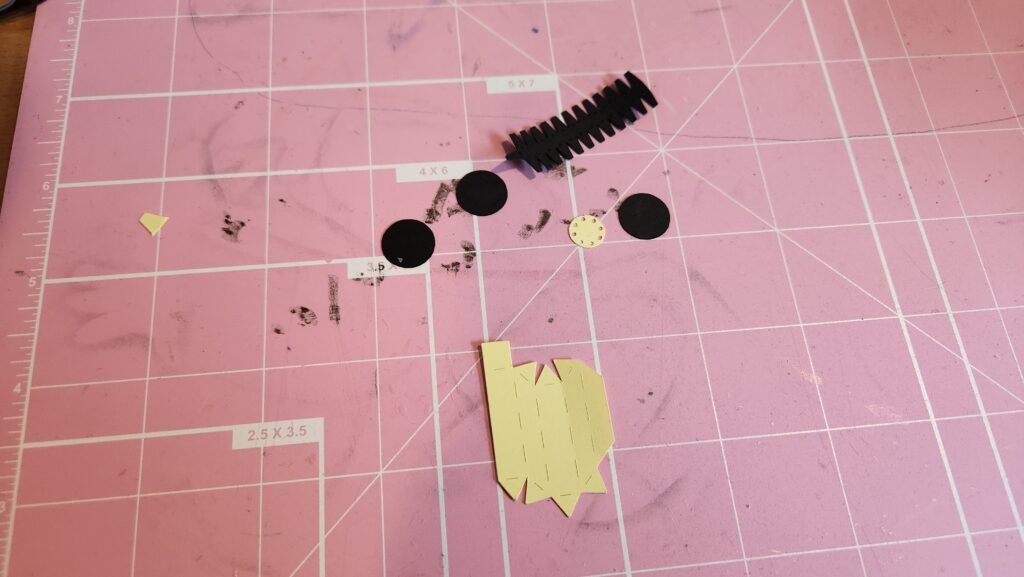
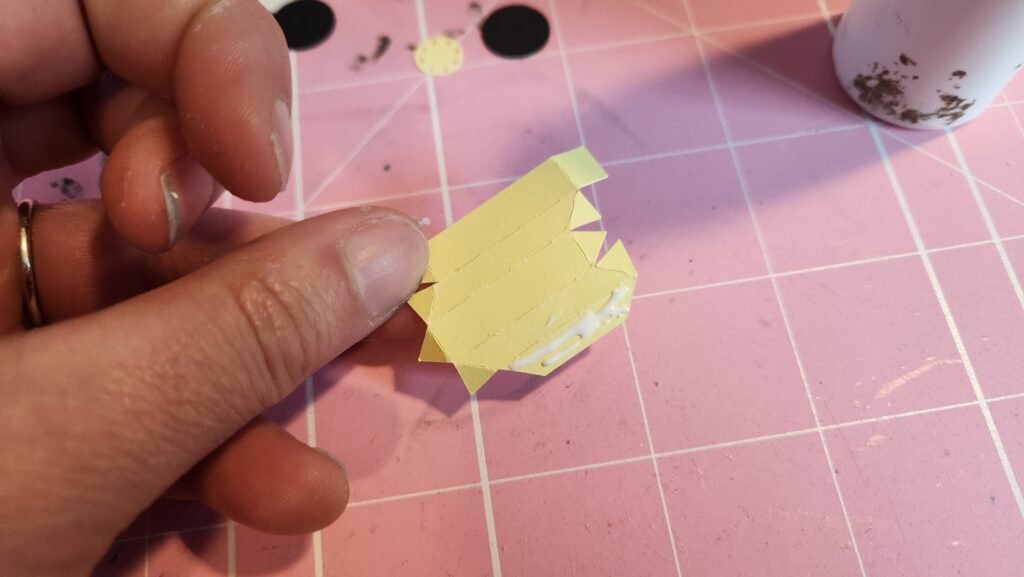
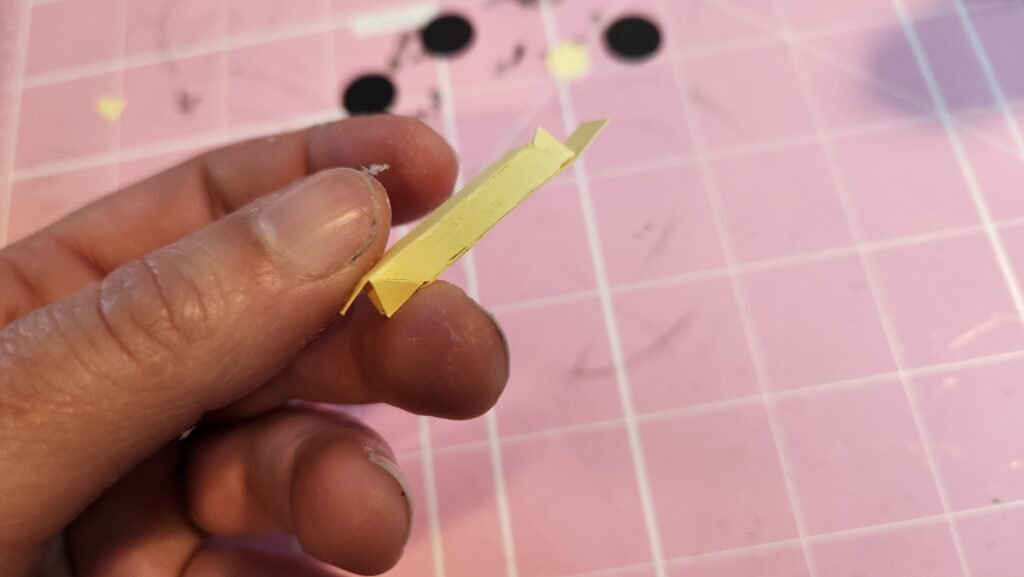

Assemble the wheel for the back of the biplane. Start by taking the long panel with tabs and encourage it to curve then attach it into a loop, using the score line on the tabs as a guide. Once the glue is set, fold in the tabs on one side, add glue, and place one of the circular panels inside. Using the eraser end of a pencil or the flat end of a craft knife, press the circle down making sure that it’s not folded up or curved anywhere.
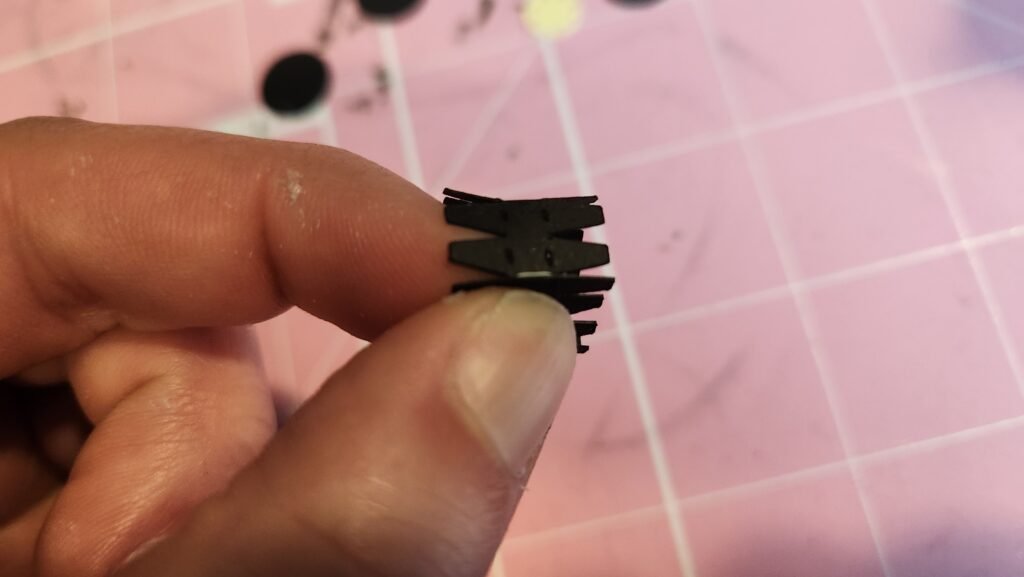
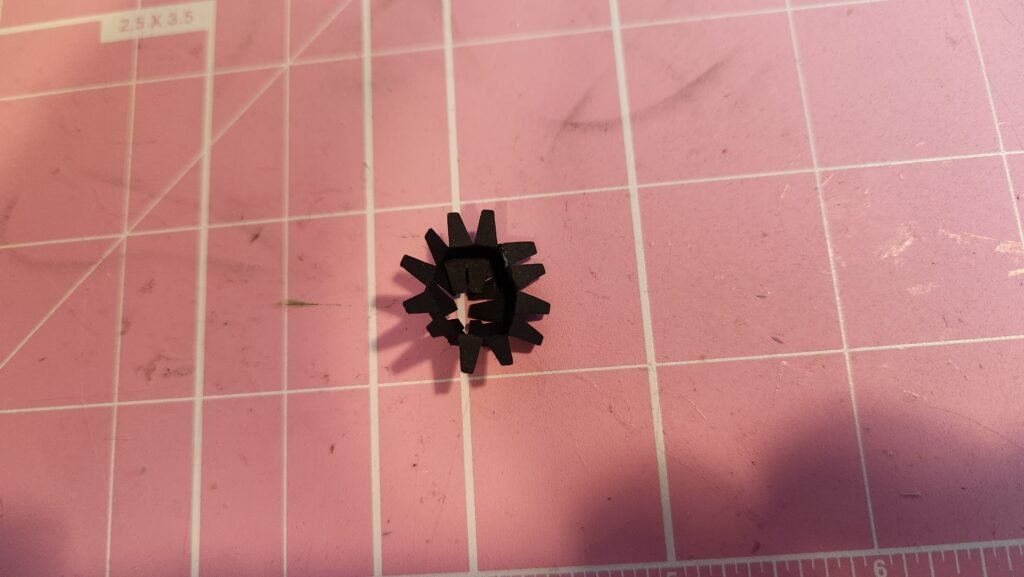
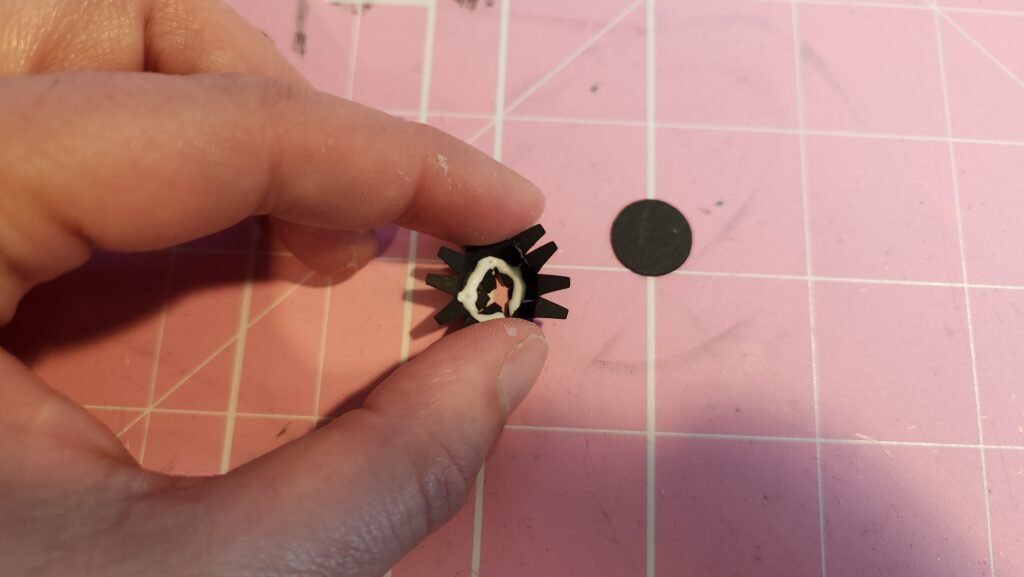
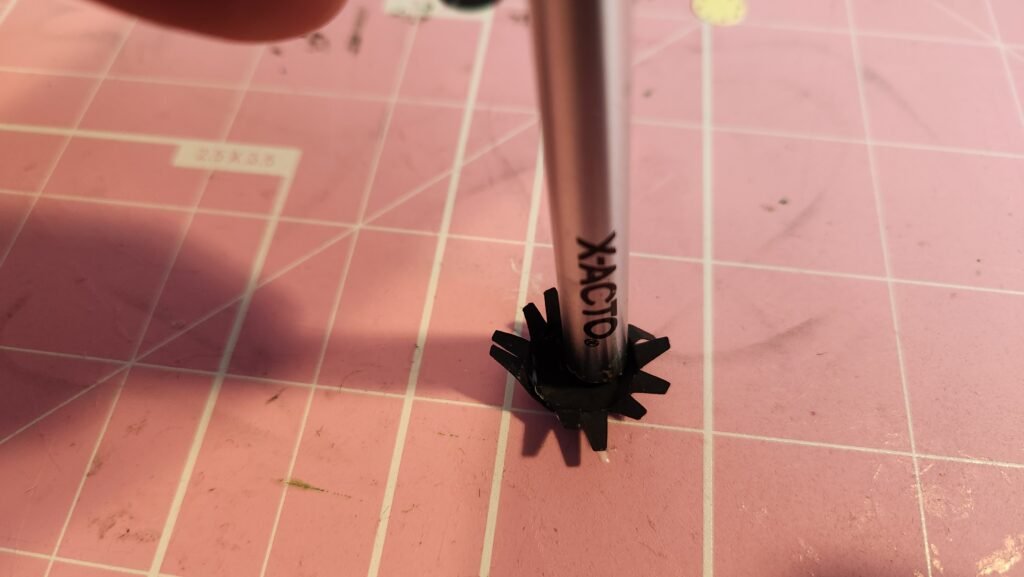
Fold over the remaining tabs and close off the wheel with another circular shape. Then using, the remining round panel, cover the exposed tabs. Pick one side to add the decorative circular panel to.
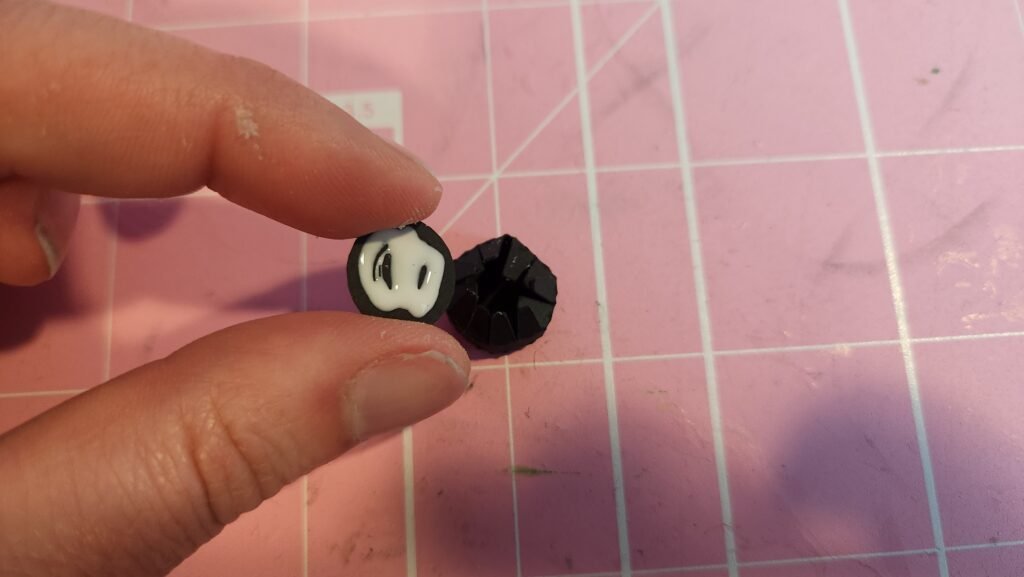
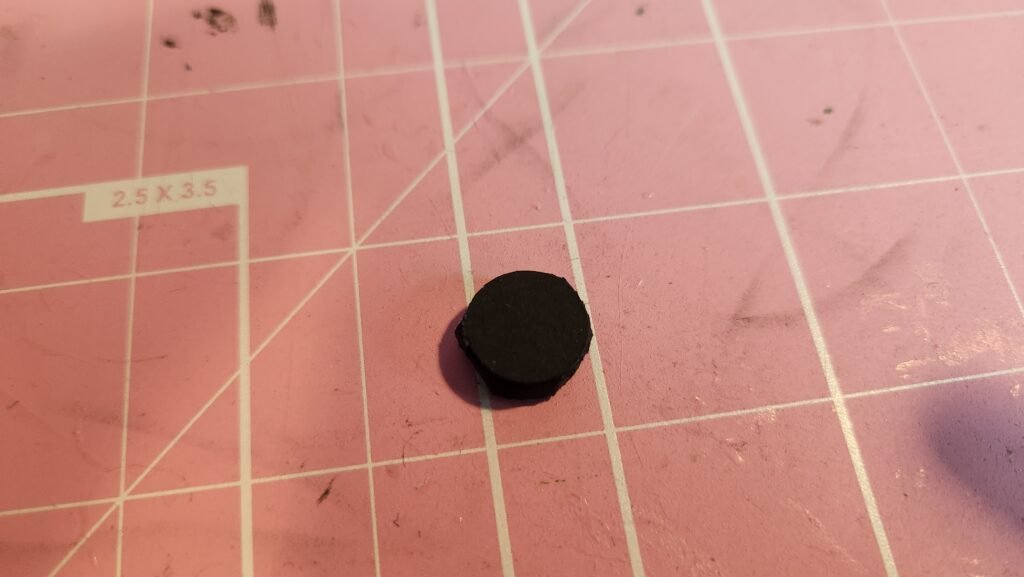

Add a bit of glue to the end of the wheel support. Make sure to use the end that you closed off.
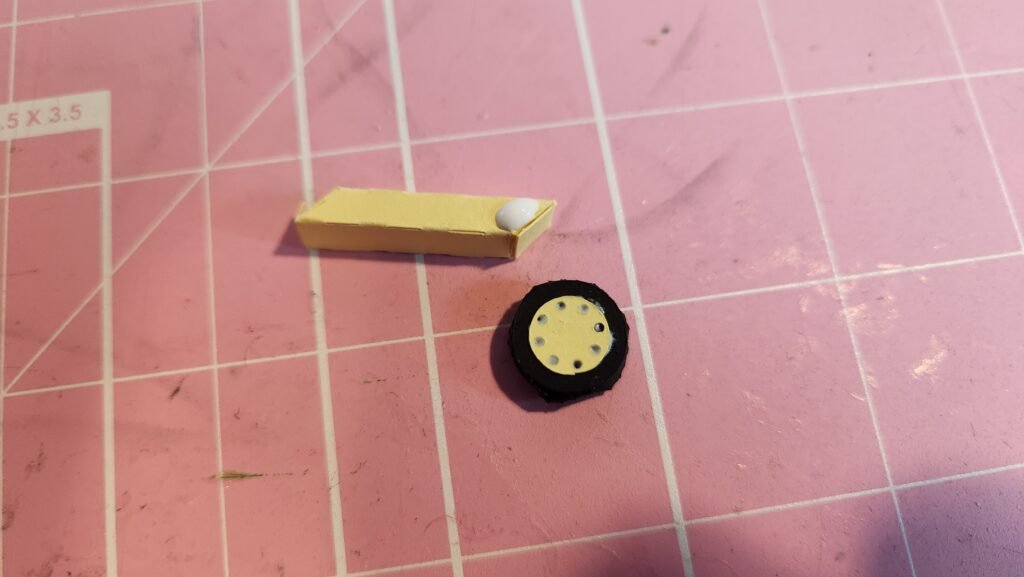
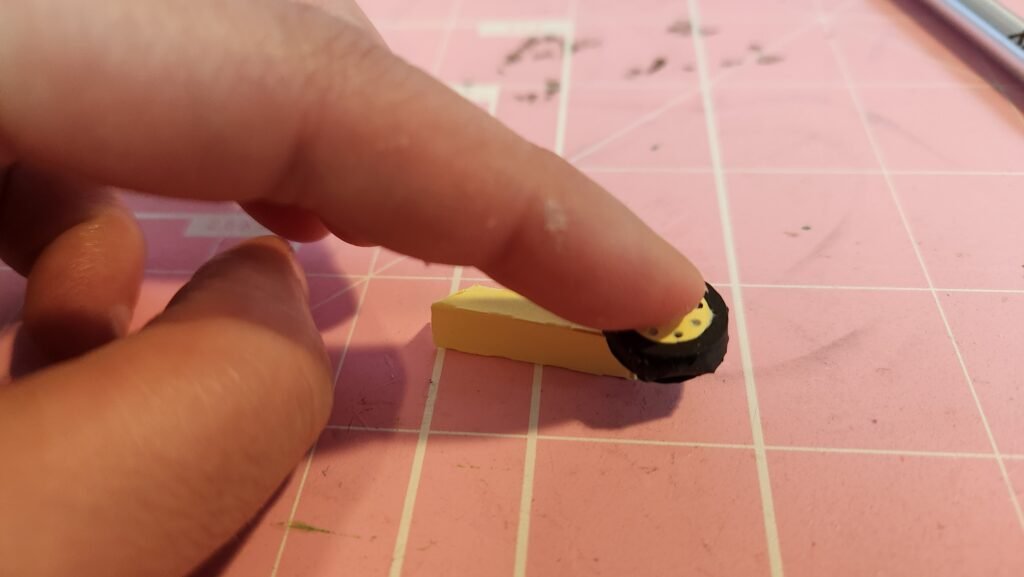
Once the glue is set, turn your plane over and attach it under the tale assembly. Make sure that the wheel is angled toward the back of the biplane, not the front.
