Materials Used
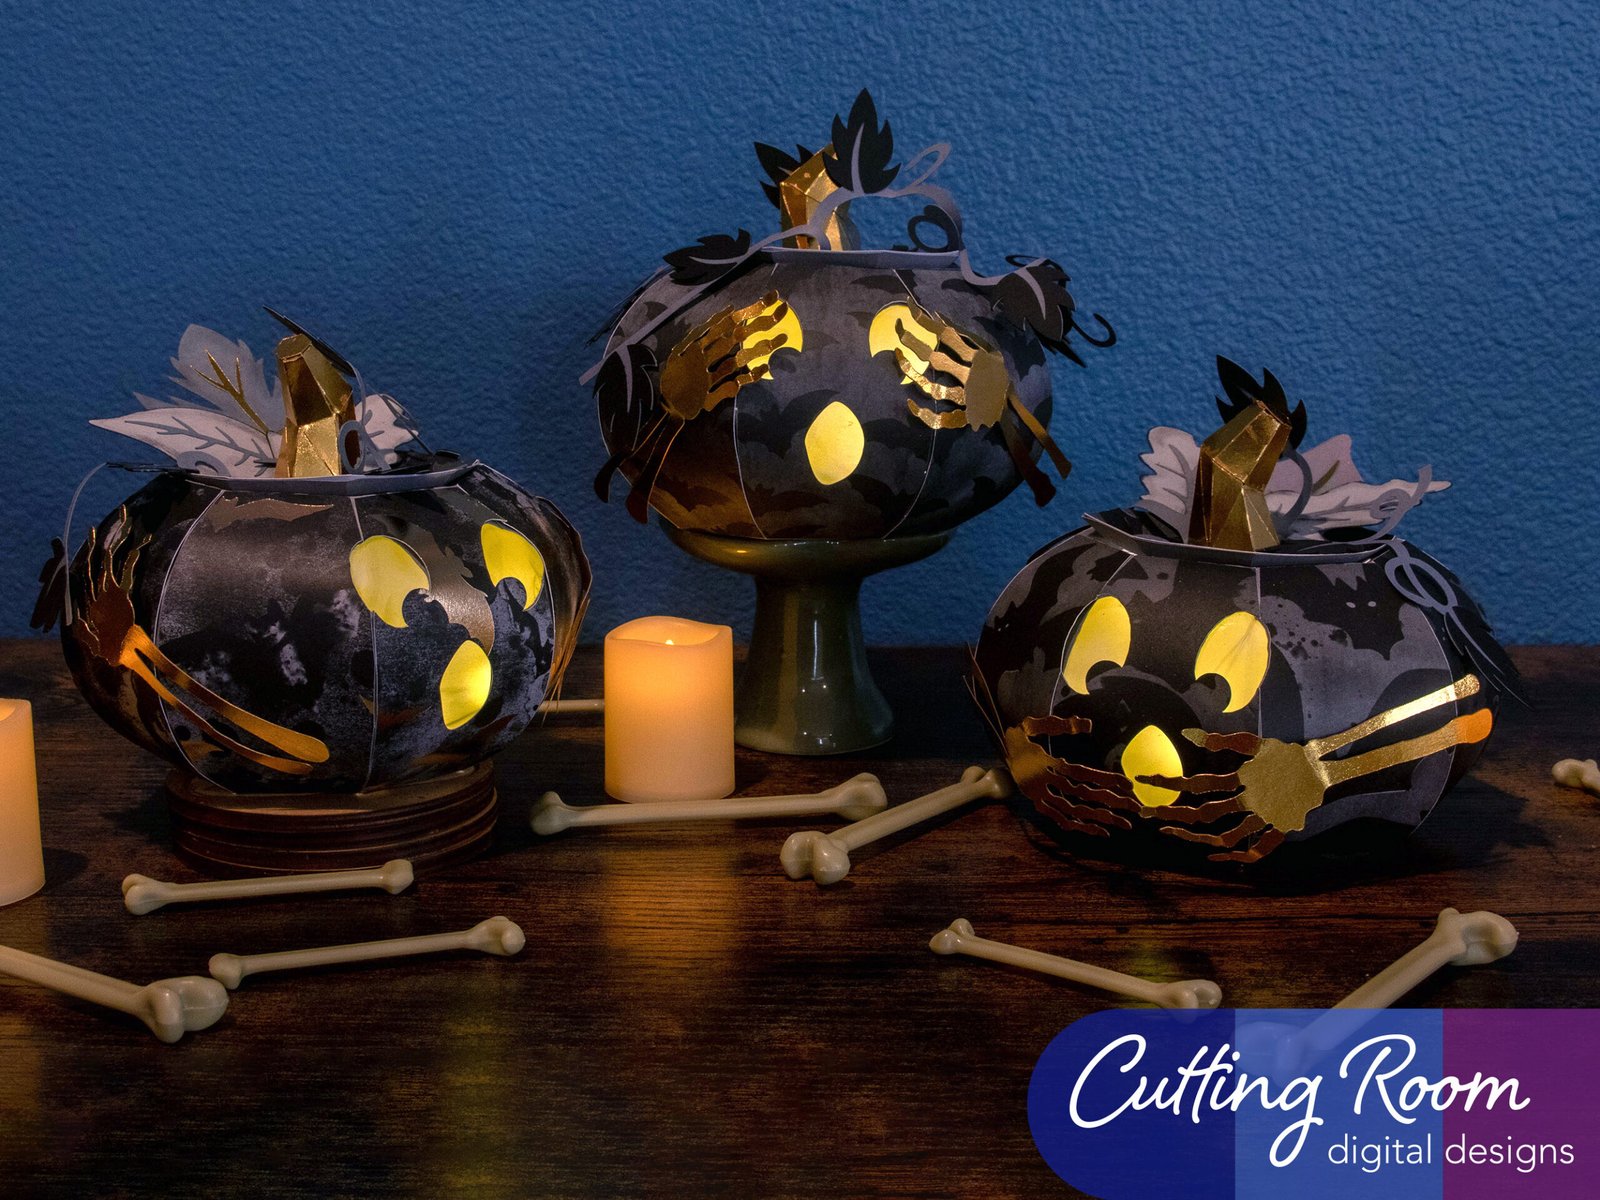
We used several products and supplies in the making of our fun Halloween pumpkin decoration. Below is a list of what we used.
- Hear, See, Speak No Evil Pumpkins – Digital Downloads
- Recollections cardstock
- Recollections Foil Cardstock
- Martha Stewart Halloween Paper Pack
- Vellum
- Art Glitter Glue
- Color Petal Ink Pad
- Floral wire
- Electric Cutting Machine: Cricut or Silhouette
***Note that this post contains affiliate links and we may receive compensation if you buy something using one of our links. ***
Making The Pumpkin Face
This file consists of eight panels, five are identical so you can use them in any order. Three make up the face of the pumpkin. We started by assembling the face first and adding vellum behind the openings before moving to the rest of the side panels. I find it easiest to start at the bottom and glue a couple tabs then move up as the glue sets.


Adding Vellum
With the face panels assembled, we added glue around the openings and pressed the vellum into place. We used plain vellum and colored it with a yellow inkpad to give it the color desired. With the face complete, we finished attaching all the side panels, closing off the shape with the final panel.


Assembling The Rest Of The Pumpkin
With the pumpkin face done, we started adding the other panels to make the rest of the pumpkin. Once the pumpkin shape was done, we added glue to one of the tabs on the bottom and attached one side of the octagon. We then added glue to the rest of the tabs and positioned the octagon to close off the bottom.


Making The Lid
The lid is only two pieces. The outer part glues together to make the lid shape. It will be slightly angled but not a lot. To put the center panel in place bend in the tabs then glue the panel down. The decorative lid panel goes next.


Making The Pumpkin Stem
The stem is made of three pieces. Start by taking the bottom panel and folding along the score lines, then attaching the end tab to the other end of the panel.


Now you can attach the next panel to the tabs, one at a time until we closed off the shape with the end tab as well.


We then added glue to the top of the stem and closed it off with the hexagon shape panel.

With the stem assembled, we attached it to the pumpkin lid by adding glue to the tabs and gently pressing the stem into place.


Decorating The Pumpkin
To decorate the sides of the pumpkin, we gently encouraged the decorative panels to curve a little to better fit the shape of the pumpkin. There are three panels that fit the face of the pumpkin, the rest are identical and can be used interchangeably. To attach the panels, we added glue to the top (pick an end, the ends are the same width so either end can be used as the top) and gently held it in place at the top of the pumpkin shape. Once this was secure, we added glue to the bottom of the panel and pressed it into place.


We added the hands to each of the pumpkins, covering the location of ears (if a pumpkin had any), mouth or eyes. When placing them, we tried to not block too much light that will be emitted from the eyes or mouth.


Adding Leaves And Vines
To decorate the lid, we cut a couple leaves and attached them to the top of the lid using foam dots to add some extra dimension.


We also added some vines and flowers to the pumpkins. We laid them across the lid in different positions until we decided we had a good fit and glued it into place. Sometimes using foam dots to lift up a leaf. One of the pumpkins we used two of the vines to help it have a different look from the other two.


Leave a Reply