Materials Used
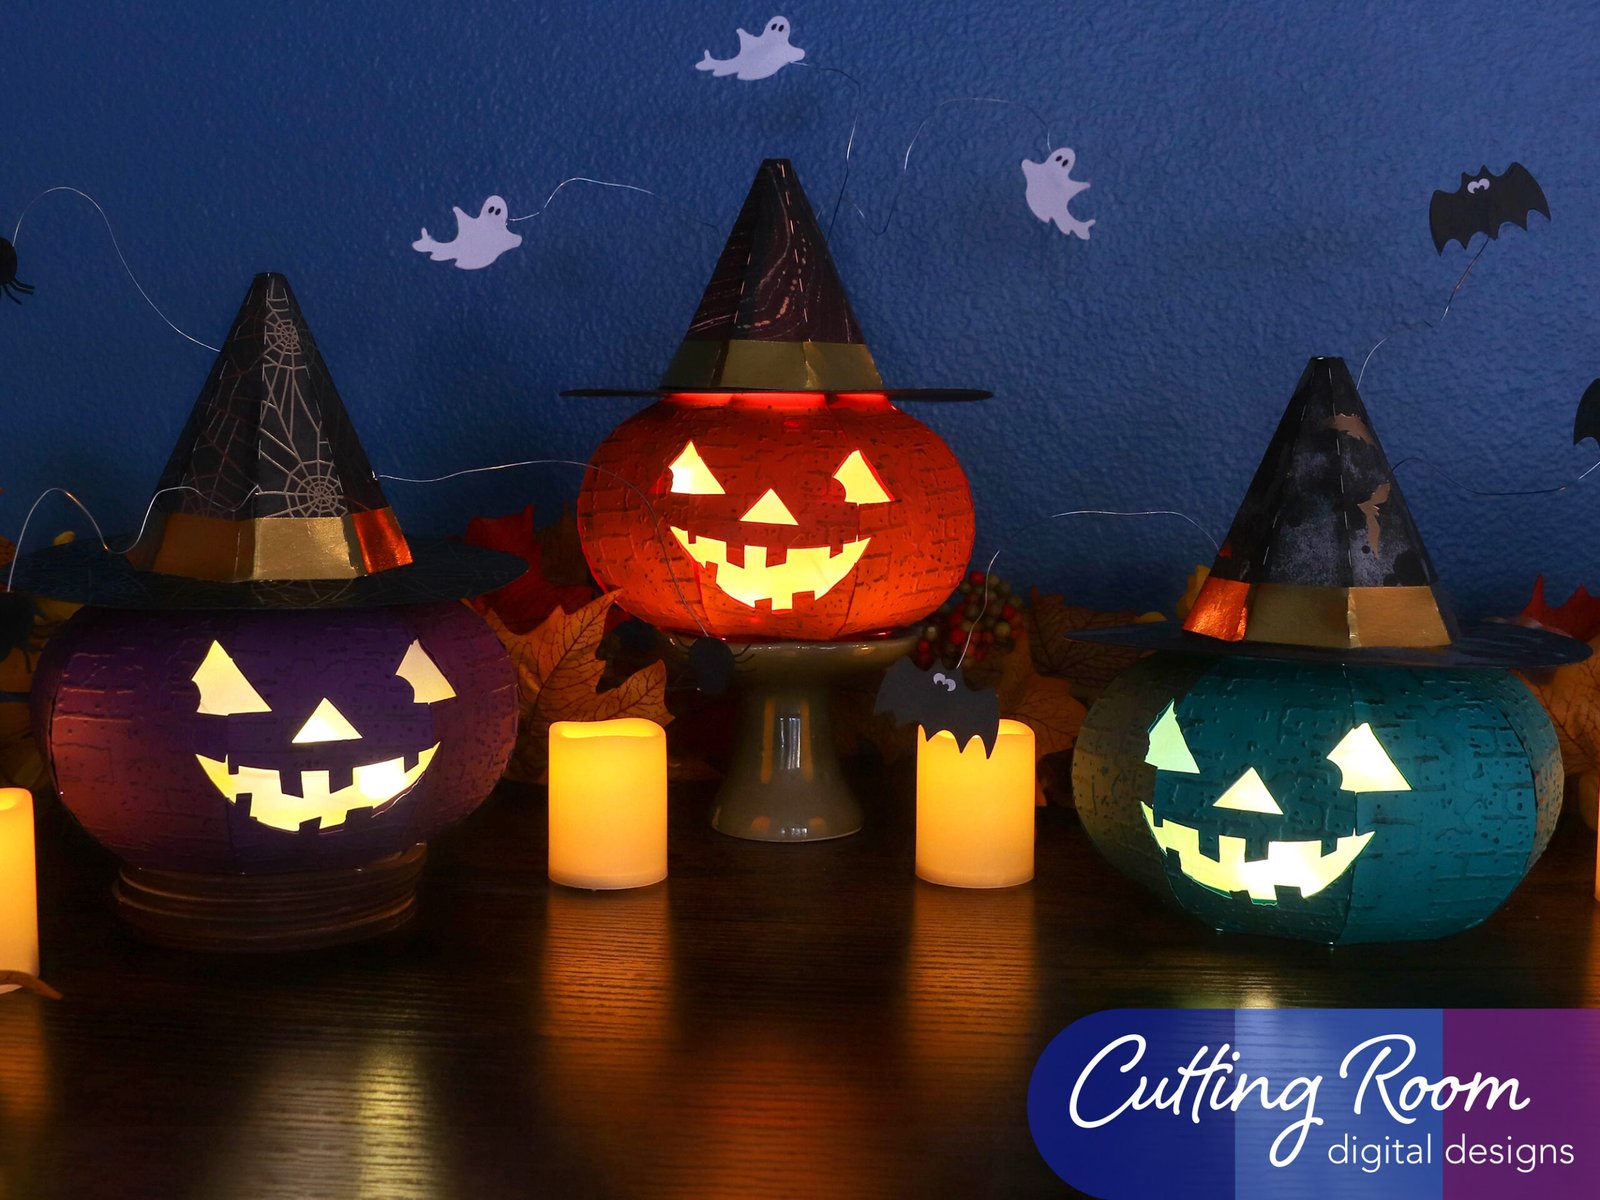
We used several products and supplies in the making of our fun Halloween jack-o-lantern decoration. Below is a list of what we used.
- Jack-O-Lantern Luminary Decoration SVG – Digital Download
- Recollections cardstock
- Recollections Foil Cardstock
- Vellum
- Art Glitter Glue
- Hot Glue
- Color Petal Ink Pad
- Floral wire
- Electric Cutting Machine: Cricut or Silhouette
***Note that this post contains affiliate links and we may receive compensation if you buy something using one of our links. ***
Jack-O-Lantern Face
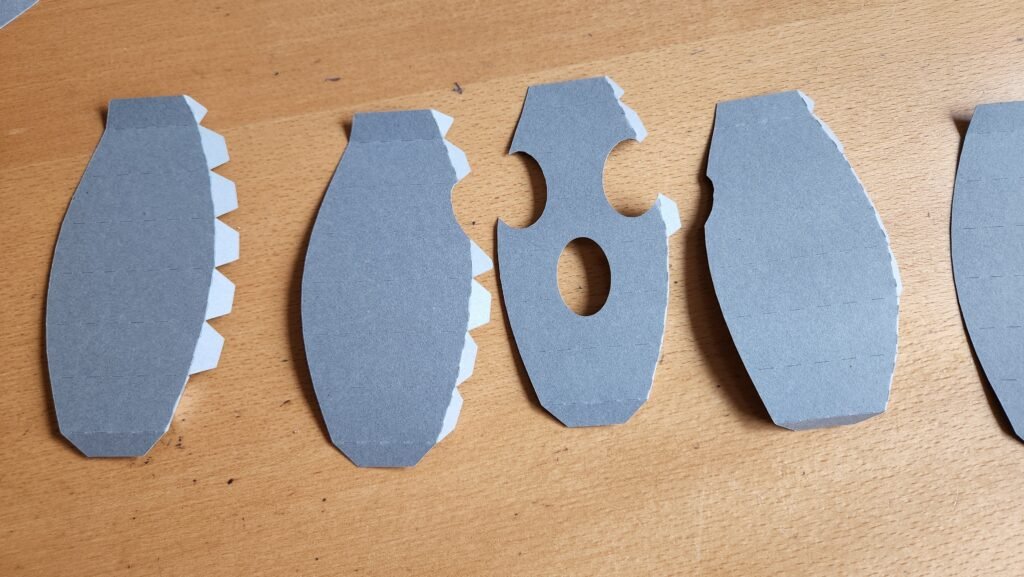
This file consists of eight panels, five are identical so you can use them in any order. Three make up the face of the pumpkin. We started by assembling the face first and adding vellum behind the openings before moving to the rest of the side panels.


With the face panels assembled, we added glue around the openings and pressed the vellum into place. We used plain vellum and colored it with a yellow inkpad to give it the color desired. With the face complete, we finished attaching all the side panels, closing off the shape with the final panel.


The Rest Of The Jack-O-Lantern Shape
We then started assembling the rest of the pumpkin. We added glue a couple tabs then move up as the glue sets. Continue until you have all five full panels added to the face construction. With the pumpkin shape complete, we added glue to one of the tabs on the bottom and attached one side of the octagon. We then added glue to the rest of the tabs and positioned the octagon to close off the bottom.


Decorative Panels
To decorate the sides of the pumpkin, we gently encouraged the decorative panels to curve a little to better fit the shape of the pumpkin. There are three panels that fit the face of the pumpkin, the rest are identical and can be used interchangeably. To attach the panels, we added glue to the top (pick an end, the ends are the same width so either end can be used as the top) and gently held it in place at the top of the pumpkin shape. Once this was secure, we added glue to the bottom of the panel and pressed it into place.


Adding The Hat
With all the decorative panels in place we moved on to the hat. The has an octogen shaped cone which we started with. Fold along the score lines and glue the long tab to close the hat shape.


We then added glue to the tabs at the bottom and slid one of the circular brims into place.


To cover the exposed tabs at the bottom, and in our case to cover all the white as our paper was one sided, we added a second brim to the bottom. This also has an octagon shape cut in the center. Make sure to line it up with the bottom of the hat so you maintain the octagon, this is the shape needed for the hat to sit comfortably on the pumpkin.


Next, we folded in the tabs at the top of the hat, added glue, and closed it off with the small octagon panel.

With the hat shape complete, we started to decorate. First, we added glue to the hat band and placed it around the hat. There’s a tab at one end on the band, start with applying it to the hat on this end. The tab will fold around one of the corners enough that if you are using thicker paper and your band comes out a touch short, the tab will help cover this so there’s no noticeable gap.

Making The Jack-O-Lantern Spooky
We then took a piercing tool from a quilling tool set and made three small holes in the dashed fold lines in various places on the hat. We then took some wire from the floral department (the wire we purchased isn’t marked with a gage but is quite thin but strong enough to hold up some paper), cut it at 6-8 inches long and inserted one end through each hole, securing each with some hot glue. Once these were secure, we positioned the wire how we wanted, cut it shorter if needed, then twirled the end on a quilling tool to make a tiny circle. We then glued the spiders, ghosts, or bats, to the wire. Having them double sided allows for a better hold and more stability.


